Postdeployment Changes

Update the DNS server on your Catalyst Center VA using the AWS console

Follow these steps to update the DNS server IP address configured on your Catalyst Center VA.

Before you begin

Get a consent token from Cisco TAC for full shell access.

Procedure


Step 1

Log in to the AWS console.

Step 2

Choose EC2 > Instances.

Step 3

Choose the instance ID that you want to change and click Connect.

The Connect to instance page is displayed with the EC2 Instance Connect tab selected by default.

Step 4

Click the EC2 serial console tab.

The Catalyst Center VA instance ID and serial port are displayed.
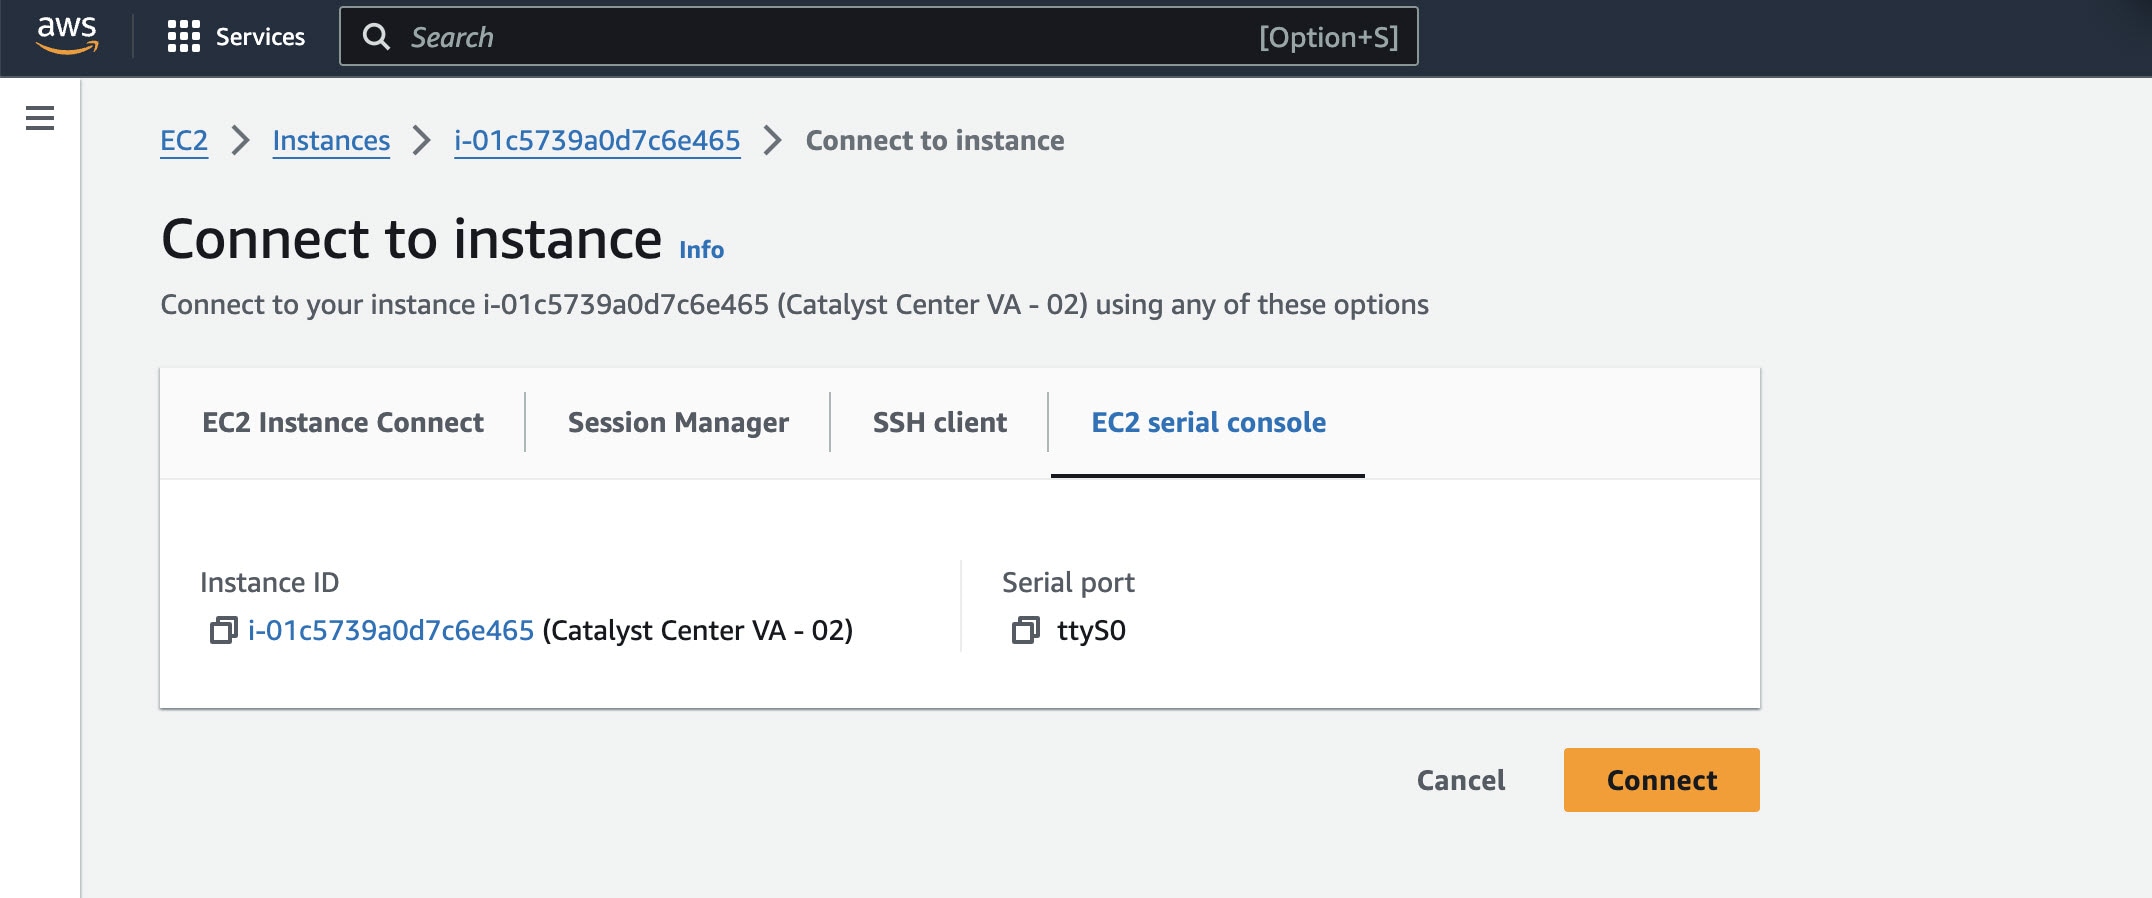
Step 5

Click Connect.

The Maglev console is displayed.
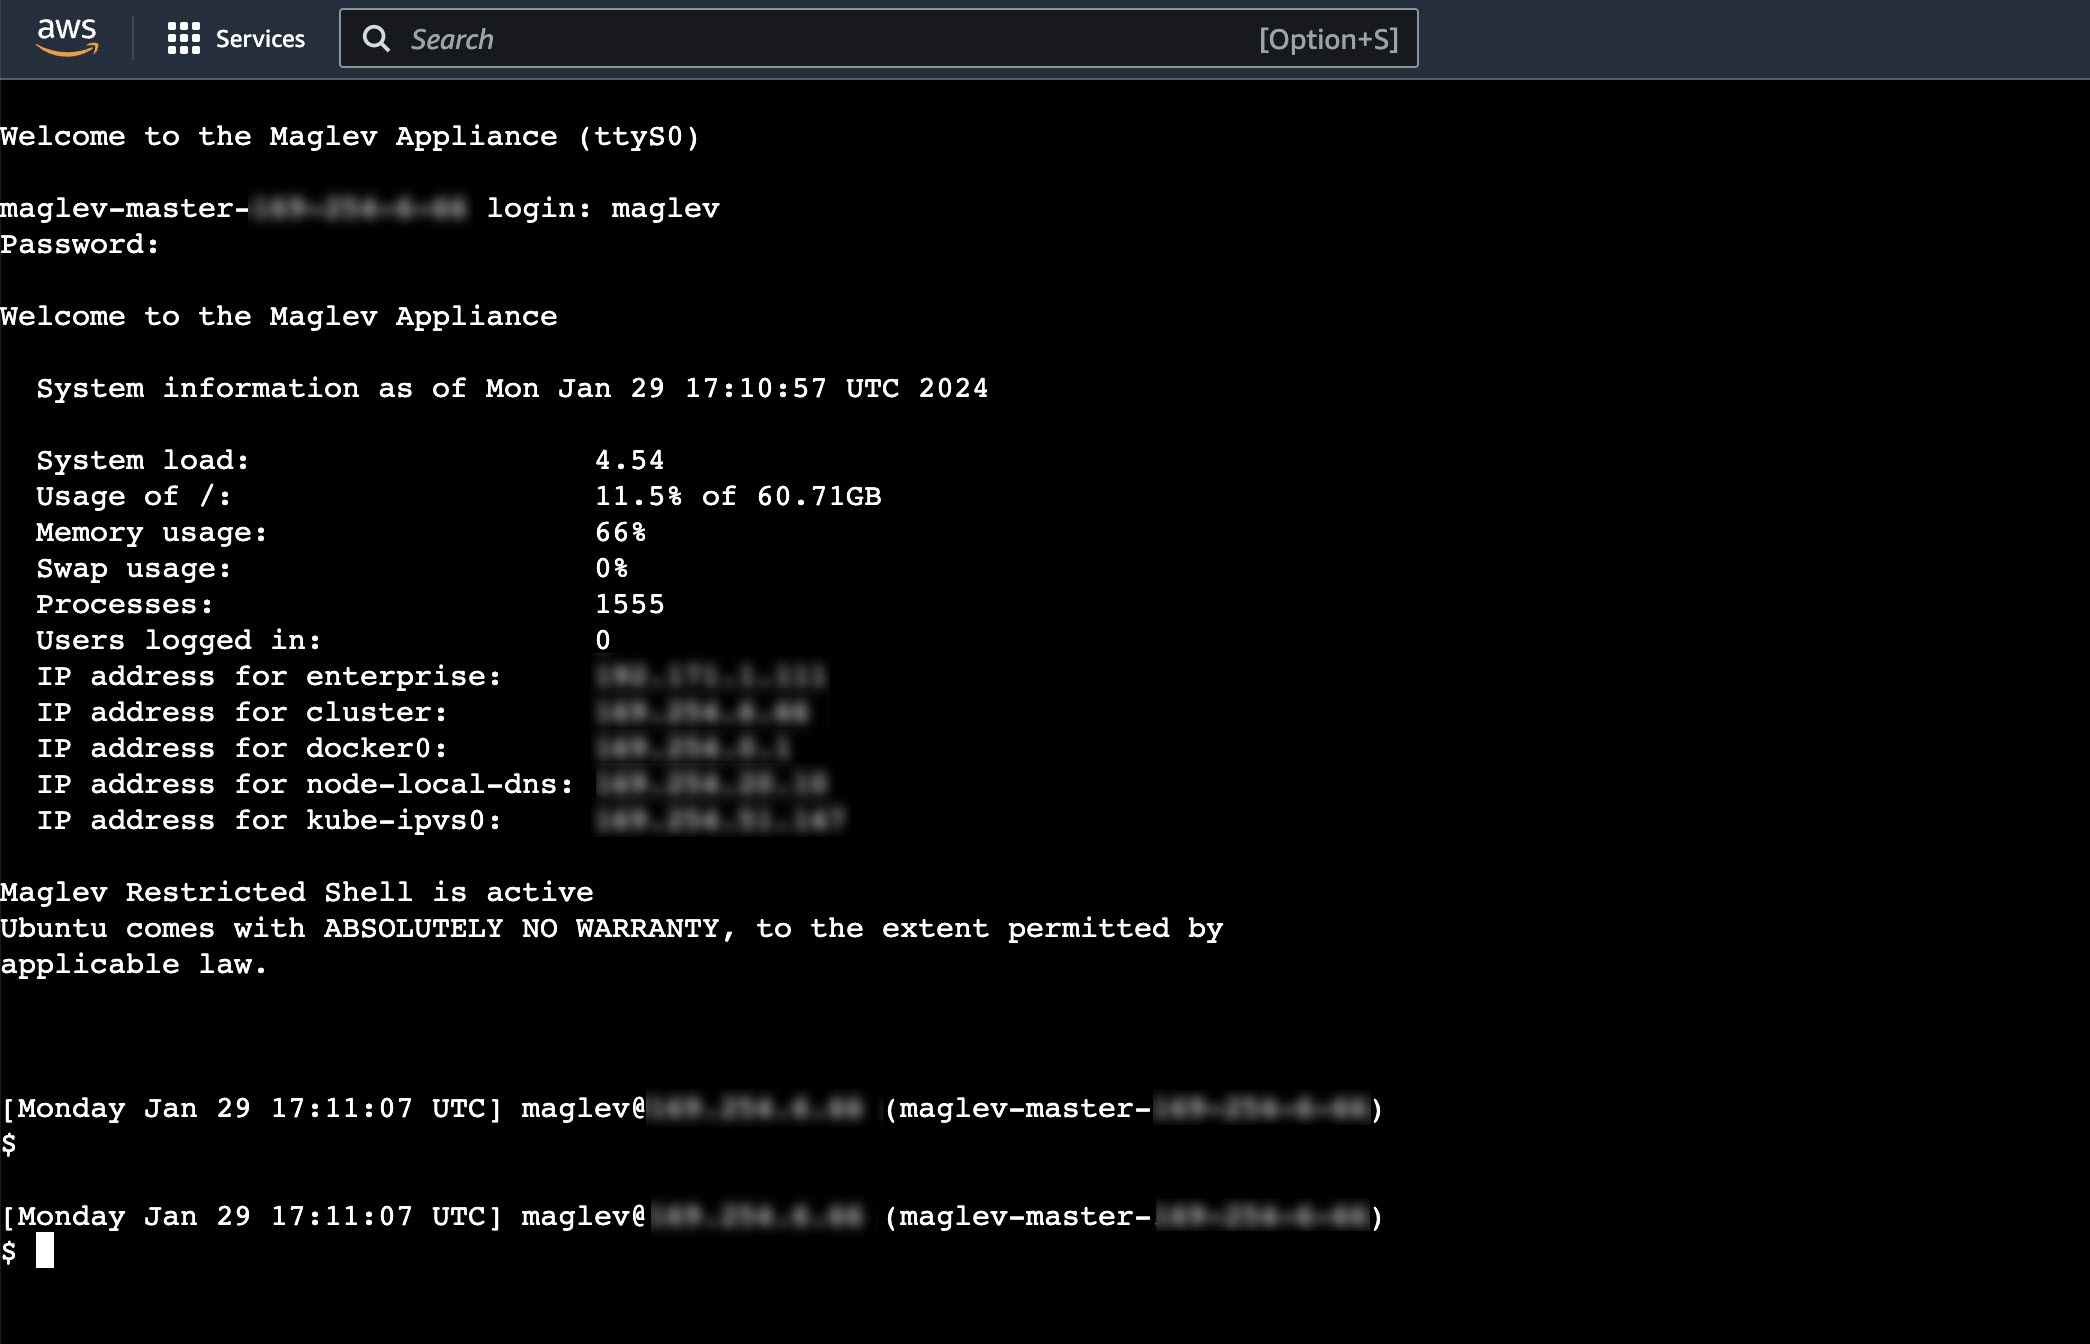
Step 6

In the Maglev console, update the DNS server IP address to your preferred IP address.

  1. At the Login prompt, enter maglev as the username.

  2. At the Password prompt, enter the password that was configured during the initial deployment, regardless of the deployment method.

  3. Gain full shell access by using the consent token that you received from Cisco TAC:

    $ _shell -v consent-token 

    For example:

    _shell -v n1+hPAAAAQ000AQAAAABAgAEAAAAAAMBYkk2bmhXcW14OGtqUXoy
    a09UTXlzM252UnNlUnFwTEFEQVQvejJjQm9kNXloN2thSFk3MzZBek9CMEJRUUZad2QNCkhPNVZMNjhMUXMyb0h
    1OXQ2eW1TR01yT1hwZkRPSmNuc1c2QUJ5ZGtVZ0N2OU1mMXZtTC90em1MNldWcVdjY2gNCkh3eEd5MytZWmRVUTN
    kek1xOWNiWi9rLzVlTkozQ2RrYy9SMXEya2NOV09uMEdvZE11c1lZN01ENjZvVk5zZlMNCktseHZxTi9tVXF0cW1
    vaG9NZFY4SnVOY3NBcXkxQkZOMzZHdS9XQ2N4S2tpdlNUV1VOTVVrRXU1TjVRUDl6d1YNCmYyWW1ZdUFnSGNOcnV
    veUhoTzZYYjRIWnJWNDdxSG5qR0REUjV3TE90bnNXalpBL2tsRzNzN0lIa1ZaY0VzMVENCkVoc3FZUGU5Z2ZoTWF
    6YXVKRmtxVmc9PQ==
    
  4. Set the terminal to display in color:

    export TERM=xterm 
  5. Run the sudo maglev-config update command.

    The Configuration wizard presents a shortened series of screens like those described in "Configure a Secondary Node Using the Maglev Wizard" in the Cisco Catalyst Center Appliance Installation Guide.

    When the DNS server IP address setting is displayed, update it to the preferred IP address. After making changes on each screen, choose next>> to continue through the Configuration wizard. At the end of the configuration process, a message states that the Configuration wizard is ready to apply your changes.

  6. Review and verify your changes using the available options:

    • proceed>>: to save and apply the changes.

    • <<back: Review and verify your changes.

    • <cancel>: Discard your changes and exit the Configuration wizard.

  7. Click proceed>> to save and apply the changes.

    At the end of the configuration process, a CONFIGURATION SUCCEEDED! message is displayed.