Manage certificates
What is a certificate?
A certificate is an electronic document that identifies an entity such as a person, server, or company and links it to a public key. When a certificate is created, both a public key and a matching private key are generated. In the TLS protocol, the public key encrypts data, while the private key decrypts it.
Certificates are signed by an issuer, often a Certificate Authority (CA), which acts as a "parent" certificate. This process can also be self-signed. In a TLS exchange, a trust chain of certificates verifies the issuer's validity. This chain includes three types of entities: a self-signed root CA certificate, possibly several intermediate CA certificates, and an end-entity certificate. Intermediate certificates connect the server certificates to the root CA, adding security. Starting with the root certificate's private key, each certificate in the chain signs and issues the next one, ending with the end-entity certificate used for server or client authentication.
Certificates in Cisco Crosswork Planning
Cisco Crosswork Planning uses the TLS protocol for secure communication between devices and components. TLS utilizes X.509 certificates to authenticate devices and encrypt data, ensuring its integrity. The system employs a combination of generated certificates and those uploaded by clients. Uploaded certificates might be purchased from Certificate Authorities or be self-signed. For instance, the system's VM-hosted web server and the client browser interface use the system-generated X.509 certificates exchanged over TLS for secure communication.
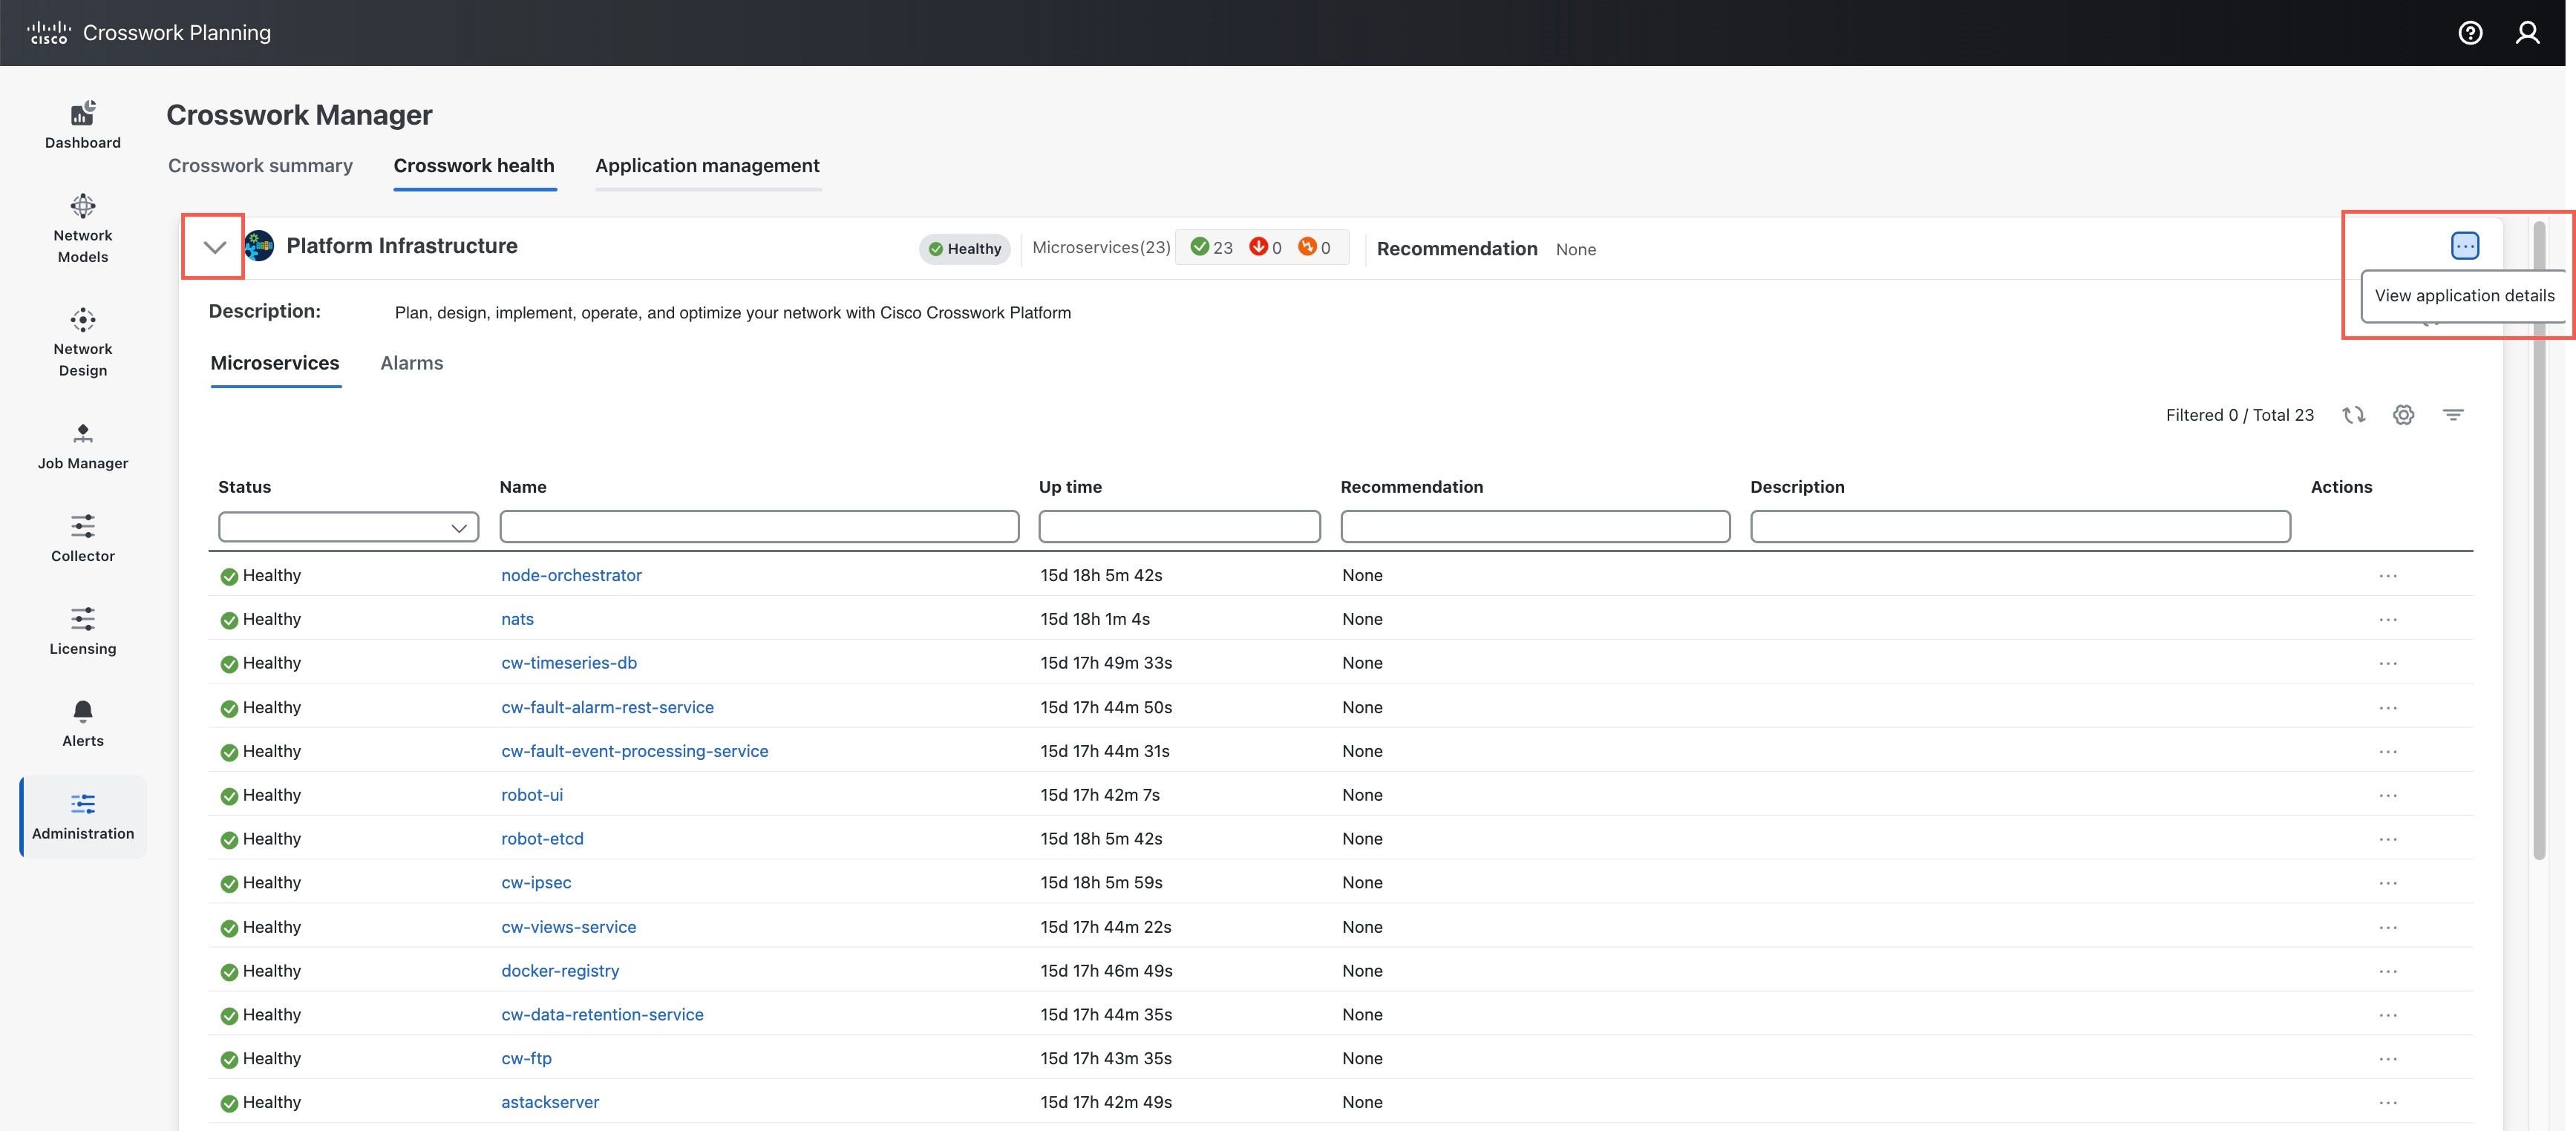
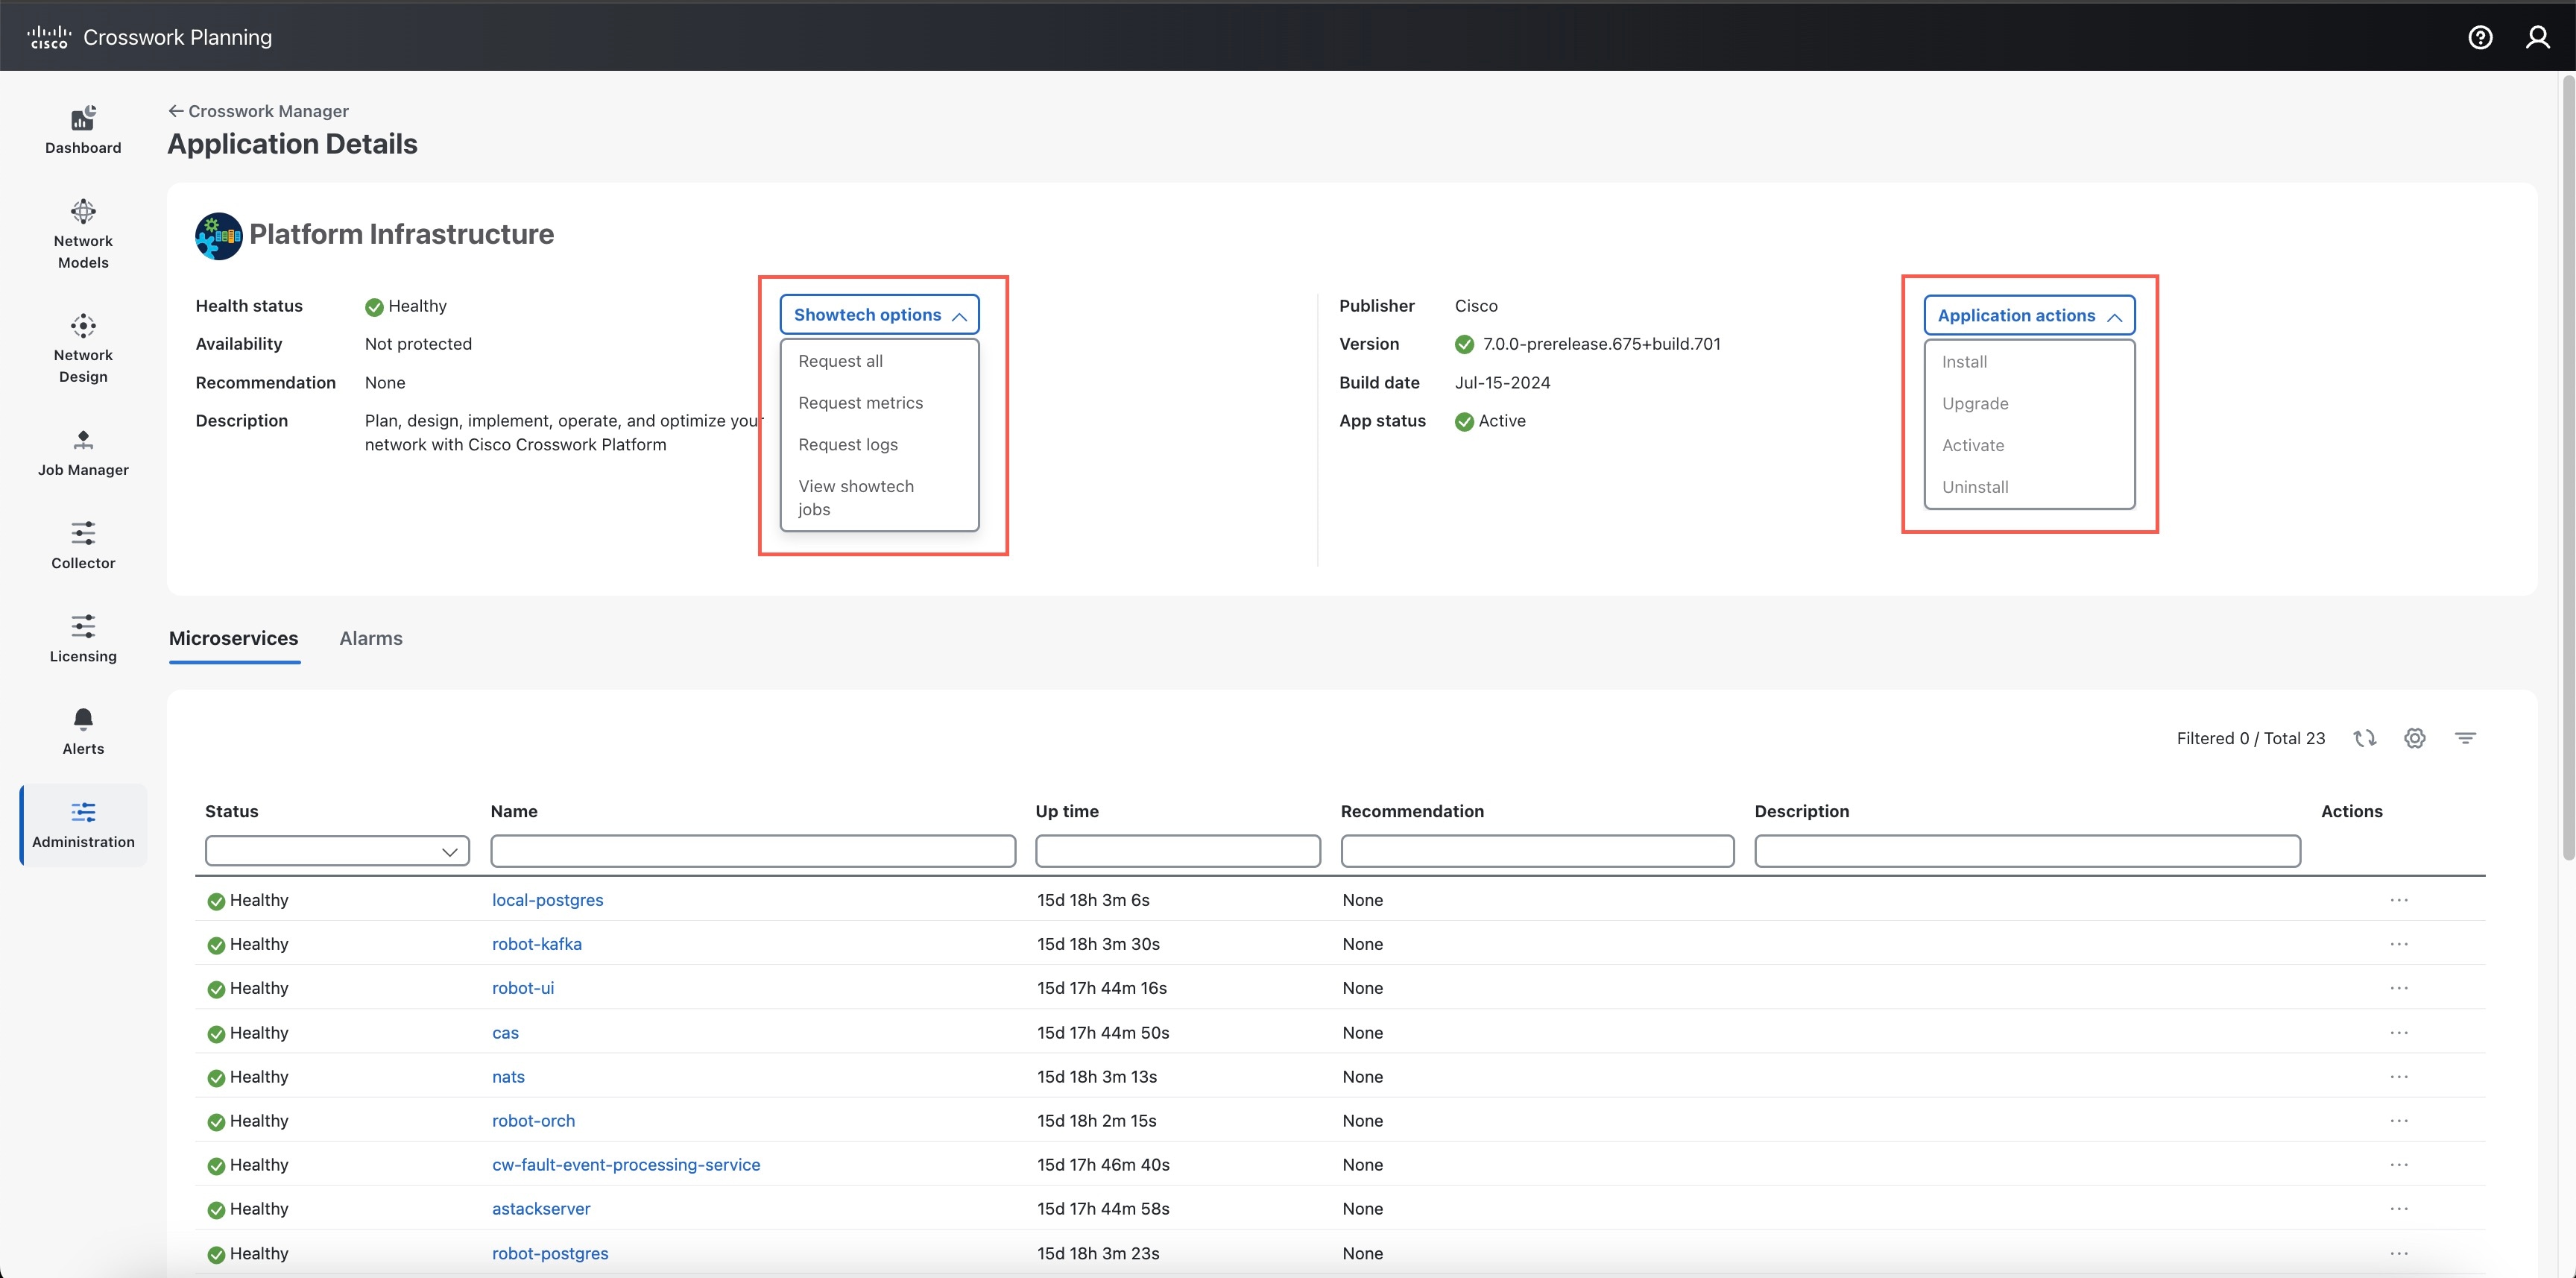
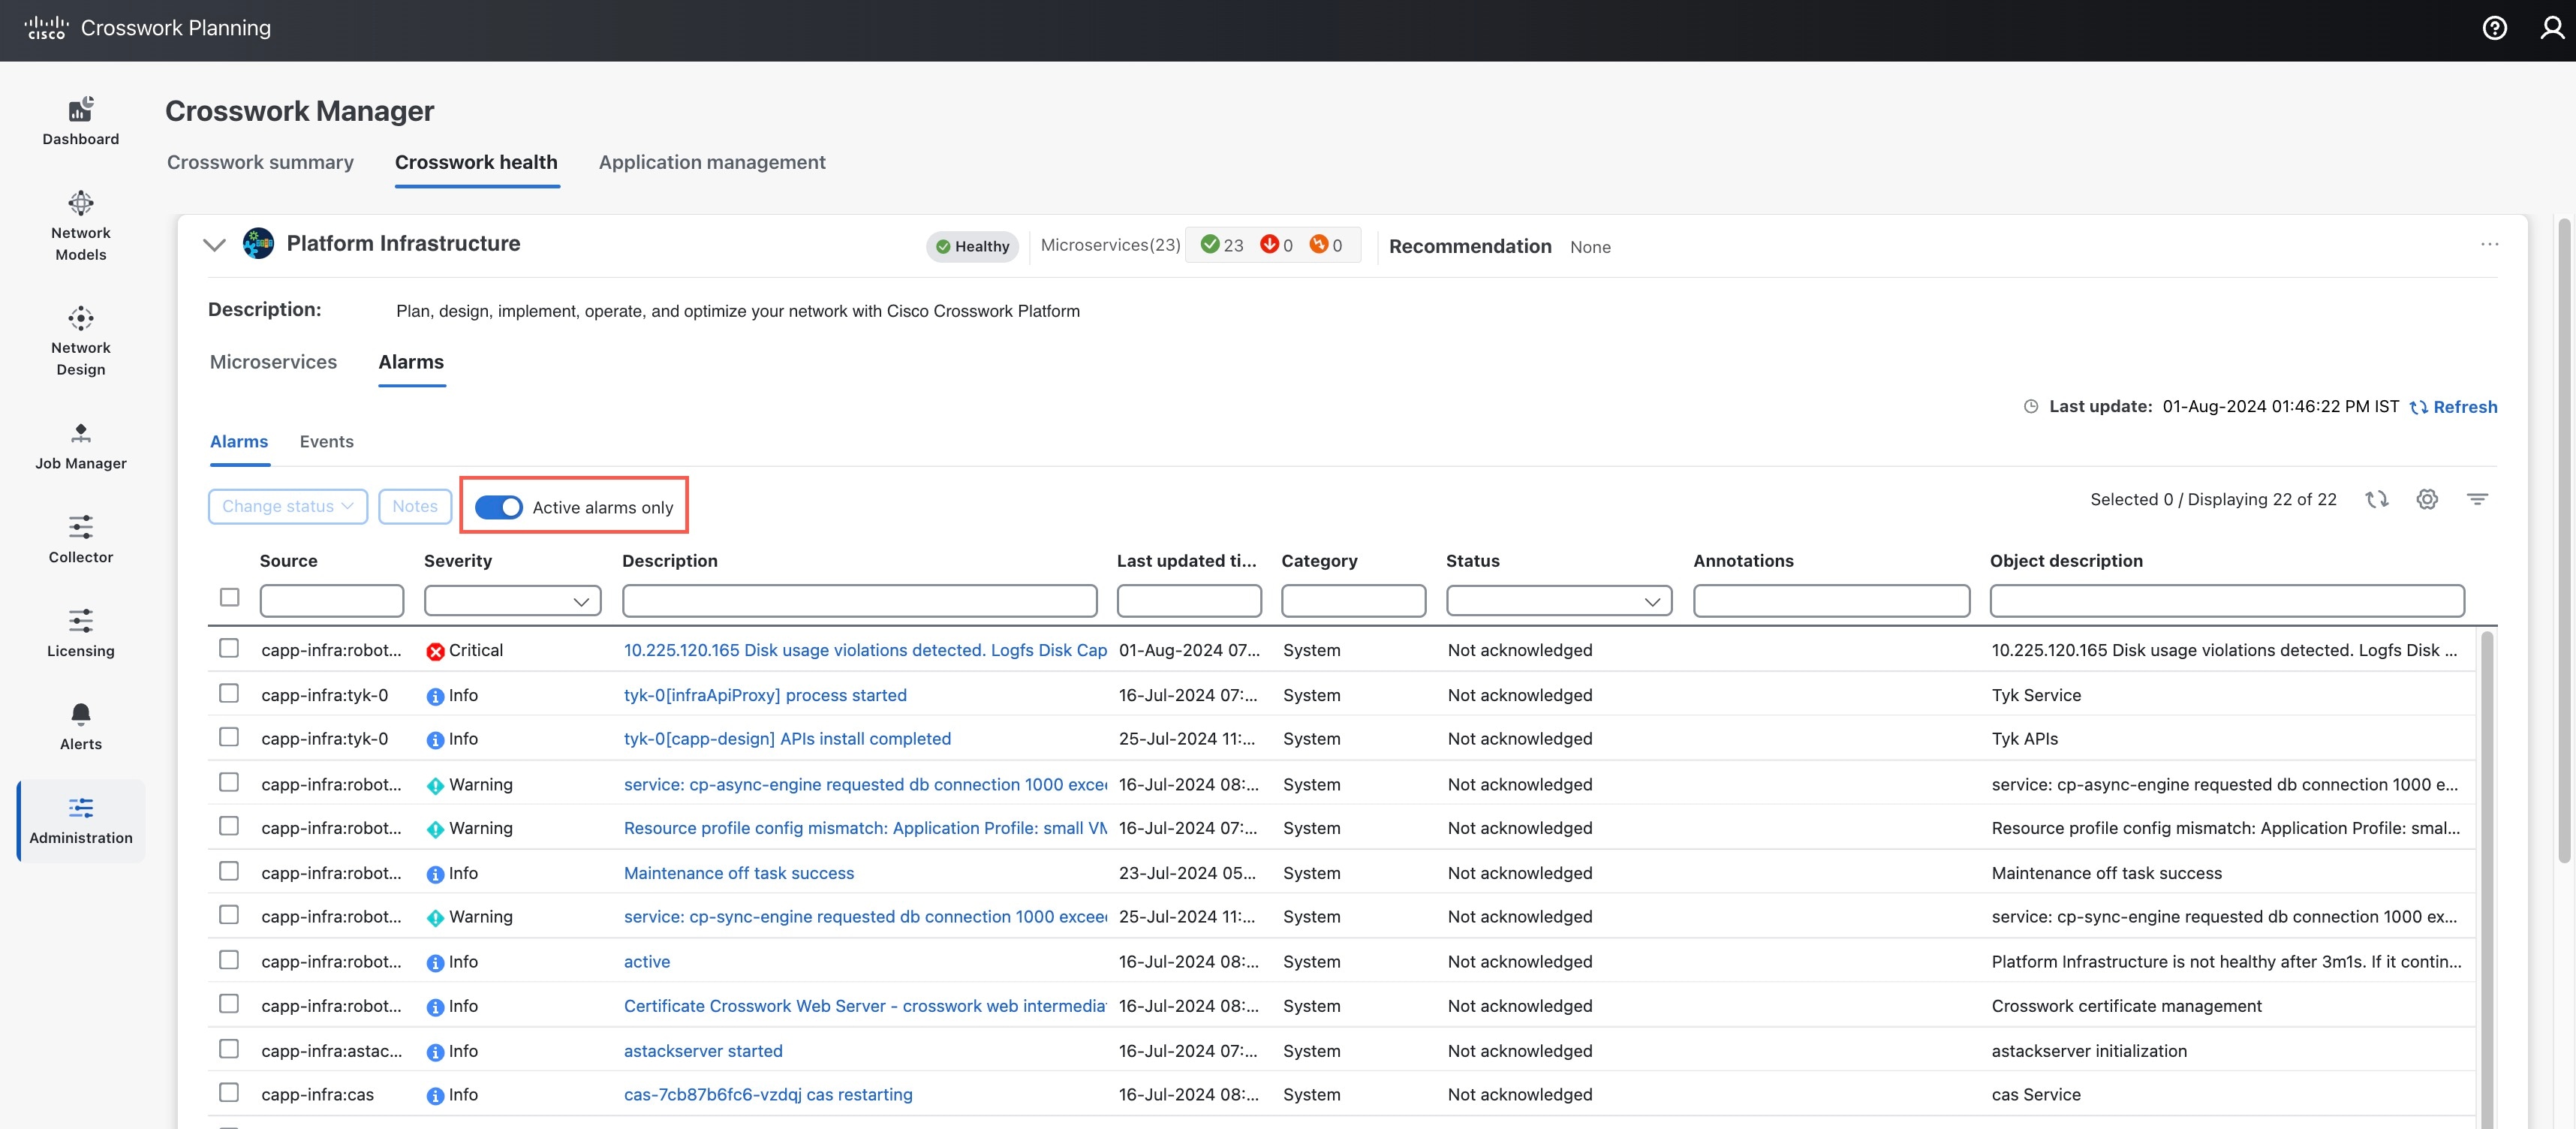
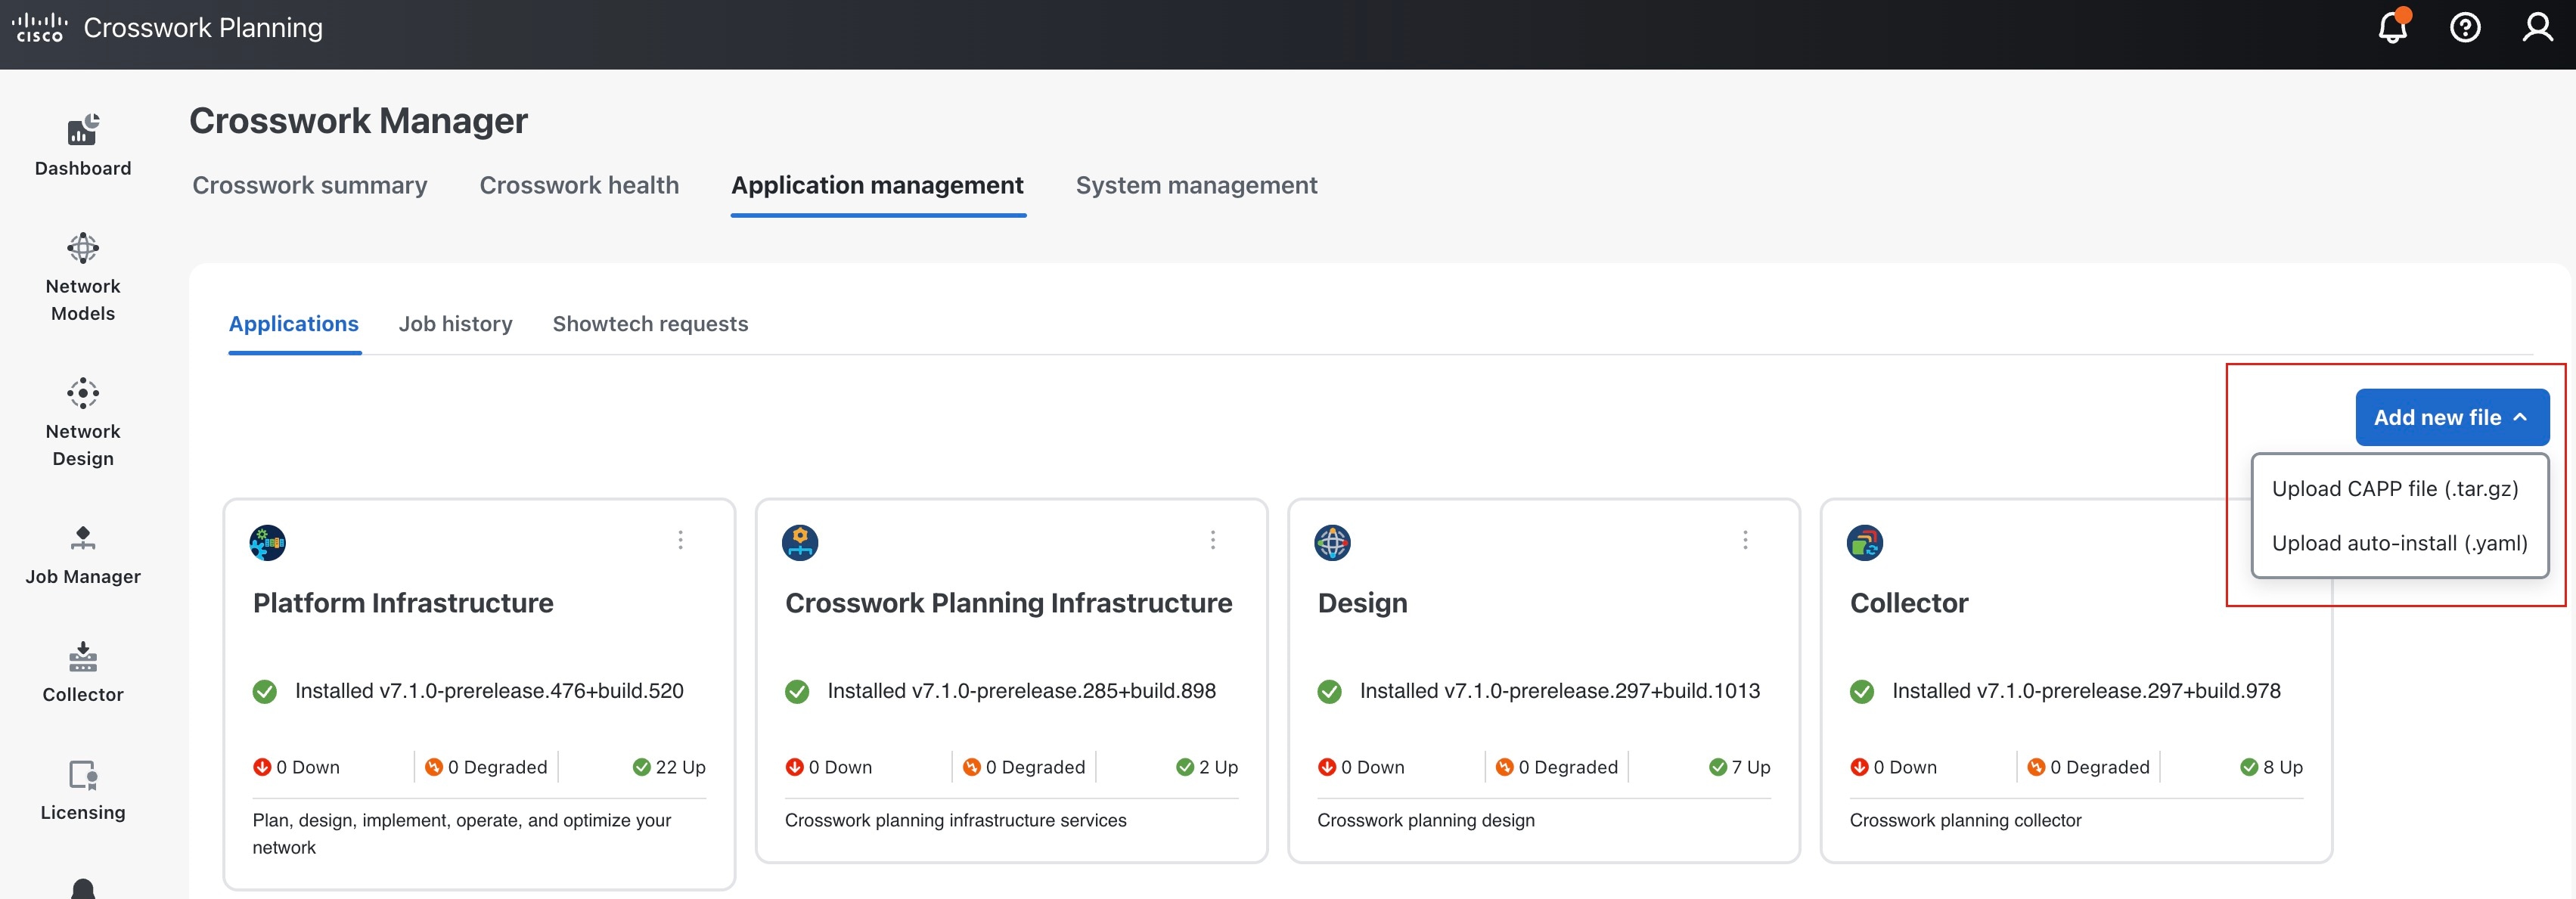
The Crosswork Cert Manager is a proxy for multiple microservices and services within the distributed framework and manages all the Crosswork certificates. The Certificate Management page () allows you to view, upload, and modify certificates.
Certificate management page displays the default certificates provided by Cisco Crosswork Planning.

Certificate types and usage
These certificates are classified into various roles with different properties depending on their use case as shown in the following table.
|
Role |
UI Name |
Description |
Server |
Client |
Allowed operations |
Default Expiry |
Allowed Expiry |
|---|---|---|---|---|---|---|---|
|
Crosswork Internal TLS |
Crosswork-Internal- Communication |
|
Crosswork |
Crosswork |
Download |
5 years |
— |
|
Crosswork Web Server |
Crosswork-Web-Cert Server Authentication |
|
Crosswork Web Server |
User Browser or API Client |
|
5 years |
30 days to 5 years |
|
Crosswork Device Syslog |
Crosswork-Device-Syslog |
|
Device |
Download |
5 years |
— |
There are two category roles in Crosswork:
-
Roles which allow you to upload or download trust chains only.
-
Roles that allow upload or download of both the trust chain and an intermediate certificate and key.
Add new certificates
You can add certificates for the following role:
-
Secure LDAP communication: You upload the trust chain of the secure LDAP certificate. This trust chain is used by Crosswork to authenticate the secure LDAP server. Once this trust chain is uploaded and propagated within Crosswork, the user can add the LDAP server (see Manage LDAP servers) and associate the certificate.
 Note |
Cisco Crosswork Planning does not receive a web certificate directly. It accepts an intermediate CA and intermediate Key to create a new web certificate, and apply it to the Web Gateway. |
Before you begin
-
For information on certificate types and usage, see Certificate types and usage.
-
All certificates that are uploaded must be in Privacy Enhanced Mail (PEM) format. Note where these certificates are in the system so that you can navigate to them easily.
-
Trust chain files that are uploaded may contain the entire hierarchy (root CA and intermediate certificates) in the same file. In some cases, multiple chains are also allowed in the same file.
-
Intermediate Keys need to be either PKCS1 or PKCS8 format.
Procedure
|
Step 1 |
From the main menu, choose and click |
||
|
Step 2 |
Enter a unique name for the certificate. |
||
|
Step 3 |
From the Certificate Role drop-down menu, select the purpose for which the certificate is to be used.
|
||
|
Step 4 |
Click Browse, and navigate to the certificate trustchain. |
||
|
Step 5 |
Click Save.
|
Edit certificates
You can edit a certificate to add or remove connection destinations, upload, and replace expired or misconfigured certificates. User provided certificates and web certificates can be edited. Other system certificates that are provided by Cisco Crosswork cannot be modified and will not be available for selection.
Procedure
|
Step 1 |
From the main menu, choose . |
|
Step 2 |
To update a certificate:
|
|
Step 3 |
To enable the client certificate authentication of a web certificate: |
|
Step 4 |
To update certificate and configure client authentication in a single step: |
Download certificates
Follow these steps to download certificates.
Procedure
|
Step 1 |
From the main menu, choose . |
|
Step 2 |
Click |
|
Step 3 |
To separately download the root certificate and the intermediate certificate, click |
Update web certificate using certificate signing request
Cisco Crosswork Planning enables the updating of web certificates by importing an intermediate Certificate Authority (CA) certificate. Starting with version 7.0.1, it also supports updating web certificates through a Certificate Signing Request (CSR).
This approach allows you to obtain a certificate signed by an Enterprise or Commercial CA without exposing the private key outside of Cisco Crosswork Planning.
Before you begin
-
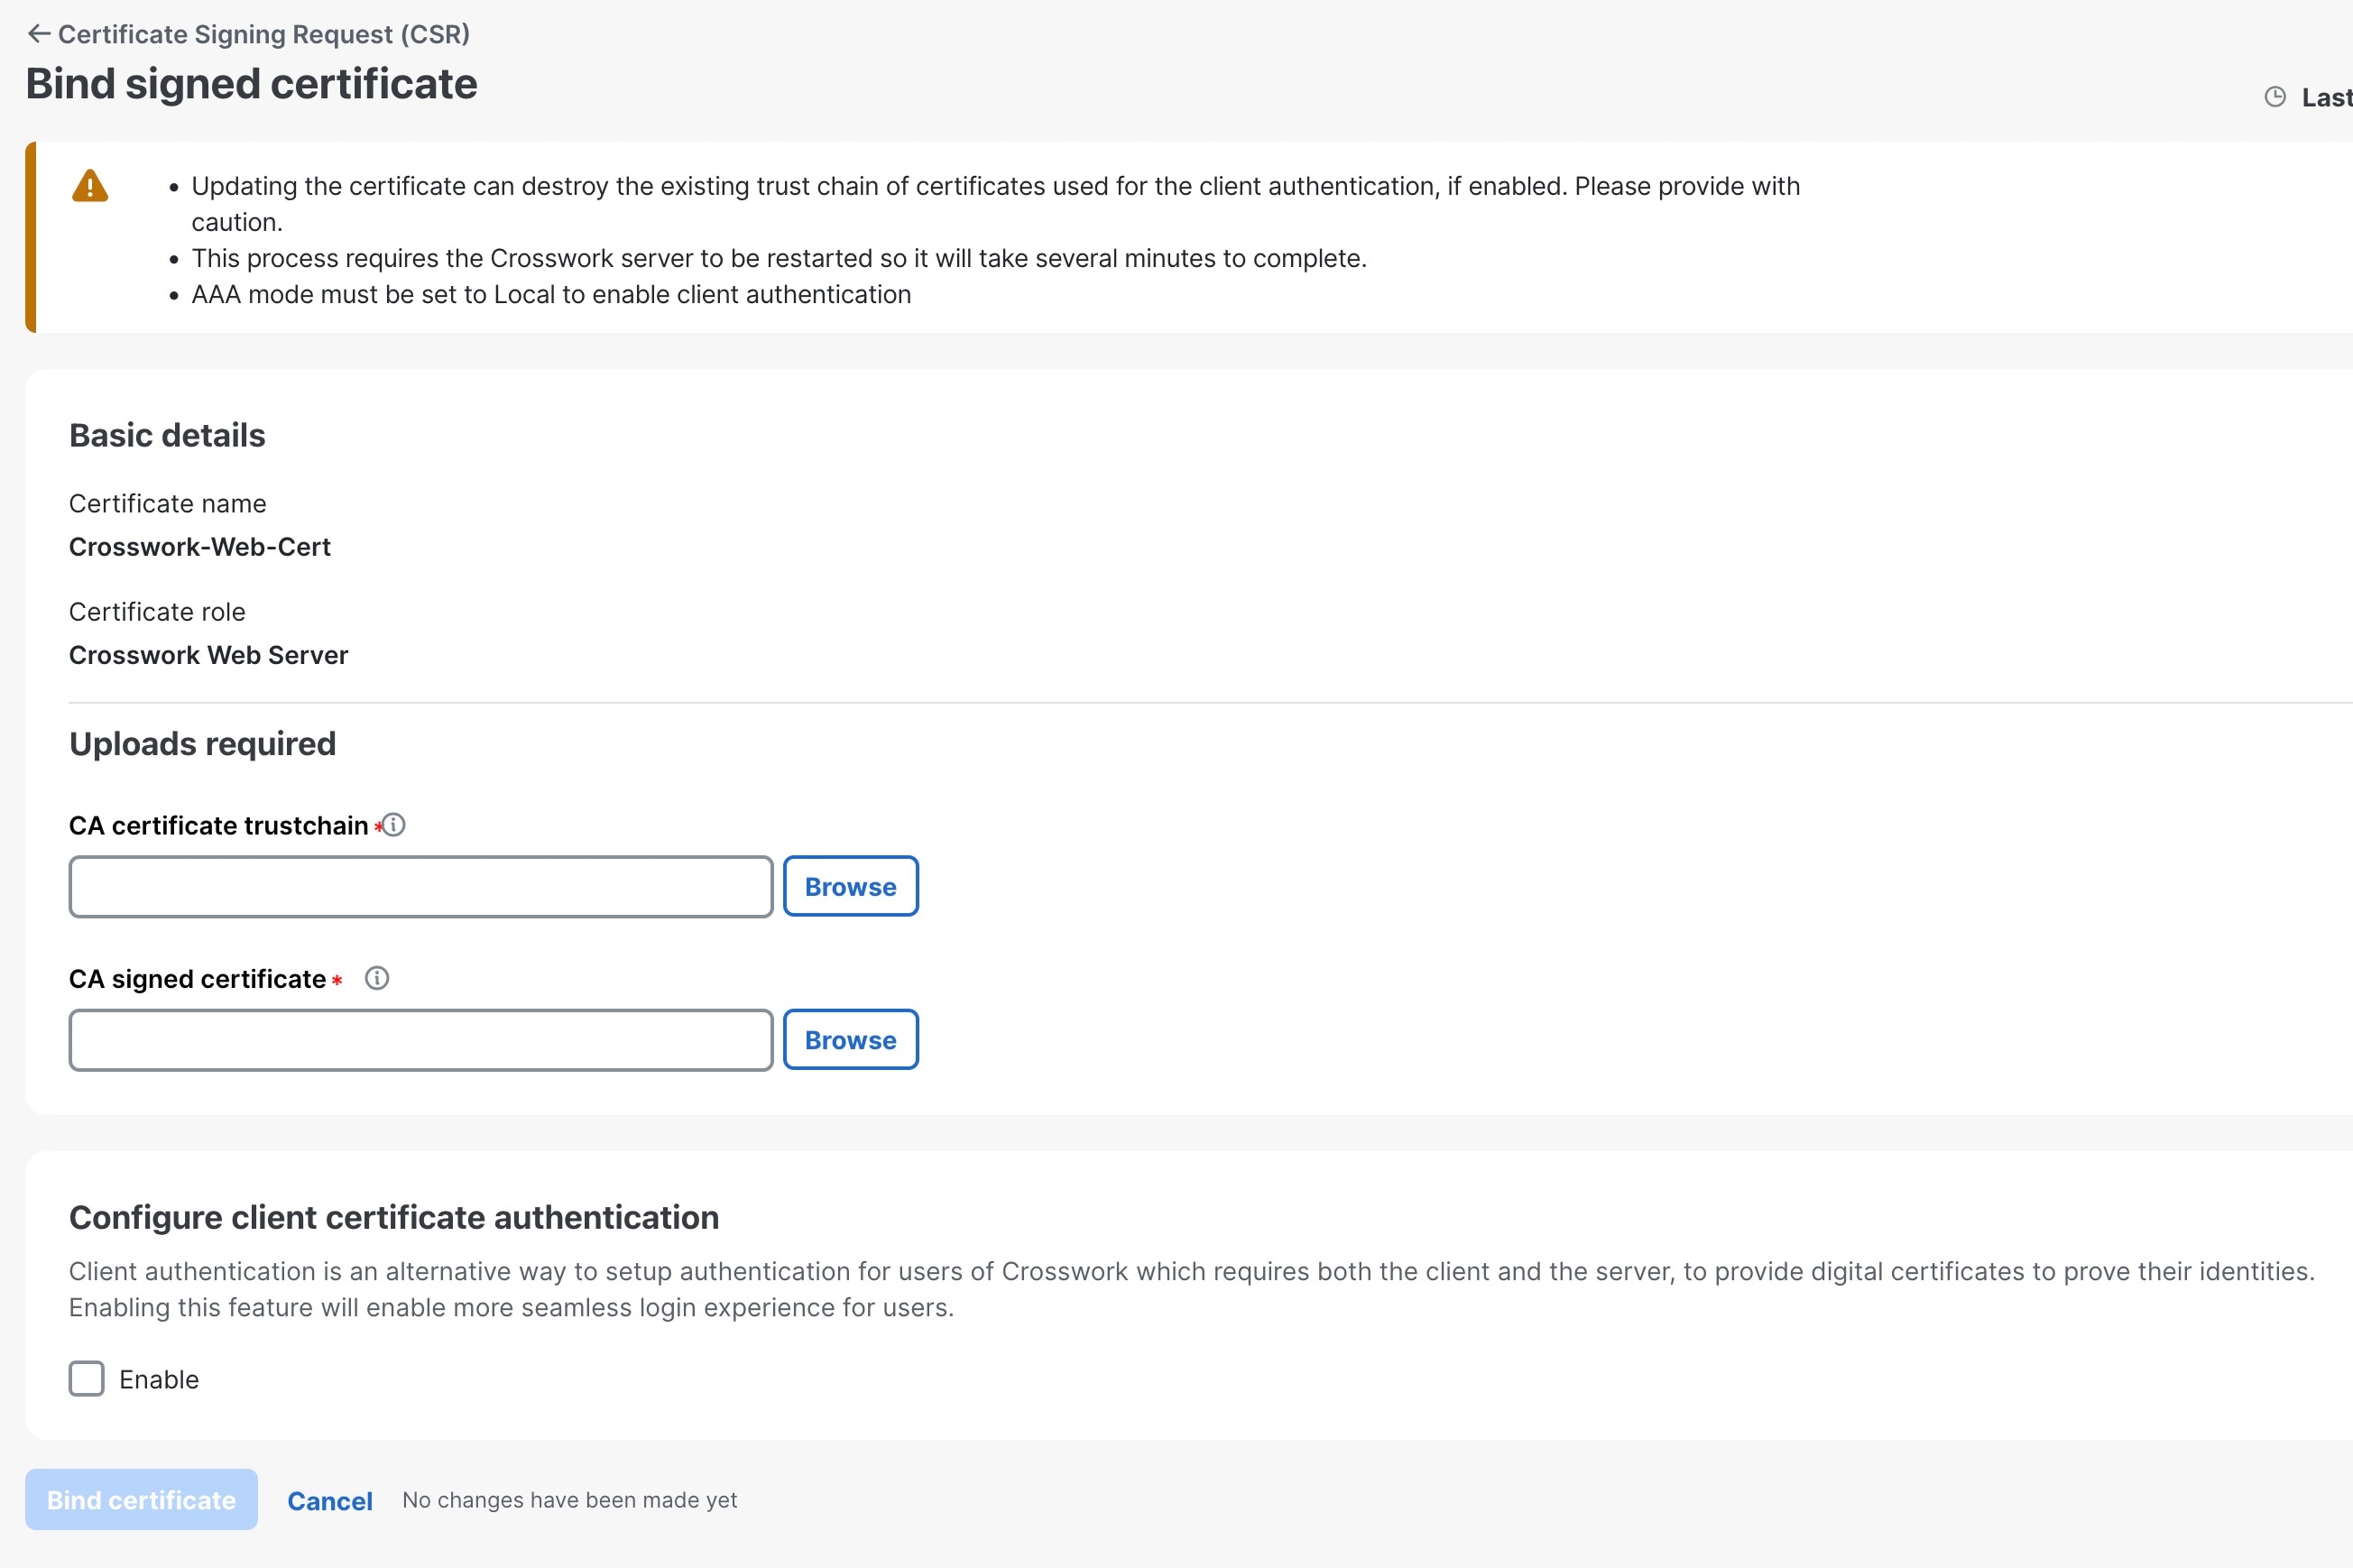
Updating the certificate can disrupt the existing trust chain of certificates used for client authentication if enabled, so proceed with caution.
-
This process requires the Crosswork server to be restarted, which will take several minutes to complete.
-
Set the AAA mode to Local to enable client authentication.
Procedure
|
Step 1 |
From the main menu, choose |
|
Step 2 |
Click The Certificate Update Method page is displayed. |
|
Step 3 |
Create a CSR to submit to the Certificate Authority. |
|
Step 4 |
After generating the CSR, click Download to download it and use the CSR to get a signed certificate from your CA. 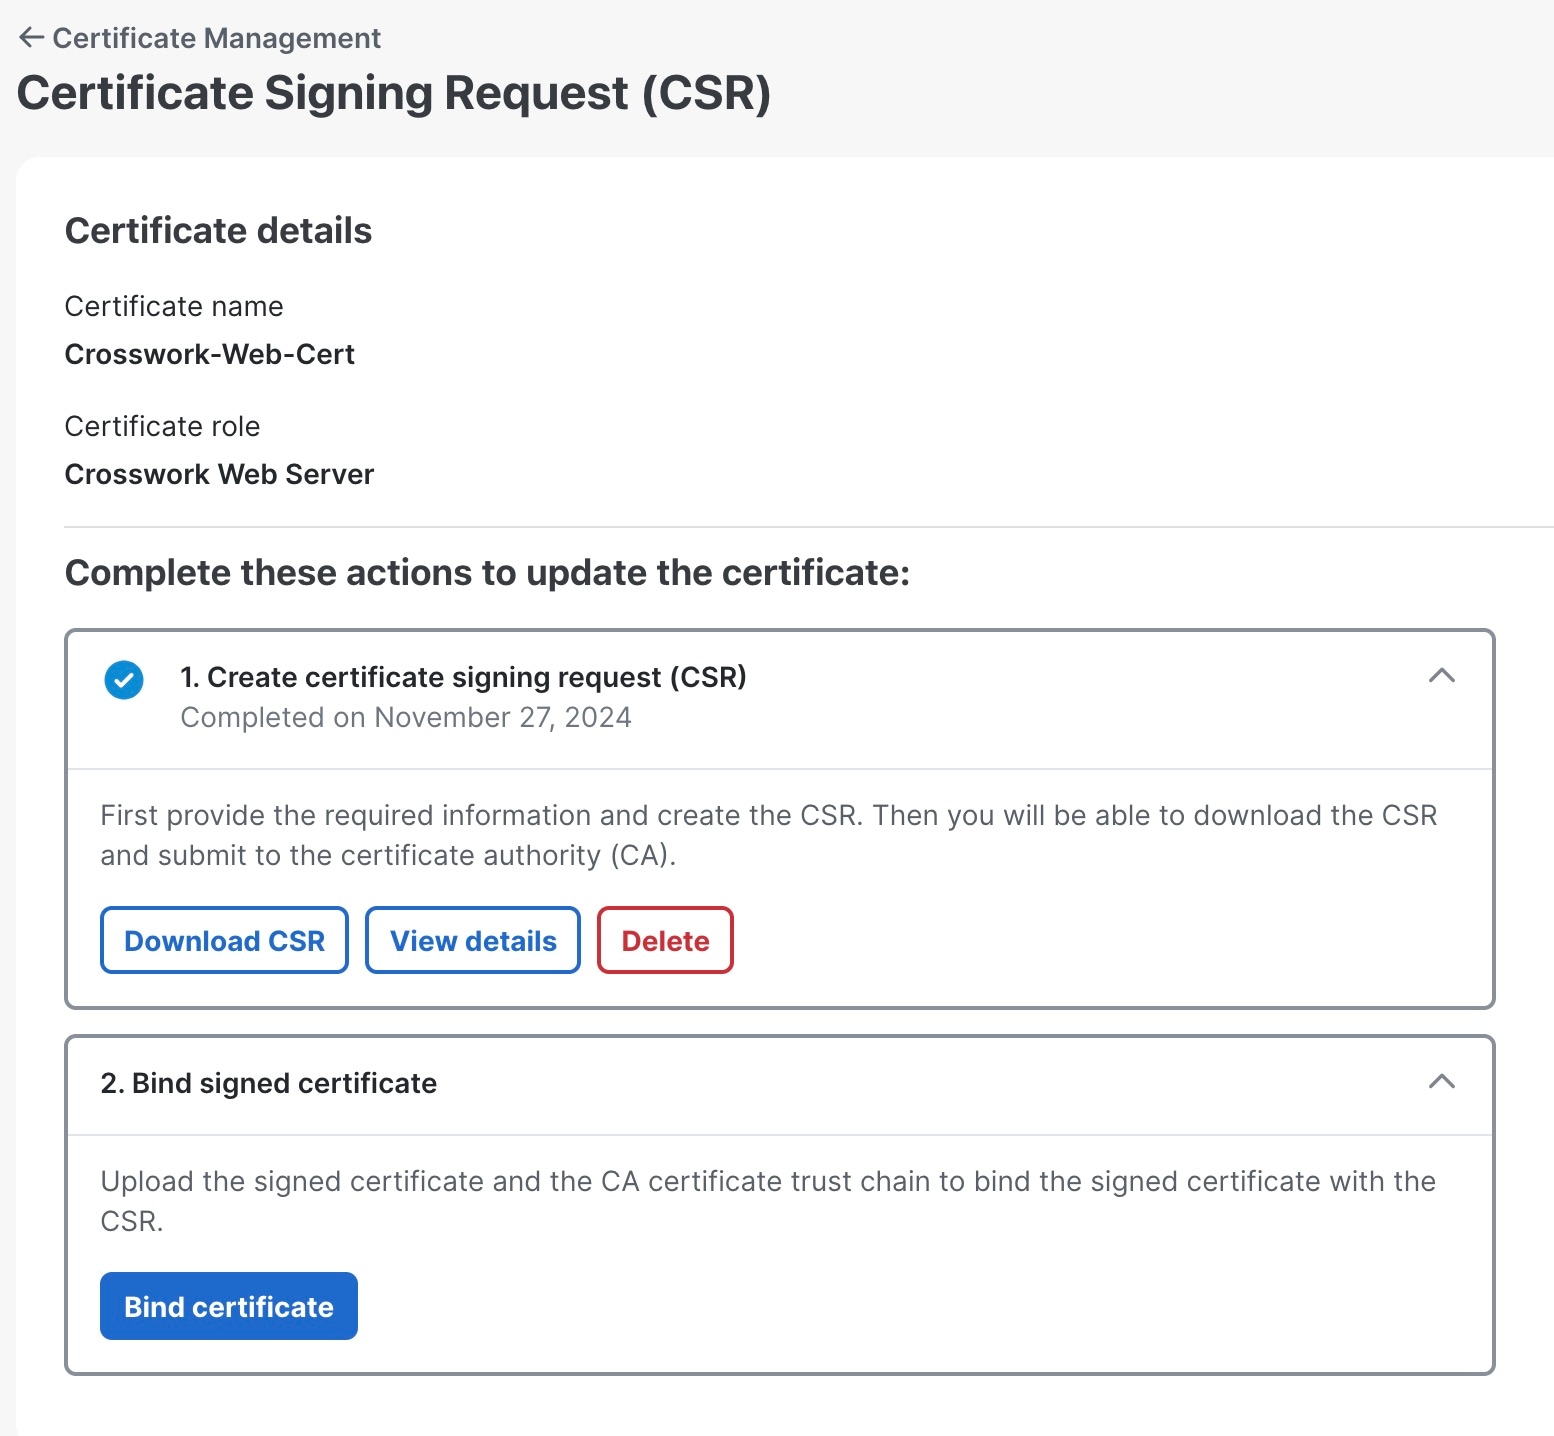
|
|
Step 5 |
Upload the CA-signed certificate and CA certificate trustchain to bind the certificate. |





 Feedback