Configure Additional External Storage
Crosswork Service Health provides internal storage of monitored data up to a maximum limit of 50 GB. The data includes the VPN service status at the time of storage and historical data about the service. This data is stored by Service Health on your system in the tar.gz archive file format. Each tar.gz file represents an EoS (Event of Significance). Service Health uses this data to display it visually in the Crosswork Network Controller UI when you click on an EoS.
When the storage reaches 70% capacity, Crosswork Network Controller generates an alarm prompting you to configure external storage. Crosswork Service Health automatically deletes the last recently used files when 80% of 50 GB storage capacity is reached.
By leveraging external storage, all existing internal storage data will be automatically moved to the external cloud storage and your internal storage will act as the cache storage.
You can use an Amazon Web Services (AWS) cloud account to configure external storage in the cloud. Only AWS S3, which is object storage, is supported.
After you configure AWS storage, only 80% of the 50 GB space or 100,000 files are stored locally in Crosswork Network Controller. The last recently used files are automatically moved to AWS.
Before you begin
You must have an AWS cloud account set up so to configure the external storage.
Procedure
|
Step 1 |
From the main menu, choose and click the Storage Settings tab. 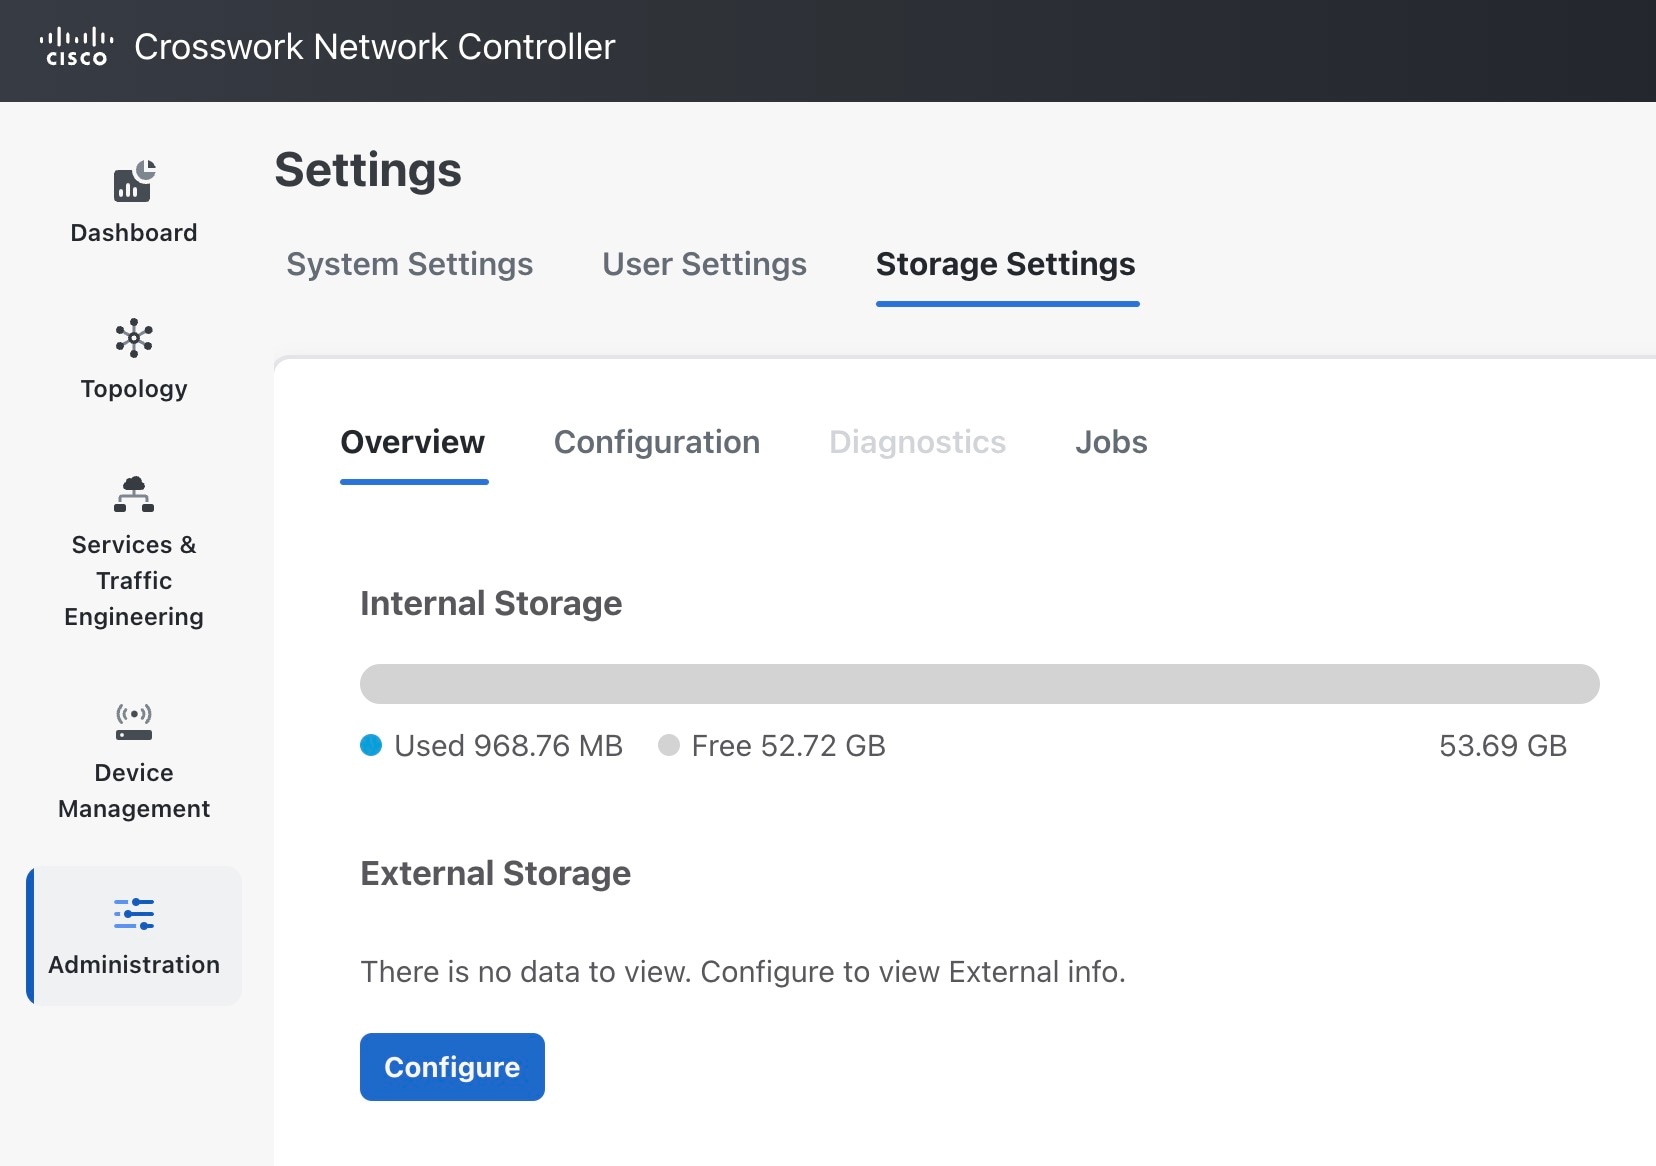 |
||||
|
Step 2 |
With the Overview tab selected, click Configure under the External Storage section. The Configuration page appears with the Data Storage Type and S3 Provider fields pre-populated with AWS. 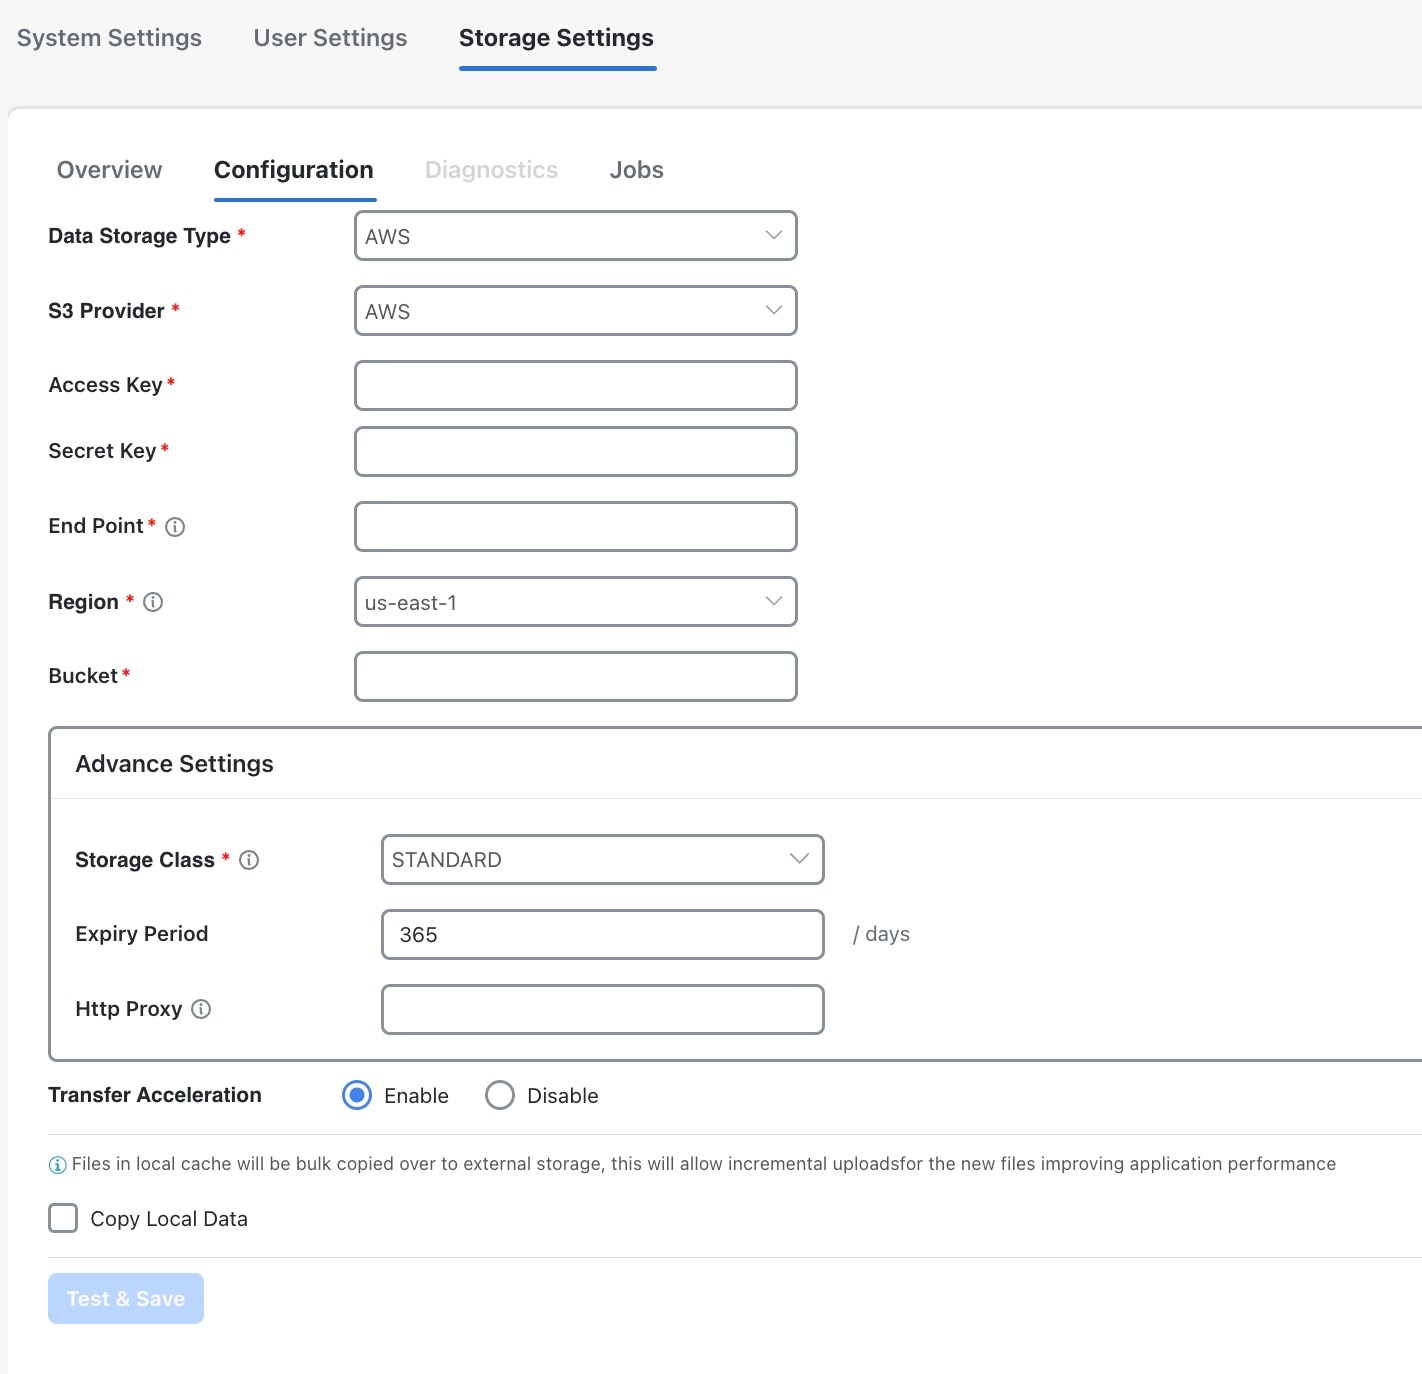 |
||||
|
Step 3 |
Provide your AWS authentication information for all of the required fields (such as Access Key, Secret Key, End Point, and so on). |
||||
|
Step 4 |
Check the Copy Local Data check box if you want all files, previously stored in the local cache, to be bulk copied to the external storage. This action will allow for incremental upload of the new files.
|
||||
|
Step 5 |
Click Test & Save. |
||||
|
Step 6 |
To check the health of your storage setup, click the Diagnostics tab and click Run Test. By running a test, you can review the external storage diagnostics such as bandwidth, latency, and multiple access test details to help identify the possible storage performance issues. |
 Feedback