Introduction
This document describes how to add, manage, and provision non-fabric Catalyst 9800 Wireless LAN Controllers via Cisco DNA.
Prerequisites
Basic knowledge of Catalyst 9800 and Cisco DNA configuration.
Requirements
Refer to software compatibility matrix for solution compatibility requirements on Catalyst 9800 WLC and Cisco DNA.
Components Used
- 9800-CL on 16.12.4a release
- Cisco DNA on 2.1.2.0 release
The information in this document was created from the devices in a specific lab environment. All of the devices used in this document started with a cleared (default) configuration. If your network is live, ensure that you understand the potential impact of any command.
Configure
From Cisco DNA GUI:
- Log into Cisco DNA Center GUI.
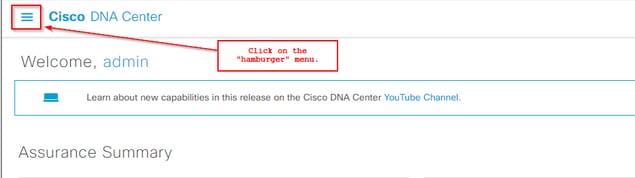
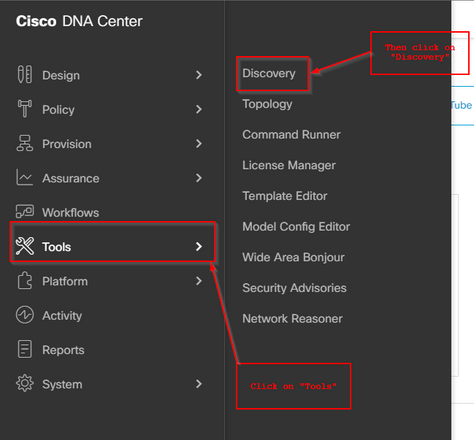
- On the top left corner of the webpage, click the hamburger menu, click Tools, and then click Discovery:

Note: You can alternatively discover your C9800 device using the Inventory menu.
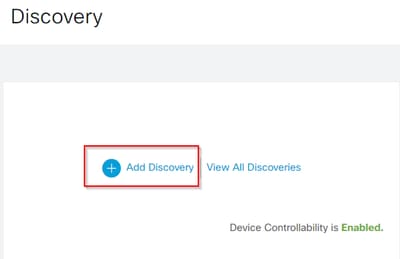
- On the Discovery page, click Add Discovery:
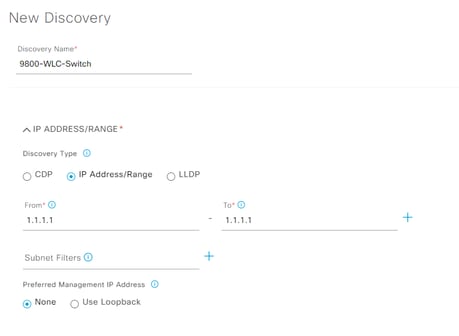
- Enter the C9800 WLC details.
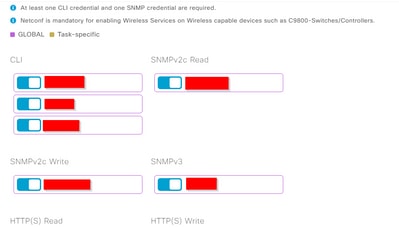
Scroll down to enable the CLI/SNMP/HTTP/HTTPS credentials:
Note: The username/password/SSHv2 needs to be configured on the device first.
To enable NETCONF on the Discovery page:

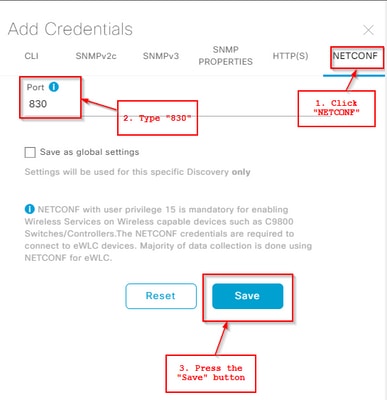
Note: The default NETCONF port on C9800 is port 830.
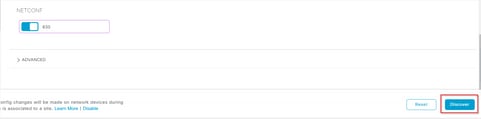
Then, press the Discover button and press the Start button:
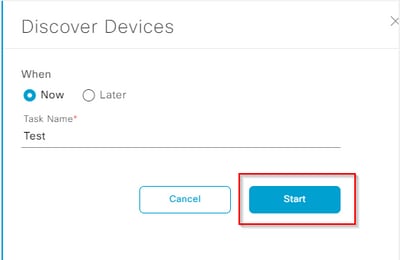
Note: You can schedule the Discovery process for a different time and date.
If everything got configured correctly on Cisco DNA and on the 9800 WLC, then the Discovery can end up looking similar to this:
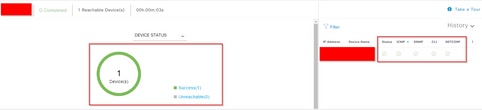
Make sure to validate that the device is in a Managed state in the Inventory page:

C9800 is now added to Cisco DNA.
Provisioning C9800 via Cisco DNA
Step 1: Design
- From the Cisco DNA Center home page, click the Design tab.
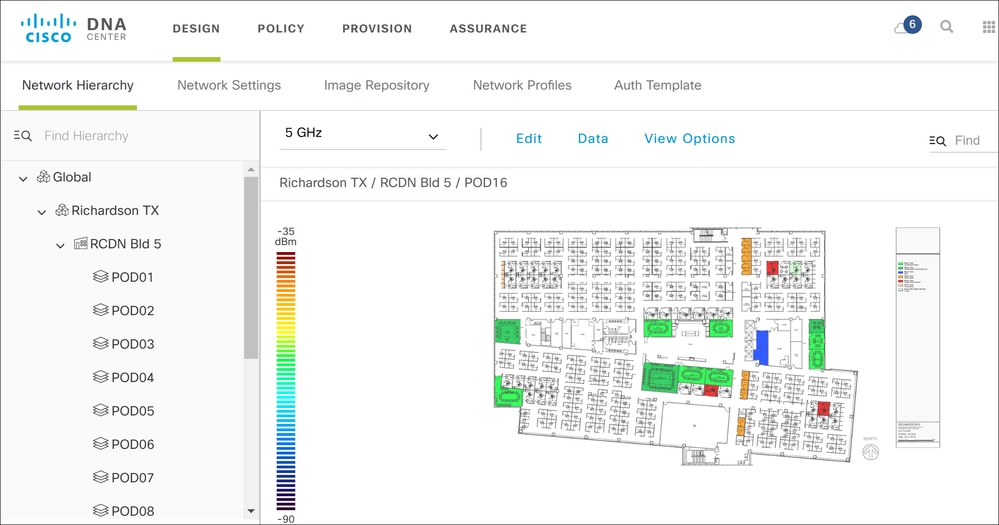
A site map and floor plan has already been added to the Network Hierarchy tab.
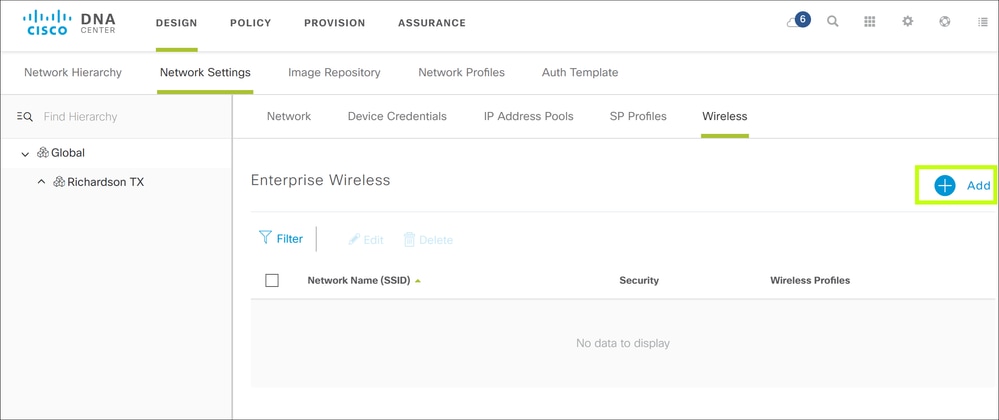
- To add Wireless SSID, click the Network Settings tab and navigate to Wireless and then click Add.
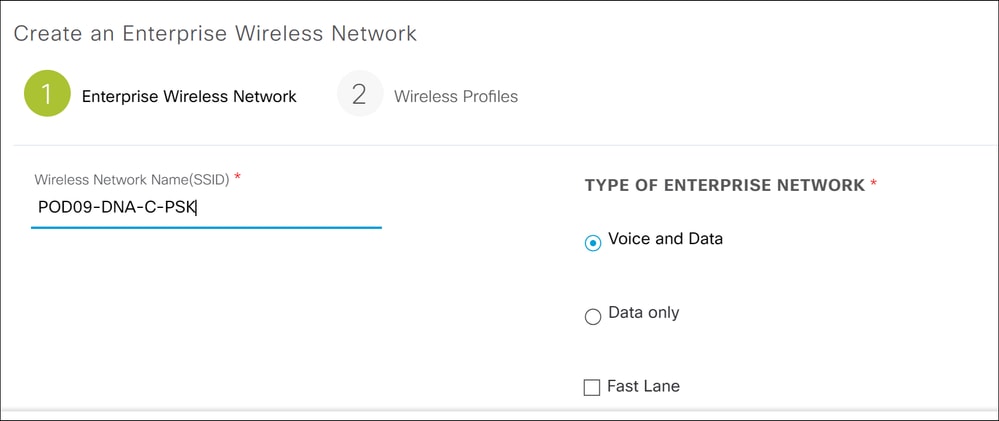
Scroll down to access security settings and configure PSK password.
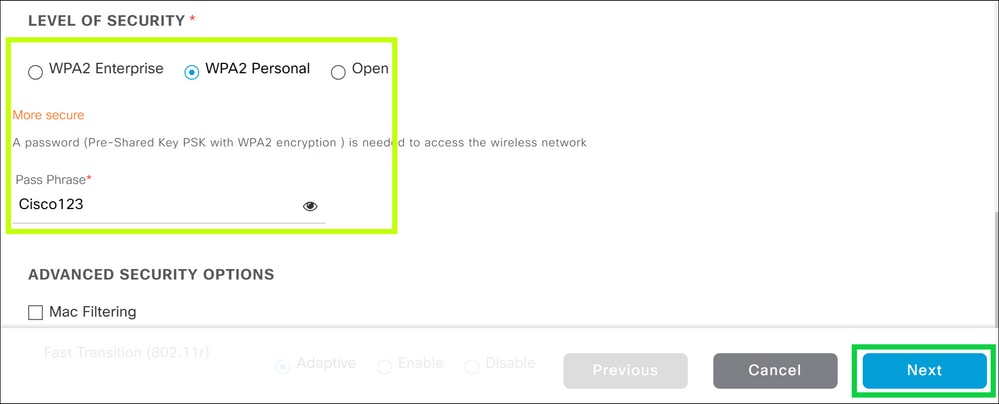
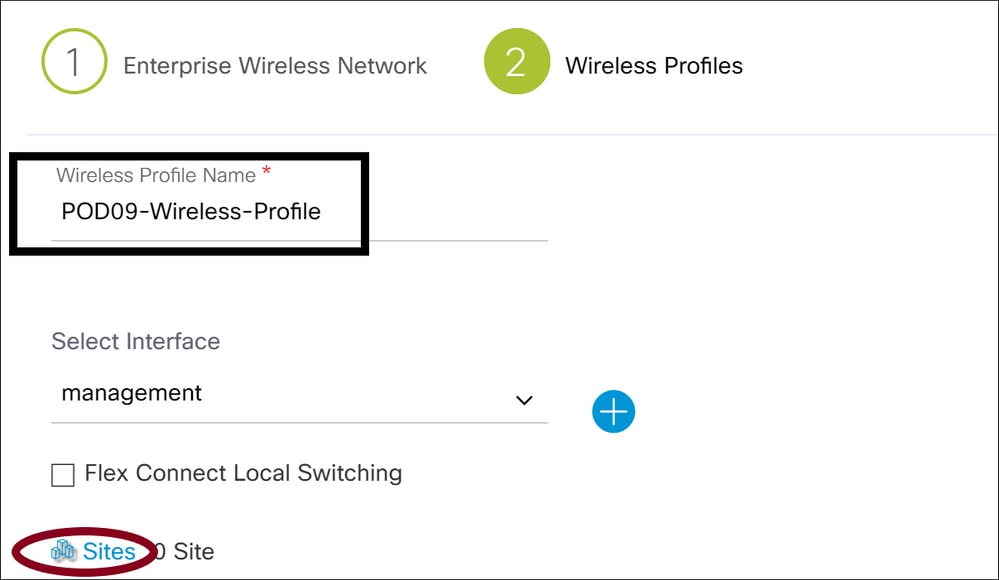
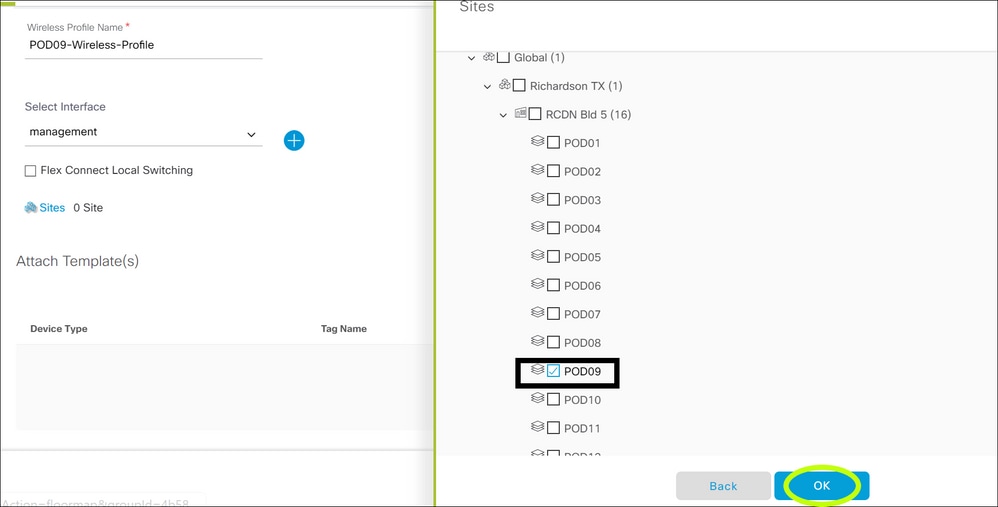
Click the Next tab to bring you to the Wireless Profiles tab where you configure your wireless profile to be assigned to the specific site.
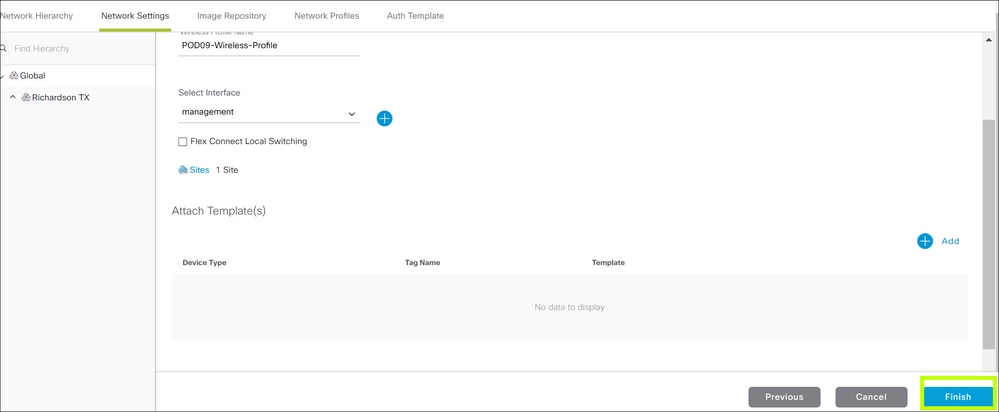
Click the Finish button to add both the WLAN and Wireless Policy profiles you just created.

Step 2: Provisioning
Now that the WLAN and profiles have been designed, you can provision them to the respective WLCs. For this, click the Provision tab on the top of Cisco DNA Center.
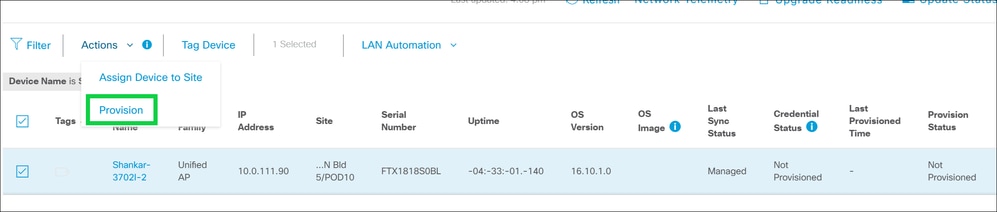
- On the Provision menu, you can filter for your device name under device inventory Filter option.
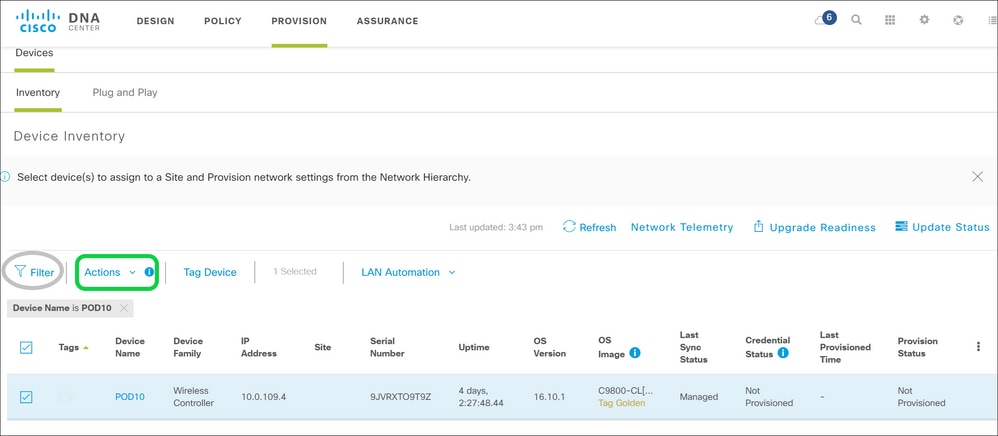
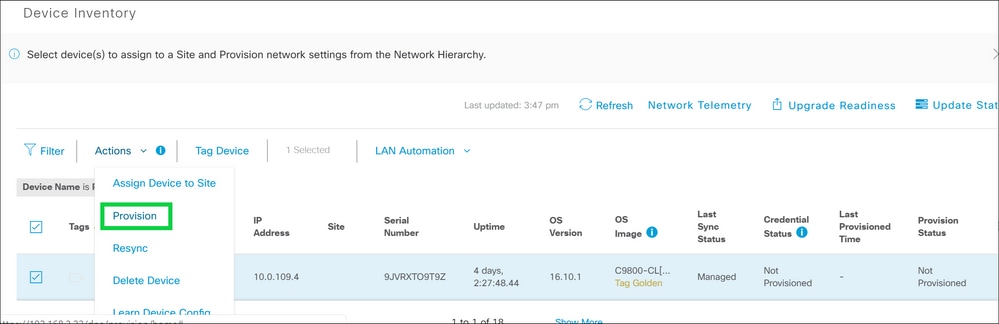
- Select your WLC and hover over the Actions field and navigate to Provision.
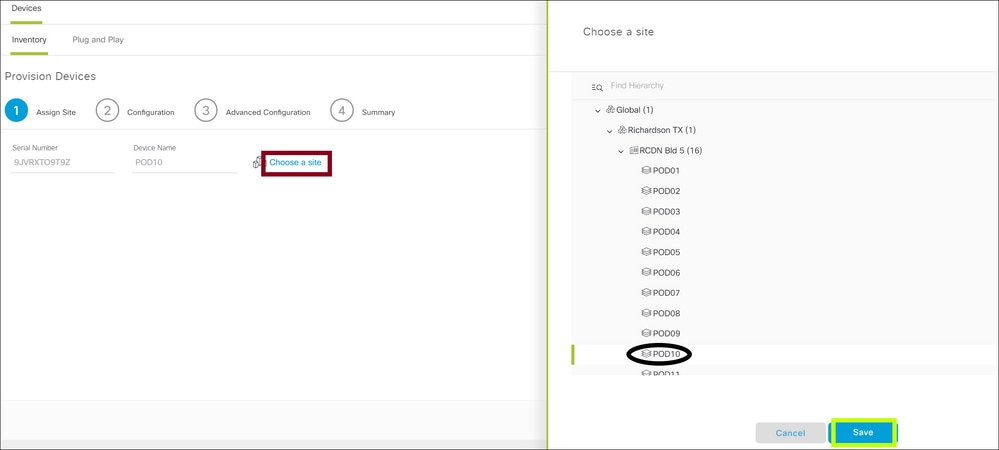
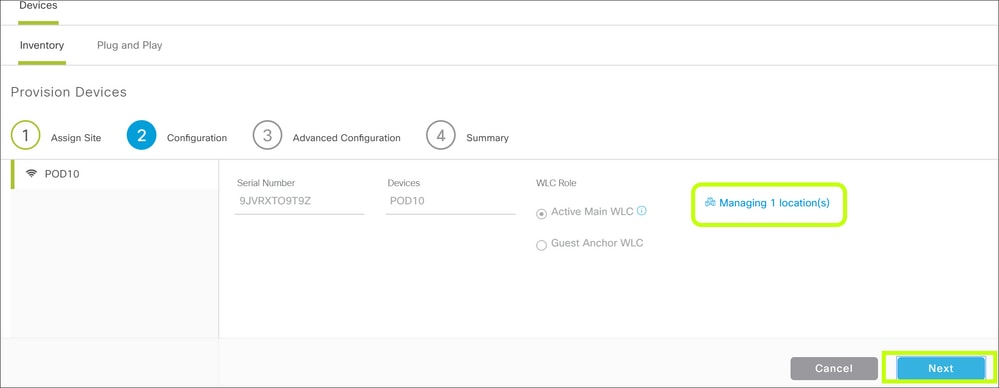
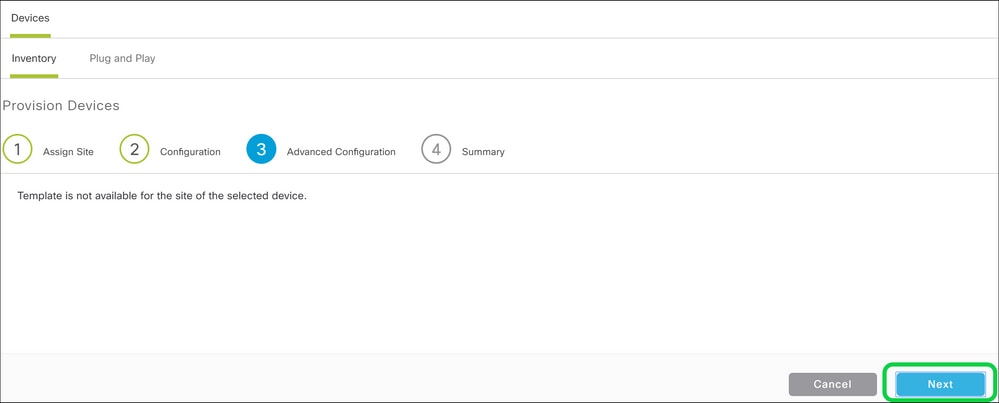
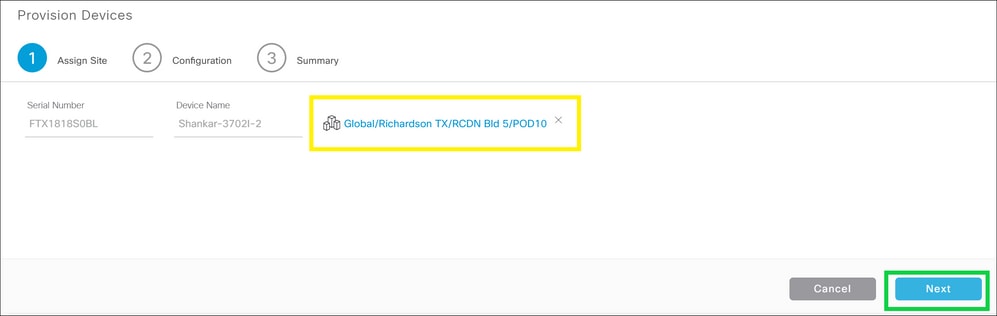
- Add device to your site.
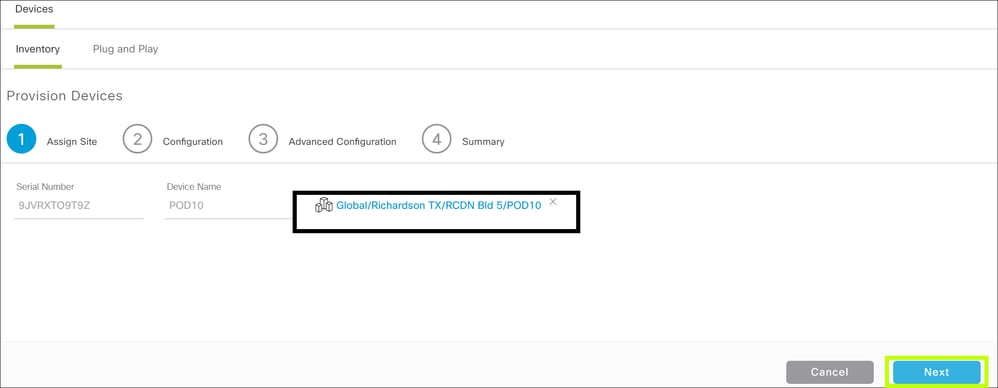
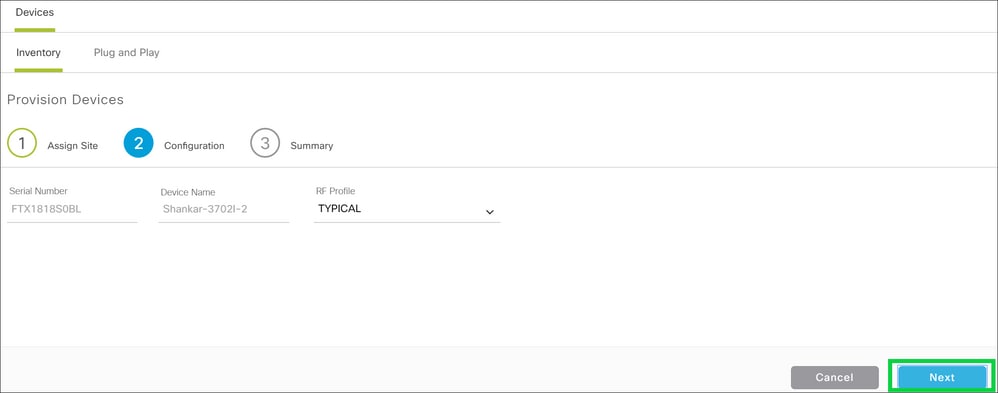
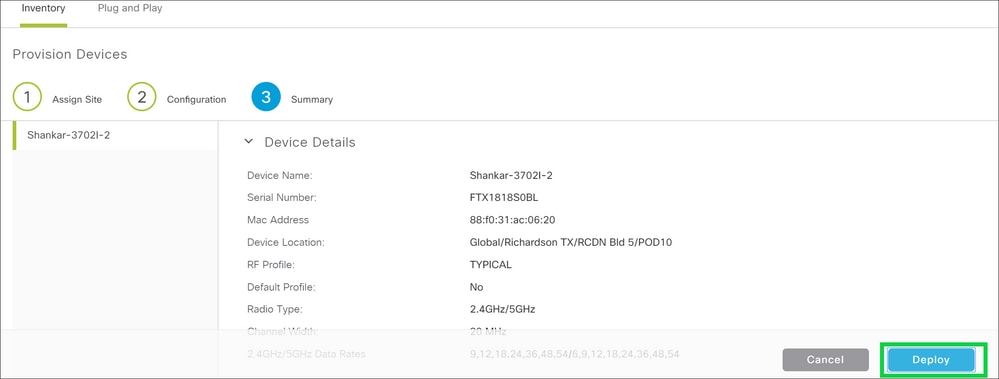
- In this example, AP and WLC are in same location. You can skip past the configuration and advanced configuration step here and deploy from the summary page.


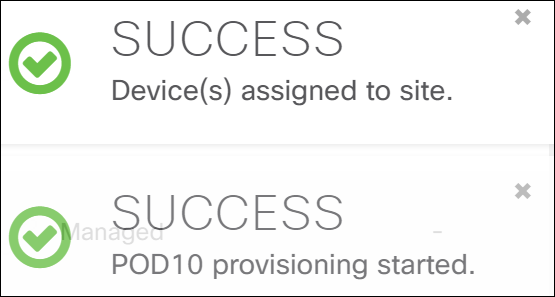
Validate if the provisioning was successful:

- Next step is to provision your Access Point using same method as above.

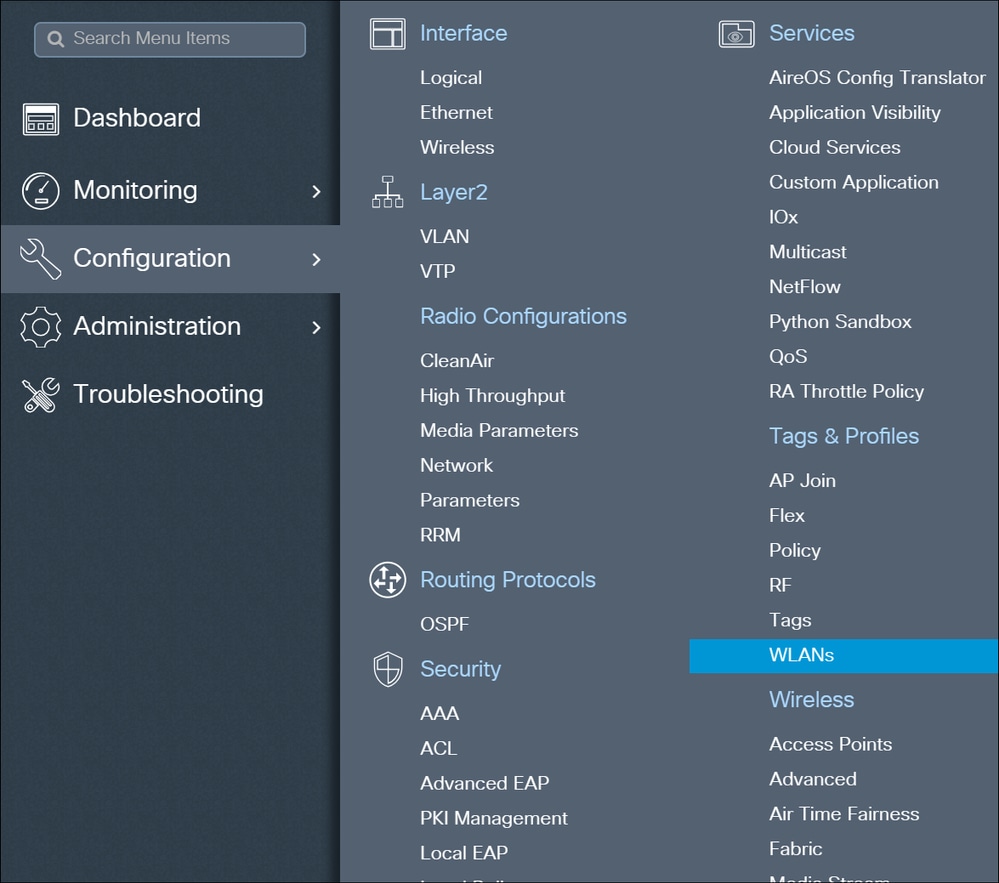
- You can now validate the provisioning status from C9800, navigate to GUI > Configurations > WLAN.
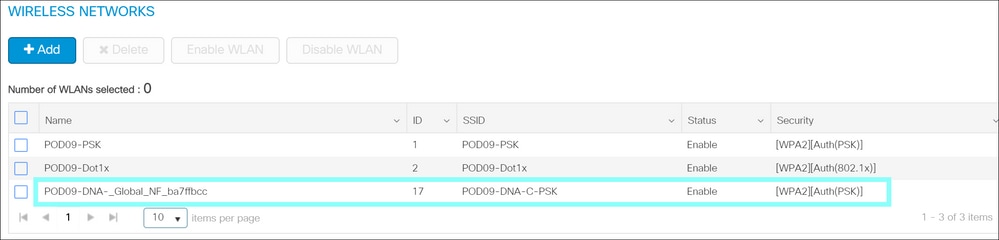
You have now successfully provisioned WLC/AP via Cisco DNA.
Troubleshoot
From Cisco DNA Centersudo rca from the CLI of each Cisco DNA Center in the cluster;
From C9800 CLI:
Debugs:
debug snmp requests
debug snmp packets
debug netconf-yang level debug
show platform software yang-management process
Verifies whether all the processes are running.
If netconf-yang is running, all the processes except gnmib are UP state.
 Feedback