Install UCS Drivers and VIBS in ESXi
Available Languages
Introduction
This document describes how to install or update Cisco Unified Computing System (UCS) related drivers within a ESXi Hypervisor.
Background Information
The information in this document was created from the devices in a specific lab environment. All of the devices used in this document started with a cleared (default) configuration. If your network is live, ensure that you understand the potential impact of any command.
Prerequisites
1. SSH access to the ESXi hosts with the root account.
2. VIB Driver file (from either).
3. Cisco ESXi driver ISO from the Cisco Software Downloads Portal.
4. (Optional) Broadcom OEM Addons , from the Broadcom Support Portal.
5. (Optional) Latest Cisco UCS Tools from download list from Cisco UCS Tool.
6. Cisco UCS Hardware Compatibility Matrix tool Here.

Note: The UCS Hardware Compatibility Matrix allows you to confirm supported UCS firmware and driver version combinations.
Download the Cisco ESXi Driver ISO
- Search for your server. For this example: Cisco UCS X210c M8 Compute Node
- Select a Software Type: Unified Computing System (UCS) Drivers
Click the Download link for "ISO Image of UCS X-Series(or Rack) related Vmware drivers only"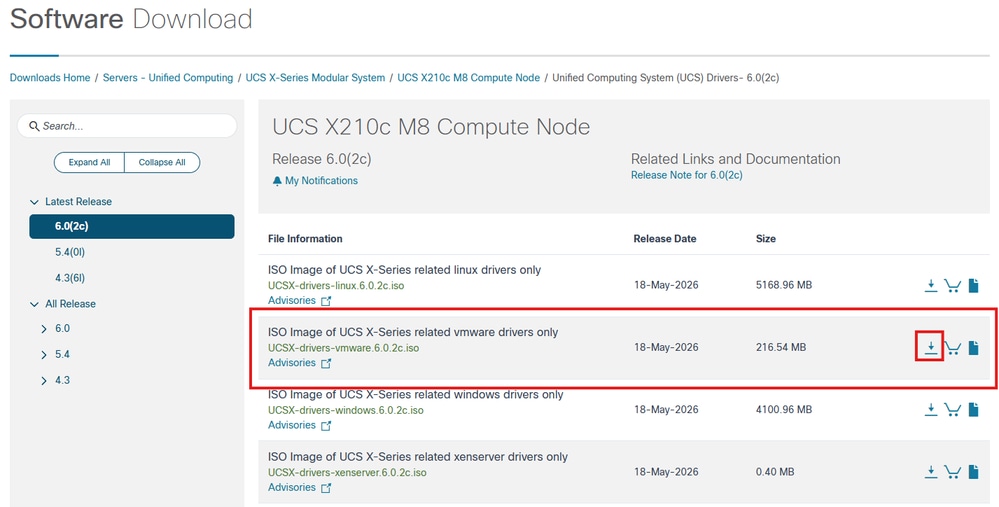
Download the Broadcom OEM Addon (Optional)
1. Navigate to the Broadcom Support Portal
2. Download the Cisco_UCS_Addon_ESXi_9.x.x.x...zip file
Installation Procedure
Unzip and extract the ISO or .zip file contents to a folder located on your local workstation.
1. The Cisco_UCS_Addon_ESXi_9.x.x.x...zip obtained from the Broadcom portal contains a common set of drivers that apply to most UCS Rack and Blade servers.
Note: The Cisco ESXi driver ISO obtained from the Cisco Software Portal is specific to the server type and contains a comprehensive set of drivers when compared to what is contained within the Broadcom driver zip file.
2. Navigate to the appropriate driver for the device driver you intend to install or update.
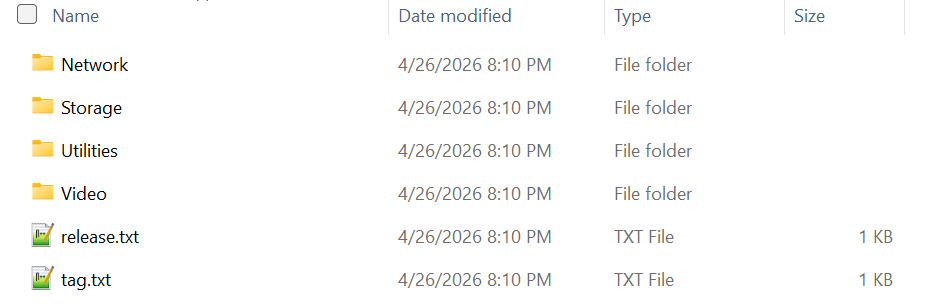
3. Navigate to the desired driver file based on the device type, Vendor, device and ESXi version. 
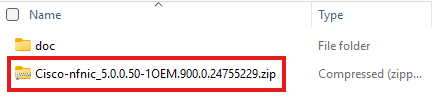
Note: For this example, the path is shown as /Storage/Cisco/VIC/ESXi9.0/Cisco-nfnic_5.0.0.50-1OEM.900.0.24755229.zip for the Cisco vHBA nfnic driver.
4. If the zip file was obtained from the Broadcom Support Portal, navigate to the vib20 folder. 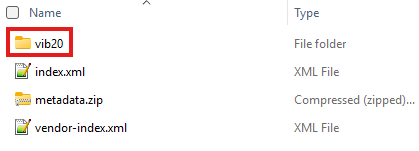
5. Within the vib20 folder, locate device driver folder which contains the .vib drivers required. 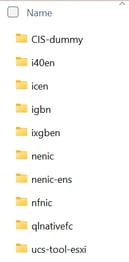
6. Copy and transfer the vib driver or folder to the ESXi host which requires a driver installation or update.
Note: There are multiple ways a vib file can be uploaded to the ESXi host.
1. Use the Vcenter GUI or ESXi Vsphere GUI to upload to a datastore which is accessible by the host.
2. Use a utility which contains a scp client in order to copy the driver file to a datastore or the /tmp folder contained on the ESXi host.
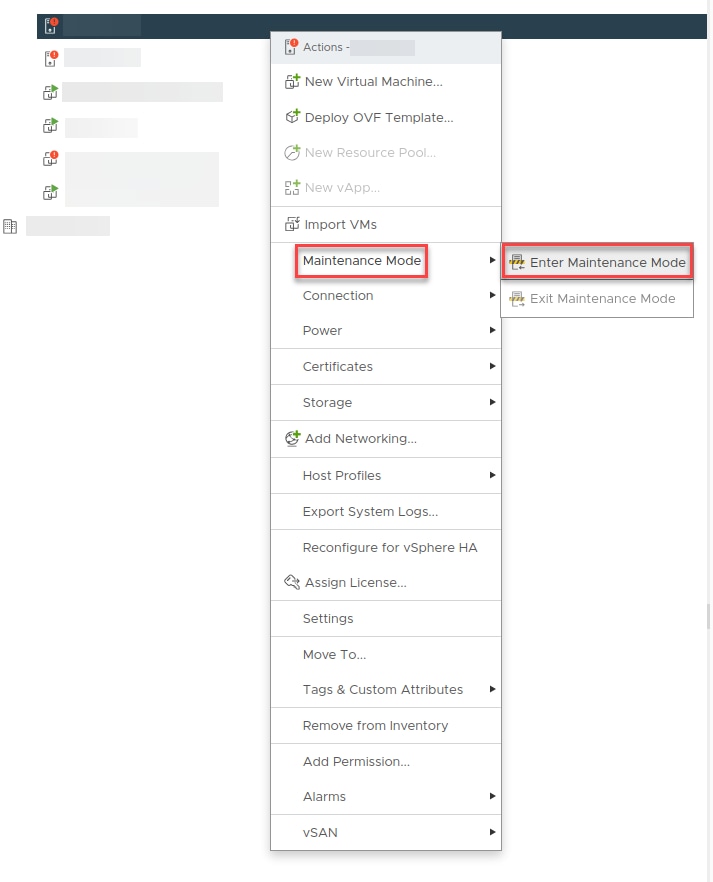
7. Place the ESXi host into maintenance mode using the GUI or CLI.
CLI Method: ESX CLI: esxcli system maintenanceMode set --enable true
GUI Method: Select the host > Right Click > Select Maintenance Mode > Enter Maintenance Mode
8. Install or update the driver vib. (Using the Cisco NFNIC VIC driver as an example)
Note: If an existing version of the vib file is not already installed, then the command requires the 'install' parameter to be included as shown.
esxcli software vib install -d /tmp/Cisco-nfnic_5.0.0.50-1OEM.900.0.24755229.zip
9. Updating an existing driver vib
Note: If an existing version of the vib file is already installed, then the command requires the 'update' parameter to be included as shown.
esxcli software vib update -d /tmp/Cisco-nfnic_5.0.0.50-1OEM.900.0.24755229.zip
10. Reboot the ESXi host
11. Validate the new driver vib is active
esxcli software vib list | grep -i nfnic 
12. UCS Tools installation (Optional)
Note: Starting with ESXi 7, Broadcom introduced the concept of software 'components' which are a collection of two or more related VIB files.
Note: The UCS tools .zip file for ESXi is of a component type.
13. Execute the command as shown to install a component:
For Example: esxcli software component apply -d /tmp/CIS-ucs-tool-esxi-2.1.05-1OEM.zip
14. Confirm the running version with the command: esxcli software component list | grep -i ucs
Revision History
| Revision | Publish Date | Comments |
|---|---|---|
1.0 |
19-May-2026
|
Initial Release |
 Feedback
Contact Cisco
- Open a Support Case

- (Requires a Cisco Service Contract)