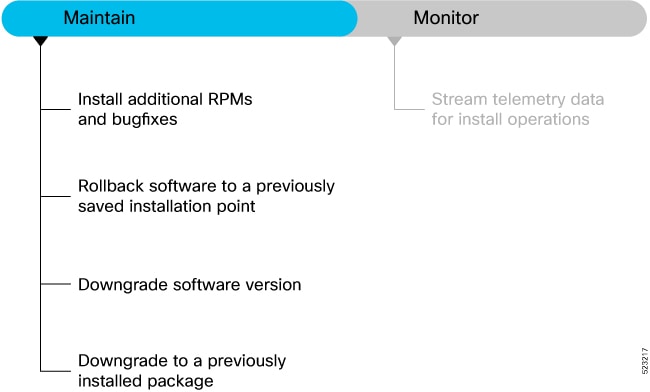
Install Additional RPMs and Bug Fixes
You can install individual optional packages when new features are added or software problems are fixed.
Before you begin
|
Feature Name |
Release Information |
Feature Description |
|---|---|---|
|
Install Cisco RPM Directly from TAR File |
Release 24.4.1 |
Introduced in this release on: Fixed Systems (8200 [ASIC: P100], 8700 [ASIC: P100])(select variants only*); Modular Systems (8800 [LC ASIC: P100])(select variants only*) *This feature is supported on:
|
|
Install Cisco RPM Directly from TAR File |
Release 7.3.1 |
Cisco RPMs can be installed from one of these sources - repository name, repository URL or a local file path. Previously, to install RPMs from a TAR file, you had to manually extract the TAR file and specify the path to the locally extracted file to install the RPM. This feature extends support to install the RPM directly from the TAR file. Bug fix RPMs are available as TAR files on theSoftware Downloadpage. The RPMs can be installed from the TAR file using CLI or Yang data model. |
When you upgrade the Cisco IOS XR software, you can also install or remove optional feature packages (RPMs or bug fixes) before applying the changes in the router. You can perform this operation while an atomic change is already in progress. However, all packaging operations before this command are discarded.
You can install the packages from a remote repository or copy the files to the router. If you are using a remote repository, ensure you have created and configured an external repository to store the packages. See the Create Repository to Access Install Files topic.
Download the specific additional RPMs and latest bug fix RPMs as tarballs to the repository. If the bug fix has dependencies, we recommend that you create a bug fix tarball that contains all dependencies.The README file in the tarball provides relevant information about the bug fix and identifies any dependencies – for example, whether other bug fix RPMs may be required for a complete fix.
Option 1: Install RPMs Using Command Line Interface
Procedure
|
Step 1 |
Check the available packages in the repository. Example: |
||||||
|
Step 2 |
Install the packages (additional RPMs or bug fixes).
|
||||||
|
Step 3 |
Check the status of the install operation. Example:
|
||||||
|
Step 4 |
Verify the image and packages are activated successfully. Example: |
||||||
|
Step 5 |
Commit the transaction. Example: |
Option 2: Install RPMs Using YANG Data Model
Cisco-IOS-XR-install-augmented-act.yang data model to install the RPMs or bug fixes.
Procedure
| Command or Action | Purpose |
|---|---|
|
Use the Example: |
If the install operation lists the repository reachable through a VRF, you must add the VRF name for the operation to be successful. |


 Feedback