Phone Books and Contacts
Finesse supports the following number of phone books:
-
10 global phone books
-
300 team phone books
The system supports a total of 50,000 contacts. The total number of contacts per agent across all phone books is limited to 1500.
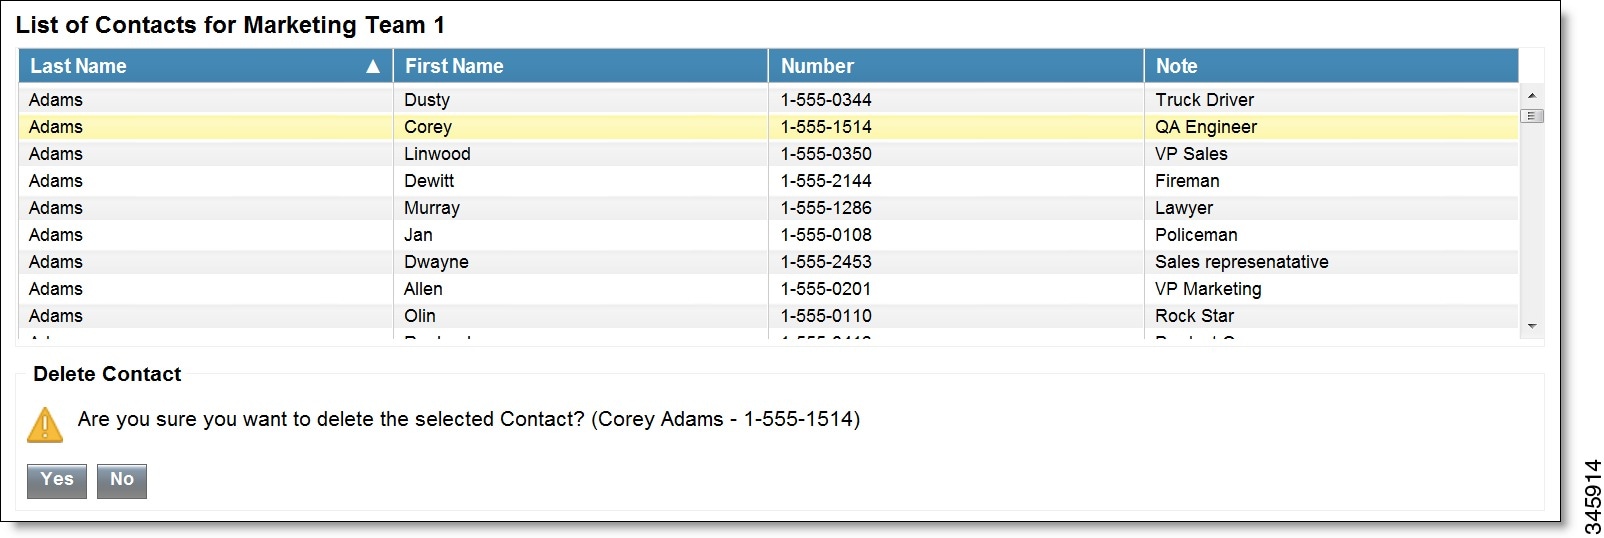
Use the Manage Phone Books gadget to view, add, edit, or delete phone books and phone book contacts. Click the Name or Assign To headers to sort the phone books in ascending or descending order. Click the last Name, First Name, Number, or Note headers to sort the contacts in ascending or descending order.
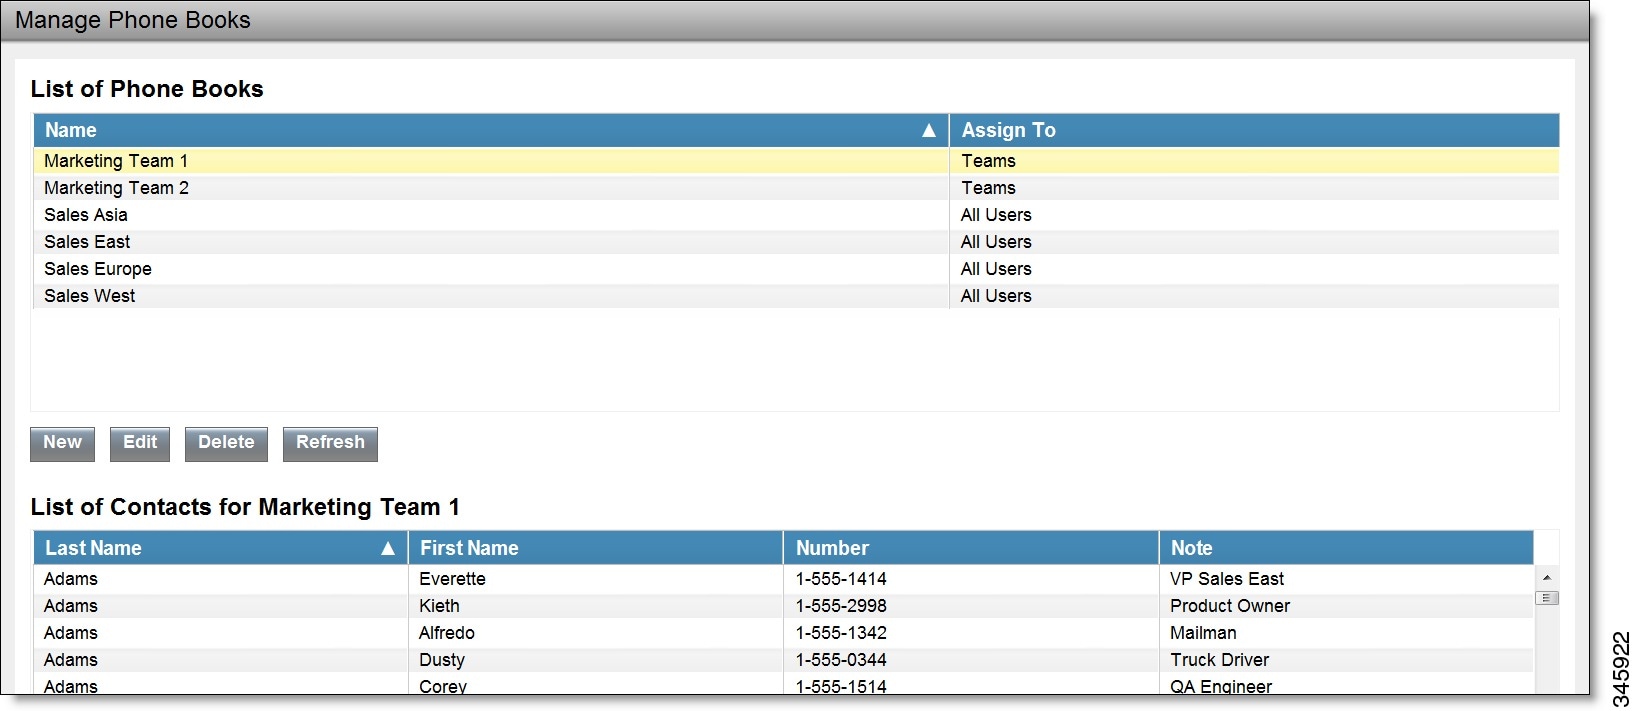
The following table describes the fields on the Manage Phone Books gadget.
|
Field |
Explanation |
|---|---|
|
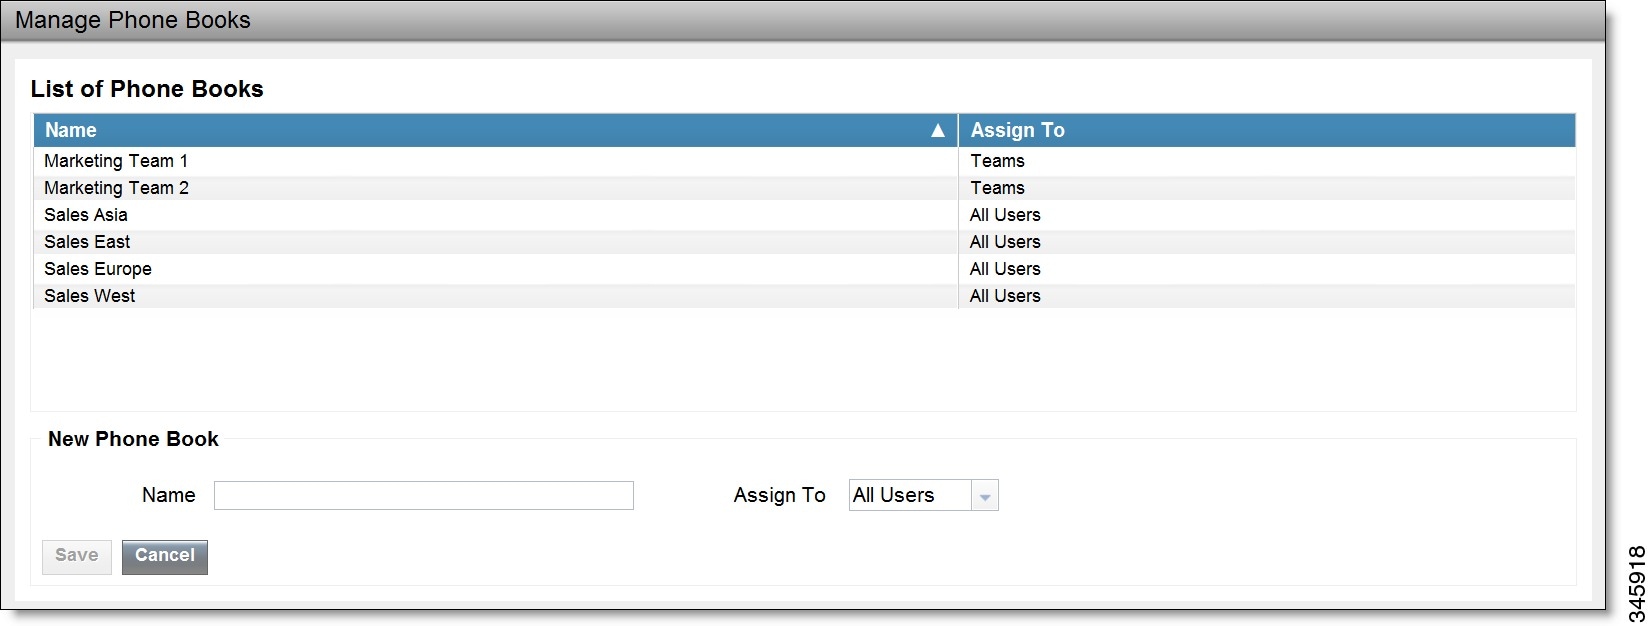
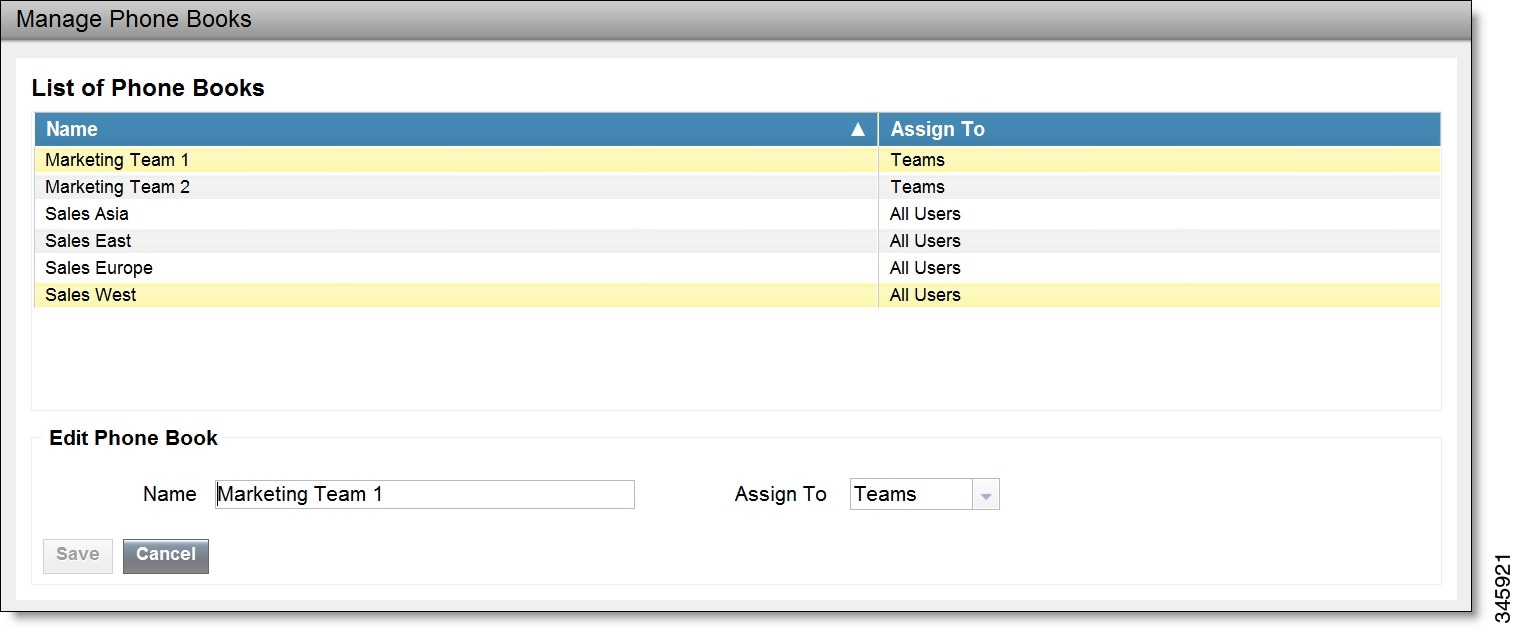
Name |
The name of the phone book. The name must be unique, and can be a maximum length of 64 alphanumeric characters. |
|
Assign To |
Indicates if the phone book is global (All Users) or team (Teams). |
|
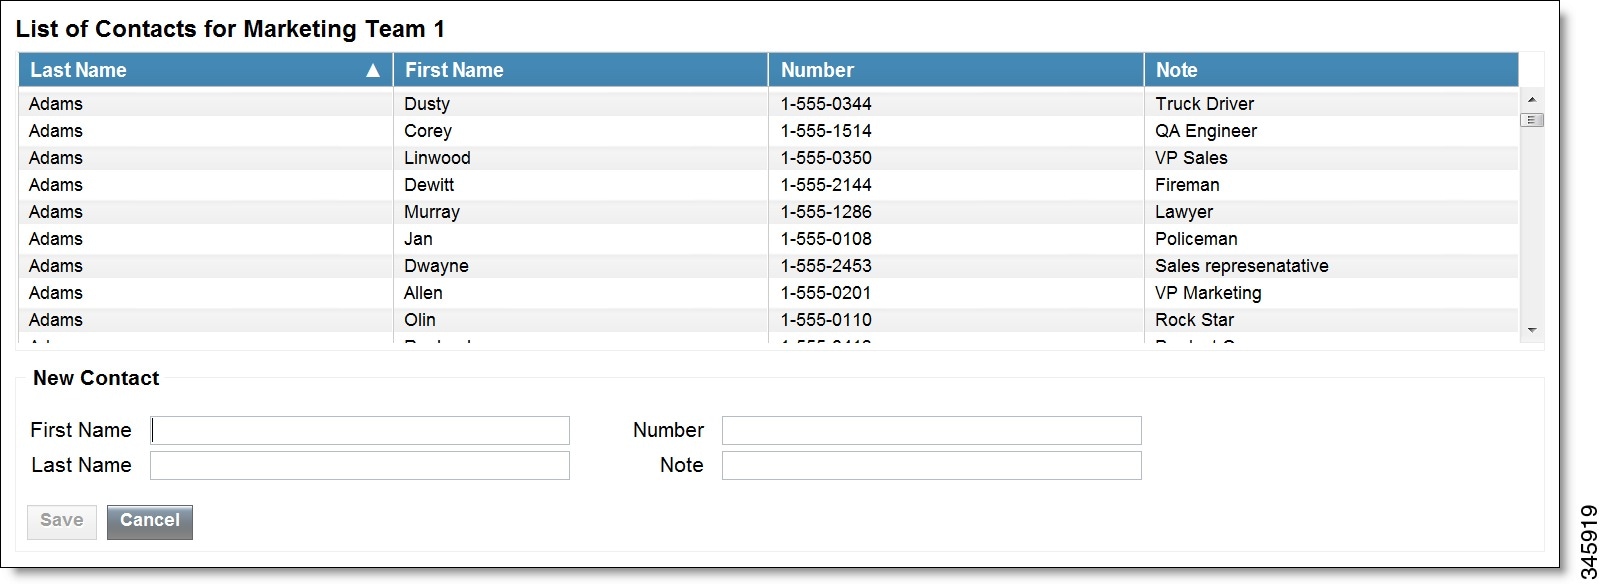
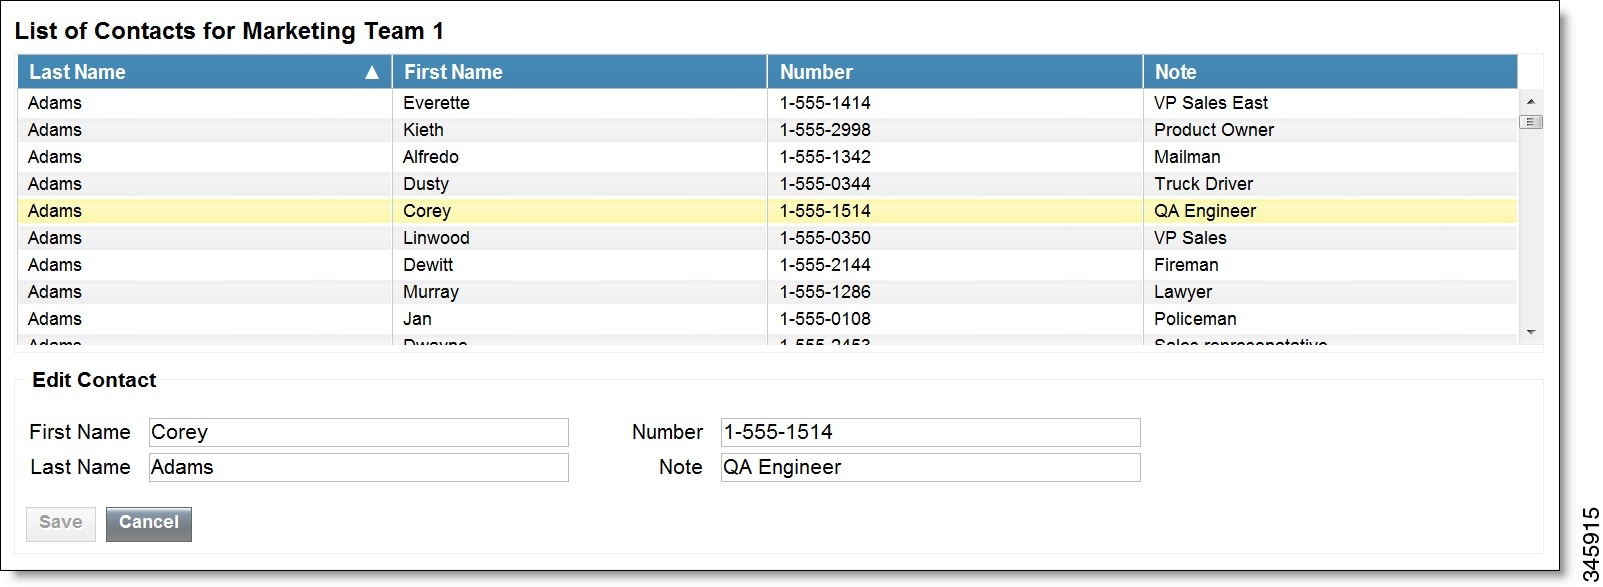
Last Name |
The last name of a contact. The last name can be a maximum length of 128 characters. This field is optional. |
|
First Name |
The first name of a contact. The first name can be a maximum length of 128 characters. This field is optional. |
|
Number |
The phone number for the contact. The phone number can be 1-32 characters long and cannot be blank. |
|
Note |
Optional text that describes the contact. The note can be a maximum length of 128 characters. |
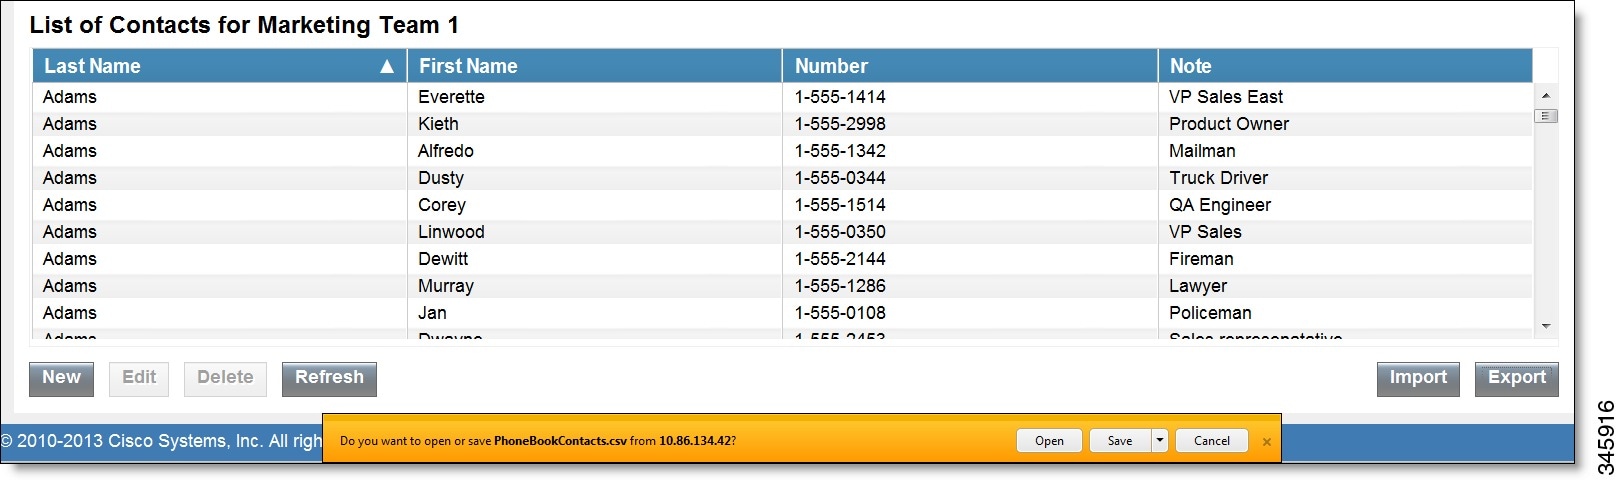
Actions on the Manage Phone Books gadget:
-
New: Add a new phone book or contact
-
Edit: Edit an existing phone book or contact
-
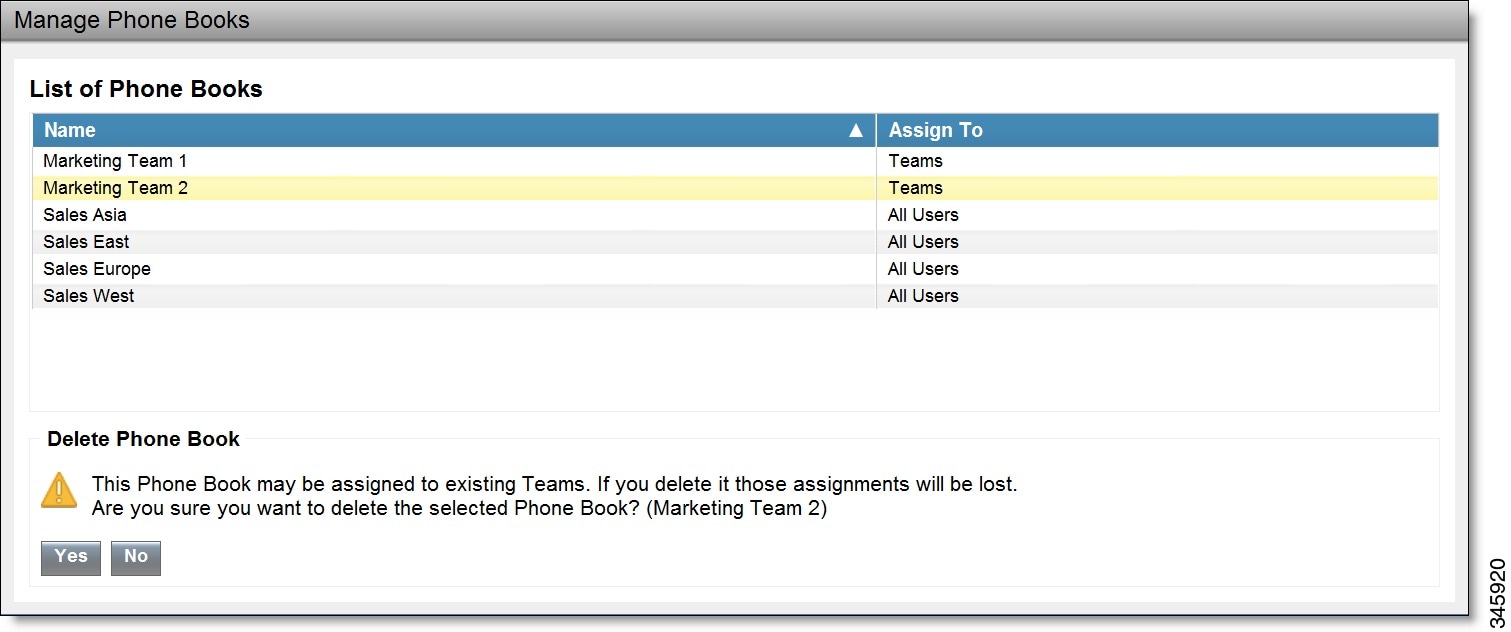
Delete: Delete a phone book or contact
-
Refresh: Reload the list of phone books or contacts from the server
-
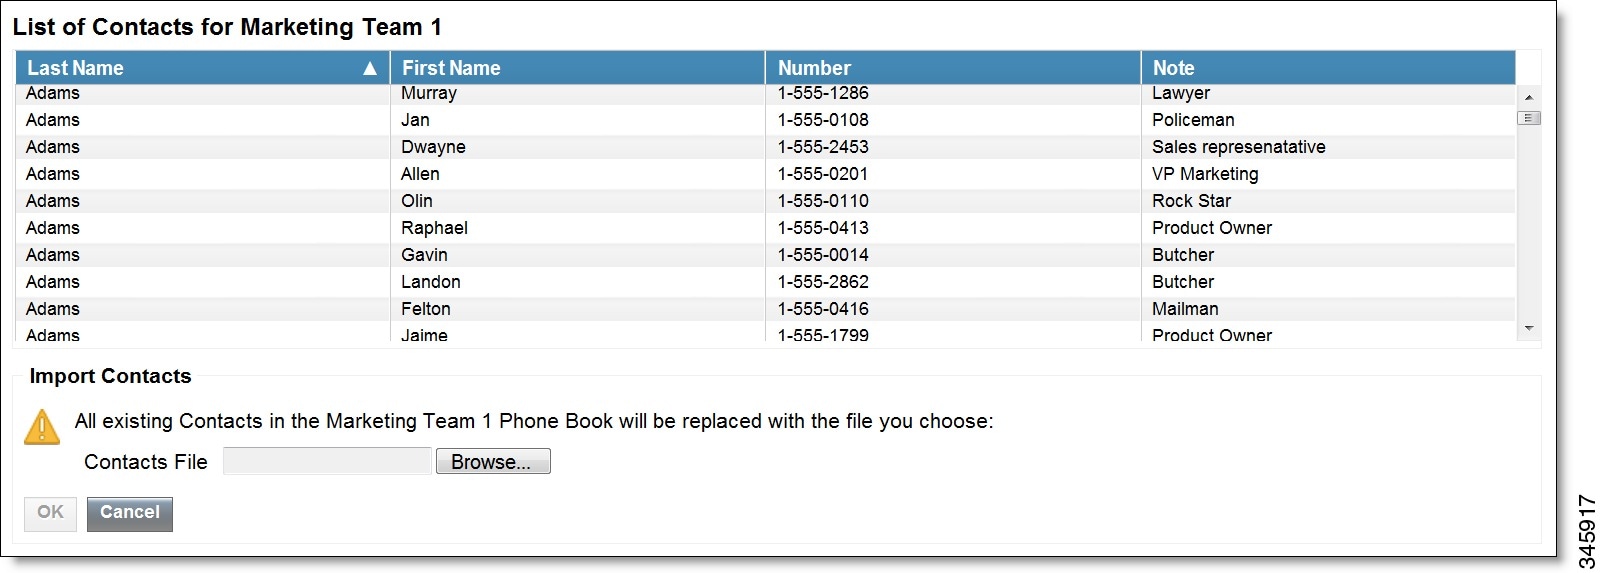
Import: Import a list of contacts to the phone book
-
Export: Export a list of contacts from the phone book

 Feedback