Webex Share Features
Webex Share Features
After you add Webex Share to Cisco Webex Control Hub, you can add functionality to the device. The following table shows some of the supported features.
 Note |
Some Webex Share features require Consumer Electronics Control (CEC) so connect your Webex Share to a HDMI-CEC port on your display screen. Refer to the screen documentation for additional information. |
|
Webex Share Feature |
Description and more information |
|---|---|
|
Digital Signage |
You can show custom content on your display, such as advertising content and brand information, visitor and internal employee information, dashboards and calendars. |
|
Room Calendar |
You can see the meetings scheduled in your conference room. |
|
Wireless Guest Share |
Users share content wirelessly to any Webex registered room device without an account. This feature does not require any configuration. But on some display screens, shared images distort so you may have to adjust your display screen settings. For example, you can adjust the Sharpness setting or change Picture Mode to Computer or the equivalent. For additional information, see the documentation that came with your display screen. |
Configure Digital Signage on Webex Share
Digital signage allows you to show custom video and static images on your display screen in between meetings or when Webex Share is idle. You can display advertising content and promote your brand, but also show visitor and internal employee announcements or information.
Digital signage requires access to Appspace.
Webex Share enters signage mode after 2 minutes of inactivity. Images don’t appear during meetings, screen sharing, or during upcoming scheduled calendar events.
If you use static images, note the following specifications:
-
The maximum resolution is 1920x1080. If you upload an image that is bigger, Appspace resizes it.
-
The supported static image file formats are .png and .jpeg.
If you use video, note the following specifications:
-
Container Format: .mp4.
-
Video Encoding: H.264.
-
No B frames. If you use Handbrake to encode your video, select the zerolatency tune parameter.
The recommended H.264 settings for video are as follows:
-
Main Profile.
-
Level 4.2.
-
Maximum resolution of 1920x1080 and a maximum frame rate of 30 frames per second. The video will not play if you exceed these settings. Normal video playback resumes when Webex Share receives the next video.
-
Optimize for web streaming video.
Disable Low Bandwidth Mode if you stream video.
Note |
Your screen display settings affect your Digital Signage images. If your static images appear distorted or of a poor quality, then change your TV's display settings. For example, some display manufactures let you lower your Sharpness setting or change Picture Mode to Computer or the equivalent. For additional information, see the documentation that came with your TV. |
After you configure Digital Signage, the following Standby settings change:
-
resets to On.
-
resets to 120 minutes and Sleep mode. This is the delay before the device enters Sleep mode.
HTML5 is not supported.
For more information, see the Appspace documentation for Digital Signage at https://docs.appspace.com/latest/how-to/configure-wallpaper-for-cisco-webex-share/
Before you begin
You need an Appspace administrator account and an HTTP secure URL for your Appspace channel. If your Appspace server uses a self-signed certificate, then you share the certificate with Webex Share. If you have a local Appspace server and a certificate with a Trusted Certificate Authority signature, then you don't share your certificate.
Procedure
| Step 1 |
From the customer view in https://admin.webex.com/, go to Devices. |
| Step 2 |
Select your device from the inventory and open Advanced Configurations. |
| Step 3 |
Select DigitalSignageServer. |
| Step 4 |
Enter your AppSpace URL in the field. |
| Step 5 |
Click Apply. |
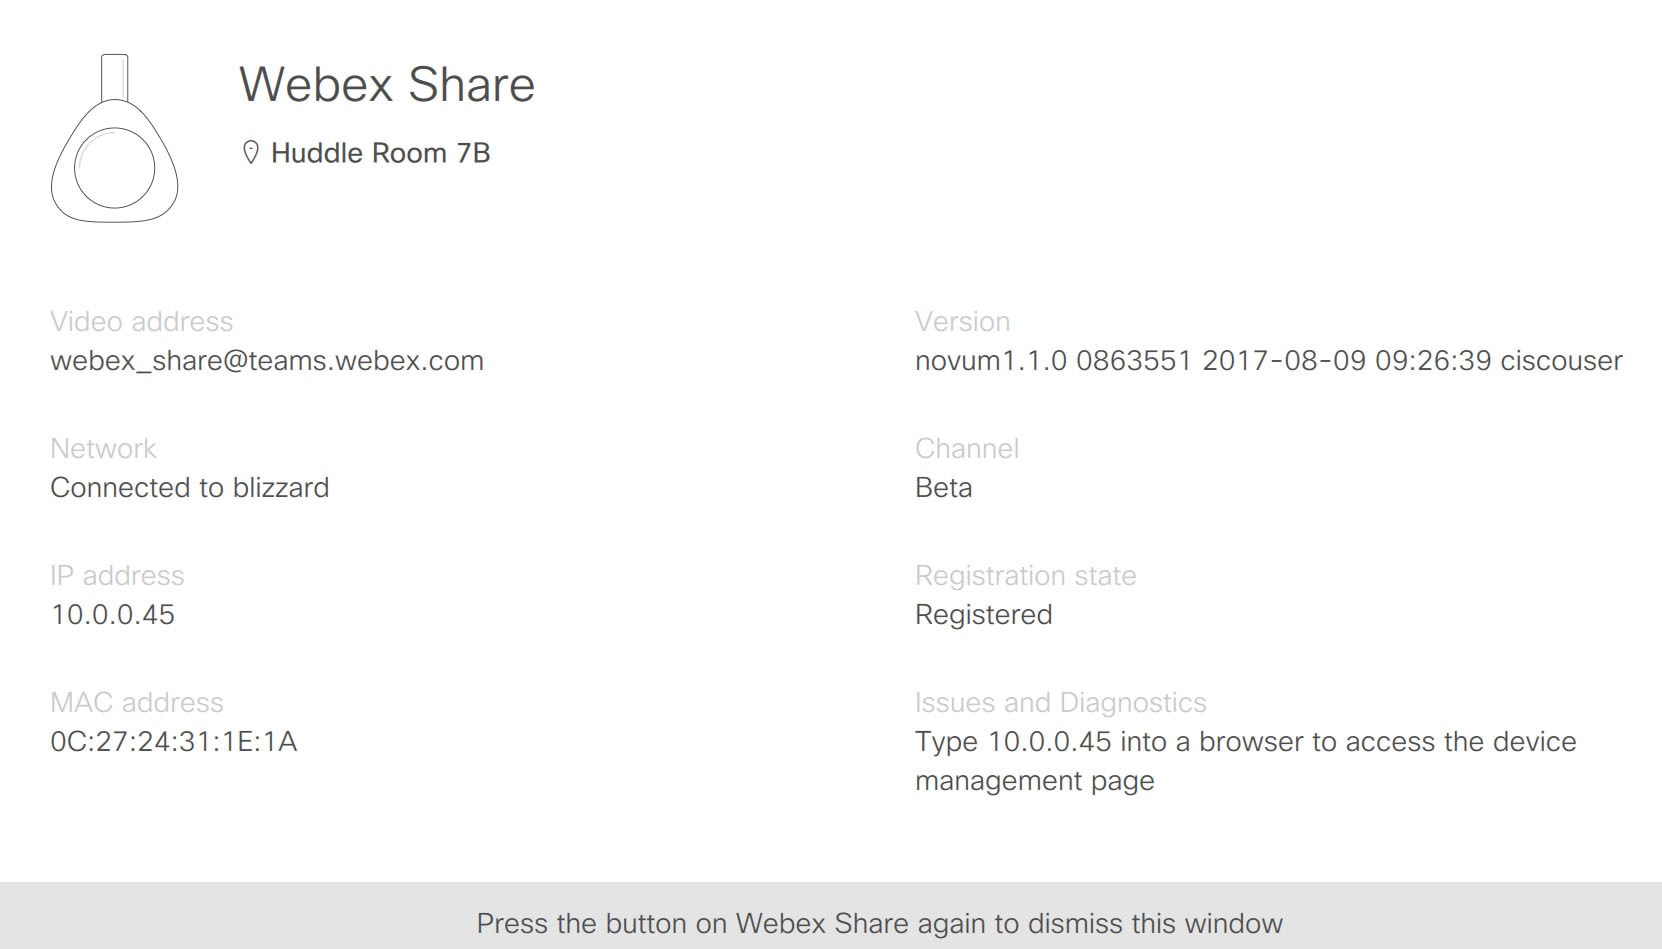
Configure a Static IP Address
Your device uses Dynamic Host Configuration Protocol (DHCP) for IP addresses, which means that the address may change when you sign in. DHCP is the default, but you can configure a static or fixed IP address if you want your address to remain the same. Some administrators prefer static IP addresses because they can assign specific addresses to each location or device.
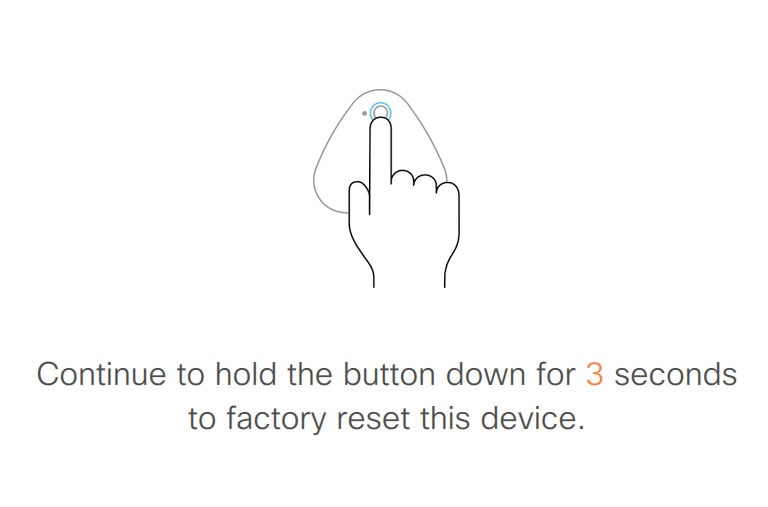
You are successful when the new address loads on your browser and the device registers or activates. But if you have a problem, then do a factory reset and repeat the configuration task.
Note |
You cannot change the setting for static IP after the device registers. You can only set a device's static IP before you register the device. |
Before you begin
We recommend that you complete the following tasks before you configure your static IP address:
-
Connect your device to your network and register or activate it.
-
Verify that your static IP address is unique and not used by another device.
-
Obtain the IP address for your device.
You also need a laptop or mobile device with a browser and an Internet connection.
Procedure
| Step 1 |
In your web browser, enter the IP address to access the device page. You may have to add and confirm a security exception for the web page. |
| Step 2 |
Click . |
| Step 3 |
Enter your new IP address in one of the available fields. |
| Step 4 |
Click Save. |
Add the Calendar Service
The Calendar feature integrates your online calendar with your device so you can see your upcoming Webex meetings. Most people configure this service at deployment, but you can add it later.
Procedure
| Step 1 |
From the customer view in https://admin.webex.com, go to Workspaces and choose your Workspaces. |
| Step 2 |
Click Edit. |
| Step 3 |
Toggle on the calendar service so that people can use One Button to Push (OBTP) on this device. Click Next. |
| Step 4 |
Enter the email address for the calendar.
|
| Step 5 |
Click Save. |
Firmware Upgrades
Firmware upgrades happen automatically through Control Hub whenever there is a new release available. You don't have to manually upgrade your device or download and install any files. But it is based on your firmware channel:
-
Stable channel—Updates occur monthly
-
Preview channel—Updates occur weekly
Sometimes Cisco devices ship with an earlier firmware release. If this happens, then your device upgrades at the first available opportunity after deployment and activation. But they are designed to function with the factory firmware loads.
 Feedback