Webex Share best practices
Keep these limitations in mind as you set up and use your Webex Share:
-
Your device needs a dry, well-ventilated space that is free of any obstructions. Webex Share operates at an external temperature of 32° to 140°F (0° to 60°C) so it is warm when you touch it.
-
Don't expose the device to water or liquids as they could damage your Webex Share.
-
Webex Share has an acoustic horn that enables ultrasound proximity pairing. Never block the acoustic horn. For best performance, point it away from the floor and from other absorbing surfaces, such as carpets or fabrics.
-
Webex Share functions best when it is the only ultrasound pairing device in the room. Some laptops have automatic noise canceling turned on by default for the microphone input. This prevents ultrasonic pairing.
-
If your Webex Share gets dirty, wipe it with a soft, dry cloth. Don't use any liquids or powders on the device because they can contaminate the components and cause failures.
-
The HDMI cable is designed to hold the weight of the device. Avoid unnecessary tugging, bending, or stress on the cable. Use the included cord keeper to support the connector cable and reduce the stress on the device. Don't let the Webex Share hang freely because this places stress on the connector cable and damages the unit.
-
When you install the Webex Share, hold it in one hand and grasp the connector cable case in the other hand. Push the cable connector into the HDMI screen display port. Don't grasp the cable body.
-
When you remove a cable, hold the Webex Share in one hand and grasp the connector cable case in the other hand. Gently pull the cable connector out of the HDMI screen display port. Don't pull on the cable body or the Webex Share.
-
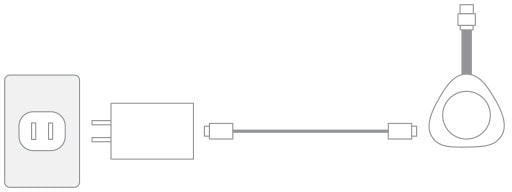
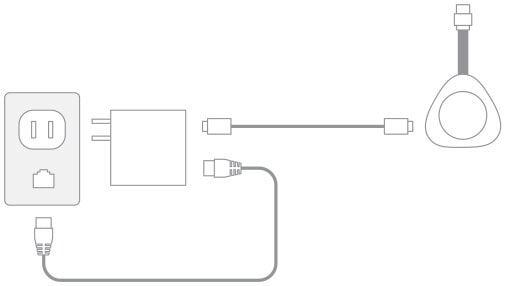
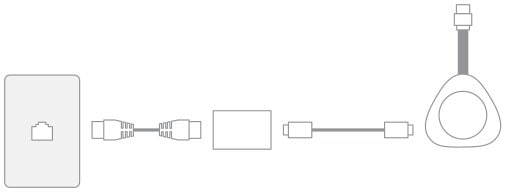
Some Webex Share features require Consumer Electronics Control (CEC) so connect your Webex Share to a HDMI-CEC port on your display screen. Refer to the screen documentation for additional information.


 Feedback