Supported Accessories
The Cisco IP Phone 6800 Series Multiplatform Phones supports both Cisco and third-party accessories.
|
Accessory |
Type |
6821 |
6841 |
6851 |
6861 |
6871 |
|---|---|---|---|---|---|---|
|
Cisco Accessories |
||||||
|
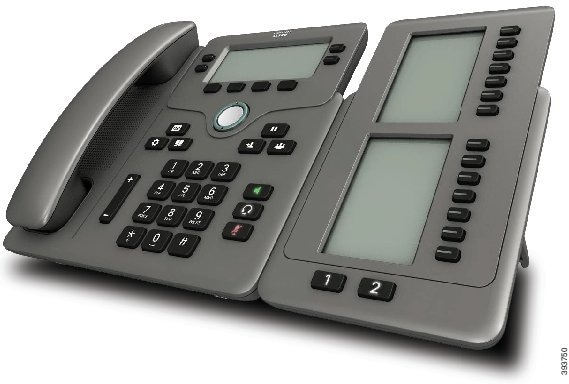
Cisco IP Phone 6800 Key Expansion Module |
Add-on module |
Not supported |
Not supported |
Supported Supports one key expansion module |
Not supported |
Not supported |
|
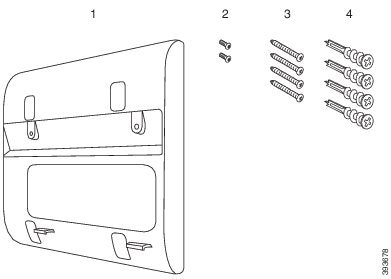
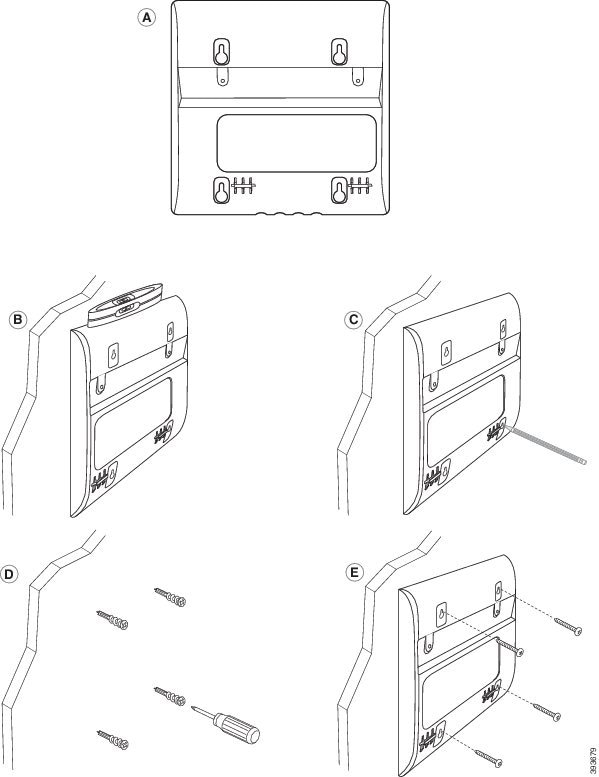
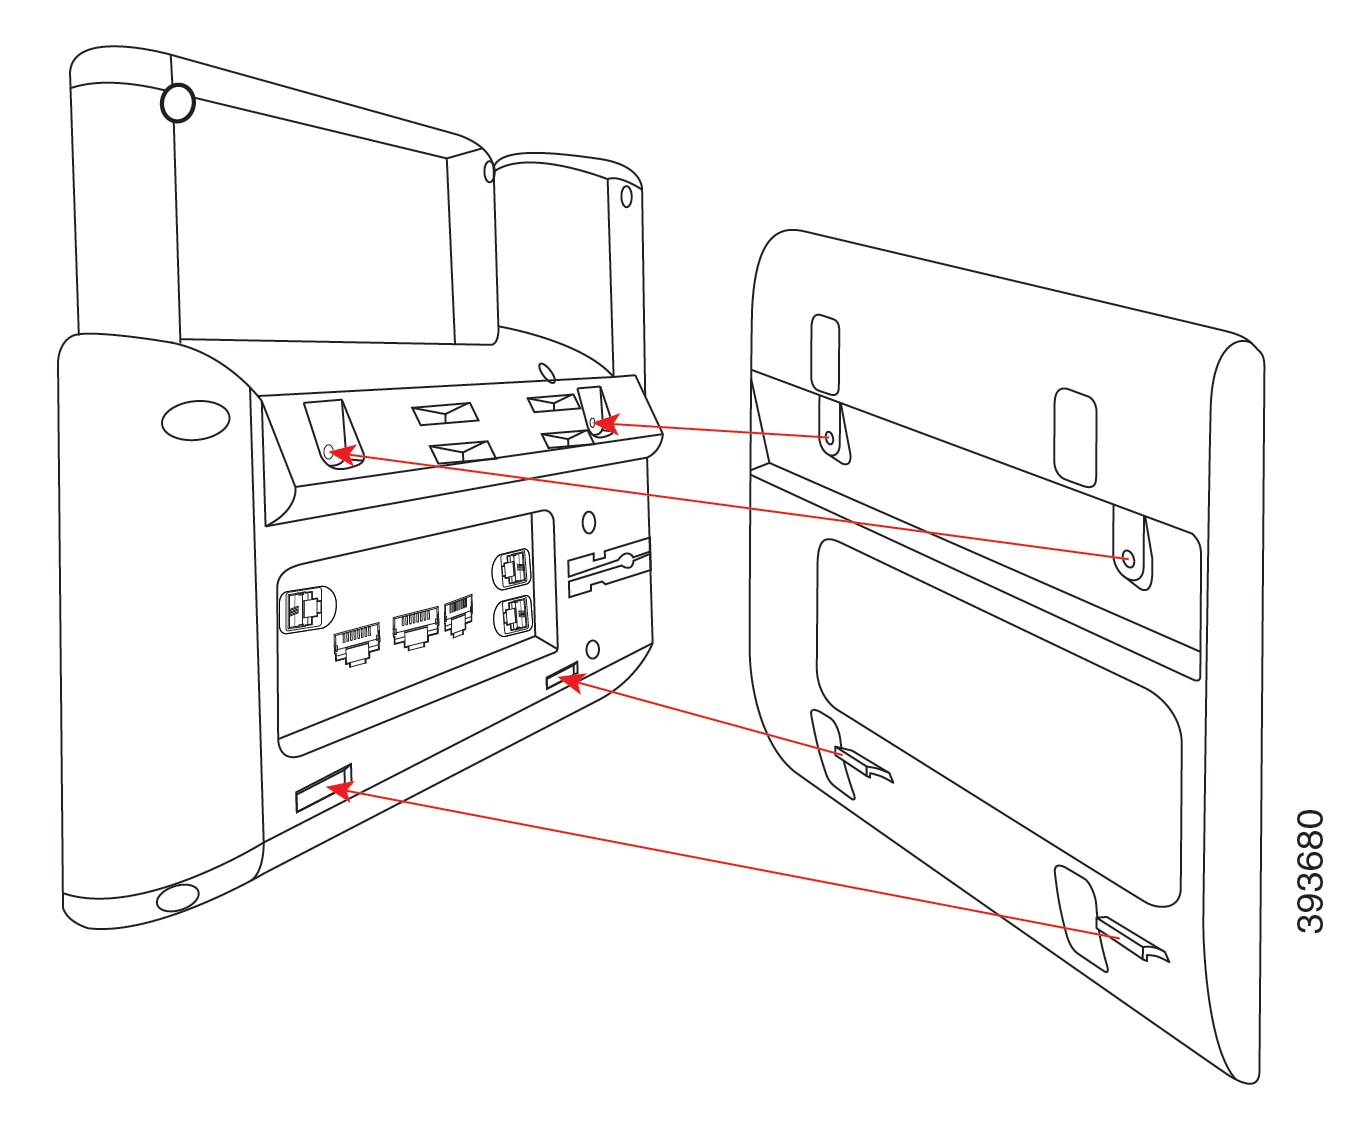
Cisco IP Phone 6800 Wall Mount Kit |
Not supported |
Supported |
Supported |
Supported |
Supported |
|
|
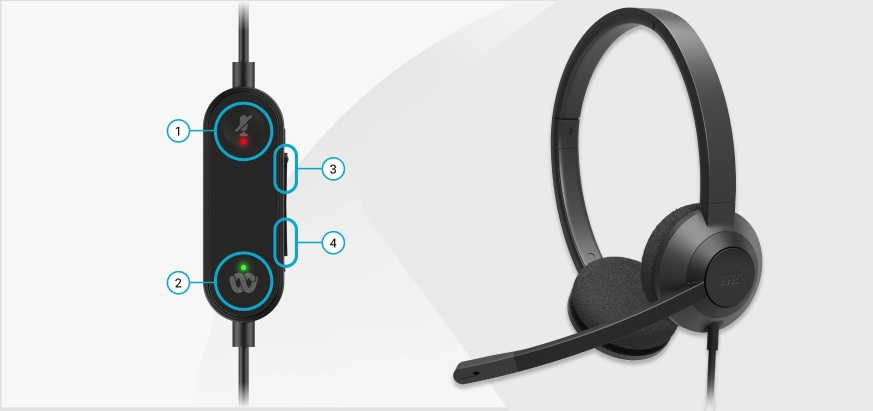
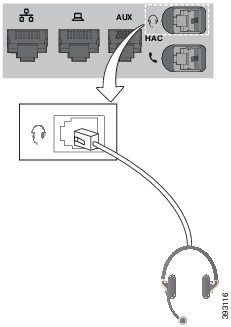
Cisco Headset 520 Series |
USB |
Not supported |
Not supported |
Not supported |
Not supported |
Supported |
|
Cisco Headset 530 Series |
Standard RJ9 |
Supported |
Supported |
Supported |
Supported |
Supported |
|
USB Adapter |
Not supported |
Not supported |
Not supported |
Not supported |
Supported |
|
|
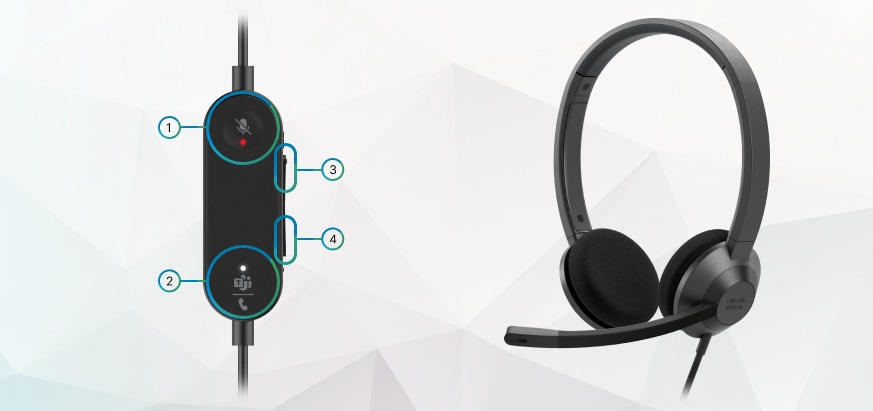
Cisco Headset 560 Series |
Standard RJ9 and AUX |
Not supported |
Not supported |
Not supported |
Not supported |
Supported |
|
USB |
Not supported |
Not supported |
Not supported |
Not supported |
Supported |
|
|
Cisco Headset 700 Series |
USB Adapter |
Not supported |
Not supported |
Not supported |
Not supported |
Supported |
|
USB-C Cable |
Not supported |
Not supported |
Not supported |
Not supported |
Supported |
|
|
Third-Party Accessories |
||||||
|
Headsets |
Analog |
Supported |
Supported |
Supported |
Supported |
Supported |
|
Analog Wideband |
Supported |
Supported |
Supported |
Supported |
Supported |
|
|
USB |
Not supported |
Not supported |
Not supported |
Not supported |
Supported |
|
|
Microphone |
External |
Not supported |
Not supported |
Not supported |
Not supported |
Not supported |
|
Speakers |
External |
Not supported |
Not supported |
Not supported |
Not supported |
Not supported |


 Feedback