Supported Accessories
You can use your phone with different types of accessories, such as headsets, microphones, and speakers. The tables in this section shows the accessories supported by your phone.
The following table describes the Cisco accessories available for the Cisco IP Phone 8800 Series.
|
Accessory |
Type |
8811 |
8841 |
8845 |
8851 |
8851NR |
8861 |
8865 |
8865NR |
|---|---|---|---|---|---|---|---|---|---|
|
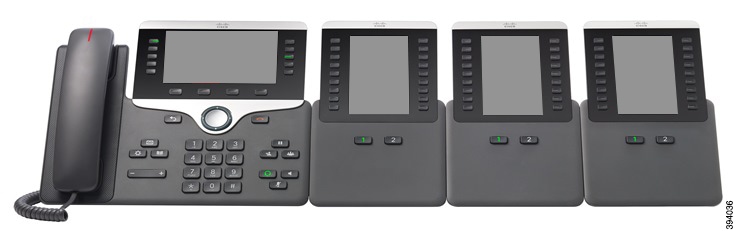
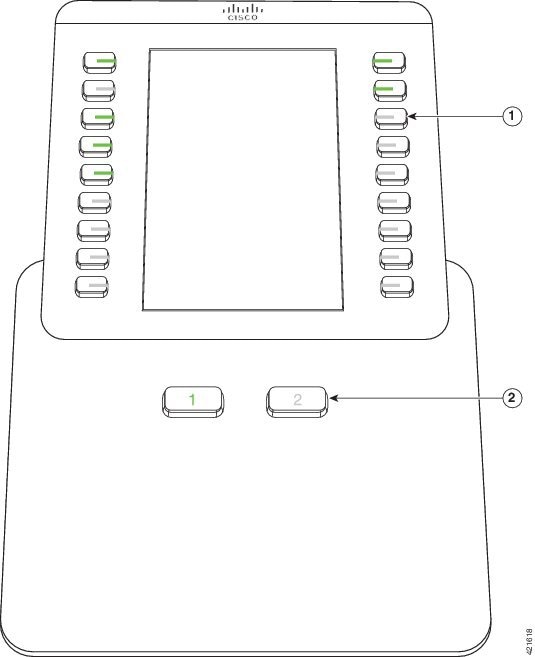
Cisco IP Phone 8800 Key Expansion Module |
Add-on module |
Not Supported |
Not Supported |
Not Supported |
2 |
2 |
3 |
3 |
3 |
|
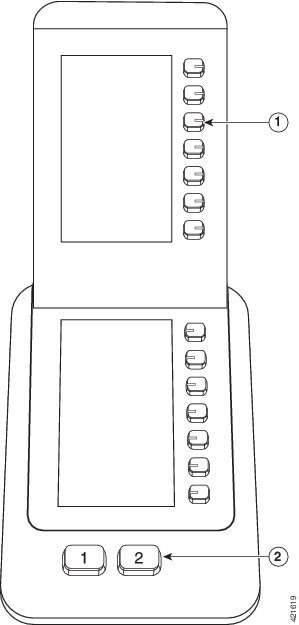
Cisco IP Phone 8851/8861 Key Expansion Module |
Add-on module |
Not Supported |
Not Supported |
Not Supported |
Supported Supports up to 2 expansion modules of the same type. |
Supported Supports up to 2 expansion modules of the same type. |
Supported Supports up to 3 expansion modules of the same type. |
Not Supported |
Not Supported |
|
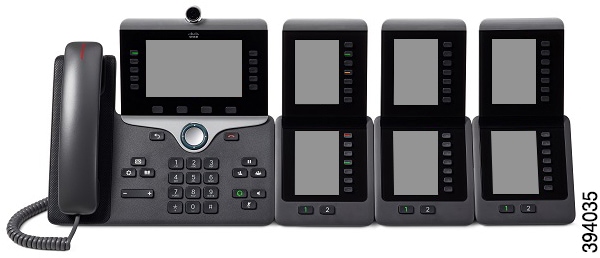
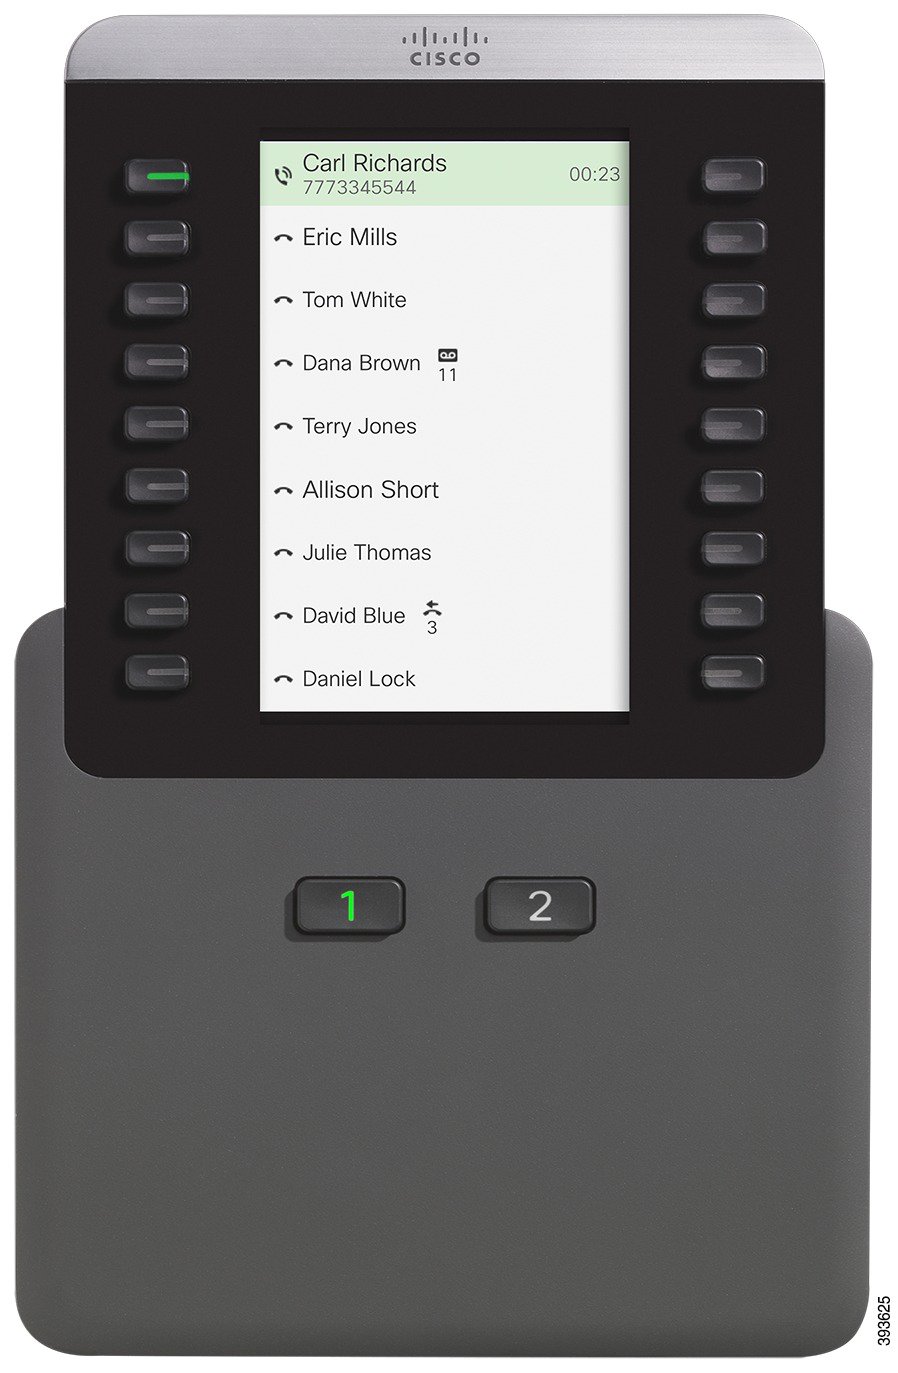
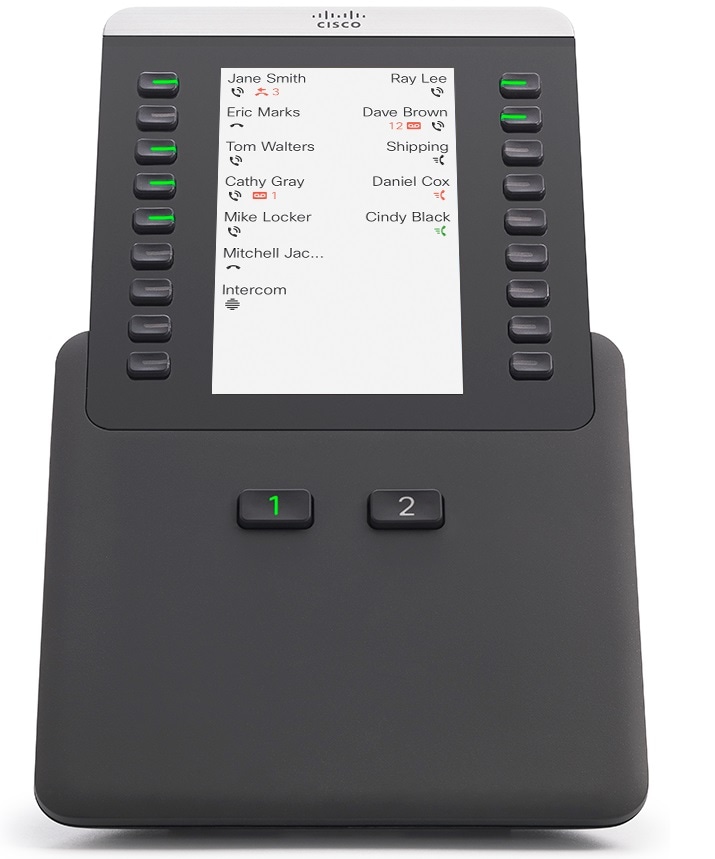
Cisco IP Phone 8865 Key Expansion Module |
Add-on module |
Not Supported |
Not Supported |
Not Supported |
Not Supported |
Not Supported |
Not Supported |
Supported Supports up to 3 expansion modules of the same type. |
Supported Supports up to 3 expansion modules of the same type. |
|
Wall Mount Kit |
Add-on module |
Supported |
Supported |
Supported |
Supported |
Supported |
Supported |
Supported |
Supported |
|
Cable Lock |
Add-on module |
Supported |
Supported |
Supported |
Supported |
Supported |
Supported |
Supported |
Supported |
|
Footstand |
Add-on module |
Supported |
Supported |
Supported |
Supported |
Supported |
Supported |
Supported |
Supported |
|
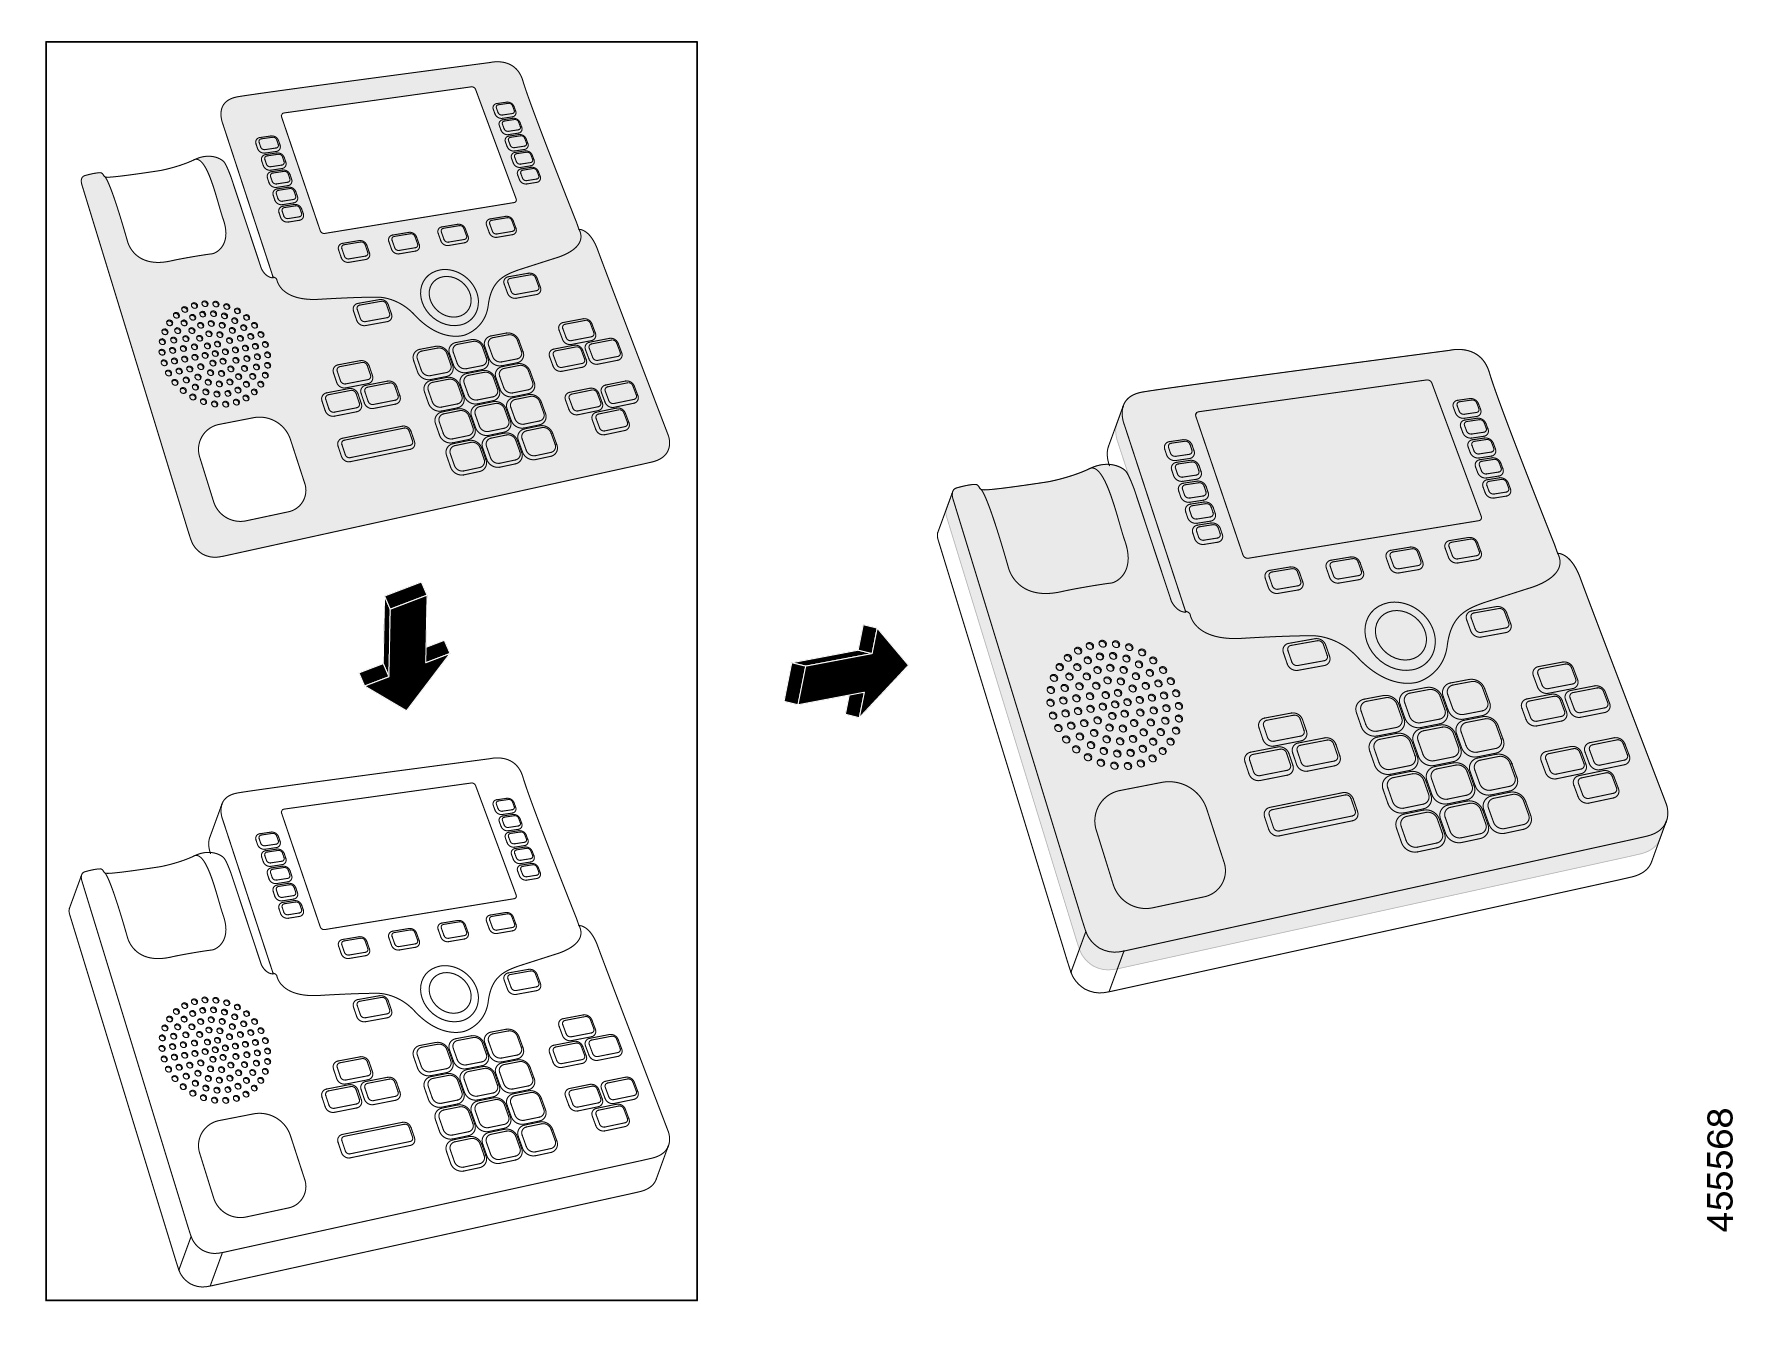
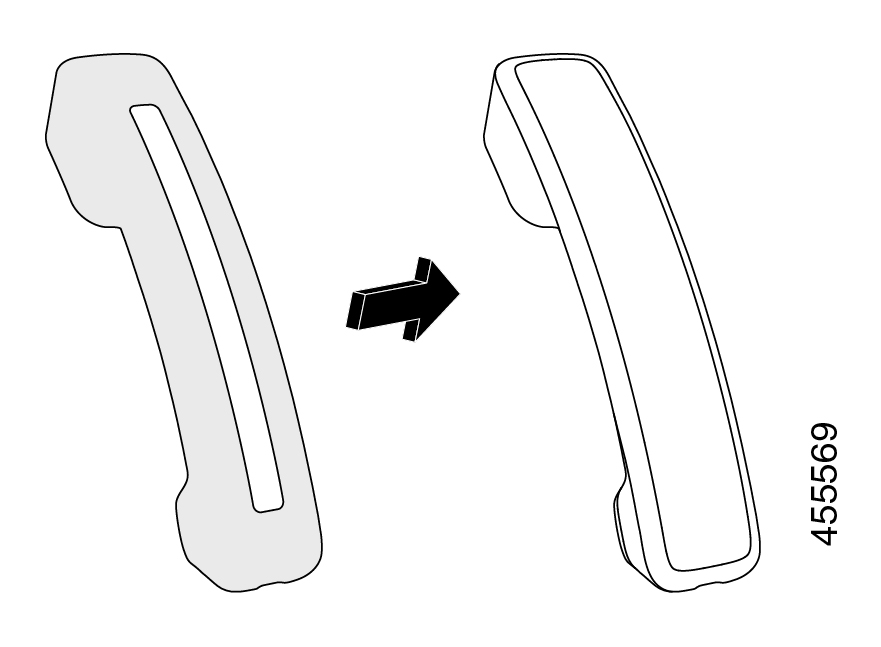
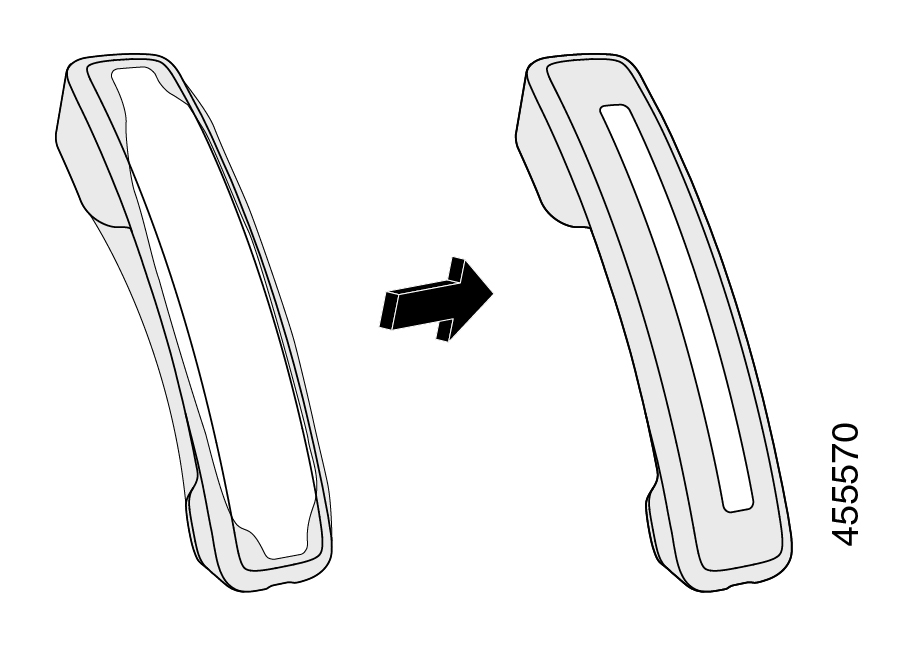
Silicone Case |
Phone Case |
Supported |
Supported |
Supported |
Supported |
Supported |
Supported |
Supported |
Supported |
| Cisco Headset 520 Series |
USB |
Not Supported |
Not Supported |
Not Supported |
Supported |
Supported |
Supported |
Supported |
Supported |
|
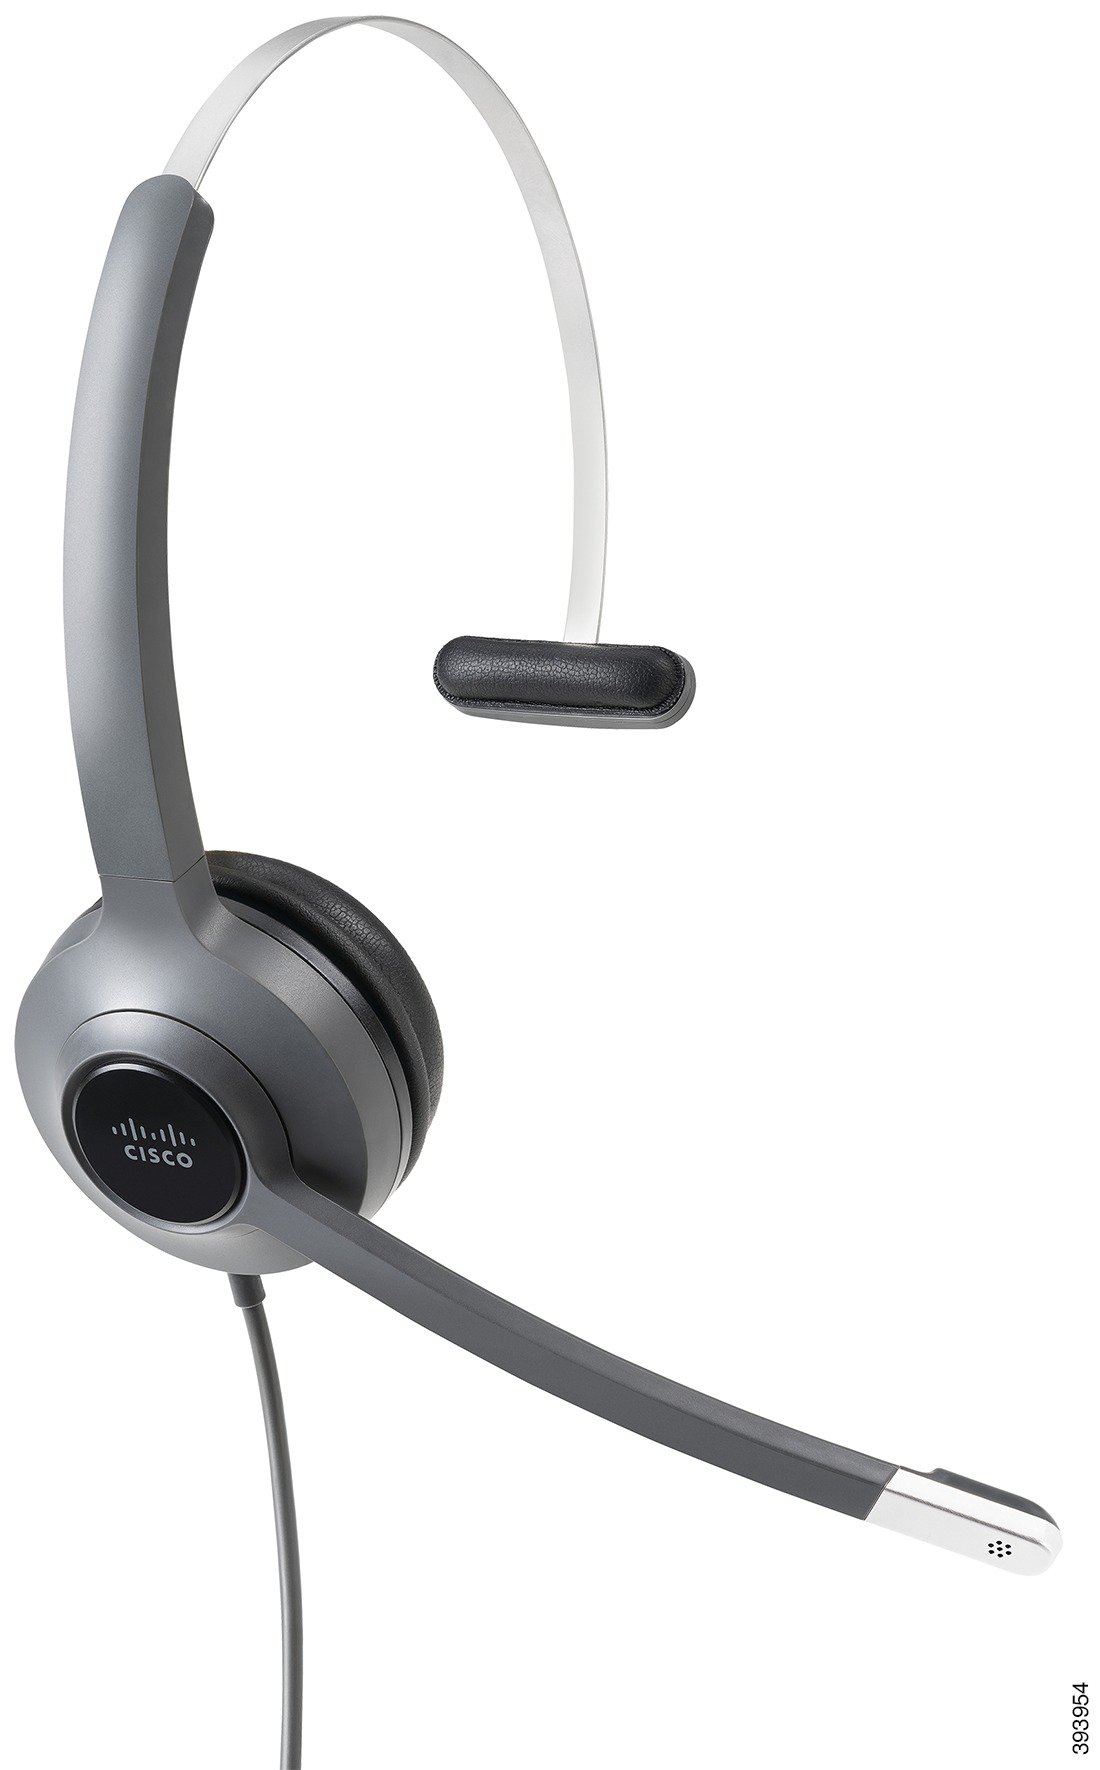
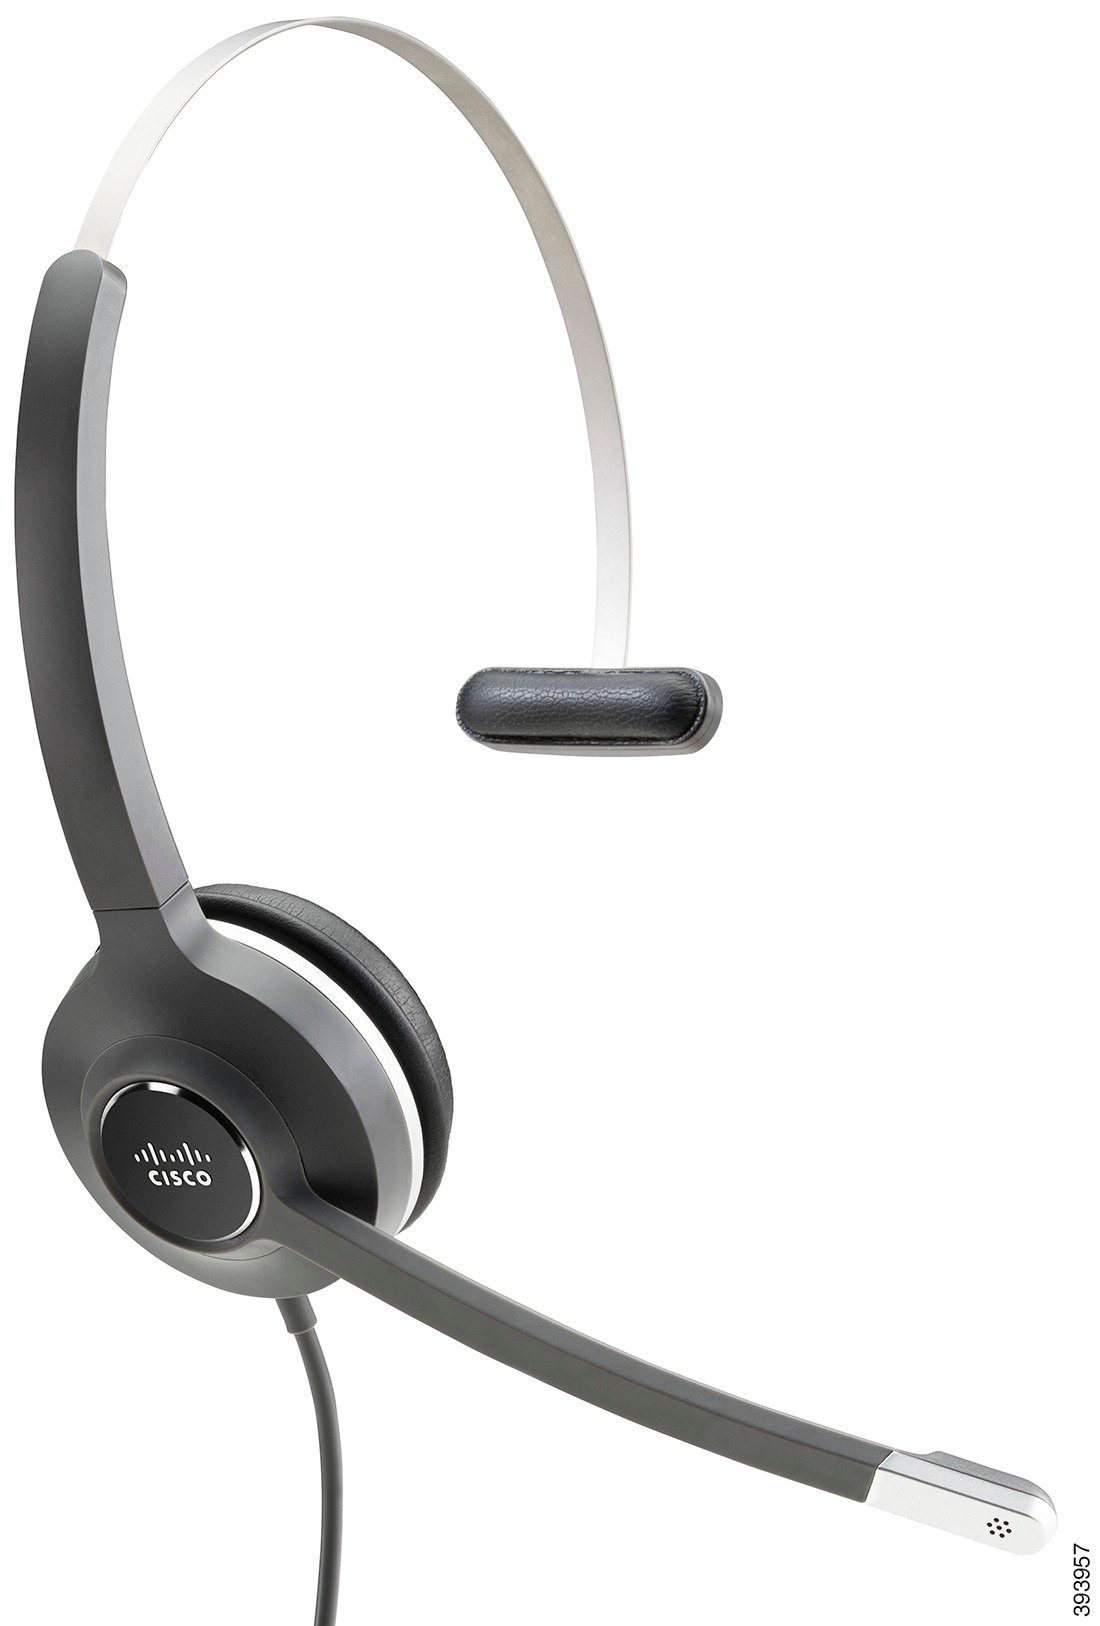
Cisco Headset 530 Series |
Standard |
Supported |
Supported |
Supported |
Supported |
Supported |
Supported |
Supported |
Supported |
|
Cisco Headset 530 Series |
USB Adapter |
Not Supported |
Not Supported |
Not Supported |
Supported |
Supported |
Supported |
Supported |
Supported |
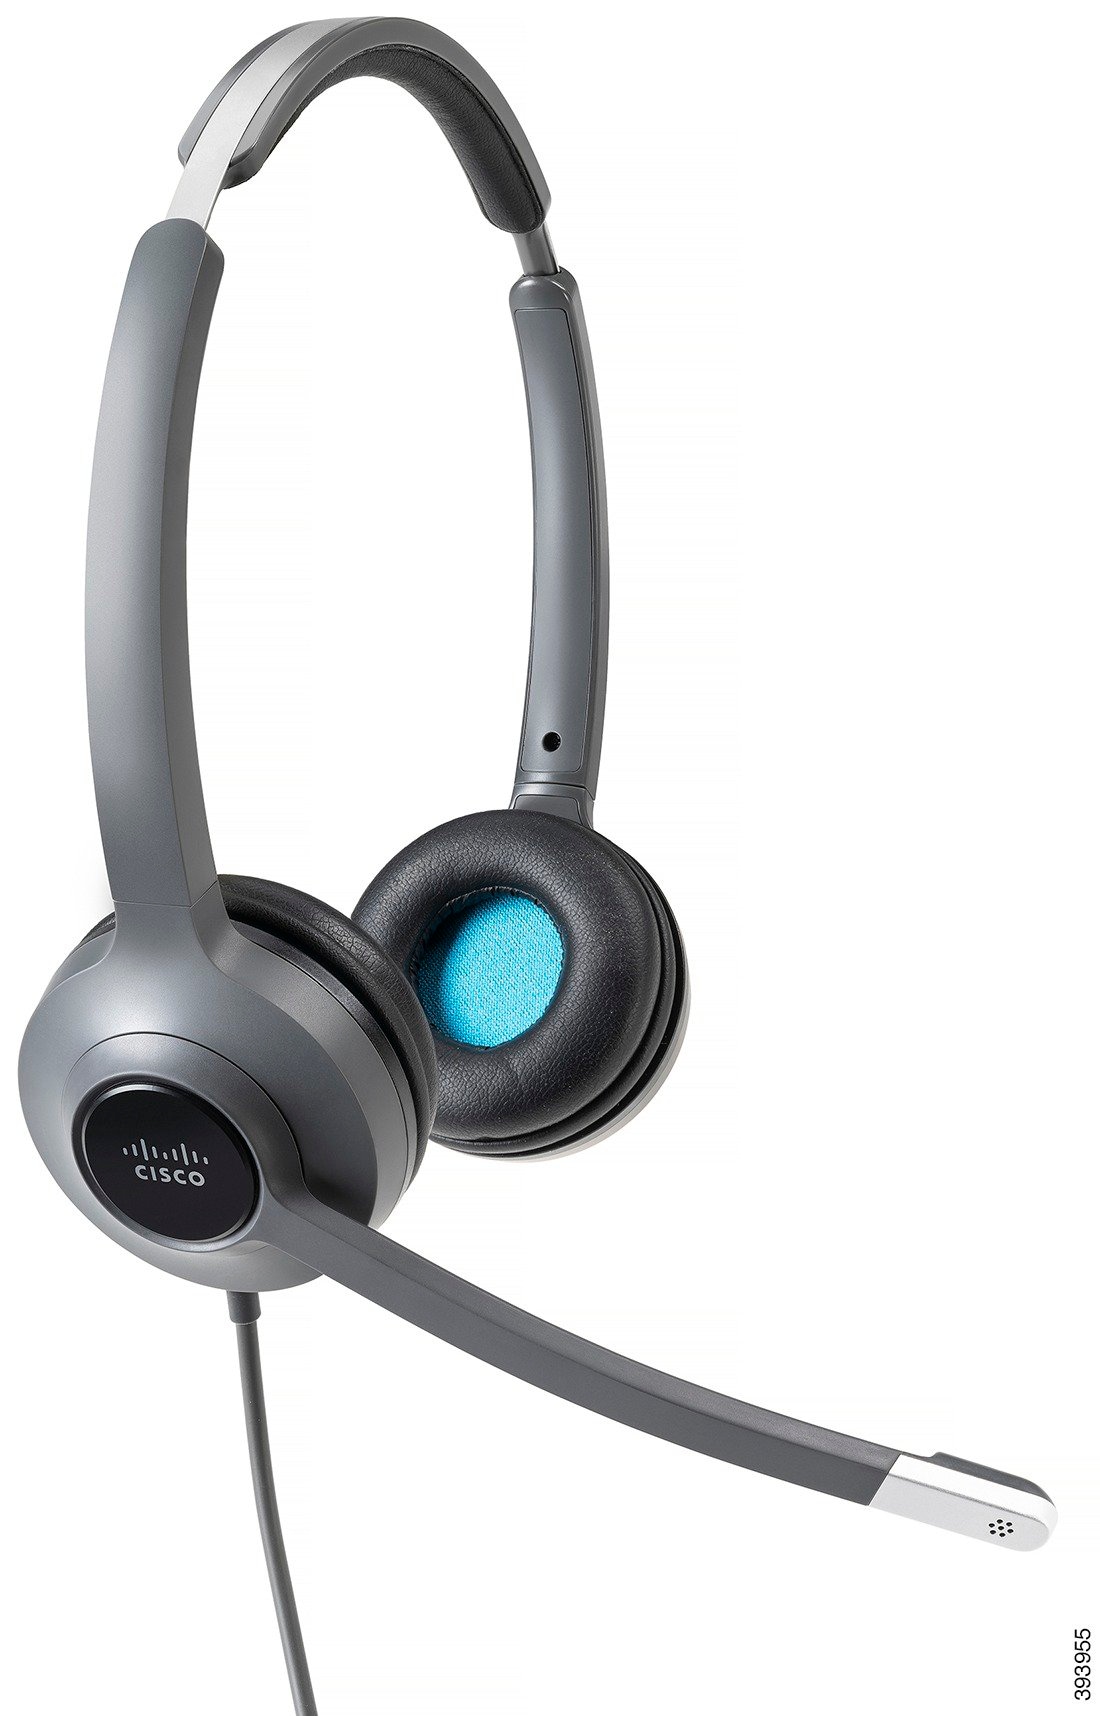
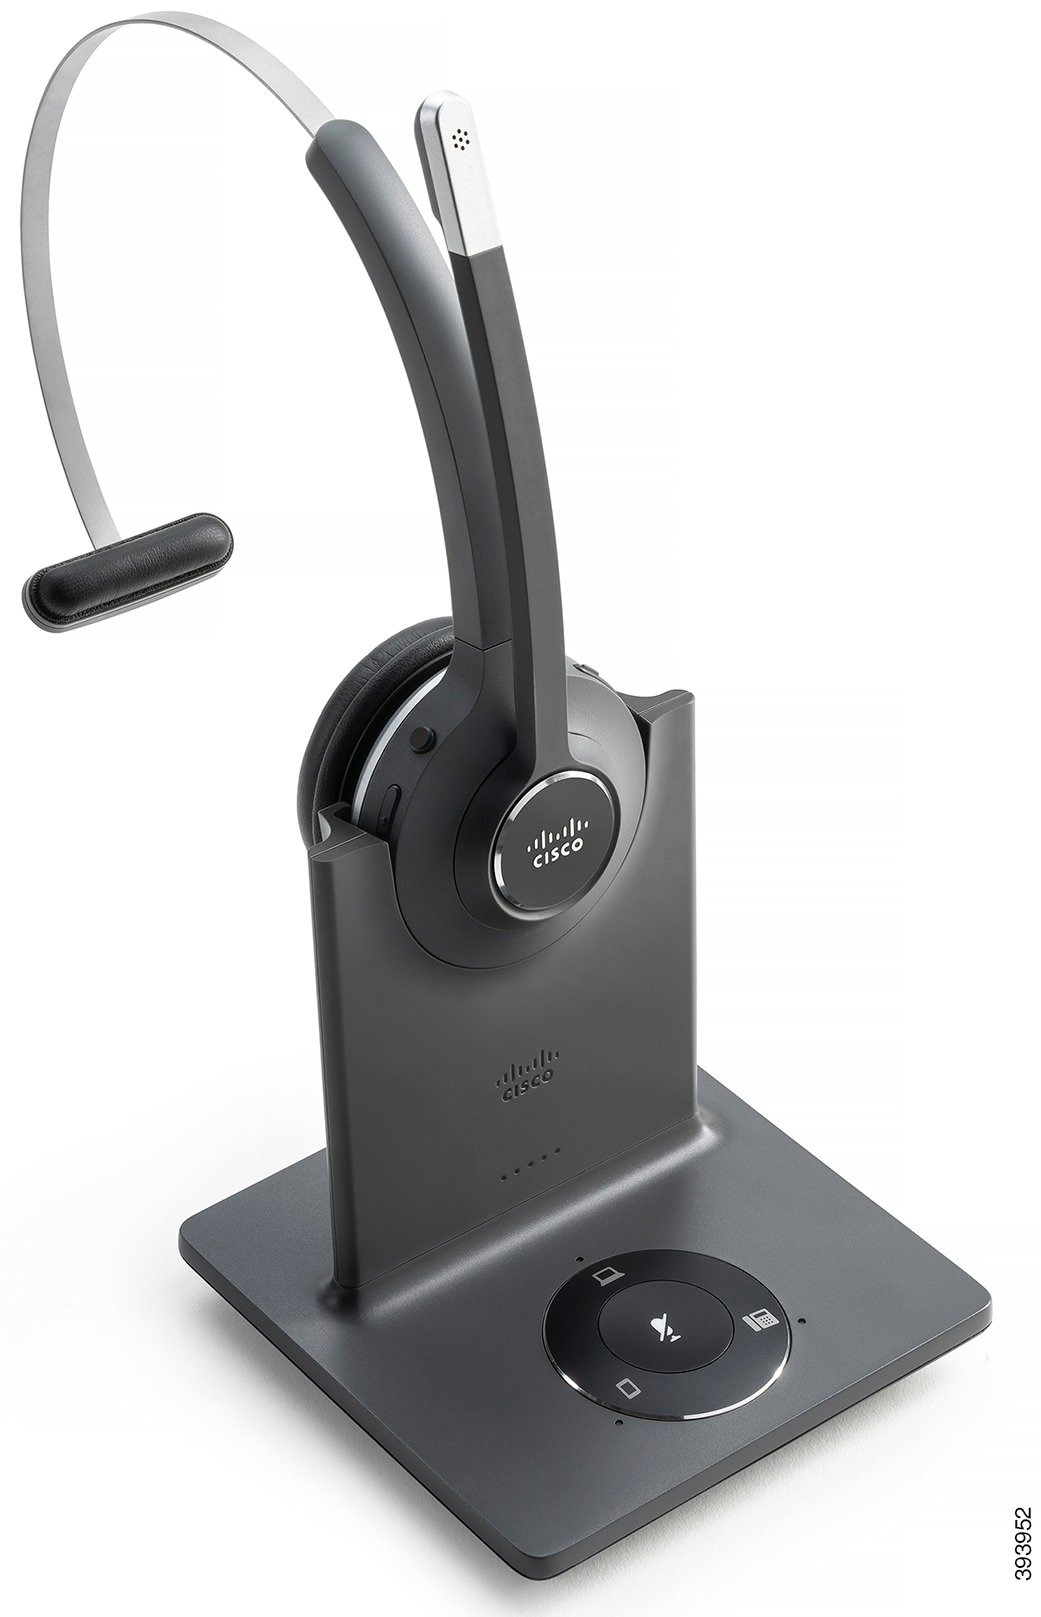
| Cisco Headset 560 Series |
Standard |
Supported |
Supported |
Supported |
Supported |
Supported |
Supported |
Supported |
Supported |
| Cisco Headset 560 Series |
USB Adapter |
Not supported |
Not supported |
Supported |
Supported |
Supported |
Supported |
Supported |
Supported |
|
Cisco Headset 720 Series |
USB HD Adapter USB-C Adapter |
Not supported |
Not supported |
Not supported |
Supported |
Supported |
Supported |
Supported |
Supported |
|
Cisco Headset 720 Series |
Bluetooth |
Not supported |
Not supported |
Supported |
Supported |
Not supported |
Supported |
Supported |
Not supported |
|
Cisco Headset 730 |
USB HD Adapter USB-C Adapter |
Not supported |
Not supported |
Not supported |
Supported |
Supported |
Supported |
Supported |
Supported |
|
Cisco Headset 730 |
Bluetooth |
Not supported |
Not supported |
Supported |
Supported |
Not supported |
Supported |
Supported |
Not supported |
|
Bang & Olufsen Cisco 950 |
USB HD Adapter USB-C Adapter |
Not supported |
Not supported |
Not supported |
Supported |
Supported |
Supported |
Supported |
Supported |
|
Bang & Olufsen Cisco 950 |
Bluetooth |
Not supported |
Not supported |
Supported |
Supported |
Not supported |
Supported |
Supported |
Not supported |
|
Bang & Olufsen Cisco 980 |
USB HD Adapter USB-C Adapter |
Not supported |
Not supported |
Not supported |
Supported |
Supported |
Supported |
Supported |
Supported |
|
Bang & Olufsen Cisco 980 |
Bluetooth |
Not supported |
Not supported |
Supported |
Supported |
Not supported |
Supported |
Supported |
Not supported |
The following table describes the third party accessories available for the Cisco IP Phone 8800 Series.
|
Accessory |
Type |
8811 |
8841 |
8845 |
8851 |
8851NR |
8861 |
8865 |
8865NR |
|---|---|---|---|---|---|---|---|---|---|
|
Headset |
Analog |
Supported |
Supported |
Supported |
Supported |
Supported |
Supported |
Supported |
Supported |
|
Headset |
Analog Wideband |
Supported |
Supported |
Supported |
Supported |
Supported |
Supported |
Supported |
Supported |
|
Headset |
Bluetooth |
Not supported |
Not supported |
Supported |
Supported |
Not supported |
Supported |
Supported |
Not supported |
|
Headset |
USB |
Not supported |
Not supported |
Not supported |
Supported |
Supported |
Supported |
Supported |
Supported |
|
Microphone |
External PC |
Not supported |
Not supported |
Not supported |
Not supported |
Not supported |
Supported |
Supported |
Supported |
|
Speakers |
External PC |
Not supported |
Not supported |
Not supported |
Not supported |
Not supported |
Supported |
Supported |
Supported |


 Feedback