Cisco app configuration overview
Configure the Cisco apps and their settings as required by your organization. To configure the Cisco apps, you can:
-
Use an Enterprise Mobility Management (EMM) application (Recommended for multiple phones)
-
Use the Cisco Wireless Phone Configuration Management tool (Recommended for multiple phones if you don't have an EMM application)
-
Use the Settings menu for each app directly on the phone (Recommended only for a small number of phones)
Enterprise Mobility Management application interface
The following Cisco apps are on the Google Play Store. You can configure these apps through an Enterprise Mobility Management (EMM) application.
-
Emergency
-
Push to Talk (PTT)
-
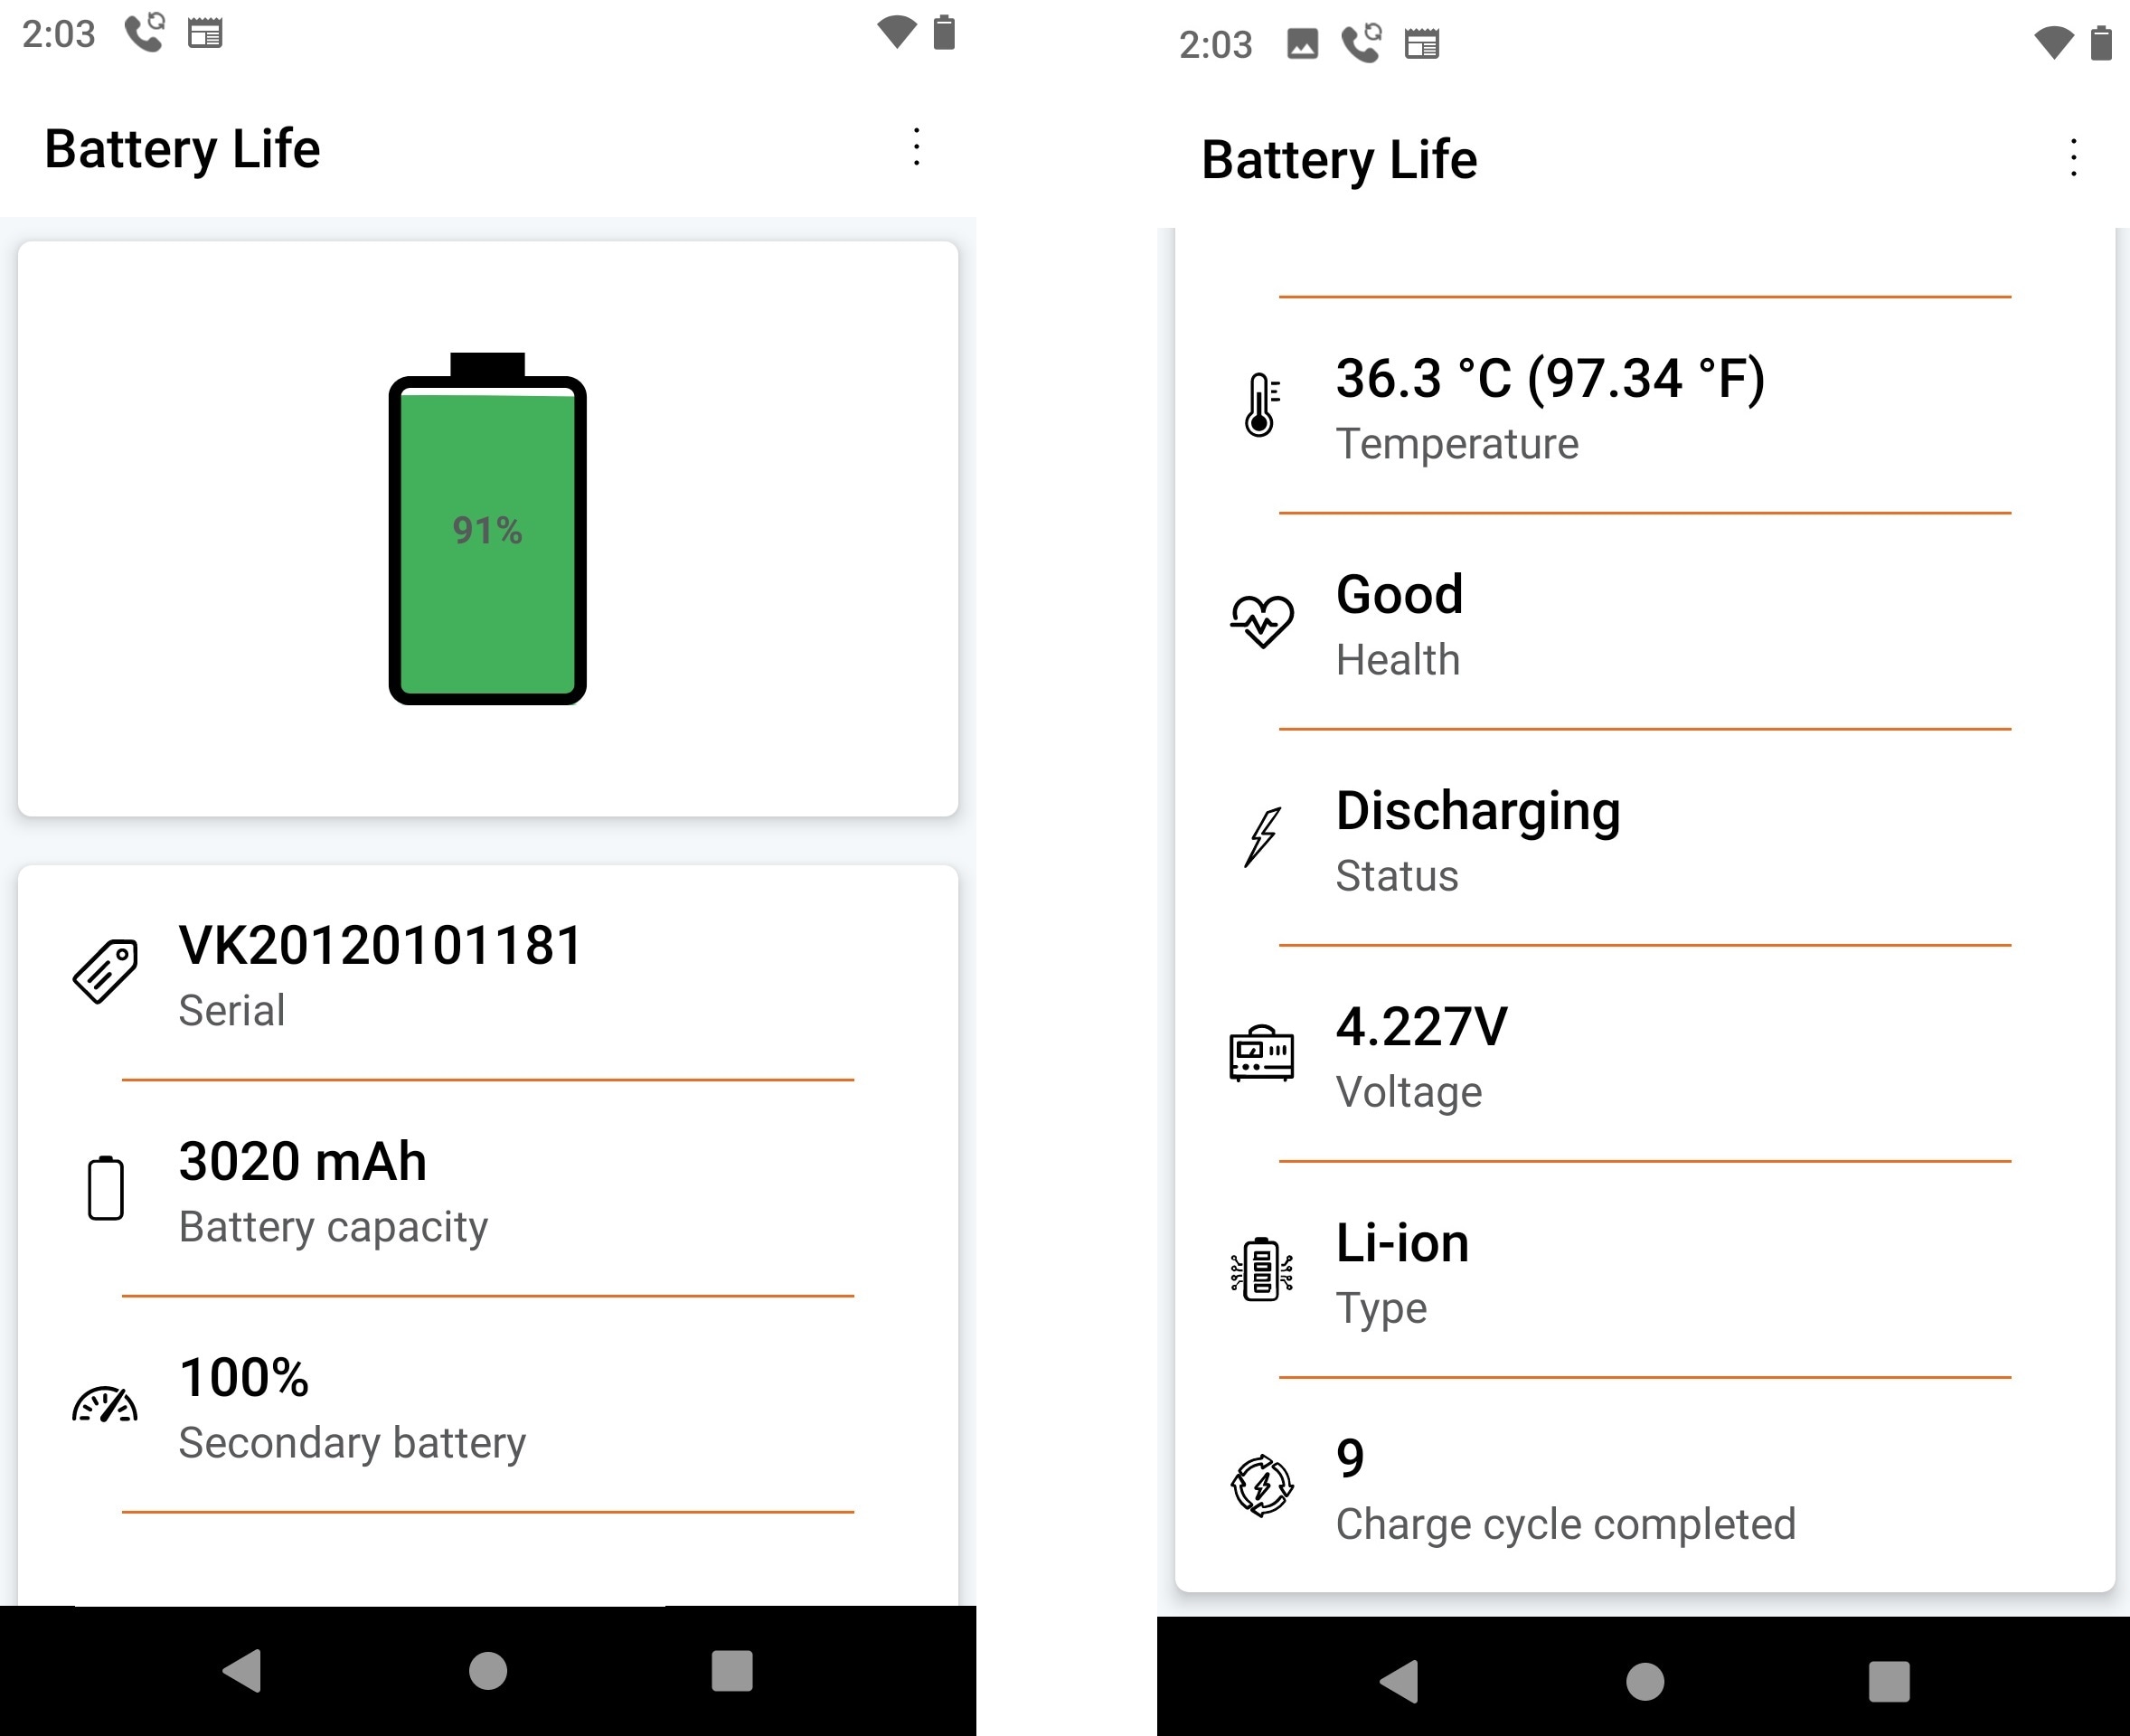
Battery Life
-
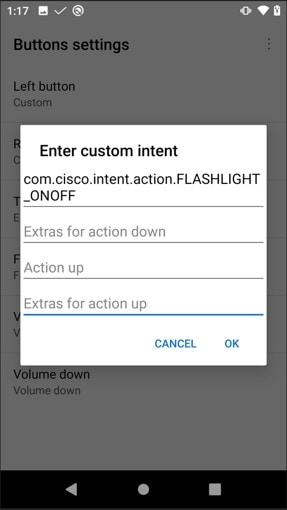
Buttons
-
Barcode
-
Custom Settings
-
Call Quality Settings
-
Web API
 Note |
The Barcode, Buttons, Call Quality Settings, and Custom Settings apps are OEMConfig apps. To configure these apps, your EMM must support the OEMConfig enhanced schema. If necessary, consult with your EMM support for assistance. |
Program the Enterprise Mobility Management application
The Cisco Wireless Phone 840 and 860 is designed for environments that deploy mobile devices using an Enterprise Mobility Management (EMM) application solution such as Cisco Meraki Systems Manager. Your EMM application allows you to group devices so that you can manage them independently.
For specific directions on how to use Cisco Meraki Systems Manager to group phones, see the technical documentation.
Before you begin
-
Configure your EMM application with your domain certificate.
-
Link the phones to an existing or new Android for Work account to manage access to apps in the Google Play Store, including Cisco apps.
Procedure
|
Step 1 |
Sign in to the EMM application. |
||
|
Step 2 |
Set up an Android for Work account, which allows you to sequester the phones from external access and provide only those apps which your organization requires. |
||
|
Step 3 |
Create a configuration profile that contains payloads for each configuration area required.
|
||
|
Step 4 |
Add an Android Enterprise Owner Account to identify the administrator who manages the phone profile.
|
||
|
Step 5 |
Create identifying tags so that you can separate phones into corresponding groups.
|
||
|
Step 6 |
Use the full name of the Cisco app (com.cisco.xxxx) to download the desired Cisco apps from the Google Play Store.
|
||
|
Step 7 |
Configure the Cisco apps with the key-value pairs.
|
||
|
Step 8 |
In the EMM application console, approve the apps for distribution. |
||
|
Step 9 |
Configure the Android Kiosk Mode to include the apps that you want.
|
Cisco Wireless Phone Configuration Management tool for Cisco app configuration
If you are not using an Enterprise Mobility Management (EMM) application to configure the Cisco app settings, you can configure the settings for each of these Cisco apps in the Cisco Wireless Phone Configuration Management tool.
-
Barcode
-
Battery Life
-
Buttons
-
Custom Settings
-
PTT
-
Emergency
-
Call Quality Settings
-
Web API
The settings and defaults for these apps in the Cisco Wireless Phone Configuration Management tool are the same as they are on the phones.
Note |
We recommend that you disallow the Allow Notification Shade Settings Gear in the Custom Settings app in Cisco Wireless Phone Configuration Management tool. Otherwise, users can easily open apps that aren't on the Smart Launcher. |
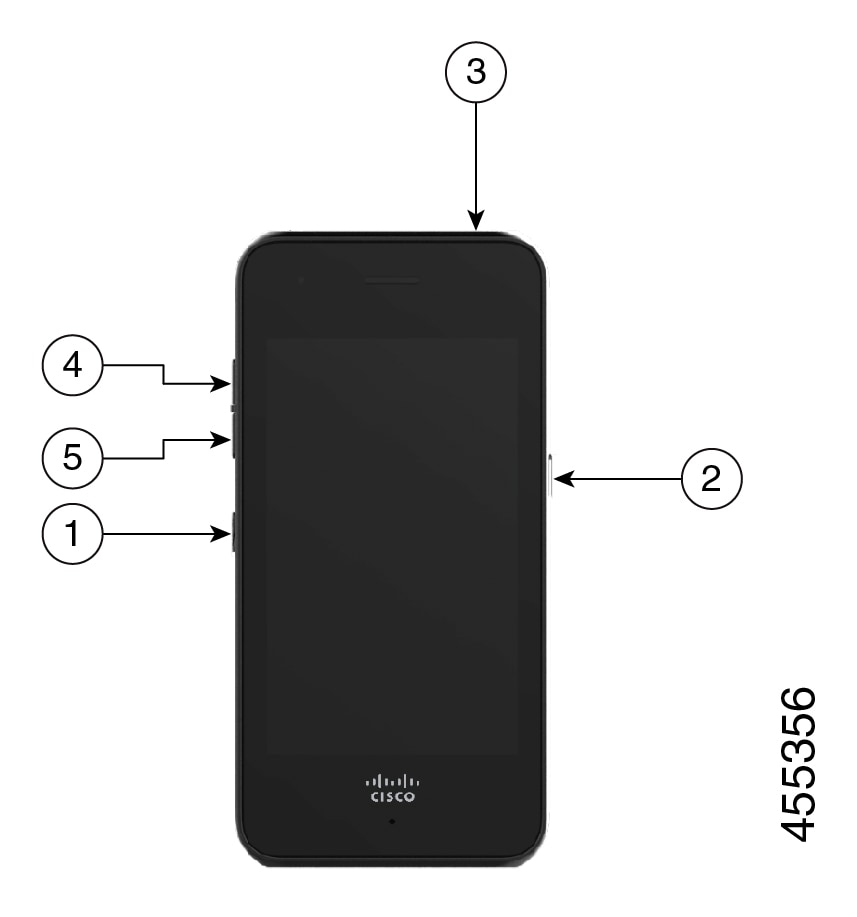
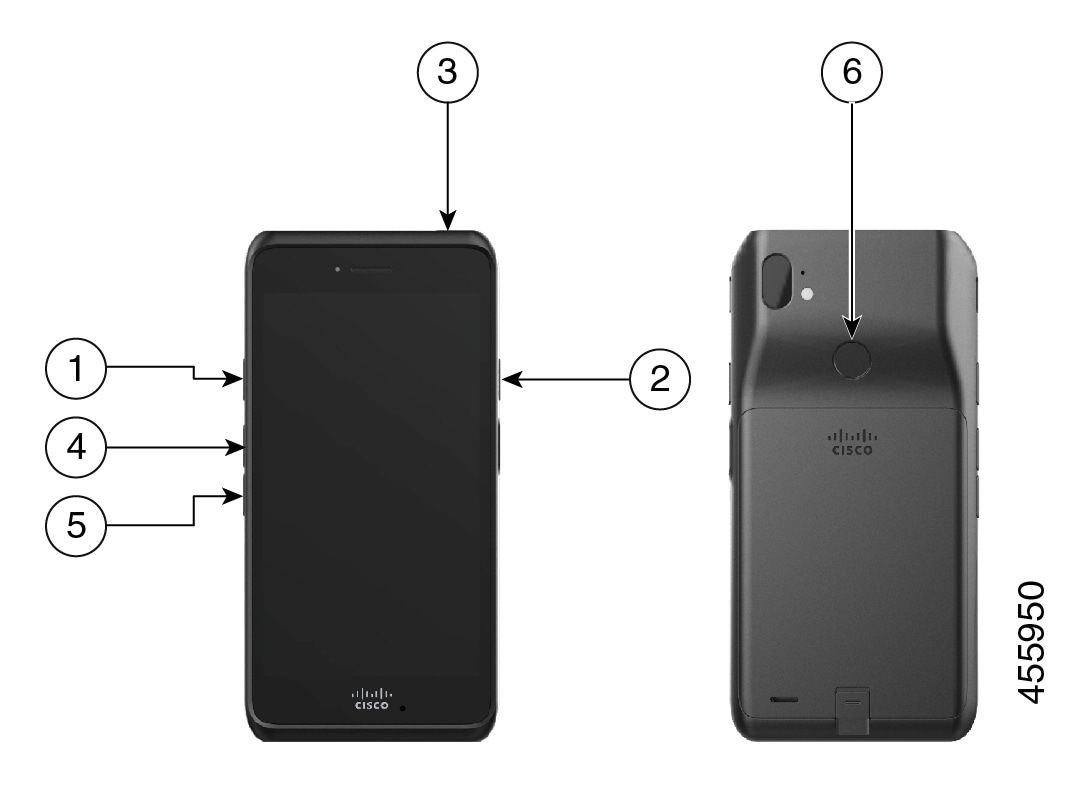
Access the Cisco app settings on the phone
If you are not using an Enterprise Mobility Management (EMM) application or the Cisco Wireless Phone Configuration Management tool to configure the Cisco app settings, you can access the settings for each Cisco app on the phone.
Procedure
|
Step 1 |
From the phone, tap the desired Cisco app. The Buttons, Call Quality Settings, Custom Settings, and Web API apps open directly to their settings page. |
|
Step 2 |
For the Barcode, Battery Life, Emergency, and PTT apps, tap the Overflow
|
|
Step 3 |
Tap Settings. |


 Feedback