Cisco UCS Fabric Interconnect 6664 and Cisco UCS Fabric Interconnect 6652 Component Replacement
The Cisco UCS 6600 Series Fabric Interconnect product family consists of the following different models.
|
Model |
Cisco PID |
Notes |
|---|---|---|
|
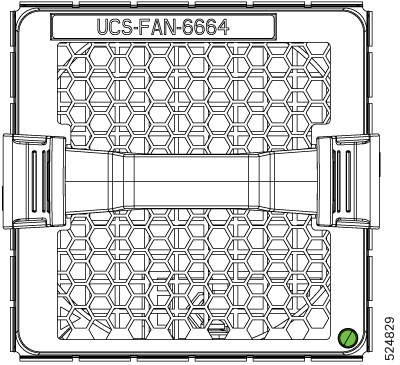
Cisco UCS 6664 Fabric Interconnect |
UCS-FI-6664 |
2 rack-unit (2U) chassis supporting Ethernet, FCoE, and FC ports. MACsec enabled. |
|
Cisco UCS 6652 Fabric Interconnect |
UCS-FI-6652 |
1 rack-unit (1U) chassis supporting Ethernet, FCoE, and FC. MACsec enabled. |
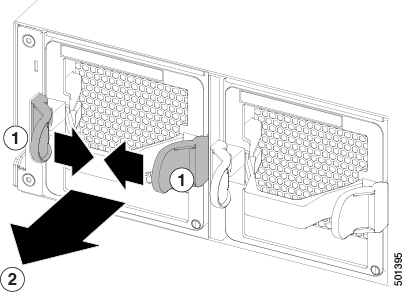
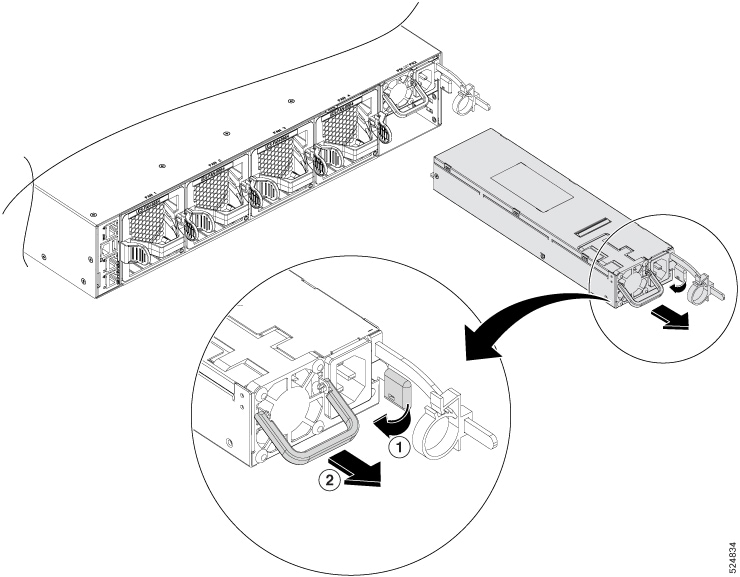
Both models of the Cisco 6600 Series Fabric Interconnect have similar hardware components that are field-serviceable. You can assume that service procedures are the same for each model unless documentation explains otherwise.


 Feedback