|
Name
|
(Required.) Enter a unique name to identify this adapter.
|
|
Description
|
Optional description of the adapter.
|
|
Operative Status
|
From the list, click one of the following:
-
Running is the normal running state where the integration sends network object groups to ASA.
In the Running state, the adapter's status is displayed as Ok on the dynamic attributes connector Adapters page.
-
Paused pauses sending network object groups, such as during an upgrade. You can pause and resume sending network object groups at
any time; this option preserves the objects already pushed to ASA.
To resume sending network object groups, edit this adapter again and click Running.
In the Paused state, the adapter's status is displayed as Disabled on the dynamic attributes connector Adapters page.
-
Paused and Clear stops sending network object groups to ASA and clears any previously sent objects from ASA. After you do this you can delete the adapter if you wish.
In the Paused and Clear state, the adapter's status is displayed as Disabled on the dynamic attributes connector Adapters page.
|
|
APIC Site Prefix
|
(Required.) Enter a name to use as the prefix for the objects created on ASA. We strongly recommend you use a unique name.
This value must match all of the following:
This value is not case-sensitive.
|
|
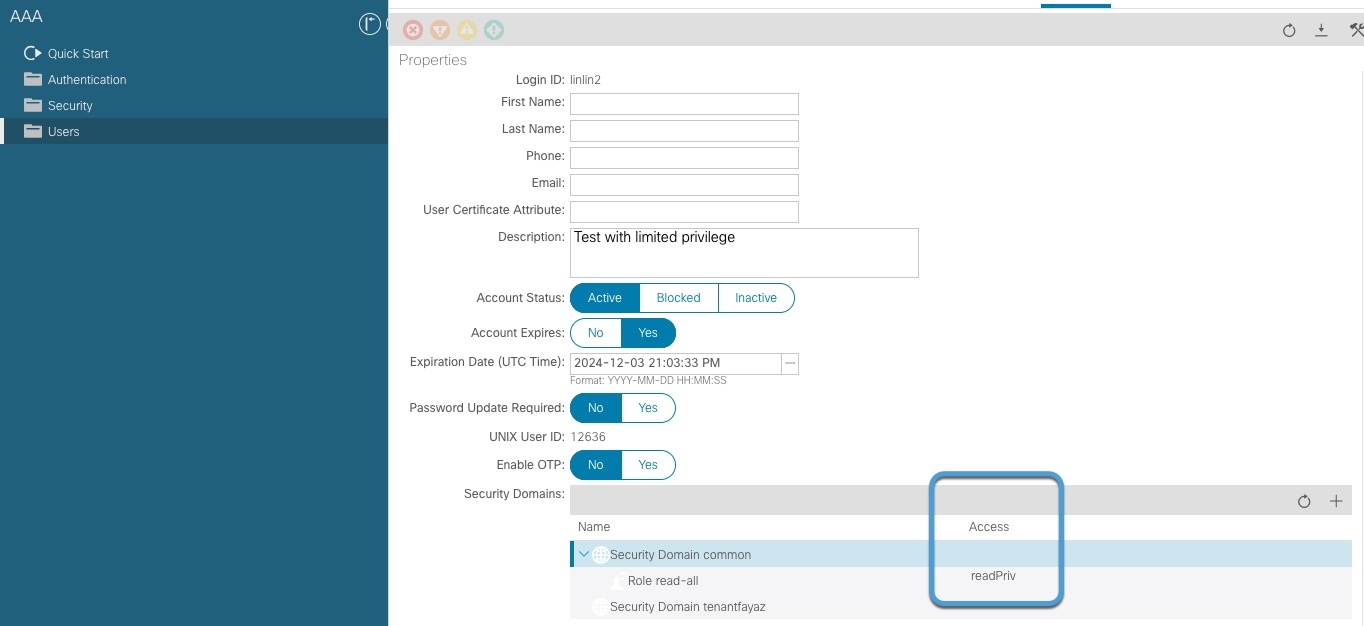
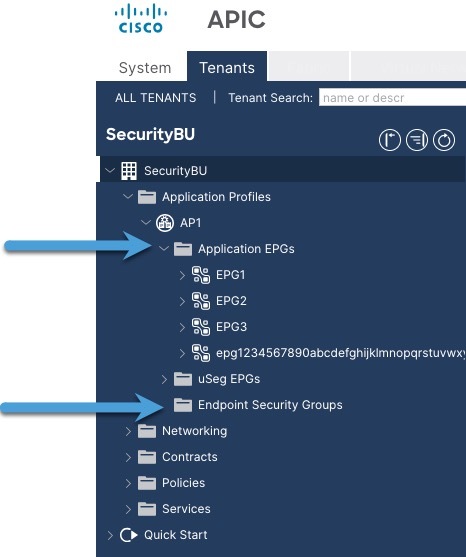
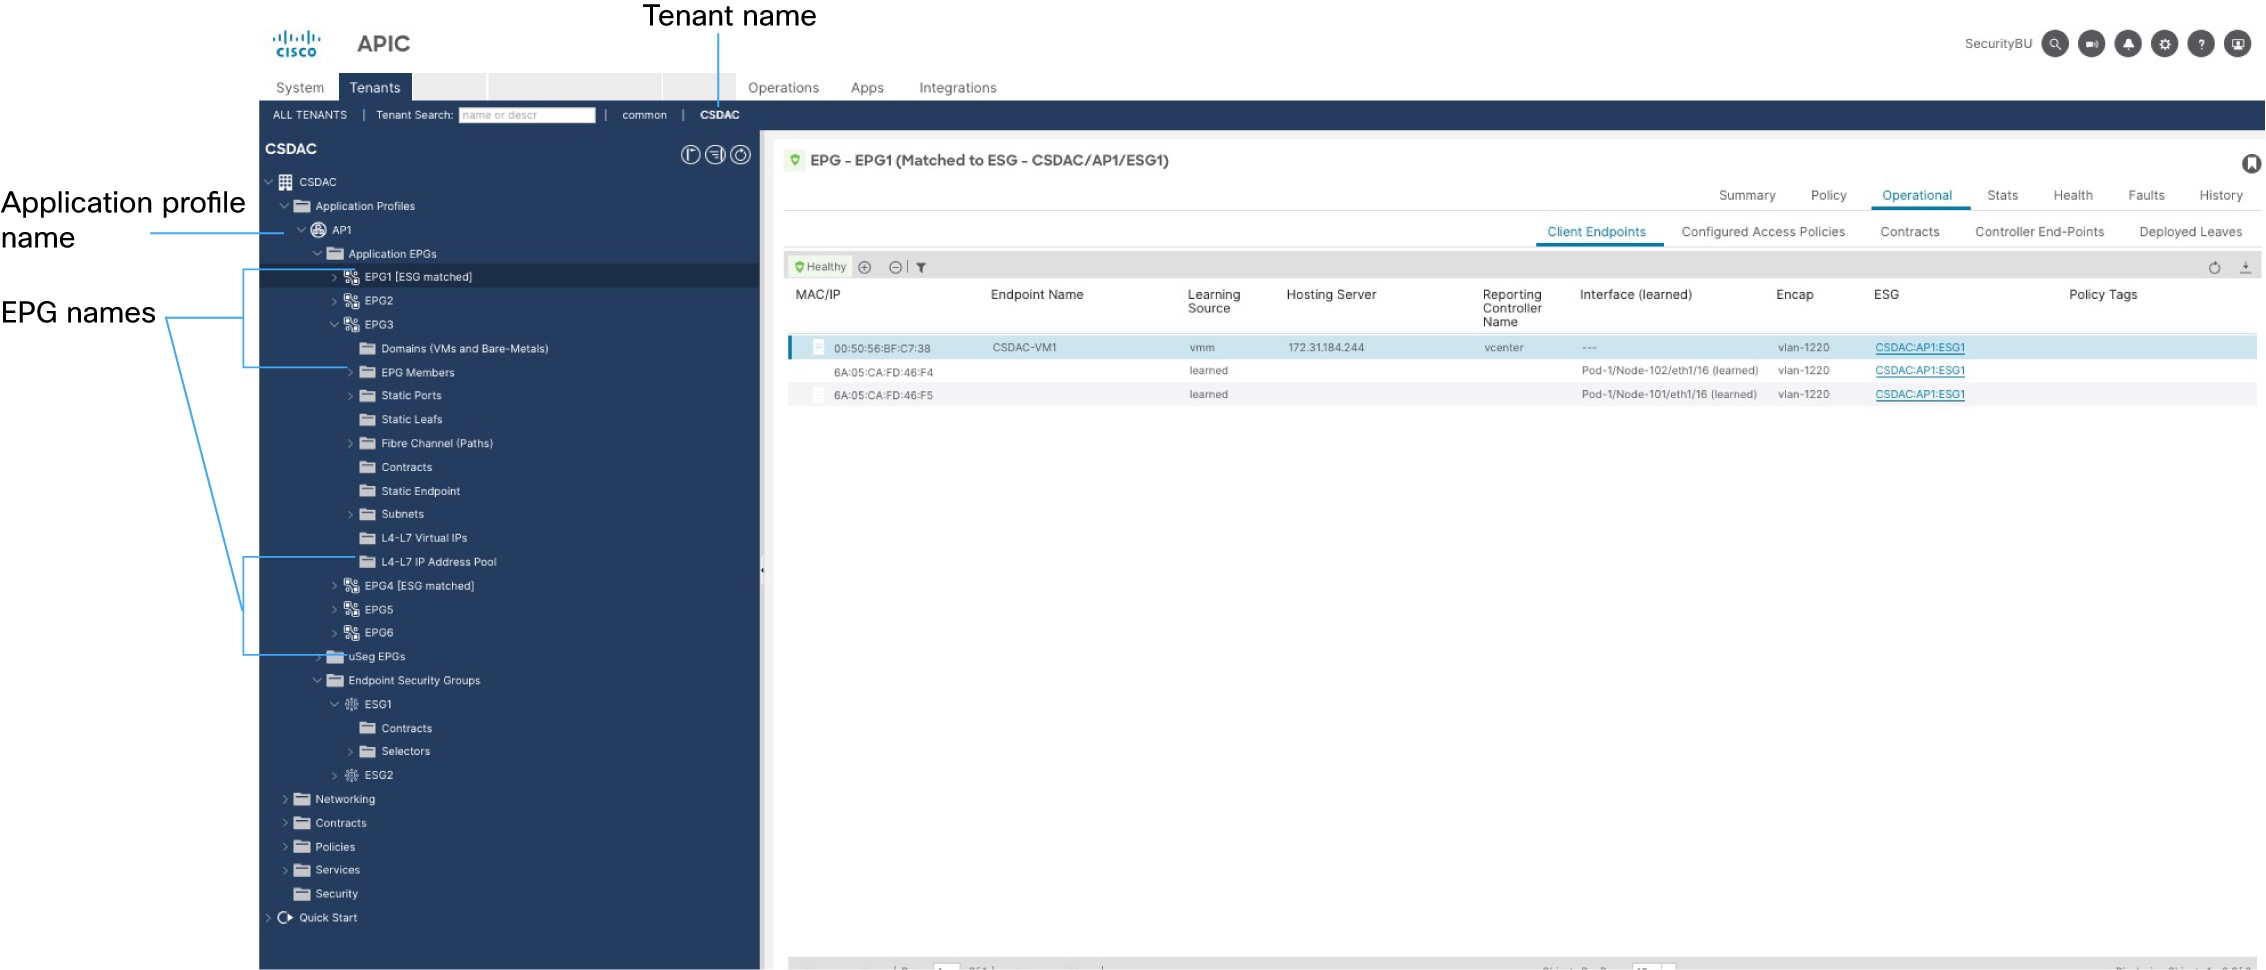
Tenants
|
(Required.) Specify the names of one or more Cisco APIC tenants the readPriv user has access to. Objects from only the tenants you specify will be pushed to ASA.
To specify more than one tenant, separate them with a comma character.
|
|
IP
|
(Required.) ASA IP address.
|
|
Port
|
(Required.) ASA
TLS/SSL port (default is 443).
|
|
User
|
(Required.) Enter the name of an ASA user with privilege level 15.
|
|
Password
|
(Required.) Enter the user's password.
|
|
Security Context
|
(Optional.) Enter the name of the ASA security context. For more information, see Enabling Multiple Context Mode in the Cisco Security Appliance Command Line Configuration Guide.
|
|
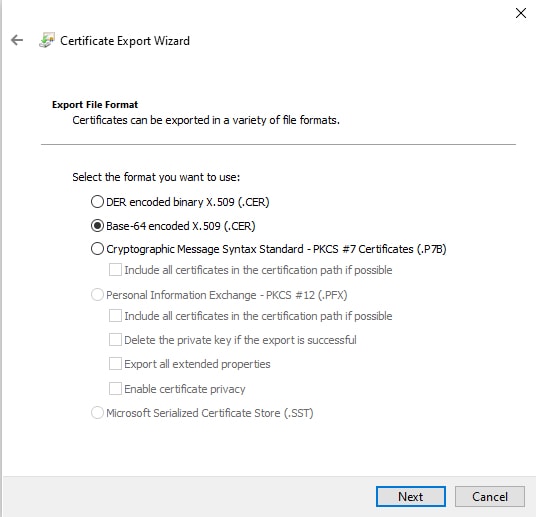
Server Certificate
|
(Optional.) You have the following options:
|

 )
)
 Feedback