Installation
This chapter explains how to install the Device Manager software, and contains the following topics:
Required Expertise
This guide is intended for Field Technicians who have experience with a Cisco Field Area Router (FAR).
System Requirements
The Device Manager has the following system requirements:
•![]() Microsoft Windows 7 Enterprise / Professional or Windows XP (with Service Pack 3)
Microsoft Windows 7 Enterprise / Professional or Windows XP (with Service Pack 3)
•![]() 2 GHz or faster processor recommended
2 GHz or faster processor recommended
•![]() 1 GB RAM minimum (for potential large log file processing)
1 GB RAM minimum (for potential large log file processing)
•![]() WiFi or Ethernet interfaces
WiFi or Ethernet interfaces
•![]() 4 GB disk storage space
4 GB disk storage space
•![]() Windows login enabled
Windows login enabled
•![]() Utility-signed Certificate Authority (CA) and Client Certificate for FAR authentication (obtained from your IT department)
Utility-signed Certificate Authority (CA) and Client Certificate for FAR authentication (obtained from your IT department)
Certificate Installation
Before you can install the Device Manager, you must install the client identity and CA certificates in the computer.
Follow these steps to install the certificate on the computer running the Device Manager:
Step 1 ![]() Contact your IT Department for the PKCS #12 formatted certificate, which should contain the client identity and CA certificates (along with the private key and its password to import the certificates onto the laptop).
Contact your IT Department for the PKCS #12 formatted certificate, which should contain the client identity and CA certificates (along with the private key and its password to import the certificates onto the laptop).
Step 2 ![]() Copy the certificate (provided by your IT Department) to your computer, for example, on the Desktop.
Copy the certificate (provided by your IT Department) to your computer, for example, on the Desktop.
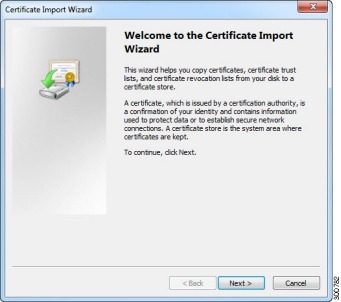
Step 3 ![]() Double-click the certificate to open the Installation Wizard.
Double-click the certificate to open the Installation Wizard.

Step 4 ![]() Click Next to start the installation.
Click Next to start the installation.
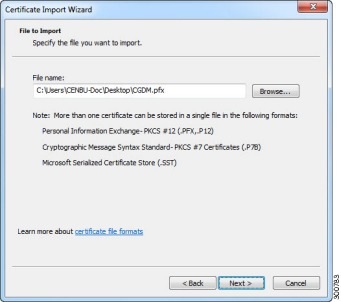
Step 5 ![]() Browse to the location of the certificate file, and then click Next.
Browse to the location of the certificate file, and then click Next.
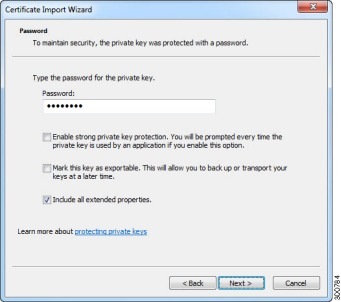
Step 6 ![]() Enter the password, unmark the `Enable strong private key protection', mark `Include all extended properties', and then click Next.
Enter the password, unmark the `Enable strong private key protection', mark `Include all extended properties', and then click Next.
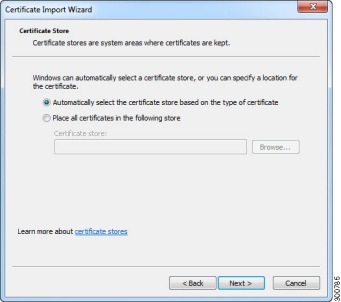
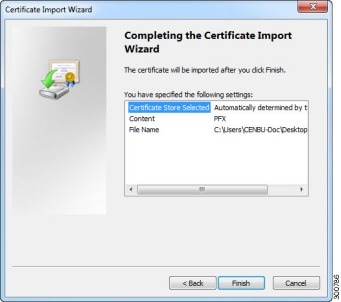
Step 7 ![]() Keep the default setting `Automatically select the certificate store based on the type of certificate,' and then click Next.
Keep the default setting `Automatically select the certificate store based on the type of certificate,' and then click Next.
Step 8 ![]() Click Finish.
Click Finish.
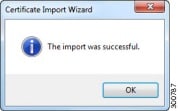
Step 9 ![]() Click OK to complete installation of the certificate.
Click OK to complete installation of the certificate.
Step 10 ![]() Open the Windows Registry using regedit and search for the following registry entry:
Open the Windows Registry using regedit and search for the following registry entry:
Computer\HKEY_CURRENT_USER\Software\Cisco\CGDManager\Cgdm
Step 11 ![]() Edit the
Edit the CERT_COMMON_NAME to match the common name of the certificate from step 1 (above).

Note ![]() Specify the
Specify the CA_COMMON_NAME field or leave it as --AutoDetect--.
Follow these steps to verify the client certificate (optional):
Step 1 ![]() (Optional) Verify the client certificate in the Internet Explorer browser:
(Optional) Verify the client certificate in the Internet Explorer browser:
IE browser\Tools\Internet Options\Content\Certificates\Personal
Step 2 ![]() (Optional) Verify the CA certificate in the Internet Explorer browser:
(Optional) Verify the CA certificate in the Internet Explorer browser:
IE browser\Tools\Internet Options\Content\Certificates\Trusted Root Certification
Authorities
Step 3 ![]() (Optional) Delete the C:\ProgramData\Cisco\CGDManager folder. Run the Device Manager to automatically generate this folder, and then quit the Device Manager without any actions (to clean up any previous settings).
(Optional) Delete the C:\ProgramData\Cisco\CGDManager folder. Run the Device Manager to automatically generate this folder, and then quit the Device Manager without any actions (to clean up any previous settings).
Note ![]() The program data directory for the Device Manager is hidden, by default. To view this directory, open an Explorer window, select Folder Options from the Tools menu, and then select the View tab. Select `Show hidden files and folders', and then click OK.
The program data directory for the Device Manager is hidden, by default. To view this directory, open an Explorer window, select Folder Options from the Tools menu, and then select the View tab. Select `Show hidden files and folders', and then click OK.
Device Manager Installation
Follow these steps to install the Device Manager:
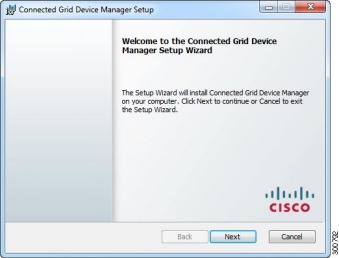
Step 1 ![]() Double-click CGDManager executable to start installation.
Double-click CGDManager executable to start installation.
Step 2 ![]() Click Next.
Click Next.
Step 3 ![]() Select the checkbox to accept the terms of the License Agreement, and then click Next.
Select the checkbox to accept the terms of the License Agreement, and then click Next.

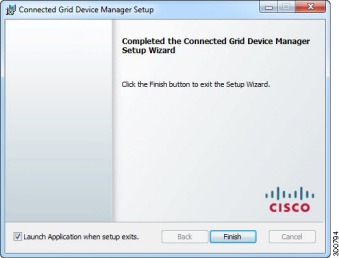
Step 4 ![]() Click Finish to exit the Setup Wizard and launch the Device Manager.
Click Finish to exit the Setup Wizard and launch the Device Manager.
Device Manager Removal
To remove the Device Manager application, click Start > All Programs > Cisco CGD Manager > Uninstall Cisco CGD Manager, or use Add or Remove Programs from the Control Panel.
 Feedback