Network Model Configuration—Expert Mode

This section contains the following topics:

Expert Mode Overview

The Expert Mode browser has additional device and service functionality that might not be available in the WAE UI. You might also prefer to use the Expert Mode over the WAE CLI because all options for each operation are visible on the Expert Mode.

The Expert Mode is a mix of custom-built widgets and auto-rendering from the underlying device, service, and network models. The Expert Mode is immediately updated when new devices, NIMOs, or network models are added to the system.

In the top-right corner of the Cisco WAE UI (https://server-ip:8443), click the icon to access the Expert Mode:

The purpose of this section is to illustrate the Expert Mode and go over procedures to get you up and running. This section does not go into advanced configurations. It is assumed that once you understand the basic procedures, you can configure more complex operations.

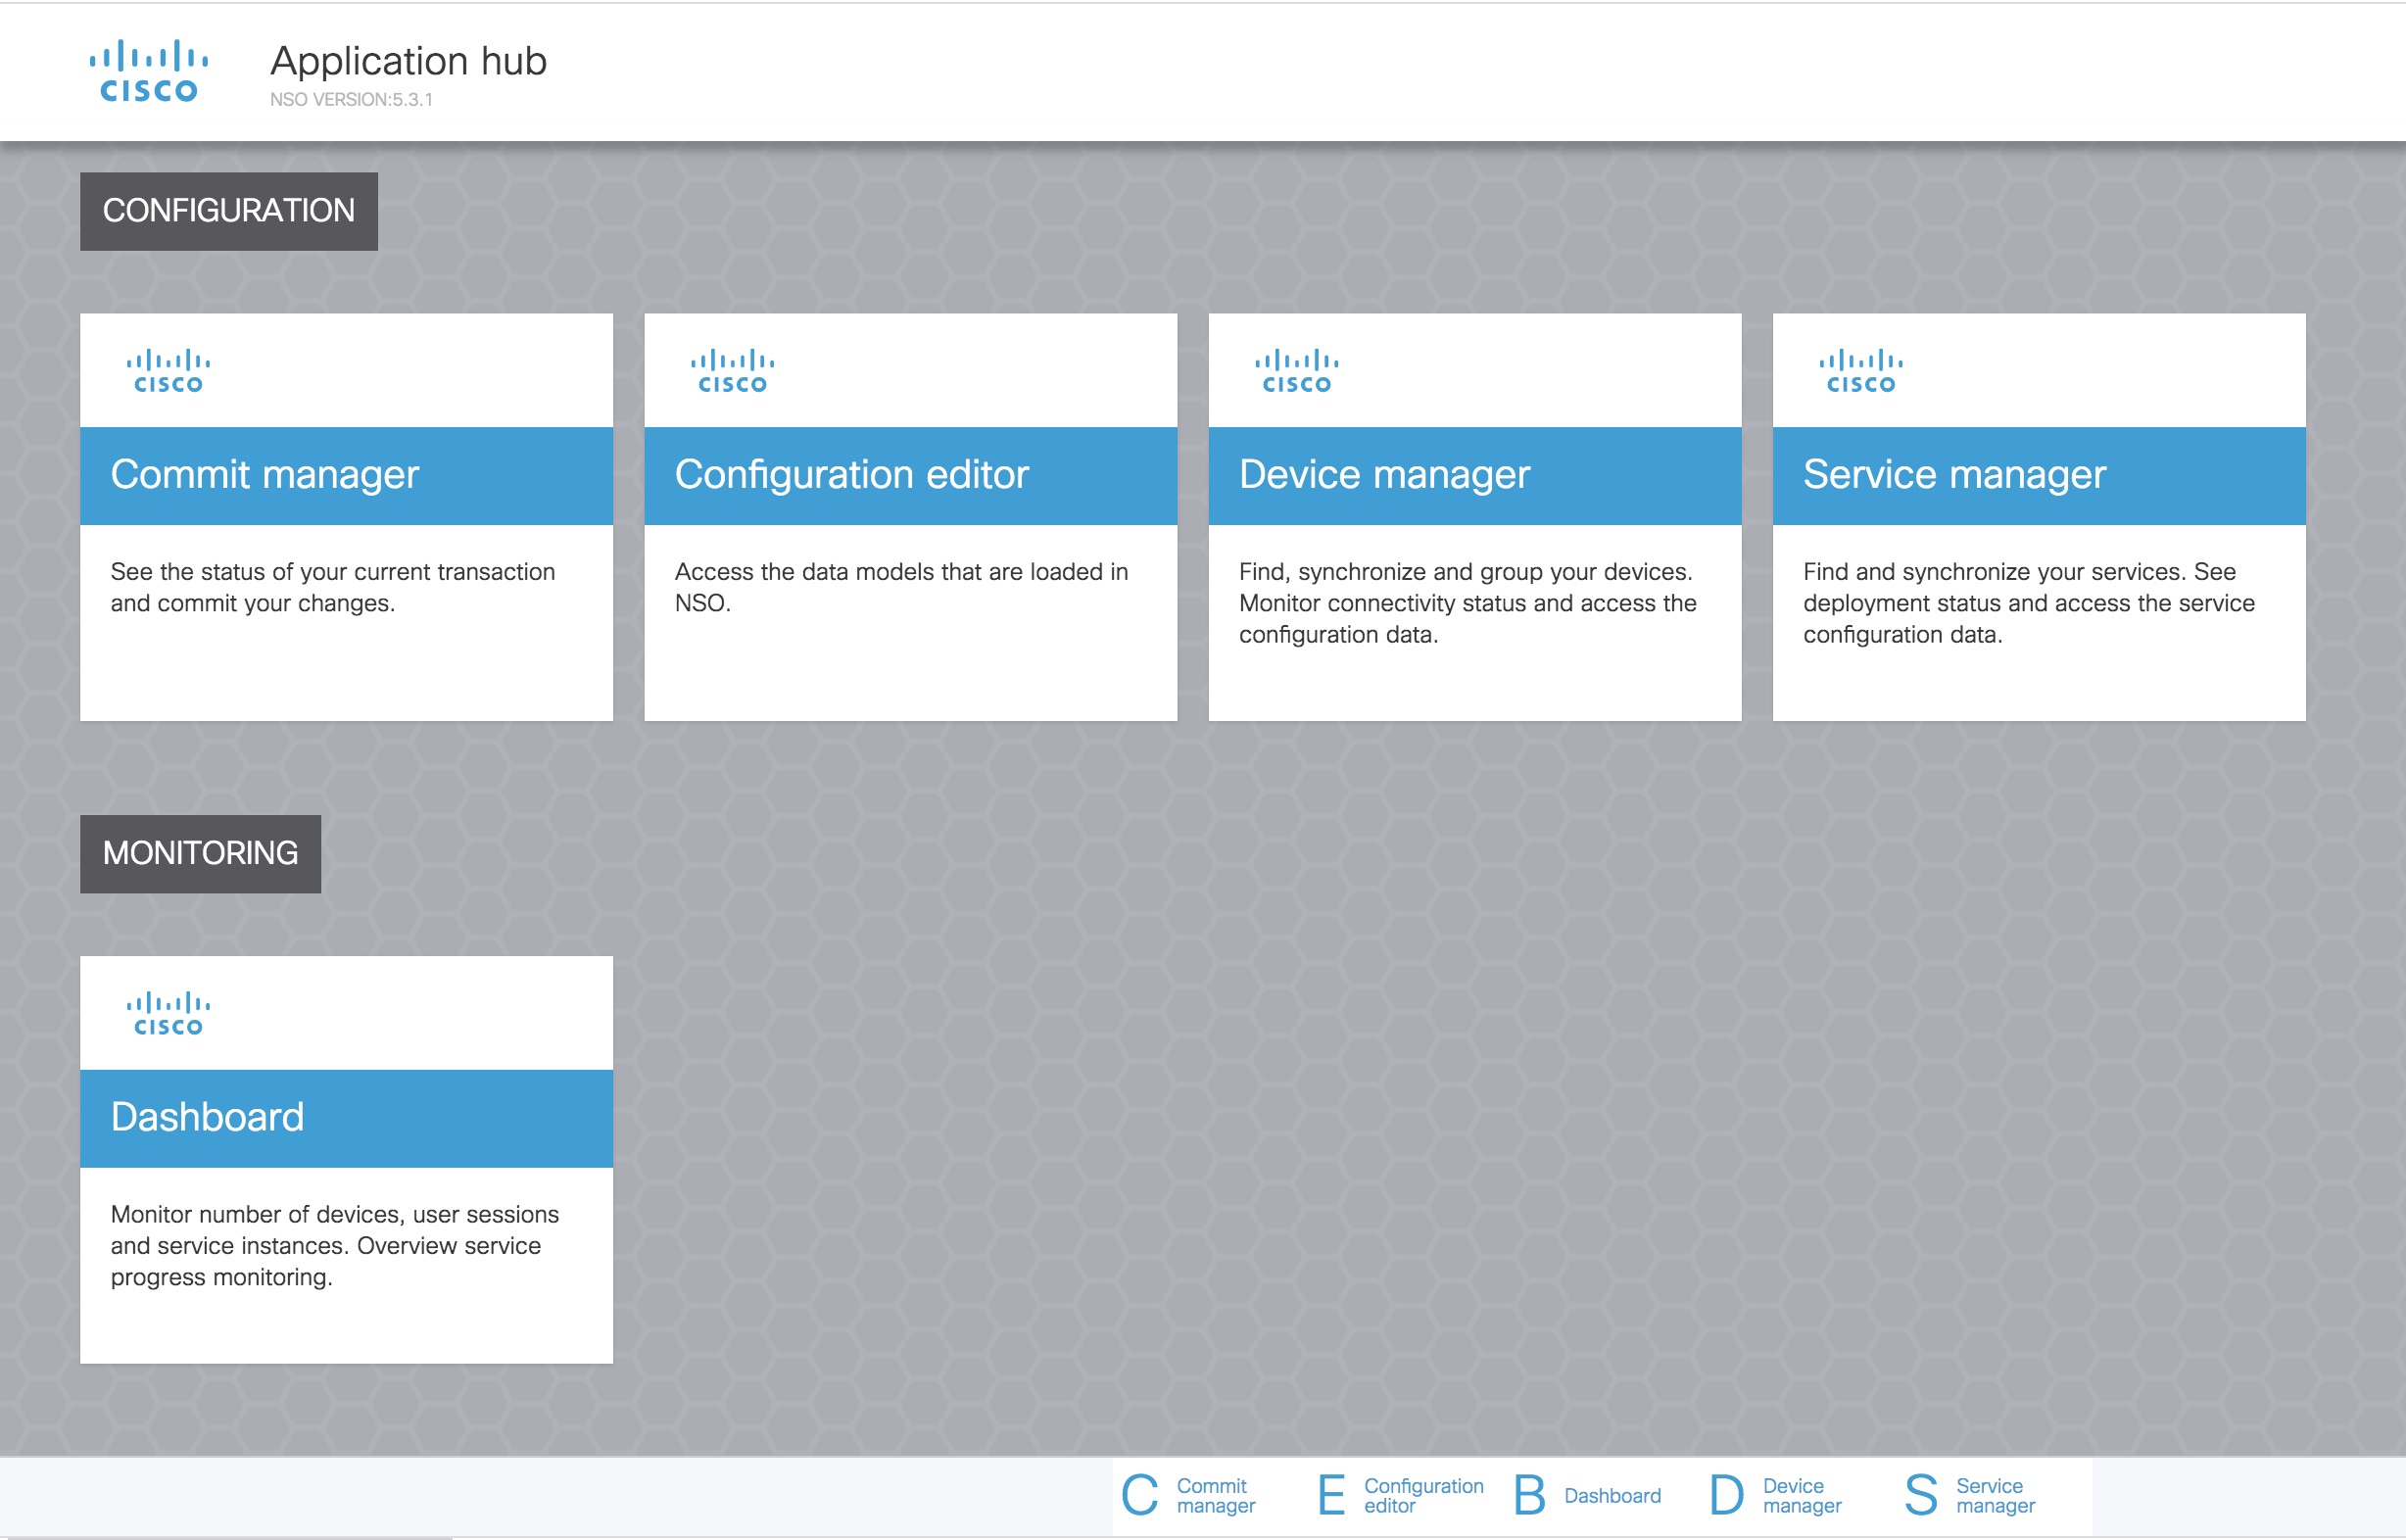
Use the Configuration editor to access the data models. Under Modules tab, click:

  • wae:wae - to configure global settings and agents.

  • wae:networks - to configure network settings and NIMOs.

Use Commit manager to commit any changes. Click the Commit button to save the configuration changes made.

Navigation and Commit

When an object type (for example, a network instance) is selected, a list of all related object instances is shown. When performing network configuration operations, navigate to Commit manager and click Commit button to save the changes. For more information on Commit functionality, see Commit Flags.

Configure a Network Model Using the Expert Mode

This workflow describes the high-level configuration steps on how to create a network model using the Expert Mode.

Step For more information, see...

1. Configure device authgroups and SNMP groups.

Configure Device Access Using the Expert Mode

2. Configure a network access profile.

Configure Network Access

3. Configure agents.

Note

 
This step is only required for collecting SR-PCE or multi-layer information.

4. Create a network and collect basic topology data.

Note


If you plan to consolidate network models and collect more than basic topology (for example, merge topo-bgpls-xtc-nimo and lsp-pcep-xtc-nimo information into one final network model), configure DARE and create networks where collections have not yet been executed. For more information, see NIMO Collection Consolidation.

Create a Network Model

5. Configure additional data collections.

Configure Additional NIMOs

6. (Optional) Configure the Scheduler.

Scheduler Configuration

7. Configure and view plan archives.

Configure the Archive and View Plan Files Using the WAE Expert Mode

Configure Device Access Using the Expert Mode

Cisco WAE uses authgroups for login and SNMP access to the devices. The following procedure describes how to use the Expert Mode to configure authgroups and network access.

Procedure


Step 1

From the Expert Mode, set up authgroups.

  1. In Configuration editor, navigate to /ncs:devices and click the authgroups tab.

  2. Click group.

  3. Click the plus (+) sign, enter an authgroup name, and click confirm.

  4. Click default-map and enter the default authentication parameters. For example, choose remote-name from the drop-down list, check the default-map check box, and enter the remote name string credentials.

Note

 
If not visible, scroll down to view and enter the remote secondary password.

Step 2

Set up SNMP groups.

  1. Navigate back to /ncs:devices/authgroups and click the snmp-group tab.

  2. Click the plus (+) sign and enter an SNMP group name.

  3. Check default-map and enter the default SNMP credentials. For example, choose community-name from the drop-down list, check the default-map check box, and enter the community string credentials.

  4. If configuring SNMPv3, click the usm tab and enter in the applicable User-based Security Model (USM) values (remote user, security level, authentication, and privacy protocols). For more information on USM values, see the SNMPv3 options explained in the following WAE UI procedural topic: Configure Network Access Using the Cisco WAE UI.

  5. Navigate to Commit manager and click Commit button.


What to do next

Create a network access profile. See Configure Network Access.

Configure Network Access

To configure the network access from the expert mode:

Procedure


Step 1

In Configuration editor, navigate to /wae:wae and click the nimos tab.

Step 2

Click network-access.

Step 3

Click the plus (+) sign and enter a network access name.

Step 4

Select and enter the appropriate network access details.

The default authgroups and SNMP groups you configured earlier are available in the drop-down lists. For more information, see Configure Device Access Using the Expert Mode.

Step 5

Click the node-access tab to enter the management IP address of the router.

  1. Click the plus (+) sign, enter the IP address, and click Add.

  2. Enter the associated management IP.

Repeat these steps as necessary for all management IPs.

Step 6

Navigate to Commit manager and click Commit button.


What to do next

After completion of this task, you can create a network and run basic data collection.

Configure Agents Using the Expert Mode

Agents perform information-gathering tasks and must be configured before certain network collection operations. This section describes how to configure these agents using the Expert Mode.

Configuring SR-PCE Agents Using the Expert Mode

The SR-PCE agent (formerly known as XR Transport Controller (XTC)) periodically collects information from SR-PCE and keeps it as raw and normalized data. The agent is used to connect to the REST interface of SR-PCE and retrieve the PCE topology. This data is consumed by different applications (Bandwidth on Demand) and NIMOs (topo-bgpls-xtc-nimo and lsp-pcep-xtc-nimo) to extract topology, LSPs, and so on. An agent must be configured for every SR-PCE node in the network. SR-PCE agents must be configured for any networks that use SR-PCE before you can perform a network collection.

Procedure

Step 1

From the Expert Mode, in Configuration editor, navigate to wae:wae and click the agents tab.

Step 2

Click xtc.

Step 3

Click the plus (+) icon to add agents.

Step 4

Enter the following information:

  • SR-PCE agent name.
  • auth-group—SR-PCE credentials that were defined in Configure Device Access Using the Expert Mode.
  • keep-alive-interval—Interval in seconds to send keep-alive messages. Default is 10.
  • net-recorder—You can select off, record, or playback. Default is off.
  • xtc-host-ip—Host IP address of the SR-PCE router.
  • batch-size—Number of nodes to send in each message. Default is 1000.
  • connection-timeout-interval—Specify the connection timeout. Default is 50.
  • net-record-dir—Specify the location.
  • xtc-rest-port—Port number to use for REST calls to the SR-PCE host. The default is 8080.
  • storage-format
  • keep-alive-threshold—Specify the keep alive threshold. Default is 2.
  • use-auth—To use HTTP basic authentication with defined credentials, choose true from the drop-down list.
  • max-lsp-history—Number of LSP entries to send. Default is 0.
  • enabled—Enables the SR-PCE agent. Default is true.

As long as the enabled option is set to true, the SR-PCE agent starts right away after configuration or when WAE starts. In the same respect, the SR-PCE agent stops when the configuration is removed, if WAE has stopped, or the enabled option is set to false.

Step 5

Click Commit.

Step 6

Repeat these steps for all SR-PCE nodes.

Step 7

To view the raw data, navigate back to /wae:wae/agents/xtc-agent:xtc/xtc/<agent-name> and click the pce tab.

Step 8

Click the appropriate data containers (topology-nodes, tunnel-detail-infos, and xtc-topology-objects) to view the raw data.

To confirm data was collected successfully, navigate to /wae:wae/agents/xtc-agent:xtc/xtc/<agent-name> and click the status tab. You can view the time stamp of the last successful collection.

Note


The WAE SR-PCE agent keeps updating in the back end even after a restart is successful. The status of SR-PCE agent updation can be seen from data received and data reports flags from SR-PCE agent status. The value of more than 0, means that agent update is completed.


What to do next

Configure collections for networks that use SR-PCE. For more information, see NIMO Descriptions.

Adding Buffer Time

You can add buffer time to process notifications in an SR-PCE agent. If buffer is enabled, the SR-PCE agent processes the notification, and only after the buffered time, the consolidated notification is sent to topo-bgpls-xtc-nimo and lsp-pcep-xtc-nimo. This feature is helpful if there are too many back to back notifications like link flapping, etc.

The SR-PCE agent can be configured to collect only Topology information or LSP information using the below configuration.

wae agents xtc xtc xtc-agent-name advanced topology-collection

Options:

off

SR-PCE agent does not collect the topology details

collection-only

SR-PCE agent collects the topology information but does not subscribe for notification

collection-and-subscription

SR-PCE agent collects and receives notification updates from SR PCE server

Similarly we can configure SR-PCE agent for LSP collection and notifcation using lsp-collection advanced attribute.

wae agents xtc xtc agent_name advanced

events-buffer-time

Time to buffer SR-PCE events before sending to NIMOs, in seconds (0 = disabled).

lsp-collection

Whether to collect LSP data and to have subscription for network changes.

topology-collection

Whether to collect topology data and to have subscription for network changes.

Configuring Netflow Agents Using the Expert Mode

The netflow agent collects and aggregates exported NetFlow and related flow measurements. These measurements can be used to construct accurate demand traffic data for WAE Design.

Procedure

Step 1

From the Expert Mode, in Configuration editor, navigate to wae:wae and click the agents tab.

Step 2

Click netflow.

Step 3

Select the operation mode from mode drop down list. Choose between single or controller and processor. Select single mode for CNF collection.

Step 4

In the config tab, enter all the details for controller, processor, jms and common.

The controller node, processor node, jms and common folders are displayed based on the operation mode selected.

Note


For CNF, though the mode is Single, it is mandatory to configure the controller node, processor node. Give valid json file for cluster-config-file-path under Controller tab, and valid service-instance-id under Processor tab matching the entry inside json file.

Step 5

Click Commit.

Step 6

In the netflow tab, click start > Invoke start to start collecting.

Step 7

Click stop > Invoke stop to stop collecting.

Step 8

Run the status > Invoke status to request agent status using CLI:

wae agents netflow status 
status true
message 
CLUSTER STATUS - BEGIN
 
    AGENT NODE - BEGIN
        cluster ID:                   wae-netflow-agent
        instance ID:                  agent-single

Note

 
  • Open standard OS terminal.

  • Ensure waerc file is sourced.

  • Run following command:

    sudo /home/wae/test/run/packages/cisco-wae-netflow-agent/priv/bin/flow_cluster_manage -action prepare-os-for-netflow
  • Stop wae and restart your system.

You need to do this only once before the first run of netflow collection.


Example

Following is a sample agent config:

admin@wae# show running-config wae agents netflow 
wae agents netflow mode single
wae agents netflow config controller cluster-config-file-path /opt/wae-netflow/flow-config-single.json
wae agents netflow config processor service-instance-id agent-single
wae agents netflow config common log-level debug
What to do next

Configure collections for networks that use Netflow. For more information, see NIMO Descriptions.

Configuring SNMP Agents using the Expert Mode

The SNMP agent can be configured to collect data using continuous poller to build a network model.

Procedure

Step 1

From the Expert Mode, n Configuration editor, navigate to wae:wae and click the agents tab.

Step 2

Click snmp.

Step 3

Click the plus (+) icon to add agents.

Step 4

Enter the name and click confirm.

Step 5

Click the poller that you created and enter the details:

  • Set network-access using the dropdown.

  • Set enabled to true.

Step 6

Click discovery tab. Enable and set polling periods for node-discovery and interface-discovery.

Step 7

Click run-snmp-poller.


Configure the Configuration Parsing Agent Using the Expert Mode

The Configuration Parse agent can collect (run-config-get) router configuration files from Cisco, Juniper, and Huawei routers .The agent can retrieve the configuration by determining the router type/vendor. After collecting the configuration files , the user can configure a cfg-parse-nimo to collect or parse LSP, VPN, port, and Shared Risk Link Groups (SRLG) data. For information on what types of router configurations the agent can read, see Router Configuration Information.

The following procedure describes how to configure the agent using the Expert Mode. You can also use the Cisco WAE UI to configure this agent (Cisco WAE UI Overview).

Procedure

Step 1

From the Expert Mode, navigate to wae:wae and click the agents tab.

Step 2

Click cfg-parse.

Step 3

Click the plus (+) icon to add agents and enter a Configuration Parsing agent name. This can be any arbitrary name.

Step 4

Click the get tab and choose the network access.

Step 5

Click Commit.

Step 6

Navigate back to the cfg-parse tab and click run-config-get > Invoke run-config-get.

Note


The configurations are saved at the location:

<wae-run-dir>/data/agents/cfg-parse/<agent-name>
Example:
admin@wae# show running-config wae agents cfg-parse cfg-parse pc-test 
wae agents cfg-parse cfg-parse pc-test 
 source-network topo-network
 network-access test-net-access
!

Router Configuration Information

The following router configuration information can be read by the Configuration Parse agent:

  • Router name

  • Router IP address (loopback)

  • Interface names (inside IGP topology)

  • Interface IP addresses

  • Interface capacities (if available)

  • IGP type and metrics (IS-IS or OSPF)

  • RSVP reservable bandwidth (MPLS)

  • LAG ports (for Ethernet) and bundle ports (for different link types)

  • LSPs and LSP paths

  • Named paths and named path hops

  • Segment lists and segment list hops

Create a Network Model

When creating a network you must also configure basic topology collection using the topo-igp-nimo or the topo-bgpls-xtc-nimo. The following procedure describes the first configuration step using the Expert Mode.

Before you begin

Procedure


Step 1

From the Expert Mode, in Configuration editor, navigate to /wae:networks.

Step 2

Click the plus (+) sign and enter a network model name.

Step 3

Click Add.

Step 4

Click the nimo tab.

Step 5

From the Choice - nimo-type drop-down list, choose one of the following:

Step 6

Click the corresponding link. For example, if you chose topo-igp-nimo, click the topo-igp-nimo link and enter the applicable parameters.

Step 7

Navigate to Commit manager and click Commit button. This network model can now be used as the source network for additional network collections.


What to do next

Configure additional network collections using this network model as the source network. For more information, see NIMO Descriptions.

Configure Additional NIMOs

This topic only describes the general steps on configuring different types of advanced network data collection. NIMOs are used to collect different types of data. Some NIMOs require the configuration of agents. For more information, see NIMO Descriptions.

Before you begin

You must have a network model with basic collection to be used as a source network. For more information, see Create a Network Model.

Procedure


Step 1

From the Expert Mode, in Configuration editor, navigate to /wae:networks/network/network_name.

Step 2

Click the nimo tab.

Step 3

From the Choice - nimo-type drop-down list, select a NIMO to configure.

Step 4

Enter the appropriate parameters for the selected NIMO.

Step 5

Navigate to Commit manager and click Commit button.

Step 6

Click run-collection > Invoke run-collection.


Configure the Archive and View Plan Files Using the WAE Expert Mode

After creating a network model and running collection, you have the option to retrieve and view plan files. Plan files capture all relevant information about a network at a given time, and can include topology, traffic, routing, and related information.

The Archive is a repository for plan files. See also Configure the Archive Using the WAE CLI, which describes how to configure the Archive using the WAE CLI.

Procedure


Step 1

From Expert Mode, in Configuration editor, navigate to /wae:networks/network/<network_model_name> and click the plan-archive tab.

Step 2

Enter the archive directory.

Step 3

Navigate to Commit manager and click commit.

Step 4

To save the current network model to a plan file into the archive directory you specified, click run.

Step 5

To retrieve a plan file:

  1. Click get.

  2. Enter timestamp and plan format.

    Hover over the fields to view what format is expected.

  3. Click Invoke get.

    The output obtained is encoded string. Open the file from WAE Design GUI.


What to do next

From the WAE Design GUI, you can open plan files residing on WAE Archive.