Cisco Small Business Voice Gateways and ATAs
| Overview | Product Overview |
|---|---|
| Product Type | Communications Gateways |
| Status |
End of Support
EOL Details
|
| Series Release Date | 25-NOV-2008 |
| End-of-Sale Date | 01-JUN-2020 |
| End-of-Support Date | 31-MAY-2025 |
|
This product is no longer supported by Cisco.
Retired Models: - Cisco SPA112 2-Port Phone Adapter - Cisco SPA122 ATA with Router |
|


- US/Canada 800-553-2447
- Worldwide Support Phone Numbers
- All Tools
 Feedback
 Feedback
-
Log in to see full product documentation.
-
Data Sheets and Product Information
- Cisco SPA112 2 Port Phone Adapter Data Sheet
- Cisco SPA122 ATA with Router Data Sheet
- Cisco SPA112 2 Port Phone Adapter Data Sheet (German) (PDF - 263 KB)
- Cisco SPA122 ATA with Router Data Sheet (Italian) (PDF - 260 KB)
- Cisco SPA122 ATA with Router Data Sheet (German) (PDF - 277 KB)
- Cisco SPA122 ATA with Router Data Sheet (LATAM Spanish) (PDF - 273 KB)
- Cisco SPA122 ATA with Router Data Sheet (French) (PDF - 319 KB)
- Cisco SPA112 2 Port Phone Adapter Data Sheet (French) (PDF - 312 KB)
- Cisco SPA112 2 Port Phone Adapter Data Sheet (LATAM Spanish) (PDF - 260 KB)
- Cisco SPA112 2 Port Phone Adapter Data Sheet (Italian) (PDF - 250 KB)
Data Sheets
-
English
- End-of-Sale and End-of-Life Announcement for the Cisco SPA112 2-Port Phone Adapter and SPA122 ATA with Router
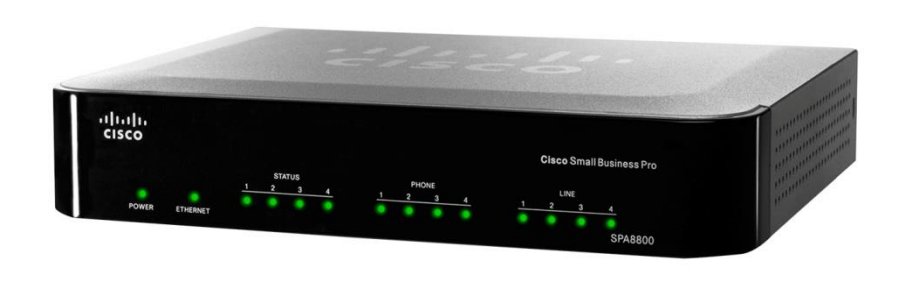
- End-of-Sale and End-of-Life Announcement for the Cisco IP Telephony Gateway SPA8000 and SPA8800
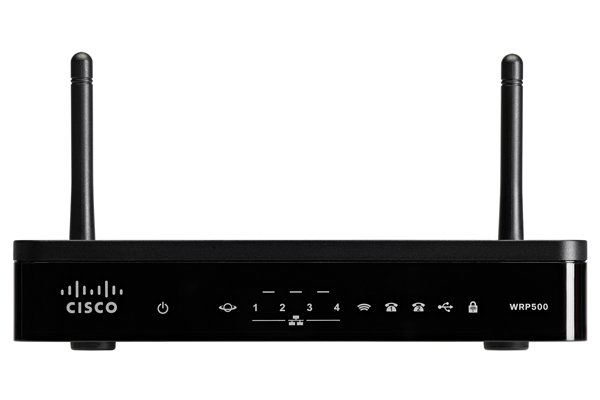
- End-of-Sale and End-of-Life Announcement for the Cisco WRP500 Wireless-AC Broadband Router with 2 Phone Ports
- End-of-Sale and End-of-Life Announcement for the Cisco WRP500 Wireless-AC Broadband Router (EU)
- End-of-Sale and End-of-Life Announcement for the Cisco WRP400 Wireless-G Broadband Router with 2 Phone Ports (North America)
- End-of-Sale and End-of-Life Announcement for the Cisco SPA232D Multi-Line DECT ATA and SPA302D Multi-Line DECT Handset
- End-of-Sale and End-of-Life Announcement for the Cisco WRP400 Wireless-G Broadband Router with 2 Phone Ports (EU/APAC/UK)
- End-of-Sale and End-of-Life Announcement for the Cisco SPA2102 Single Port Router with 2 Phone Ports
End-of-Life and End-of-Sale Notices
Log in to see available downloads.
-