Supported accessories
You can use several accessories with your phone. For part numbers of the approved accessories, see Cisco accessory part numbers.
 Caution |
Use only the approved chargers and power supplies for your phone. |
-
Headsets—Standard headsets that use a 3.5-mm jack or Bluetooth® headsets.

Note
The phones don't support Apple headsets. The phones can connect to Bluetooth headsets and speakers only. They don’t support any other type of Bluetooth device.
-
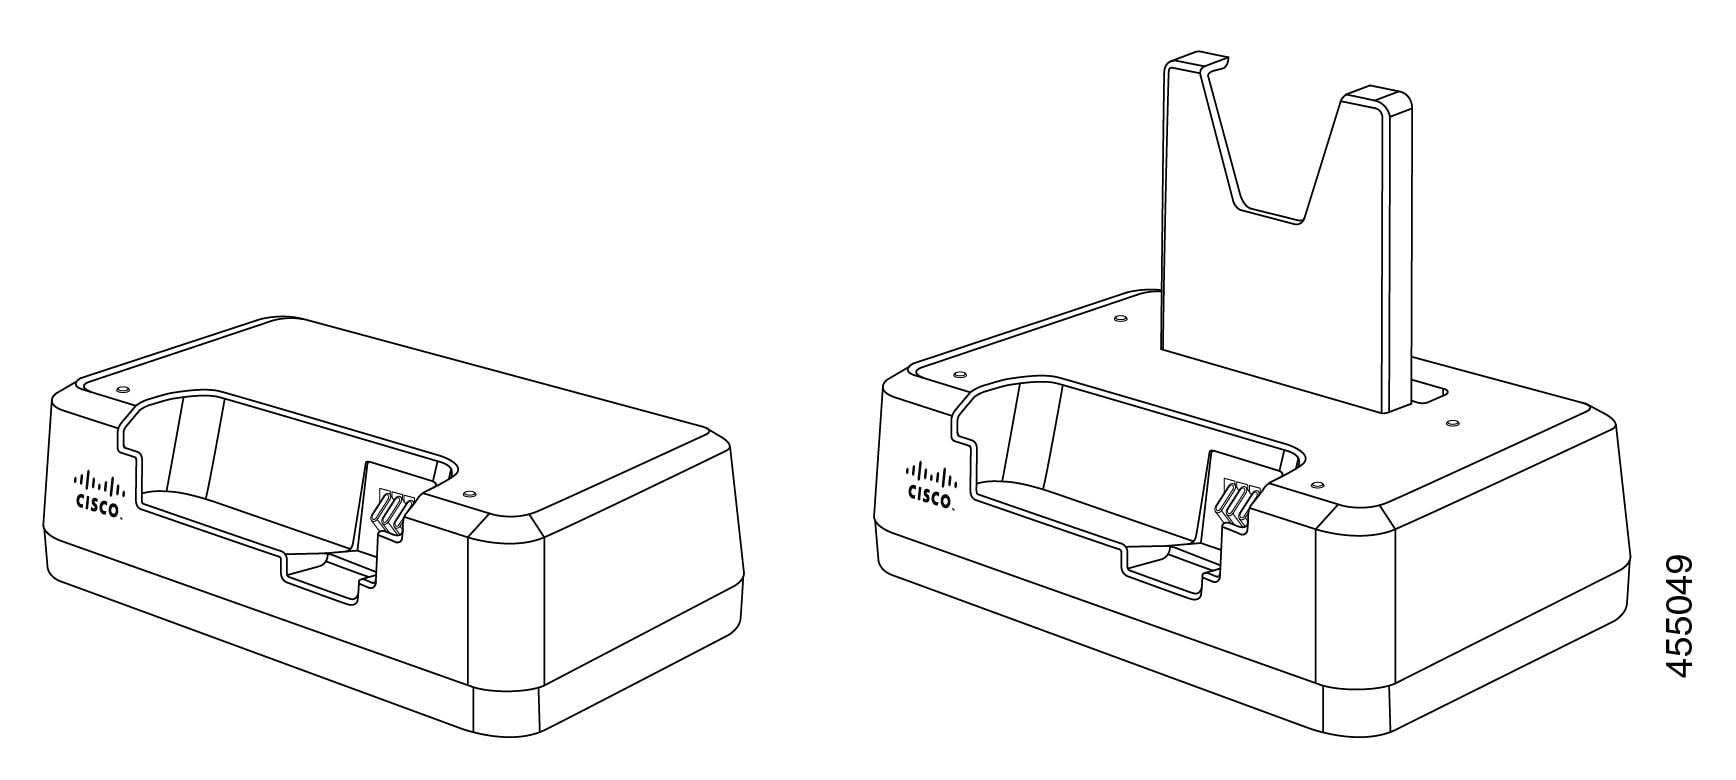
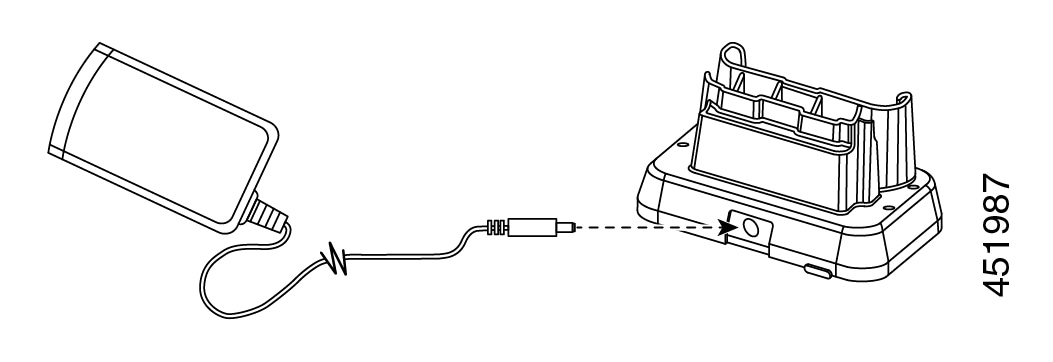
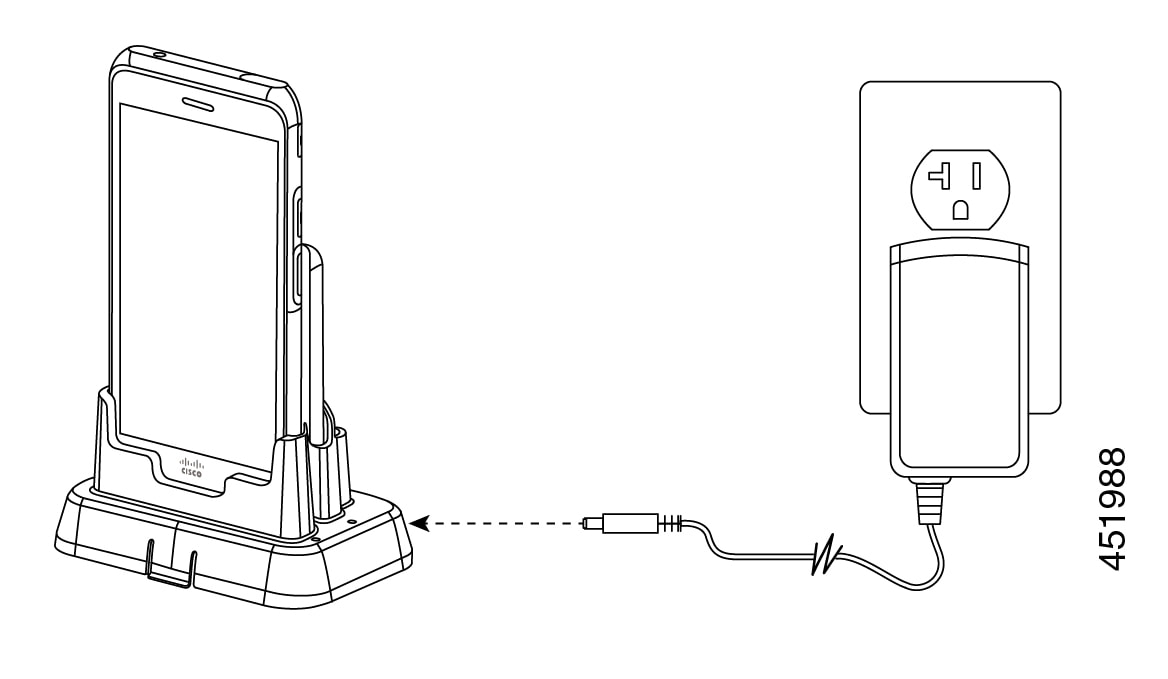
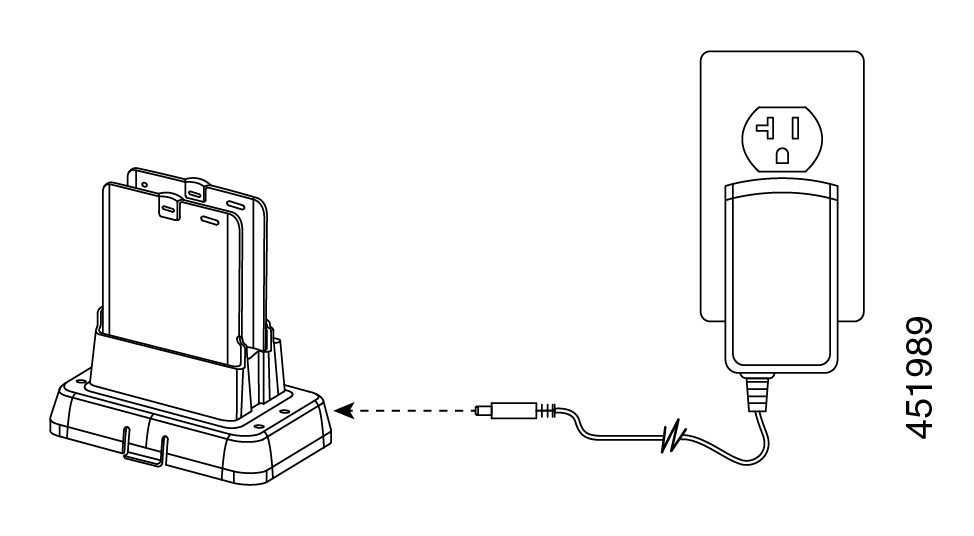
Desktop chargers—Use the approved power supply.
-
Cisco Wireless Phone 840 Desktop Charger
-
Cisco Wireless Phone 840 Desktop Dual Charger
-
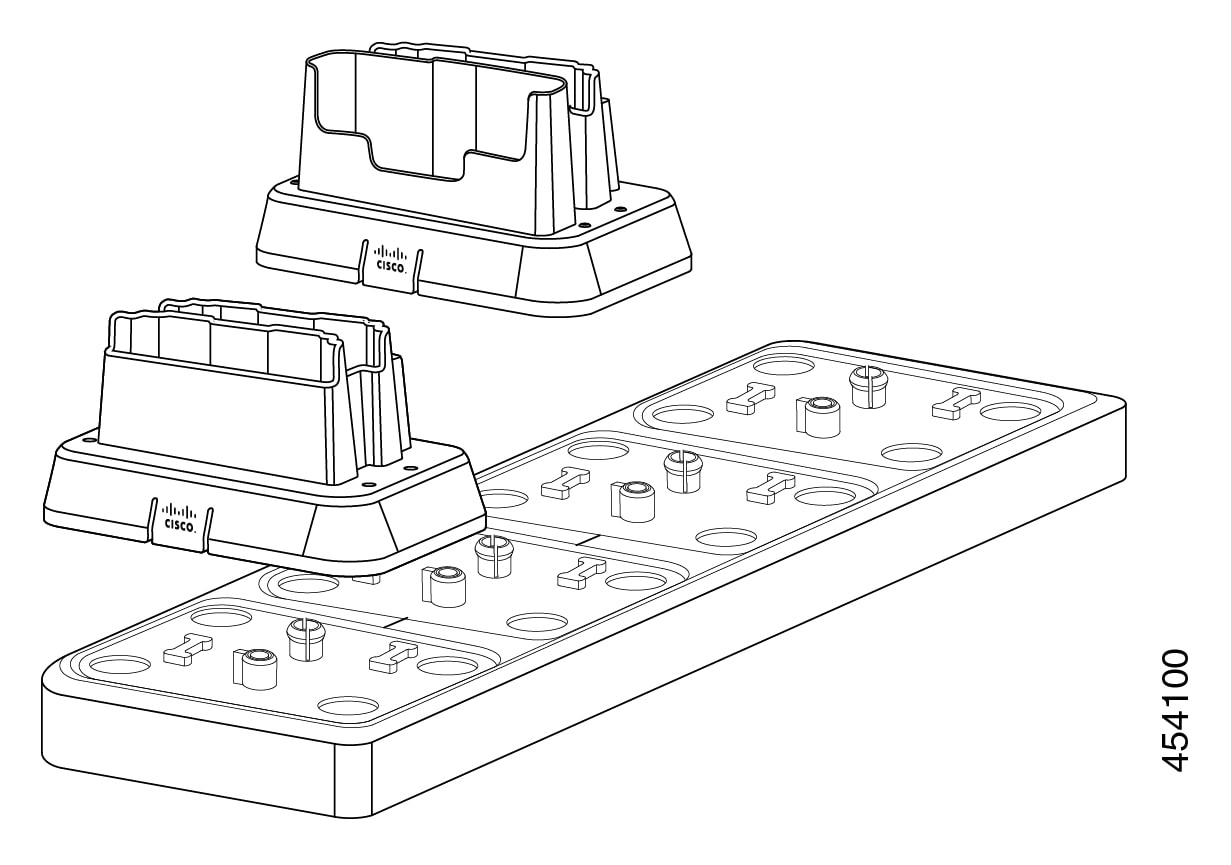
Cisco Wireless Phone 860 Desktop Dual Charger Module
-
Cisco Wireless Phone 860 Desktop Battery Charger Module
-
-
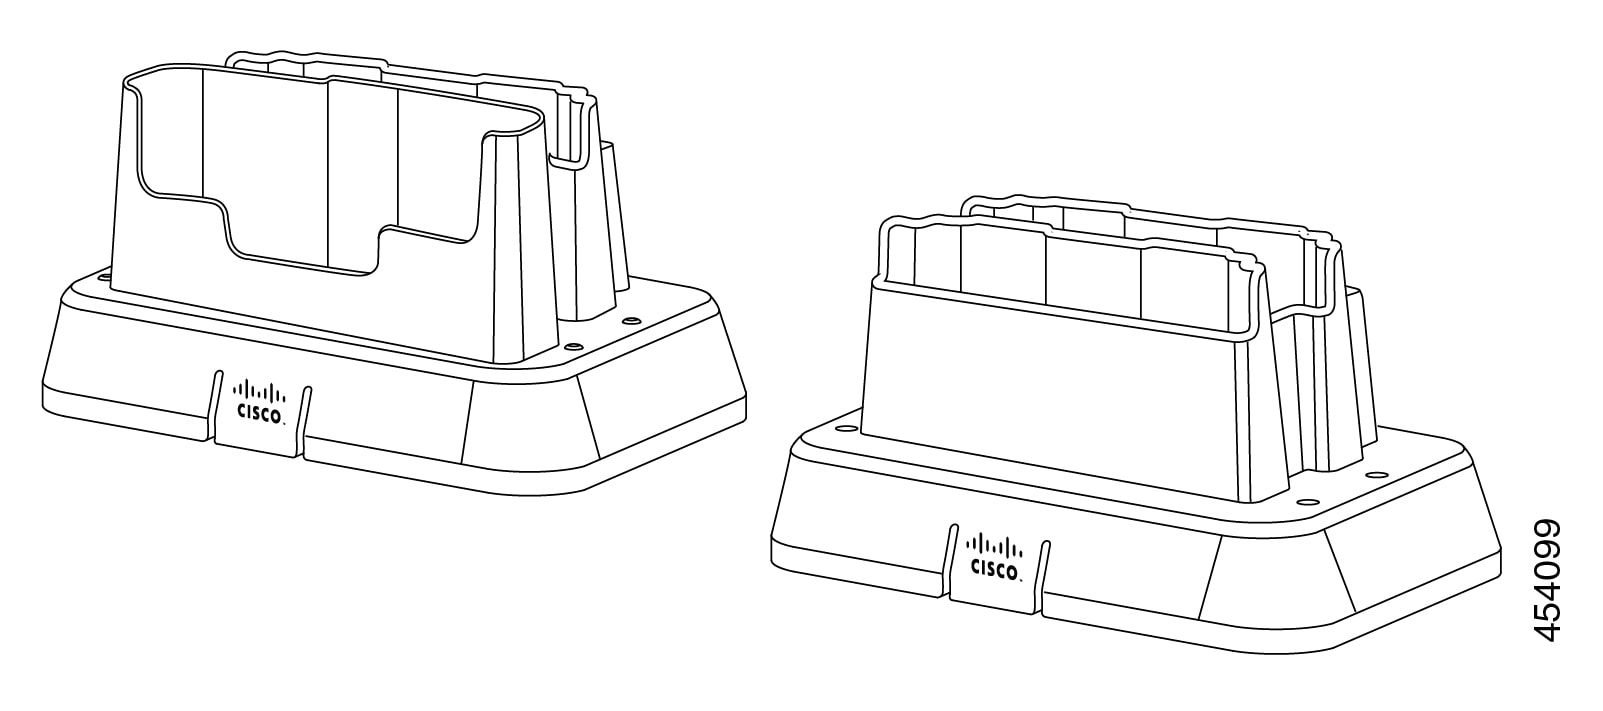
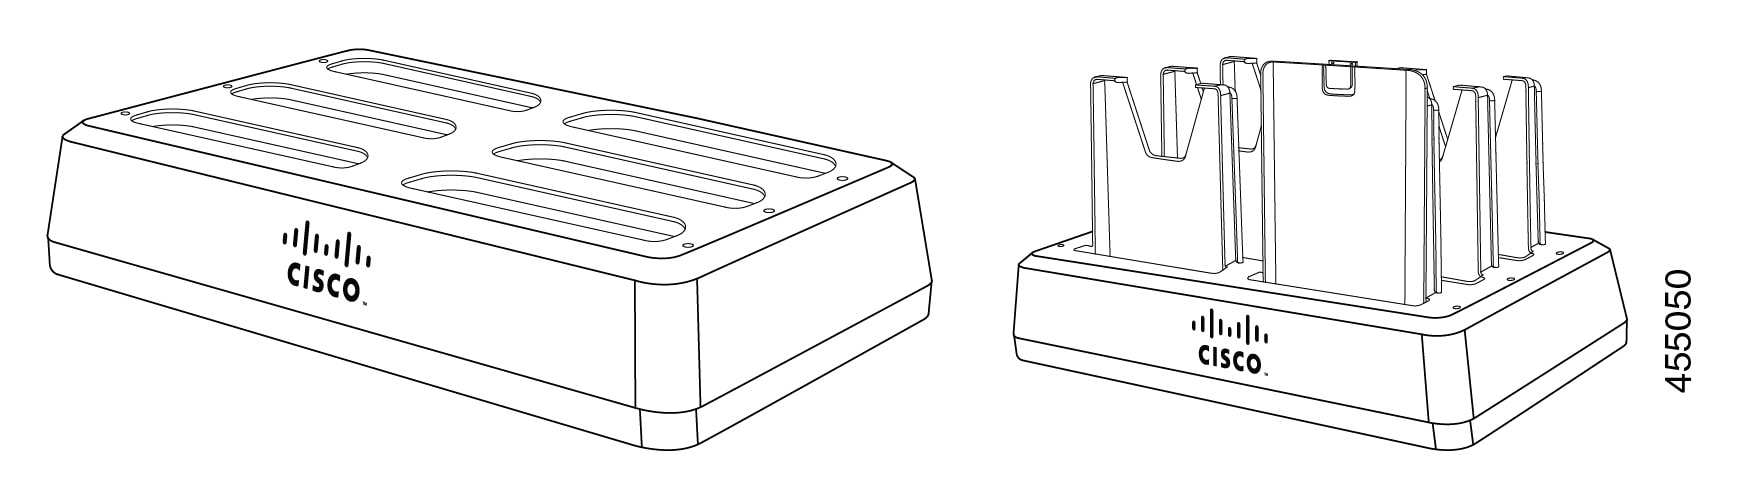
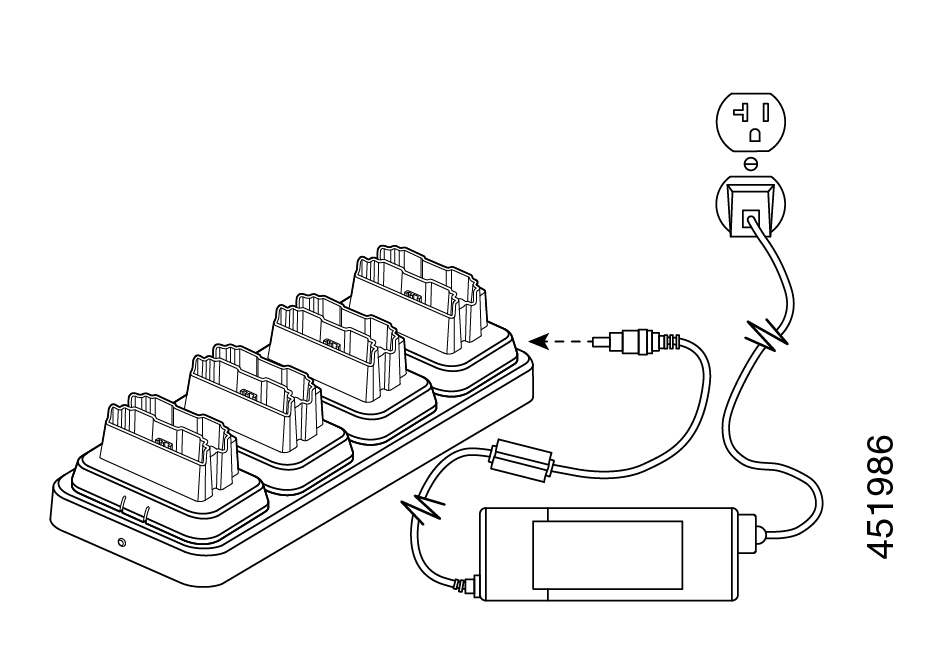
Multichargers—Use the approved power supply.
-
Cisco Wireless Phone 840 Multicharger
-
Cisco Wireless Phone 840 Battery Multicharger
-
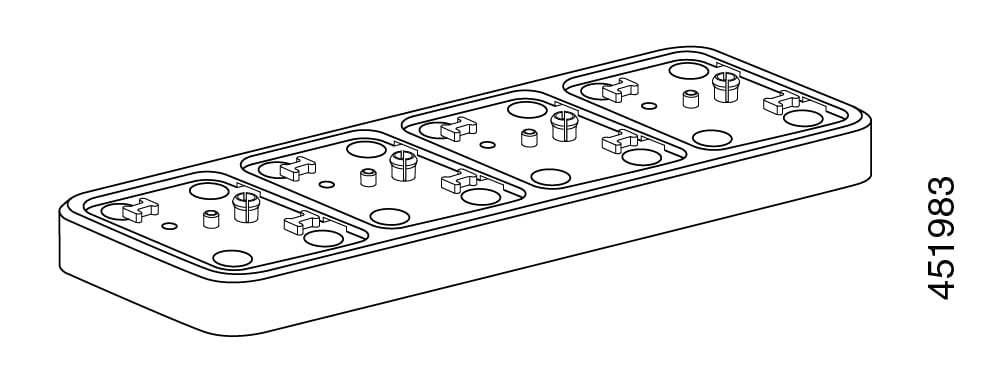
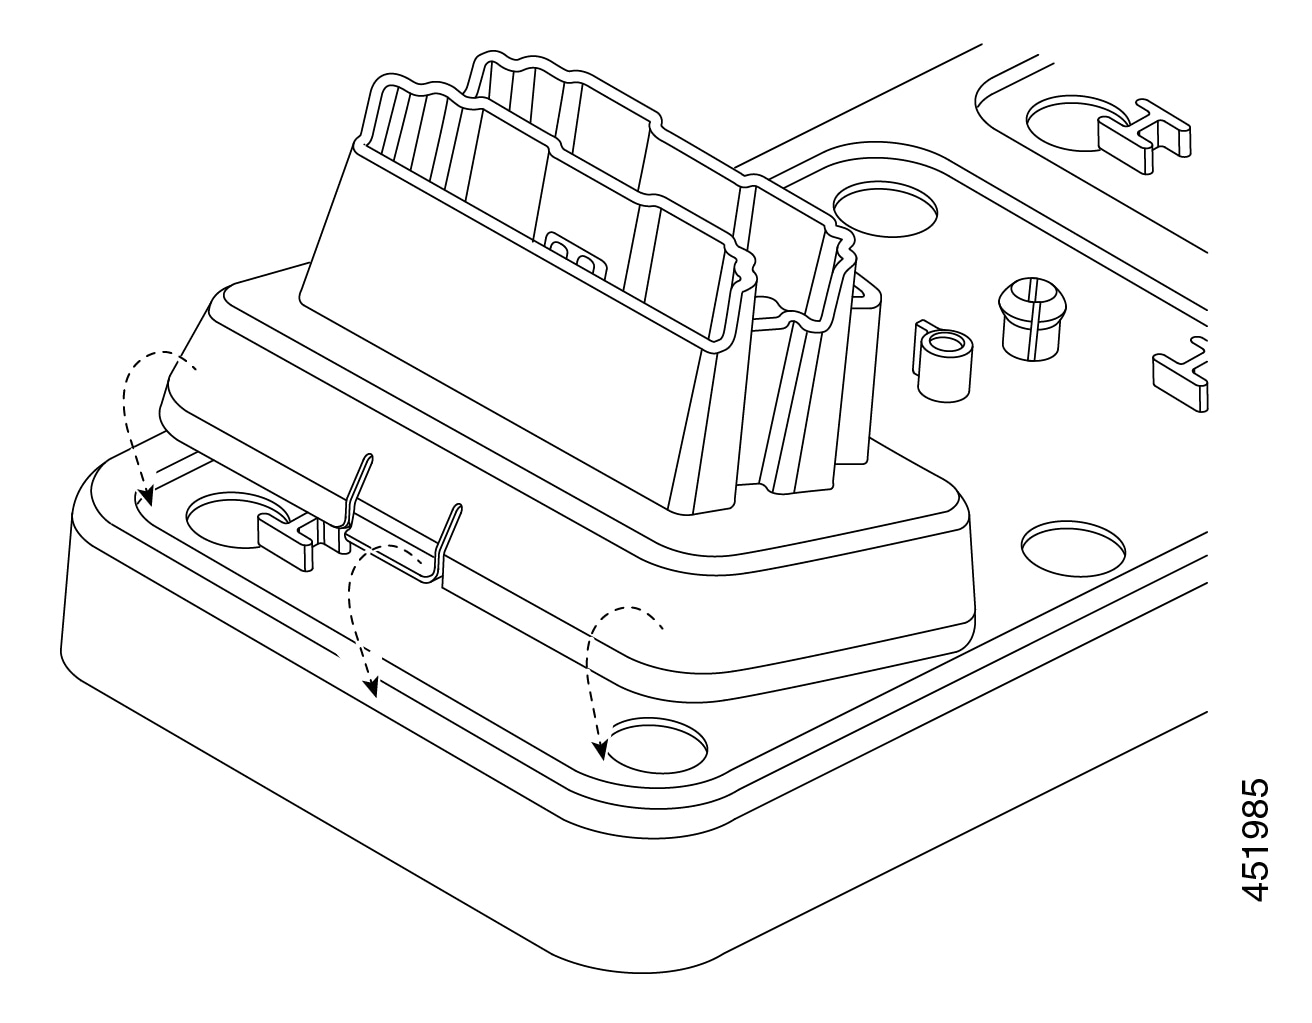
Cisco Wireless Phone 860 Multicharger Base—Holds up to four 860 Desktop Charger Modules (in any configuration: Dual or Battery).
-
-
USB charger—Use the approved power supply.
-
Spare batteries
-
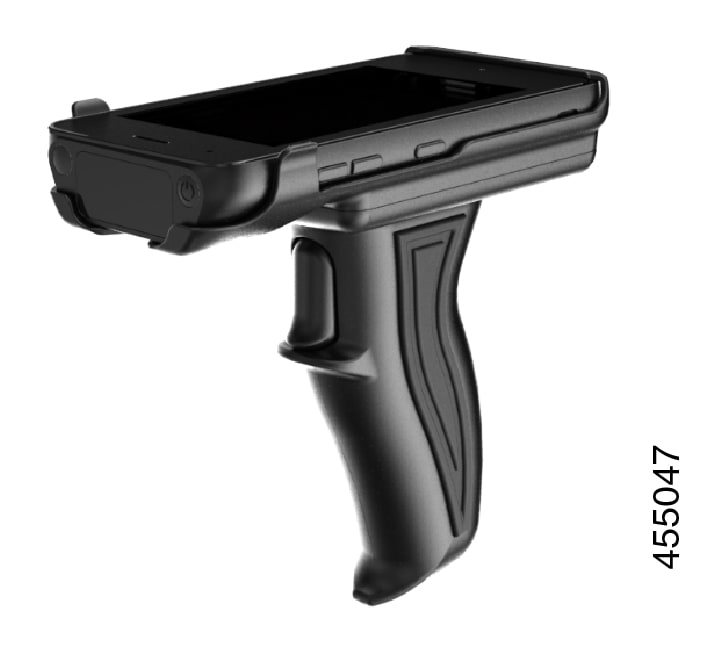
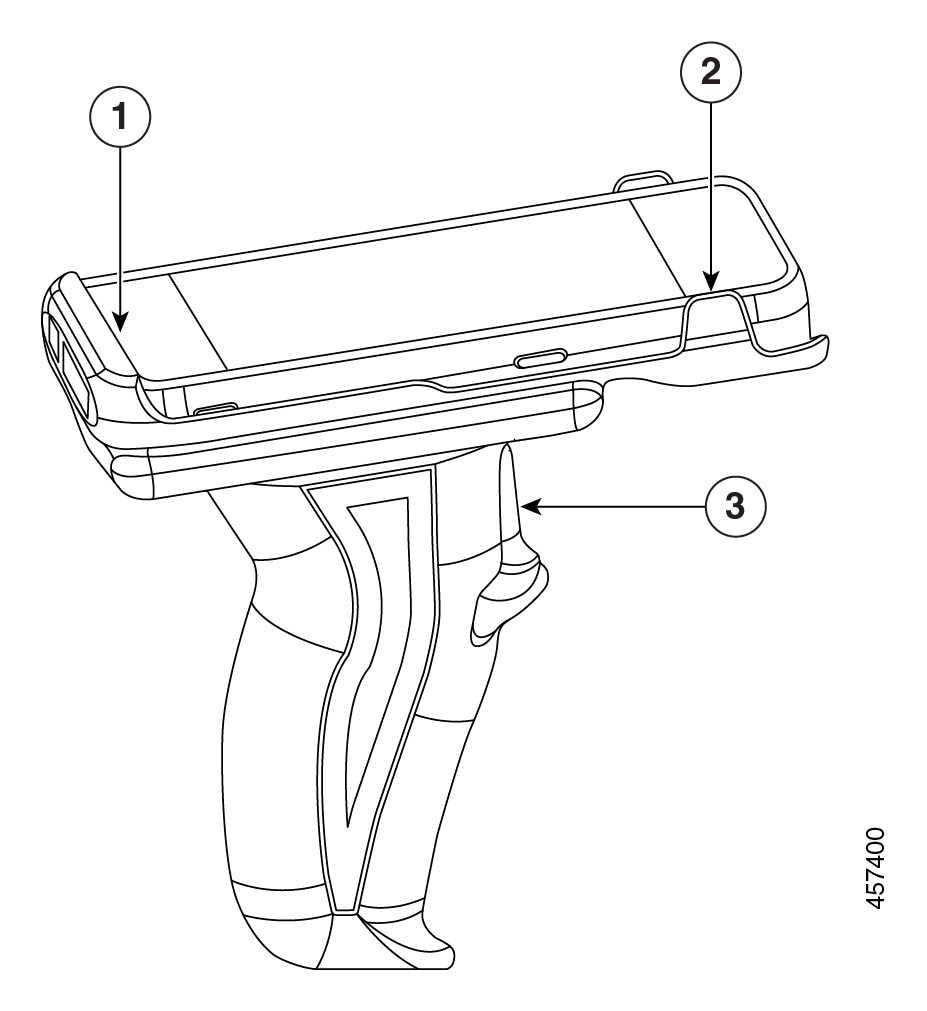
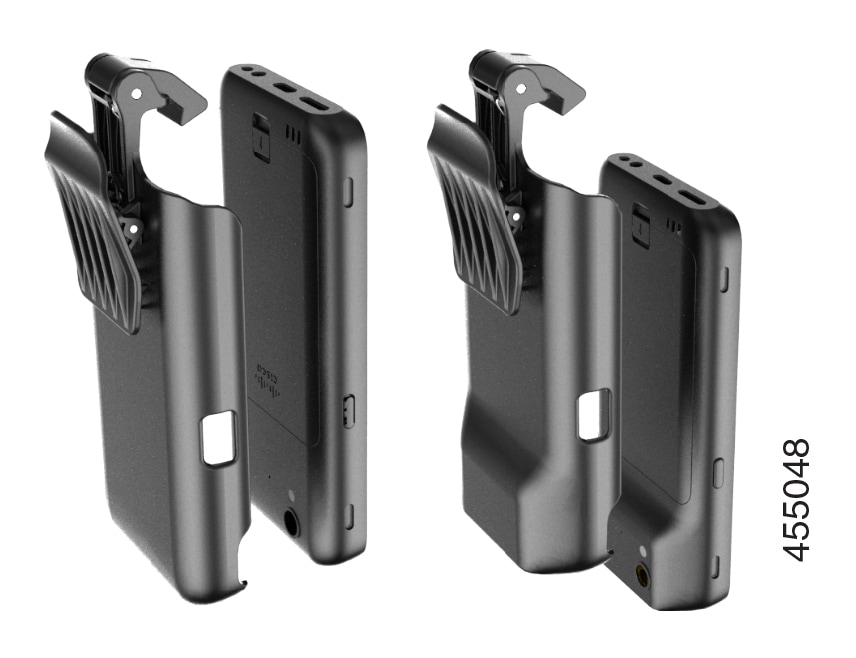
Scanner handle—For the Cisco Wireless Phone 840S only.
-
Clips
-
Cases—For the Cisco Wireless Phone 860 and 860S only.


 Feedback