Workflow for deploying and configuring Crosswork Data Gateway with Crosswork Cloud
These stages describe the high-level deployment process.
-
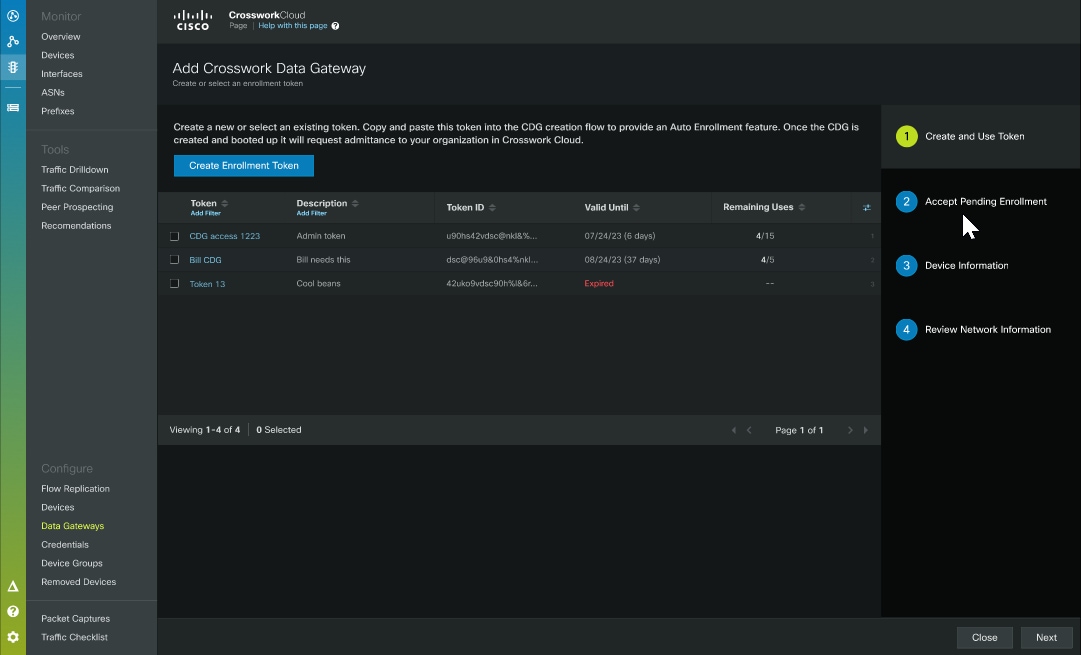
Decide on when you want to get the enrollment token
The enrollment token is required to establish communication between the Crosswork Data Gateway and Crosswork Cloud. You can enable enrollment for Crosswork Data Gateway in two ways:
-
Before deploying Crosswork Data Gateway: Generate a token in advance and apply it to enable autoenrollment. See Enroll Crosswork Data Gateway
-
After deploying Crosswork Data Gateway: Enable enrollment by generating or reusing a token and applying it post-deployment. See Auto enroll Crosswork Data Gateway with Crosswork Cloud.
Irrespective of when you obtain the token, ensure that the token is entered correctly to allow the Crosswork Data Gateways to connect with the controller.
-
-
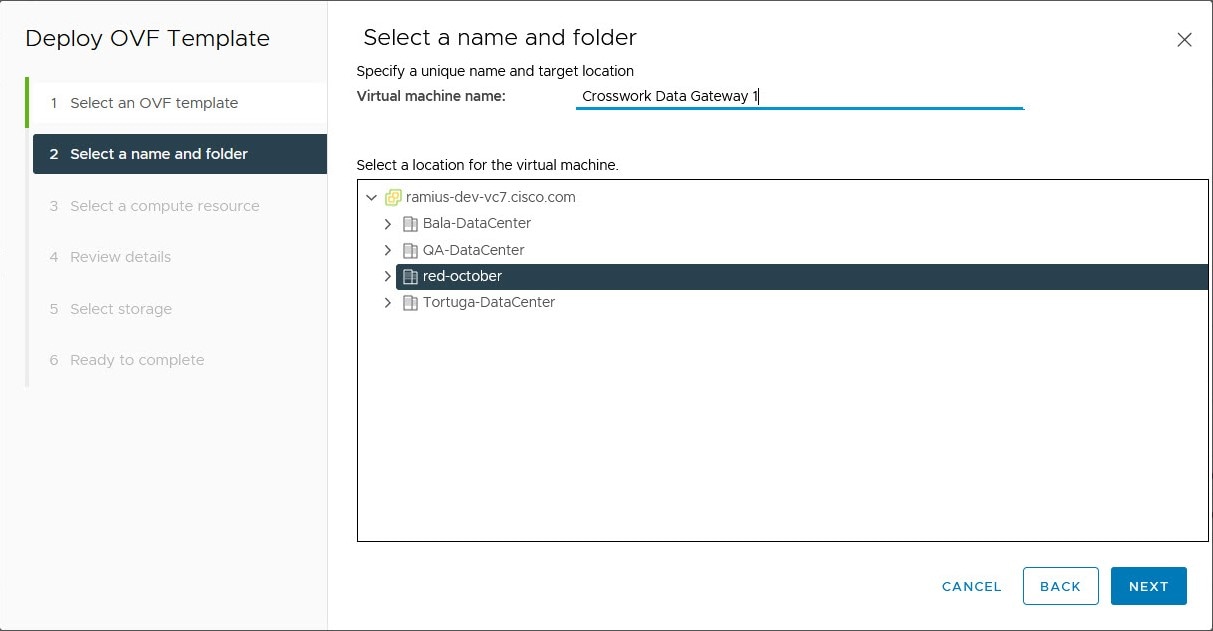
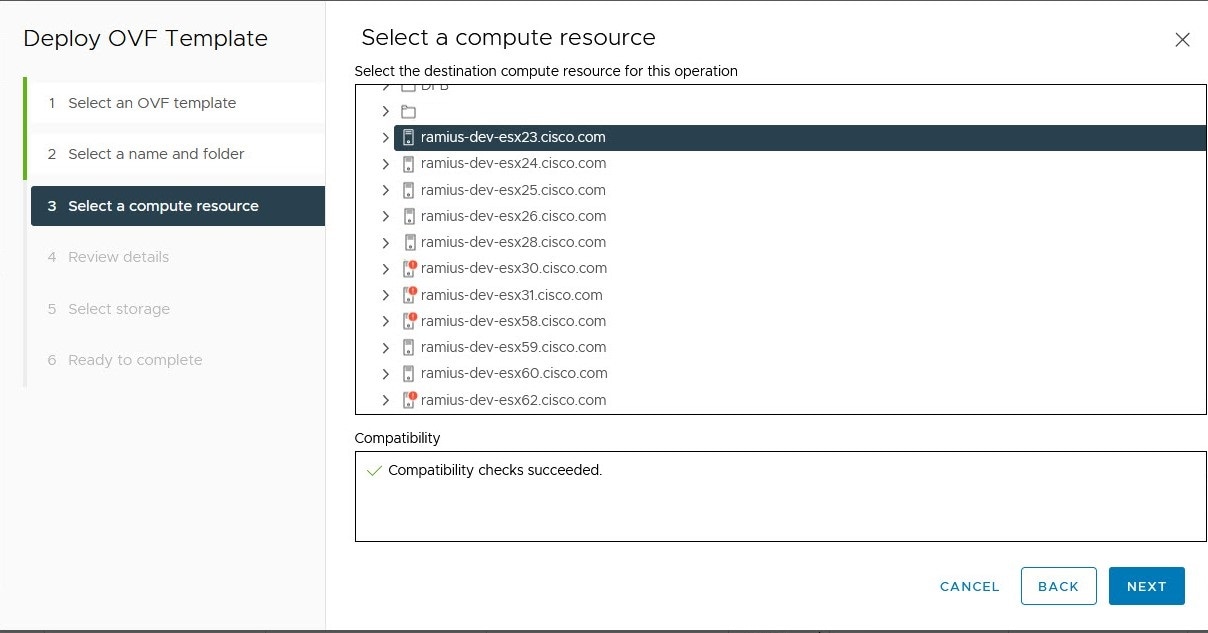
Deploy the Crosswork Data Gateway VM
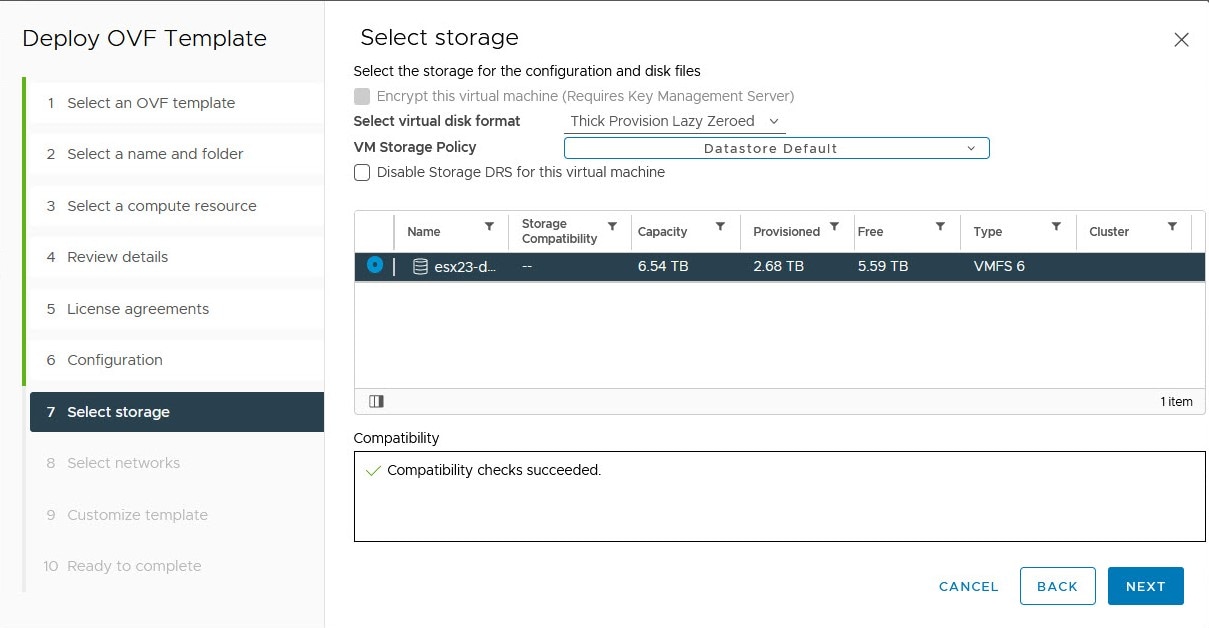
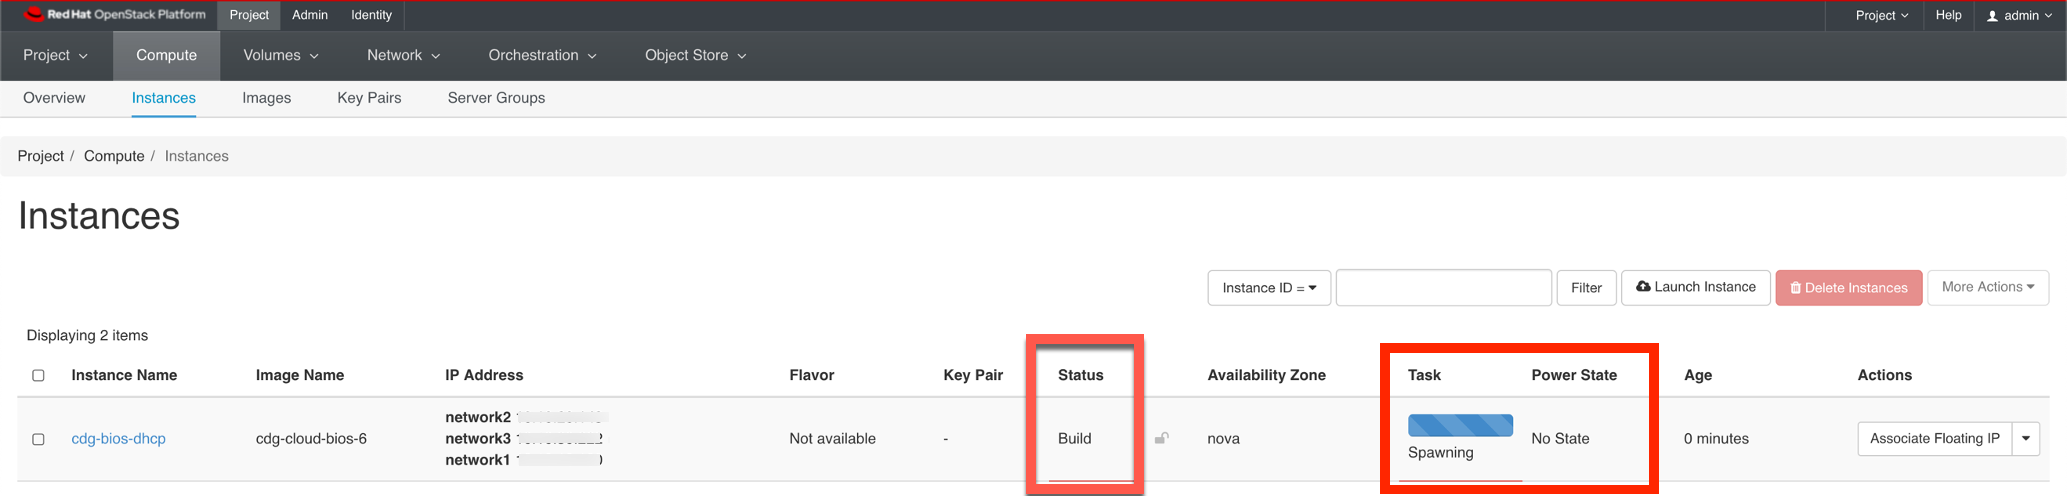
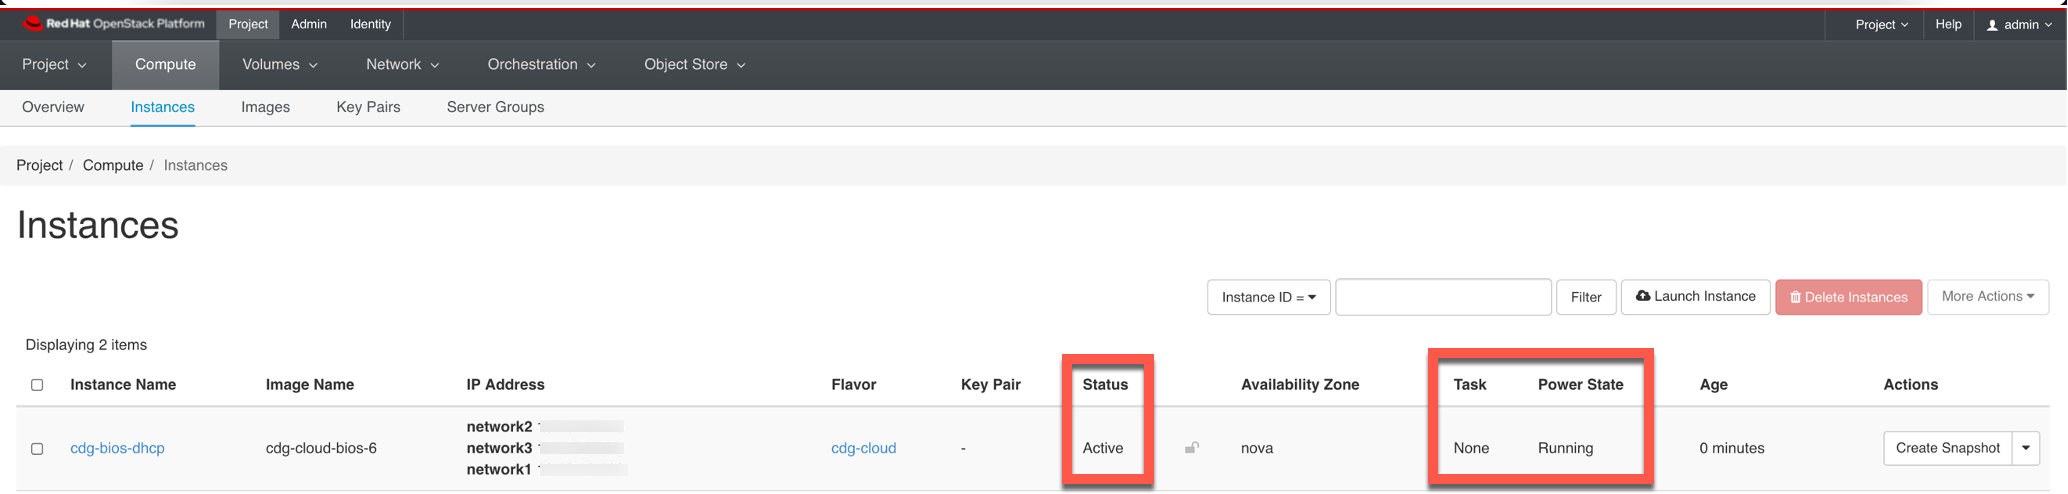
Deploy the Crosswork Data Gateway as a base Virtual Machine (VM) on a preferred virtualization platform. See Deploy Crosswork Data Gateway.
-
If you elected not to use autoenrollment in step 1 of this workflow, enroll Crosswork Data Gateway using the token. See Enroll Crosswork Data Gateway.
-
Register Crosswork Data Gateway with Crosswork Cloud
After deploying the Crosswork Data Gateway VM and applying the enrollment token, register the Data Gateway with Crosswork Cloud. Once registered, Crosswork Cloud takes over management of the Data Gateway and automatically pushes the necessary collection job configurations. This setup allows the Data Gateway to focus on efficient data collection from network devices, while Crosswork Cloud handles orchestration and job management. See Register Crosswork Data Gateway with Crosswork Cloud applications.
-
Verify the Crosswork Data Gateway connection
Confirm that the Crosswork Data Gateway is connected to Crosswork Cloud and collecting data from your network devices. See Verify Crosswork Data Gateway connection.
Along with the deployment stages, review these concepts and configurations to ensure proper deployment of the Crosswork Data Gateway:
Platforms supporting Crosswork Data Gateway deployment
You can deploy Crosswork Data Gateway on these virtualization platforms:
-
VMware vCenter
-
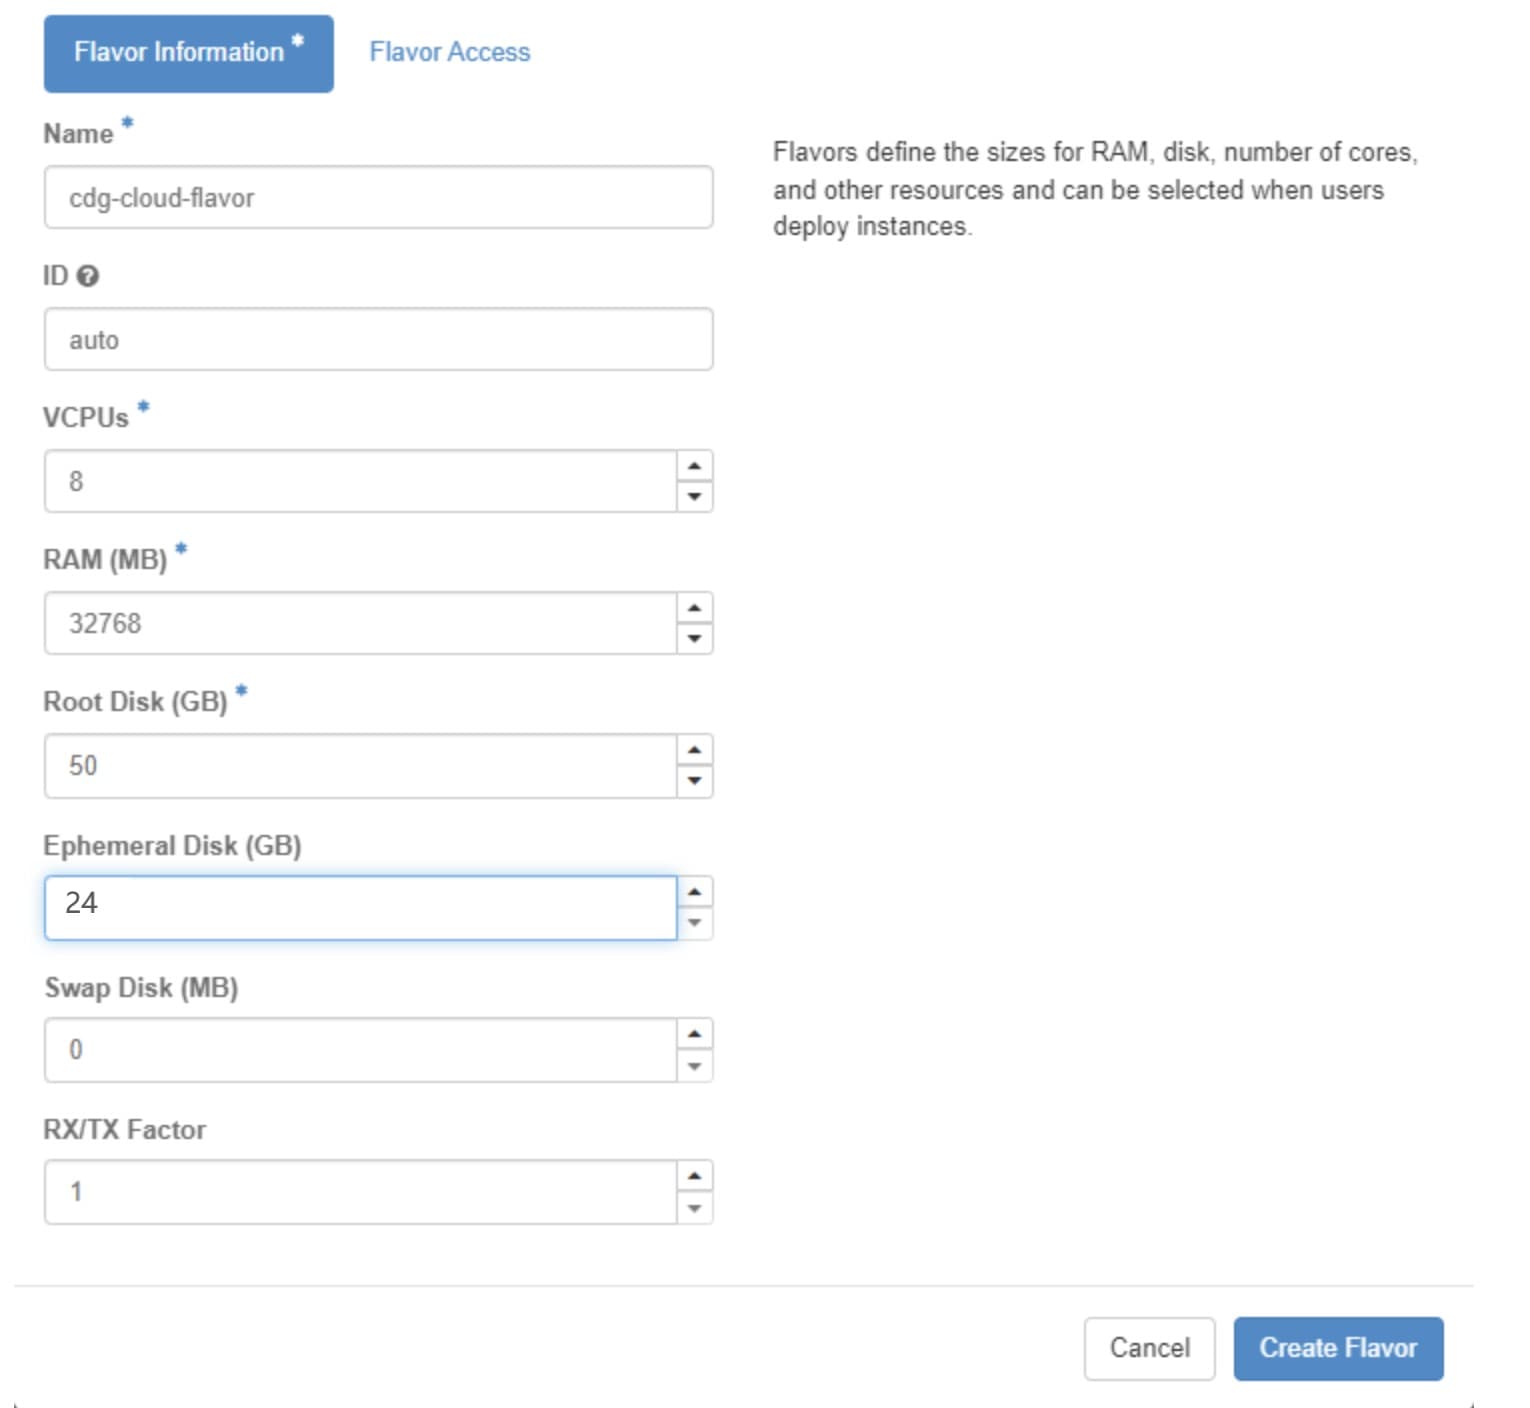
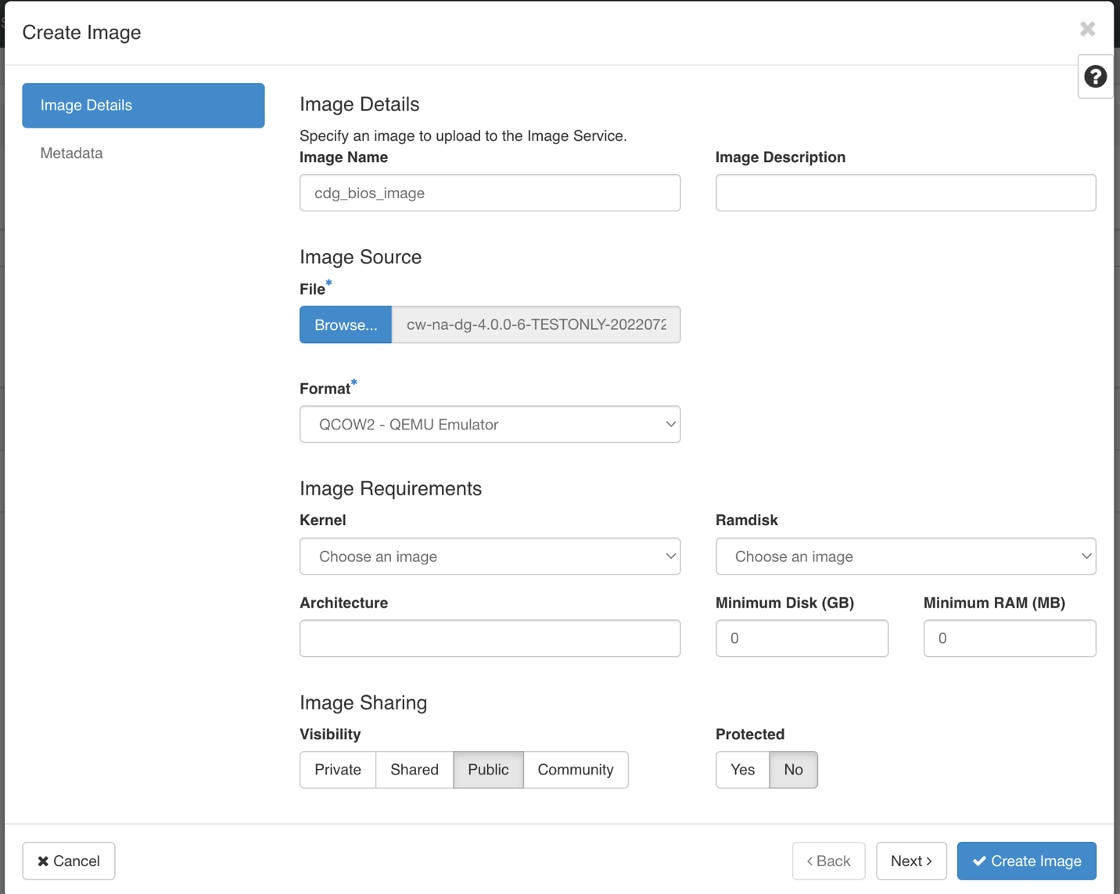
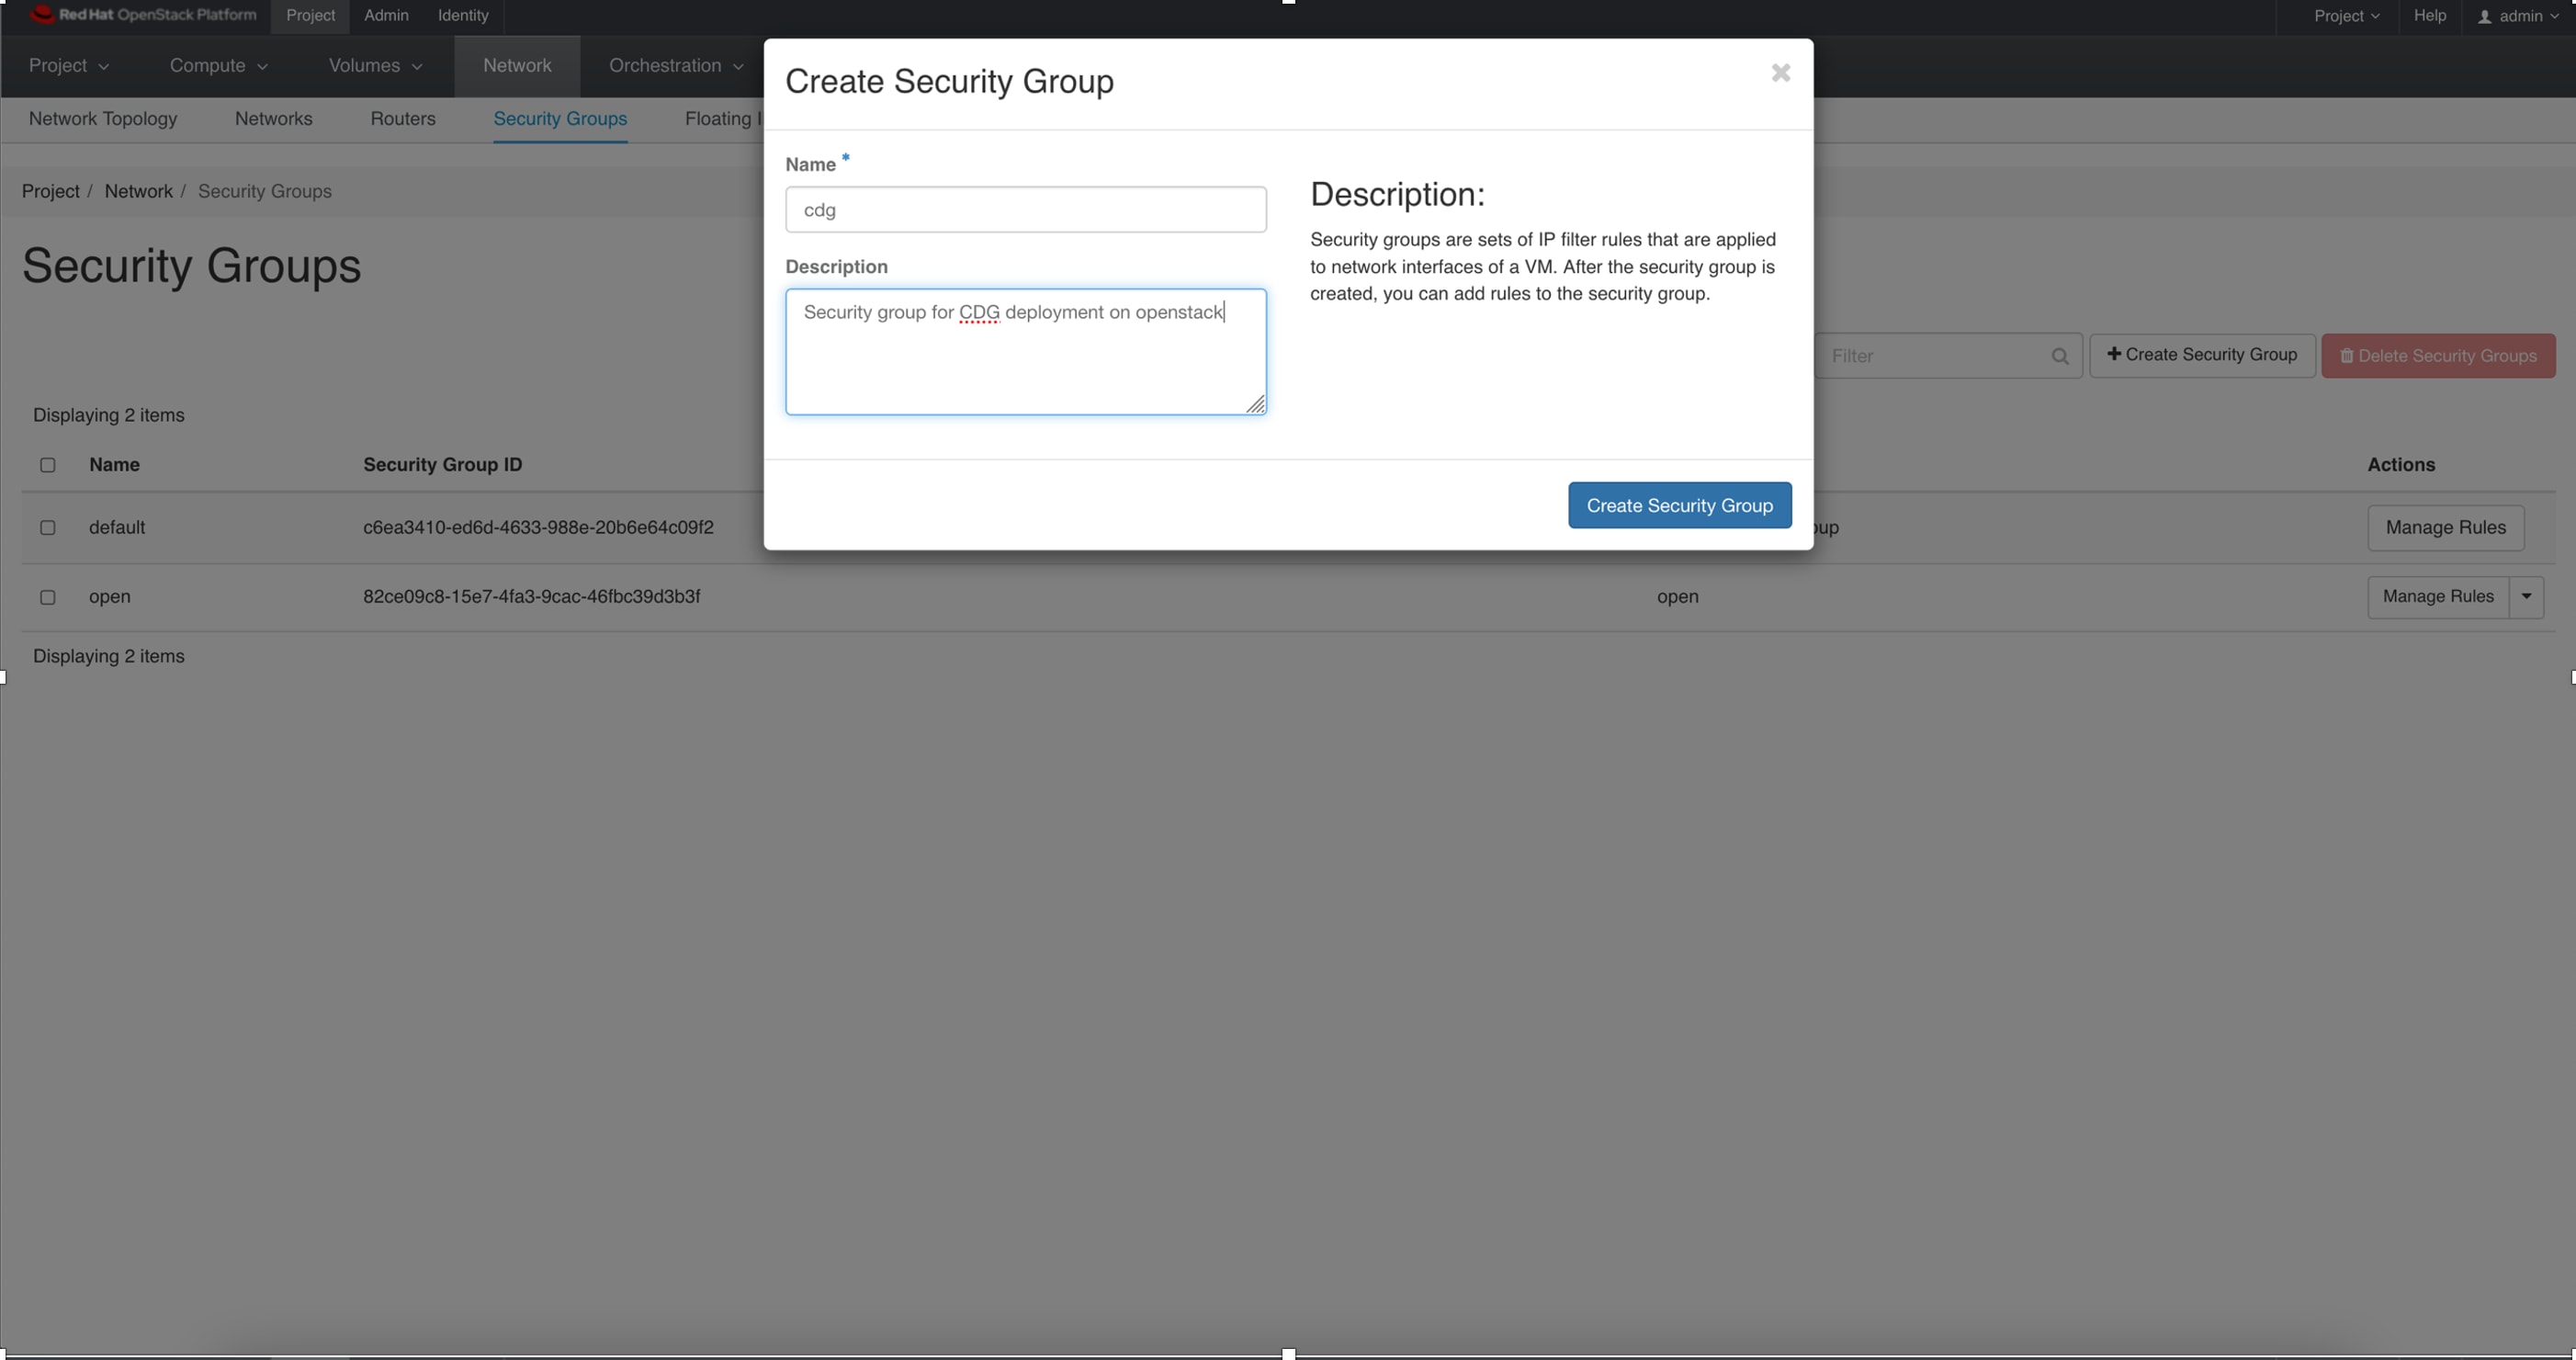
OpenStack
Considerations for configuring Crosswork Data Gateway deployment
Before deploying Crosswork Data Gateway, review these concepts.
Crosswork Data Gateway VM instances
Decide on the number of Crosswork Data Gateway VM instances that you want to install.
vNIC role mapping
The system automatically assigns a role to each vNIC based on the number of vNICs you configure. Each role determines the type of traffic handled by that vNIC. In most deployments, the default role-to-vNIC mappings are appropriate and do not require changes. For information about the vNIC mappings, See Supported interfaces.
If you need to modify the default traffic mappings during installation, make changes only when absolutely necessary. To ensure proper configuration and support, always consult the Cisco Customer Experience team before implementing any modifications.
vNIC configuration
Crosswork Data Gateway supports three vNIC configuration options. The configuration you choose depends on how you plan to secure your network and segregate different types of traffic.
vNIC IPv4 or IPv6 address configuration methods
Decide whether you want to use DHCP or Static as the addressing method for the VMs. When using static addressing for your virtual machines, it's important to have the network information such as IP addresses, subnets, and ports ready for each VM.
Auditd messages configuration
To enable Crosswork Data Gateway to send the Linux Audit Daemon (Auditd) messages, configure the remote server. To forward the Auditd messages to an external Auditd server, you must configure some additional parameters.
Proxy servers
If you use a proxy server, configure the proxy parameters for Crosswork Data Gateway to connect to the Internet via TLS.
Enrollment token (package)
Crosswork Data Gateway needs to enroll with Crosswork Cloud for having a secure communication. The enrollement happens through the enrollment token.
You can enable enrollment for Crosswork Data Gateway in two ways:
-
During installation or configuration: Generate an enrollment token ahead of time and apply it when installing or configuring the Data Gateway. To enable automatic enrollment, either create a new token or reuse an existing one.
-
After installation: If the Data Gateway is already deployed, you can still acquire and apply an enrollment token to enable the enrollment process.
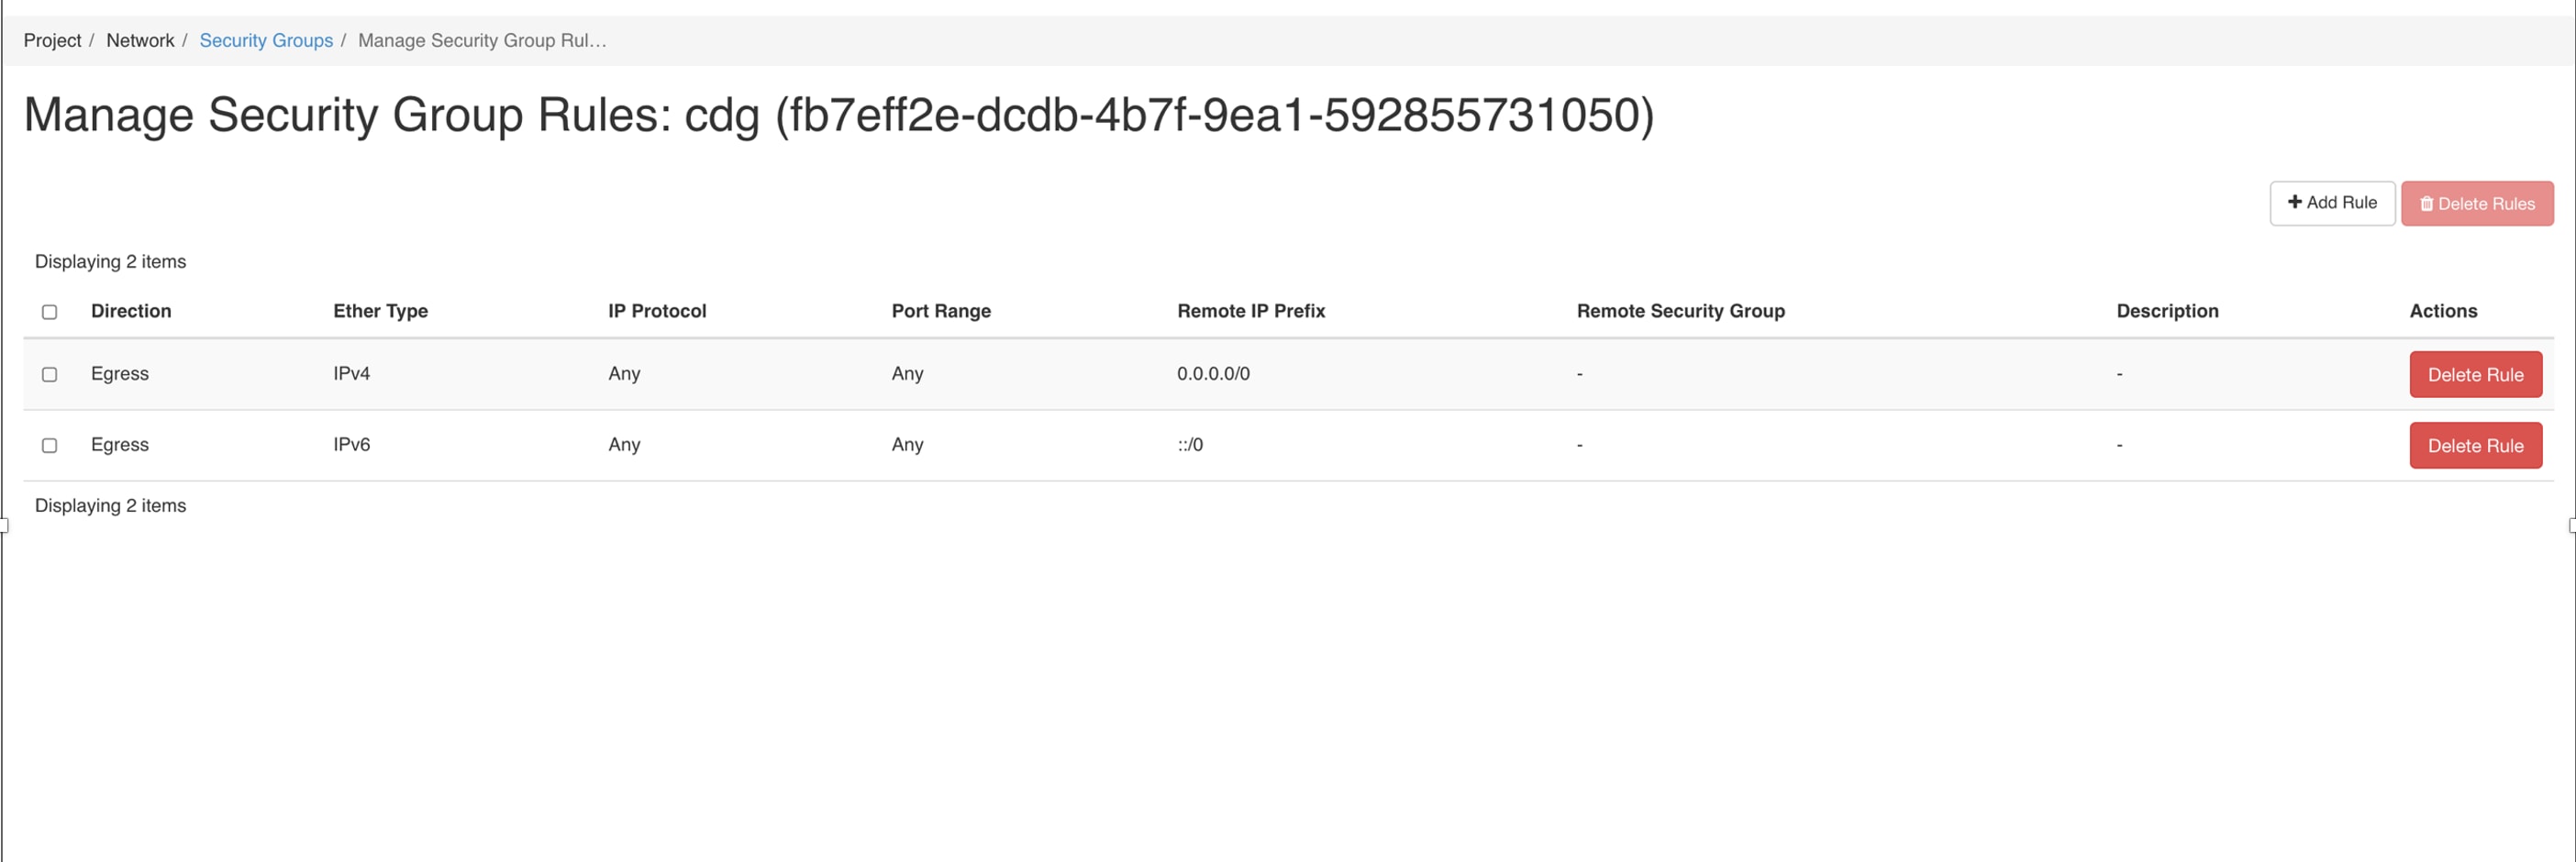
Security group rules and policies
Make sure you plan and decide the security group rules and policies before you create and use them.
Configuration parameters required for Crosswork Data Gateway deployment
The tables in this section describe the labels and keys required to deploy Crosswork Data Gateway.
Each label maps to a corresponding value that is either:
-
Automatically collected when using the VMware template, or
-
Manually provided in the configuration file when deploying the node using the OVF Tool or other installation methods.
Table details:
-
Labels represent the parameters that you can configure in the VMware UI.
-
Keys correspond to field values in the OVF script that align with your configuration.
-
Mandatory parameters are denoted with an asterisk (*). You require these parameters for successful deployment.
-
Optional parameters are the parameters that you can choose based on your deployment scenario.
-
Parameters with additional procedures are denoted with double asterisks (**). You can configure these parameters during installation or later through additional procedures.
Guidelines for deploying Crosswork Data Gateway with correct parameters
-
When mandatory parameters are not specified, Crosswork Data Gateway will be deployed with default values. However, these default values may not align with your environment requirements and could lead to unintended behavior.
-
Ensure that the correct parameter values are entered during deployment. If an incorrect value is provided, you must destroy the current Crosswork Data Gateway VM, create a new one, and reenroll it with Crosswork Cloud.
|
Label |
Key |
Description |
|---|---|---|
|
Hostname* |
Hostname |
A unique name you assign to the Cisco Crosswork Data Gateway VM. It must be a fully qualified domain name (FQDN). |
|
Description* |
Description |
A detailed description of the Crosswork Data Gateway. |
|
Label |
Label |
A label you assign for Cisco Crosswork Cloud to use in categorizing and grouping multiple Crosswork Data Gateway instances. |
|
AllowRFC8190* |
AllowRFC8190 |
Indicate whether Crosswork Data Gateway will automatically allow addresses in an RFC 8190 range. The default value is |
|
Private Key URI |
DGCertKey |
If you want to use other certificates other than the Crosswork Cloud self-signed certificates, provide the URI to the private
key file for session key signing. You can retrieve this using SCP ( Certificate chains override any preset or generated certificates in the Crosswork Data Gateway and are given as an SCP URI (user:host:/path/to/file). The host with the URI files must be reachable on the network (in the vNIC0 interface via SCP) and the files must be present at the time of install. |
|
Certificate File and Key Passphrase |
DGCertChainPwd |
SCP user passphrase to retrieve the Crosswork Data Gateway PEM formatted certificate file and private key. |
|
Data Disk Size |
DGAppdataDisk |
Size in GB of a second data disk. The default size is 24GB. To change the default value, consult a Cisco representative. |
|
Enrollment Passphrase** |
EnrollmentPassphrase |
SCP user passphrase to transfer enrollment package. |
|
Label |
Key |
Description |
|---|---|---|
|
dg-admin Passphrase* |
dg-adminPassword |
A password that is 10–64 characters. |
|
dg-oper Passphrase* |
dg-operPassword |
A password that is 10–64 characters. |
|
vNIC roles that map to... |
Ethernet interface |
|---|---|
|
|
|
|
|
|
NicControl and NicNBExternalData |
eth1 |
|
Label |
Key |
Description |
||
|---|---|---|---|---|
|
vNIC role assignment |
||||
|
NicDefaultGateway* |
|
Interface used as the Default Gateway for processing the DNS and NTP traffic. Traffic that is not assigned to any other interface is defaulted to this interface. Options are |
||
|
NicAdministration* |
|
Interface used to route the traffic associated with the administration of the Crosswork Data Gateway. The interface uses the SSH Protocol through the configured port. Options are |
||
|
NicExternalLogging* |
|
Interface used to send logs to Crosswork Cloud. Options are |
||
|
NicManagement* |
|
Interface used to send the enrollment and other management traffic. Options are |
||
|
NicControl* |
|
Interface that is used for sending the destination, device, and collection configuration. Options are |
||
|
NicNBSystemData* |
|
Interface used to send the collected data to the system destination. Options are |
||
|
NicNBExternalData* |
|
Interface used to send collection data to Crosswork Cloud. Options are |
||
|
NicSBData* |
|
Interface used to collect data from all devices. Options are |
||
|
vNIC IPv4 address
|
||||
|
vNIC IPv4 Method* |
|
Options are
To use the IPv4 address, select Method as The default value for Method is |
||
|
vNIC IPv4 Address |
|
IPv4 address of the interface. |
||
|
vNIC IPv4 Netmask |
|
IPv4 netmask of the interface in dotted quad format. |
||
|
vNIC IPv4 Skip Gateway |
|
Options are Selecting The default value is |
||
|
vNIC IPv4 Gateway |
|
IPv4 address of the vNIC gateway. |
||
|
vNIC IPv6 address
|
||||
|
vNIC IPv6 Method* |
|
Options are The default value for Method is
|
||
|
vNIC IPv6 Address |
|
IPv6 address of the interface. |
||
|
vNIC IPv6 Netmask |
|
IPv6 prefix of the interface. |
||
|
vNIC IPv6 Skip Gateway |
|
Options are Selecting The default value is |
||
|
vNIC IPv6 Gateway |
|
IPv6 address of the vNIC gateway. |
||
|
Label |
Key |
Description |
||
|---|---|---|---|---|
| DNS servers | ||||
|
DNS Address* |
DNS |
Space-delimited list of IPv4 or IPv6 addresses of the DNS server accessible in the management interface. |
||
|
DNS Search Domain |
Domain |
DNS search domain. The default value is |
||
|
DNS Security Extensions |
DNSSEC |
Options are The default value is |
||
|
DNS over TLS |
DNSTLS |
Options are The default value is |
||
|
Multicast DNS |
mDNS |
Options are The default value is |
||
|
Link-Local Multicast Name Resolution |
LLMNR |
Options are The default value is |
||
|
NTP servers |
||||
|
NTPv4 Servers* |
NTP |
NTPv4 server list. Enter a space-delimited list of IPv4, IPv6 addresses, or hostnames of the NTPv4 servers accessible in the management interface. |
||
|
Use NTPv4 Authentication |
NTPAuth |
Select |
||
|
NTPv4 Keys |
NTPKey |
Key IDs to map to the server list. Enter a space-delimited list of Key IDs. |
||
|
NTPv4 Key File URI |
NTPKeyFile |
SCP URI to the chrony key file. |
||
|
NTPv4 Key File Passphrase |
NTPKeyFilePwd |
Password of SCP URI to the chrony key file. |
||
|
Remote syslog server |
||||
| Use Remote Syslog Server* | UseRemoteSyslog |
Select True to send syslog messages to a remote host. The default value is False. |
||
|
Syslog Server Address |
|
IPv4 or IPv6 address of a syslog server accessible in the management interface.
|
||
|
Syslog Server Port |
SyslogPort |
Port number of the optional syslog server. The port value can range 1–65535. By default, this value is set to 514. |
||
|
Syslog Server Protocol |
SyslogProtocol |
Options are |
||
|
Syslog Multiserver Mode |
|
Multiple servers in the failover or simultaneous mode. This parameter is applicable when the protocol is non-UDP (UDP must use Simultaneous). Options are The default value is |
||
|
Use Syslog over TLS |
SyslogTLS |
Select The default value is |
||
|
Syslog TLS Peer Name |
SyslogPeerName |
The syslog server hostname exactly as entered in the server certificate SubjectAltName or subject common name. |
||
|
Syslog Root Certificate File URI |
|
URI to the PEM formatted root cert of syslog server retrieved using SCP. |
||
|
Syslog Certificate File Passphrase |
|
Password of SCP user to retrieve Syslog certificate chain. |
||
|
Remote Auditd server |
||||
|
Use Remote Auditd Server* |
UseRemoteAuditd |
Select The default value is |
||
|
Auditd Server Address |
AuditdAddress |
Hostname, IPv4, or IPv6 address of an optional Auditd server. |
||
|
Auditd Server Port |
AuditdPort |
Port number of an optional Auditd server. The default port number is |
||
|
Label |
Key |
Description |
|---|---|---|
|
Proxy Server URL |
|
URL of an optional HTTP proxy server. |
|
Proxy Server Bypass List |
ProxyBypass |
Comma-separated list of addresses and hostnames that will not use the proxy. |
|
Authenticated Proxy Username |
ProxyUsername |
Username for authenticated proxy servers. |
|
Authenticated Proxy Passphrase |
ProxyPassphrase |
Passphrase for authenticated proxy servers. |
|
HTTPS Proxy SSL/TLS Certificate File URI |
ProxyCertChain |
HTTPS proxy PEM formatted SSL/TLS certificate file retrieved using SCP. |
|
HTTPS Proxy SSL/TLS Certificate File Passphrase |
ProxyCertChainPwd |
Password of SCP user to retrieve proxy certificate chain. |
|
Label |
Key |
Description |
||
|---|---|---|---|---|
|
Autoenrollment token |
CloudEnrollmentToken |
Configure the maximum number of times an autoenrollment token can be used.
The default values are:
|
||
|
Enrollment Destination Host and Path |
EnrollmentURI |
SCP host and path to transfer the enrollment package using SCP ( |
||
|
Enrollment Passphrase |
EnrollmentPassphrase |
SCP user passphrase to transfer enrollment package. |
Enrollment tokens
An enrollment token is a unique JSON formatted registration file containing digital certificates that are used to enroll Crosswork Data Gateway with Crosswork Cloud. The token is used to authenticate each Crosswork Data Gateway with Crosswork Cloud and is required as part of the deployment process.
This is an example of the contents in an enrollment token file.
{
"name": "cdg450-test01",
"description": "cdg500-test01",
"profile": {
"cpu": 8,
"memory": 31,
"nics": 1,
"base_vm": "true"
},
"interfaces": [
{
"name": "eth0",
"mac": "xx:xx:xx:xx:xx:xx",
"ipv4Address": "x.x.x.x/24",
"roles":
"ADMINISTRATION,CONTROL,DEFAULT_GATEWAY,EXTERNAL_LOGGING,MANAGEMENT,NB_EXTERNAL_DATA,NB_SYSTEM_DATA,SB_DATA"
}
],
"certChain": [
"MIIJcjCCBVqgAwIBAgIUVBf8hVppCcDBA+yZG6tzIEvq/mEwDQYJKoZIhvcNAQENBQAwLDELMAkGA1UECgwCREcxHTAbBgNVBAMMFG1hbmFzLWNkZzQ1MC
10ZXN0MDExMB4XDTIzMDIwMTE3MTQ0OVoXDTQzMDIwMjE3MTQ0OVowLDELMAkGA1UECgwCREcxHTAbBgNVBAMMFG1hbmFzLWNkZzQ1MC10ZXN0MDExMIIEIjANB
gkqhkiG9w0BAQEFAAOCBA8AMIIECgKCBAEAuvgTWyIDi6FOlecovhbUoGagARPQ32QBkz3s07QgpkatyJalHUYTeseGi0rAPKfzDXoeTZioK5JphDKLRnSze6XJBM
kNpaNyhRTEXWcR/Dds5lRzMQ9qwY3NpWuYlJLKgmbxypabttakLGs0FjXNuqBm4RL3XrhMMooRDkwf7YF5WSMQnszfTGRfDtEVMPMC3xeIul9FLkULSl8FaPgt2cJN
ylK9Z0l9KeRxpQHP0M5G+d3Nt0ytEFkCdTyjKlwhJRmdpXUcoqaXJLHygl29XbuKMJA58ByurbWhR/0th7VAzFFSM5/mncVrvoG0NH8pxpXl6ZMPKDyLeHRkyX6EOBb
kwPD3ysEmT/Hw+XsVbOpt8alLQeaQK8MaOsbManZ0ksR8DZk/g8QUXwFWoRsNnq8+GfpvBdzVkoyT1irp43QFrsXxdpTX8pATlwNxoZOkD21jDK7sYTQoNHxK1A1KRu
YTMHDQZt30C5oHRvZfA9V95MWxt+oRaUhdq7JXG8UYyDc/FhVmoqlbEE8ossdBiGwncz/xQ4jaEmAu3UAWFWRISFZuSLdoPD/PsgfblPpYFhnuq/5Um49HB2PYXZuI
yJaKbhX6FAzD49dE6Zm5VuaZPrfPm8v4mu/2l+PPhTfY17nYyXRwBMCX7ZwXtfyZ+bH3xSgi7rG3Vqkte4XqNL/lVkHod2SXKWQ4M/l/cV0FDNX9ifVwPtlmUQgRlen
KvzXWSxCqXCK3o1qjz1TELPUPvvkKoZk3x6AqD5IZoriWX5CGHv1ikqHQCD1V9DatnbmIHPVtVQyM30TycVw8uOHJLDqU130LqDCl26kORCT26muJRi35DN4NpIszh2
oBAaYH6hy7rZaIMIC/Uw6BZ4AJ4k4Bpobv1yrDxf0xeg5Nvf47/GP+LLsn9JeaRhUOdFF8xcNINHjXvH8IfJ72H1IlH1srRB73+V4w3rCC92lsDK8sxN8YAssQm+IRa
Ze6Pw4lvddlfu1VYs7PqYwI9LSbeCePzPbKZ4zgl7/A2Ijh8XsV52HZ7shOPgUyaNbjvBi/+/0pI3wILFTbawVAmlEOTOekYm+N1pWWcwH9sB6SEXjG7mLl1jGWFHqV
nduZtjABjWhPE2ZHluZW1A2aLU25Lhd4do+DeDwtsMiMOgvIkSm5c5YS2xjDvZmJF2pf85AY0brVUjRep0z46p3D+zFtuW9DPYn65M+Bypf+OZTms7TfhUXxZlwKCLEM
xvcUc0gc6eOeMhF2lDC26cLBbE2eY5Y99mu8RtQPOLeCC9tcaYifhOB2f9pEGFOuX3DnSc0oXFzhBo9IZhCNUyPjvp1H/bERuFAiENGo0QPy3+vf+LMQK3JKX0BLpMF2Hc
0KhwIDAQABo4GLMIGIMB0GA1UdDgQWBBRBbcosvgUjVkqagHBuZ2UHslsiTzAfBgNVHSMEGDAWgBRBbcosvgUjVkqagHBuZ2UHslsiTzAPBgNVHRMBAf8EBTADAQH/MDUG
A1UdEQQuMCyCFG1hbmFzLWNkZzQ1MC10ZXN0MDExghRtYW5hcy1jZGc0NTAtdGVzdDAxMTANBgkqhkiG9w0BAQ0FAAOCBAEAoLczUuKA4Z8RC5QMVTyx9xeFMslPx7XEF2z
DOhesdTs1SVUDoolp1KaQa5hyYtyD5fwzipSgY4H1ylTkyrB+LVbVrGAE6K5A1//rMaft7KWbhJqx57O6FY0JghefGpVyAZ/gW/HI9uxPbDaWHG/SNXPH3zRb/mEIX2vksG
1rpYFlUDap2rDoGNahMC7ueNeDcPYMU9F5hTQeI/goqg31BE6uUI6mY9gfoMZ94EFcs/R1kI1XR/YwzoCibRWtiJqiZRIuZHX3rYa2vYX8QWIV9BXcVx561r342dTy5/1w9F
ZZHL0SQiWjXozOHFEHBwoMCLo4SbQRuWj8qFg4+dGGuBZvpZkGiaB7bwgbBx/JzOpEC0Kv5IZ9YGVnDeX7O9idNkAIRZsbE88U+VZu6D1XstrrRlPmbC/cgPbo3iXTHJZkXa9
4734TSBYI1si1uJzAzJXfAYLYR0yoYYoxx7xS4/up0U0amess/HaQcuElOBiYS+/cEnF5r4QT9rQQITK43G2Gi40vTX6kFYjmKD9Tk7A++ToEWt+BfNIlYjoNHbR8vyrMCFI
J4AlzLYu5/229Vog62LTdpupXJxC7s8sBzfU6TrdCJx0A2FhiHQFS3E1rZAnBpYPkzAGLQBeArlslwOH5cMAgxyOG2wFgca5Ce8PEJRFeB3M+oi3AOv8nJoseXfaPHyuhemDQ
o9XkBEg4w/PSq5rnM8vfWm6P1ajo2PbDJq8y8zP0yNjyEP8Dc6TL2bvHn4Jmzz/OQZ4m5a003UrmbDK+sQwUmNVfd7MMcqmVFvJmhOXc4lUi3srhwoPf5gK82m8S0/QhsWSoz
wGgKxPGT6NR46rRXBxXcuzYyAxSwrsPntMCNYRepCUmTFW4a7Ra9srSM06QcREmX7FlS3h4HetxB/4M/Krnx4XmNRQ+T4HnR9HXJnZ+KXaBkHIy8Lt55JrdlvNmGXcFU/uV9di
F08uwiO+ChhaZC8yfFG855f/dKdHanVBbp5fS47B3IYTC9AxF37q/6Hv1udZDzSkFbWqUWbANCgxOn4poCfePcAXKQ7iDcPr1JYu3XTJBpxzADKBqRa28G3Y1lriD0k7pb7HII
11YCdG10C53OmboLrhmnM6BFHYUGI0sMVWWmsiiDrCpblyn63khdBzzzA++9tnJtpOeFBOHo5GoJbSqfY+XnpZ5zr2Nt9mE61e8Cv8G4LFXkpCgkKJr5v/VshrFcFLlPCudU8Cy
PhpqONBGD0+YHOxhFGDcUCyM3rE7gGAAoh4rJD1wkq2WacVSF7fwmMdzGlAsb+LbBiDmaelQ6y17LeiWqA3xeSZLXQ7xyXHjYa3hWbjwvbAM17vI/9RvnHZSGYEjyNrEmWZuew=="
],
"version": "7.1.0 (branch dg45x - build number 19)",
"duuid": "a3bf6411-1ad0-418c-9957-eb199e9395e0",
"profileType": "VM_PROFILE_STANDARD"
}
Guidelines for enrollment token creation
These guidelines help you create enrollment tokens.
-
Create multiple enrollment tokens as needed. For each token, set a validity period of up to one year from the creation date and define the number of Crosswork Data Gateways it can enroll (at least one gateway). See Create an enrollment token in Crosswork Cloud UI.
-
If you plan to deploy multiple Crosswork Data Gateways in a single installation, generate a single token with a usage limit equal to the number of Crosswork Data Gateways and an expiration date that matches the deployment timeline.
-
Create individual tokens for each Crosswork Data Gateway, especially when different team members are responsible for deployment.
-
Assign appropriate usage limits and expiration periods for each token. This approach helps prevent the sharing of a single token across multiple users and minimizes security risks.
-
Enrollment tokens are required only during the enrollment of a Crosswork Data Gateway to Crosswork Cloud. After a Crosswork Data Gateway has been enrolled, the enrollment token is no longer needed. Revoke the token unless you plan to enroll additional Crosswork Data Gateways.
-
If an enrollment token has unused quotas or valid durations and is not required for any future enrollment, delete it. As a security best practice, avoid retaining unused tokens to minimize the risk of unauthorized use. See Delete enrollment tokens.
Default user accounts
During deployment, Crosswork Data Gateway automatically creates three default user accounts. For details on the permissions associated with these accounts, see Supported user roles.
|
Username |
Description |
A password is created... |
|---|---|---|
|
dg-admin |
The administrator uses this ID to log in and troubleshoot Crosswork Data Gateway. |
during deployment. |
|
dg-oper |
An operator uses this ID and can perform all read-only operations. There are limited read-write operations that an operator can perform. |
during deployment. |
|
dg-tac |
A user uses this ID when troubleshooting Crosswork Data Gateway with Cisco. |
when troubleshooting with Cisco. |


 Feedback