Install CWM using OVA
The Crosswork Workflow Manager 1.2 is installed as a guest virtual machine by deploying an OVA image using the VMware vSphere 6.7 (and higher) virtualization platform.
Prerequisites
-
An ed25519 SSH public and private key pair.
System requirements
|
Minimum system requirements |
|
|---|---|
|
Server |
VMware vSphere 6.7+ account with an ESXi 6.7+ host |
|
CPU |
8 cores |
|
Memory |
64 GB |
|
Storage |
100 GB |
Download the CWM package
To get the CWM 1.2 software package:
Procedure
|
Step 1 |
Go to the Cisco Software Download service and in the search bar, type in 'Crosswork Workflow Manager', then select it from the search list. |
|
Step 2 |
From Select a software type, select Crosswork Workflow Manager Software. |
|
Step 3 |
Download the Crosswork Workflow Manager software package for Linux. |
|
Step 4 |
In a terminal, use the The |
|
Step 5 |
To extract the |
Deploy OVA and start VM
To create a virtual machine using the downloaded OVA image:
Procedure
|
Step 1 |
Log in to your vSphere account. |
||
|
Step 2 |
In the Hosts and Clusters tab, expand your host and select your resource pool. 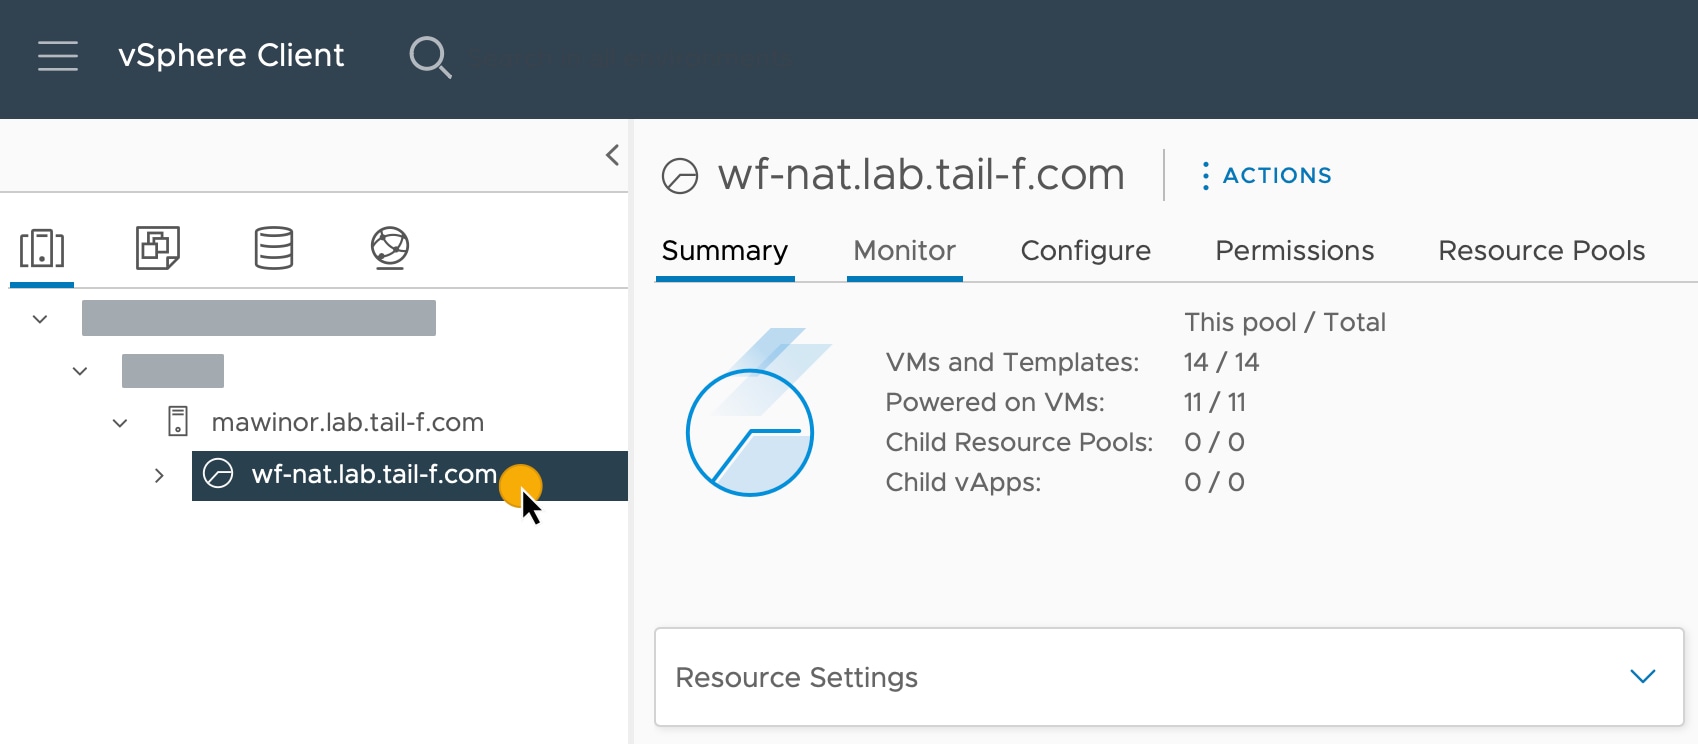 |
||
|
Step 3 |
Click the Actions menu and select Deploy OVF Template. 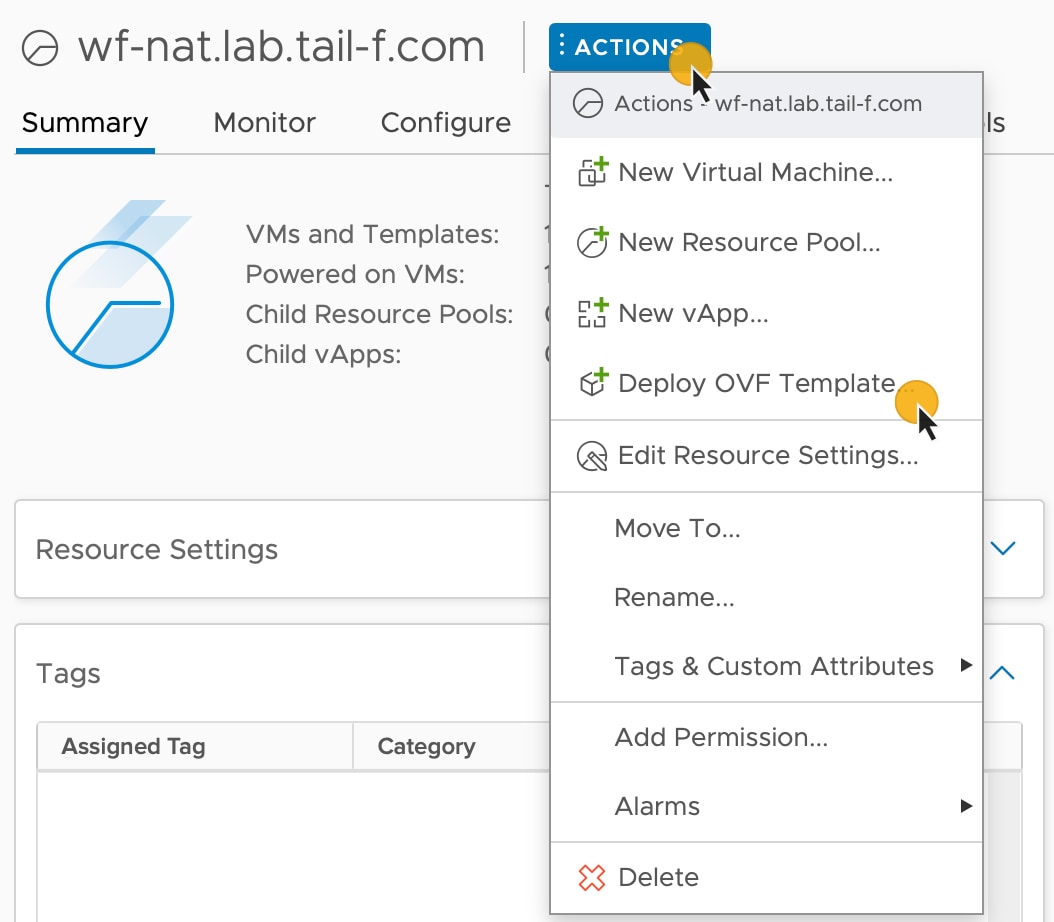
|
||
|
Step 4 |
In the Select an OVF template step, click Local file, Select files, and select the CWM OVA image. Click Next. |
||
|
Step 5 |
In the Select a name and folder step, provide a name for your VM and select it's location. Click Next. |
||
|
Step 6 |
In the Select a compute resource step, select your resource pool. Click Next. |
||
|
Step 7 |
In the Review details step, click Next. |
||
|
Step 8 |
In the Select storage step, set Select virtual disk format to Thin provision and select your storage, then click Next. |
||
|
Step 9 |
In the Select network step, you need to select destination networks for the Control Plane and Northbound: |
||
|
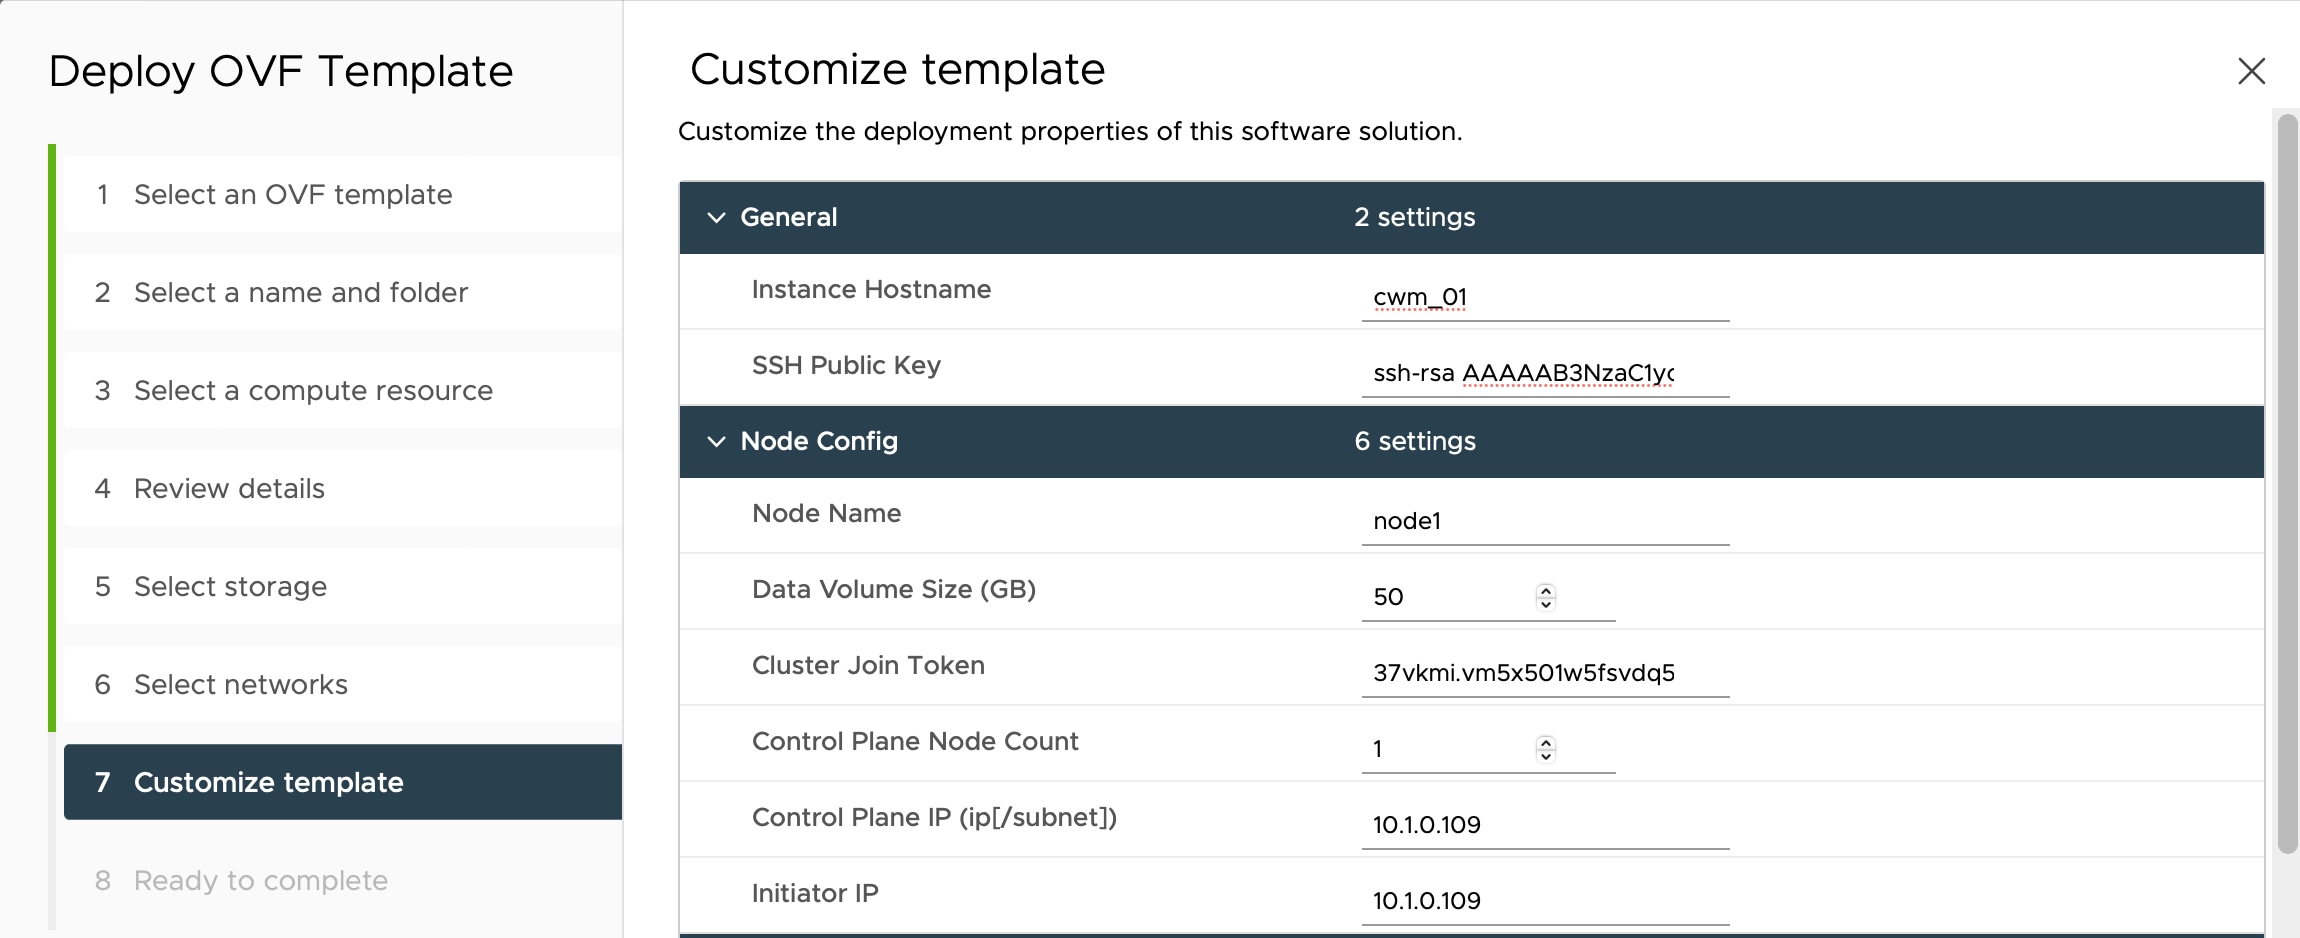
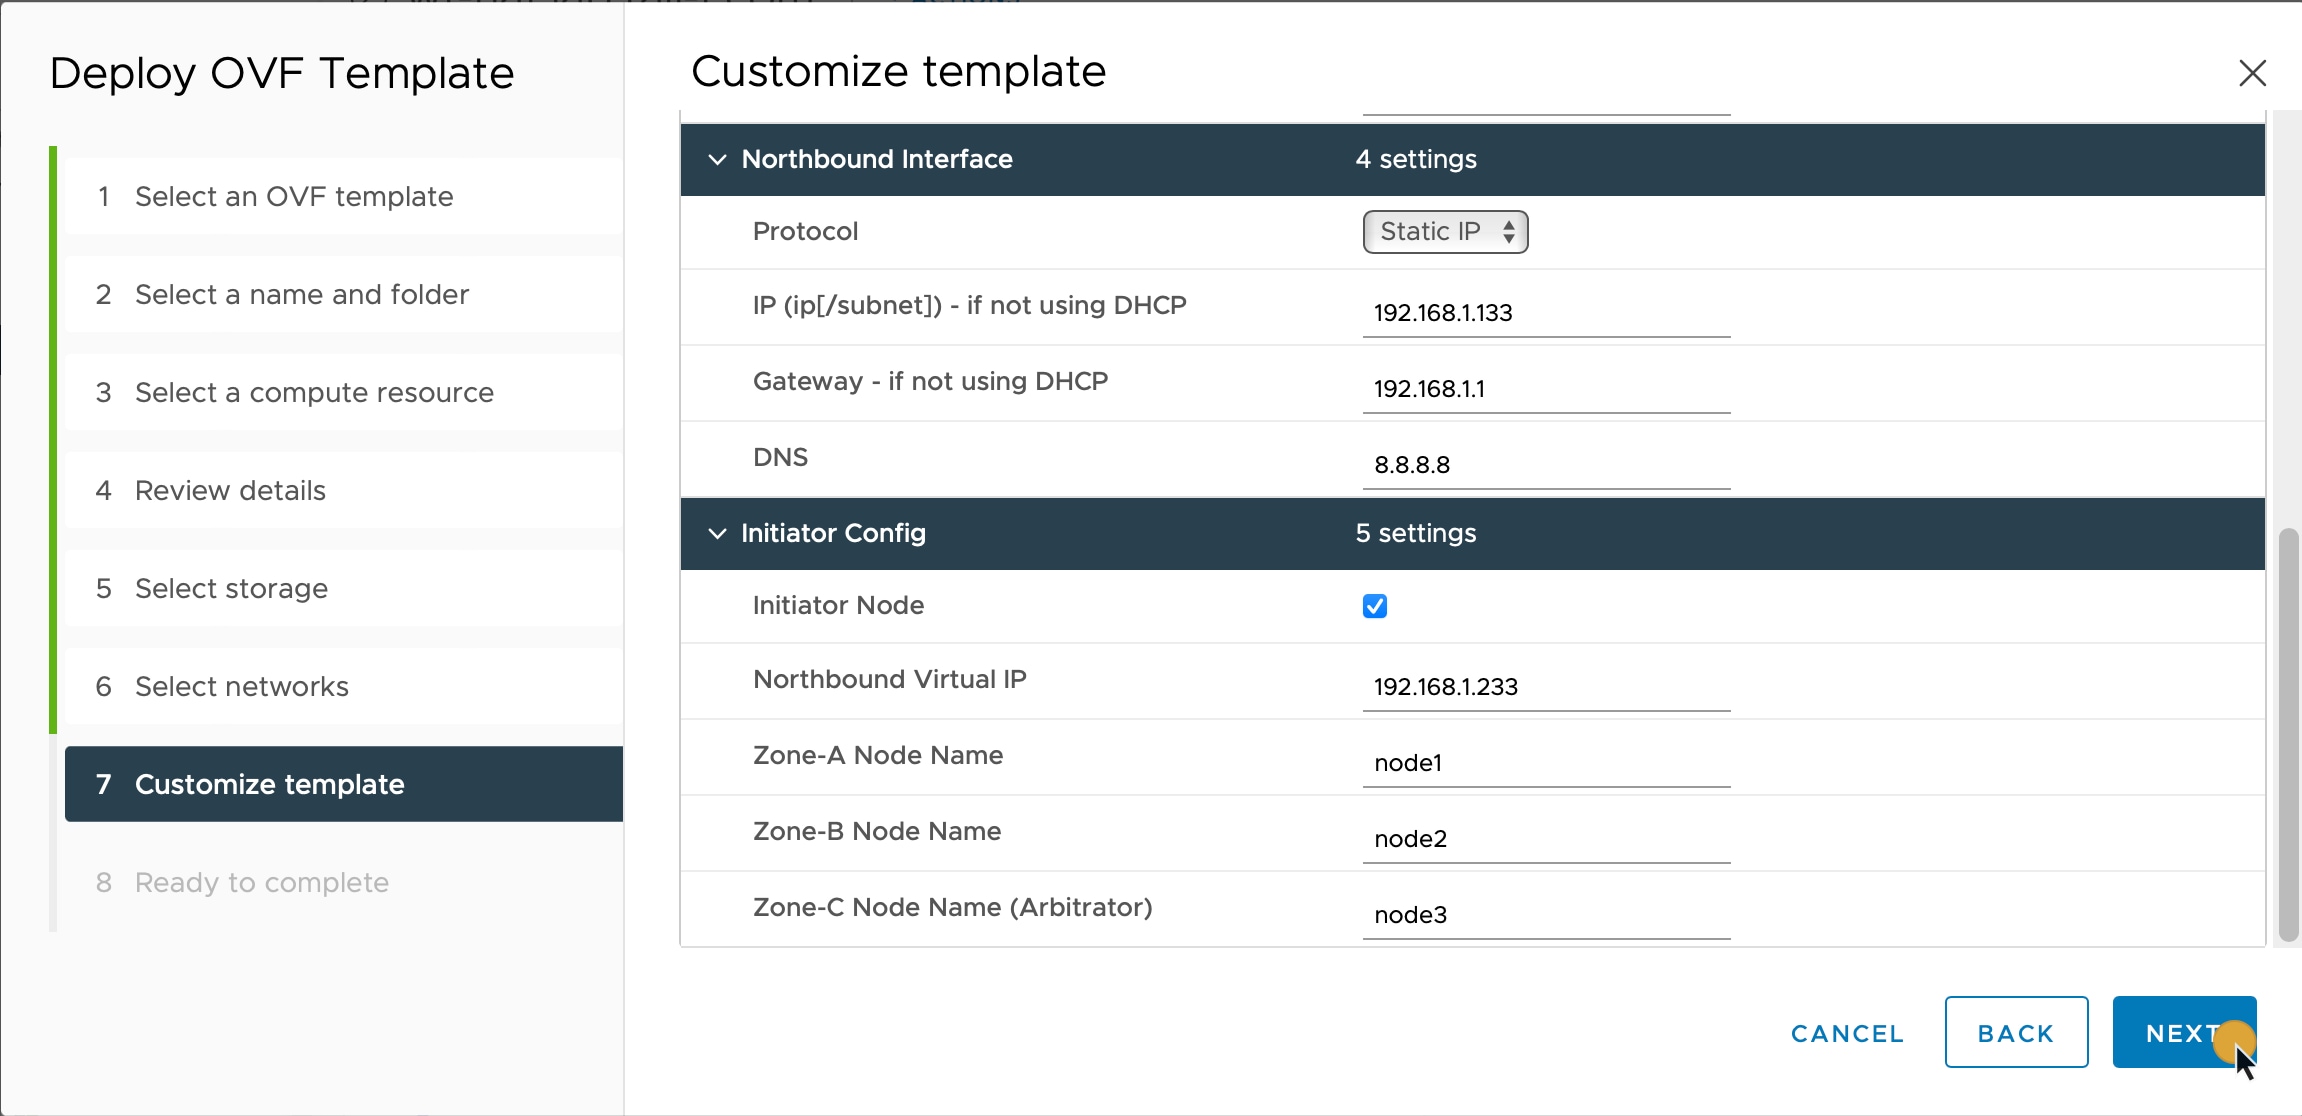
Step 10 |
In the Customize template step, provide the following selected properties:
|
||
|
Step 11 |
In the Ready to complete, click Finish. The deployment may take a few minutes. |
||
|
Step 12 |
From the Resource pool list, select you newly created virtual machine and click the Power on icon. 
|
Check installation and create user
Before you create a platform user account for first login to the CWM UI, check if the installation is completed successfully and the system is up:
Procedure
|
Step 1 |
Using a command-line terminal, log in to the NxF in your guest OS with SSH:
Optional: If you are logging in for the first time, provide the path name for your private key:
|
||||
|
Step 2 |
Check NxF boot logs:
|
||||
|
Step 3 |
Check if all the Kubernetes pods are up and running: This will display a list of pods accompanied by their status, which will resemble the following:
|
Create user for UI login
You can create CWM platform user accounts using the command-line access to the VM. Here's how to do it:
Procedure
|
Step 1 |
Using a command-line terminal, log in to the NxF in your guest OS with SSH: Optional: If you are logging in for the first time, provide the path name for your private key:
|
||
|
Step 2 |
To create a user with a password, run the following commands: |
||
|
Step 3 |
To see the CWM UI, go to the address that you selected for Northbound IP and default port |
||
|
Step 4 |
Log in using the 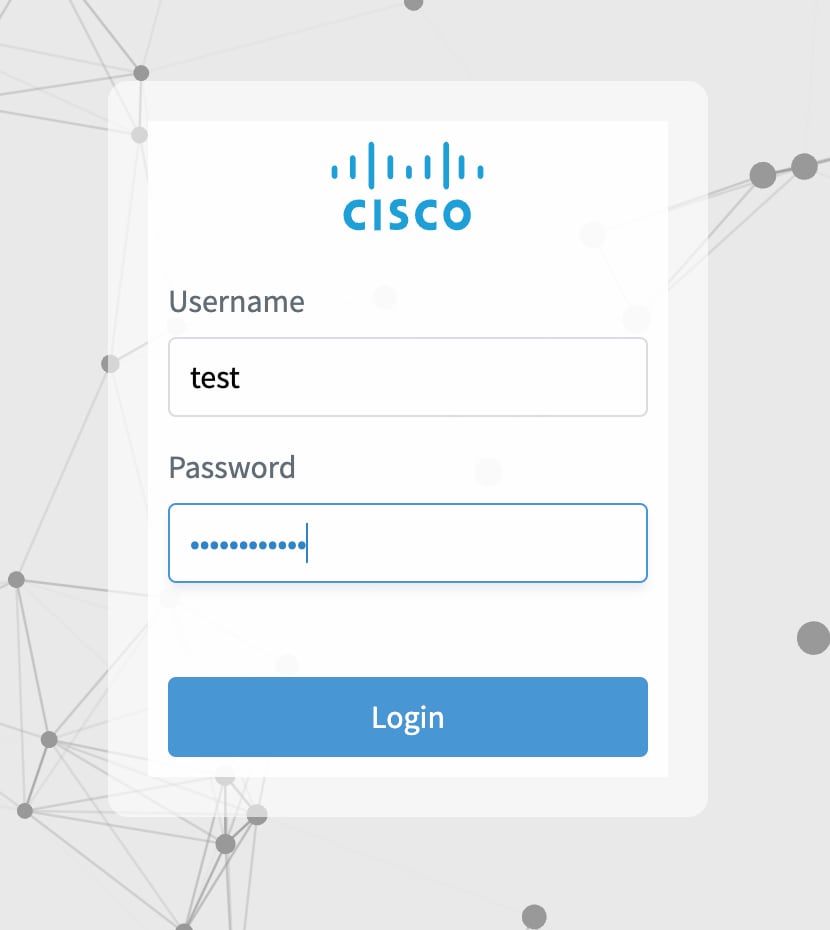 |
 Feedback