Forms
Forms are customizable templates that are used for guided tasks to introduce an element of human intervention into a workflow. They are configurable using the drag-and-drop Forms Designer in CWM UI and can contain a number of different optional input components, like text, buttons, dropdowns, radio buttons, checkboxes, and layout components, like tabs, columns, cards, HTML elements, and others.
With forms, you define what kind of input you want to include in your manual task and how it will be layed out in the task prompt itself. Forms can be set to contain static form elements (set values) or dynamic data elements (where values can be set using jq expressions).
Forms list
To access the Forms, click on the Forms tab located in the main menu. Here, you can view, edit, export, and delete all the existing forms, or access the Forms Designer by clicking Create form.
 Note |
To export a form to a CSV file, check one or multiple forms in the list and click the Export button. |
Forms Designer
The Forms Designer is a user-friendly drag-and-drop editor accessible via the Forms in the CWM UI. To get started, simply click the Create form button. The designer consists of two main panels:
-
Basic configuration: Here, you provide a name and a description for your form. Those are required fields.
The name you provide for your form determines the Form ID that you will need to provide inside your workflow. To retrieve the Form ID, click on the name of the newly added form in the forms list.
-
Form elements: This is where you design and preview your form.
Within the Form elements panel, the Designer field is where you craft the input, structure, and visual layout of your form.
It has a number of components grouped into four categories:
-
Basic
-
Advanced
-
Layout
-
Data
Input components
The Basic and Advanced categories contain customizable input components. Using those components you can define how you would like to structure your task and what type of input(s) would be required to proceed. It can be:
-
text fields or areas,
-
numbers,
-
passwords,
-
checkboxes or select boxes,
-
drop-down lists (called selects in the UI),
-
radio buttons or simple buttons,
-
email fields,
-
date and time fields, and
-
signatures.
Inside a component
To add and customize a component, drag and drop it onto the blue rectangle inside the Designer field. A panel will appear containing a few tabs and a Preview field.
-
The Display tab is where you customize your input field. It features options like placeholder, description, tooltip and others. Those options may differ depending on the type of component that you selected, but there is one that is required:
-
Label: provide a name for the field that will appear next to it in the task prompt.
Note that the name you provide in the the Label field will be used for the Property Name field in the API tab of the component.
-
-
The Data tab allows you to add default values in the input and modify the way those values are handled. This tab is available for selected components.
-
The Validation tab features a Required checkbox which you can use to indicate if the input field needs to be filled before submission.
-
The API tab features the Property Name field which you need to provide as the component name inside your workflow.
-
The Conditional tab lets you configure the behavior of the component in relation to the input provided in any other component inside yur task prompt.
To edit an added component, hover over the component and click the cogwheel icon.
Layout components
Use a Layout component to change the general layout and position of fields on a form. It allows you to add logos, headers, or static contextual language to your form.
For example, you can use the Column component to position the Approve and Reject buttons so that they are placed side by side. To do that, pick the Columns component from the menu and drop it in the free space. Inside the component, change width of both columns to 2 and save. To create an Approve button, from the Basic components, pick the Button component and place it the column on the left, change it's label, then save it. For the Reject button, drag the Button component and drop in the right-hand side column. CHange label to Reject and from the Theme drop-down list, select Danger, then save.
Data components
Data components are special components that are used to not only visually show the data being collected in a data structured way, but will also change the data structure of the submissions being produced by the rendered form.
Dynamic data
To display data accessed by the workflow within a guided task, you can use jq expressions. These allow you to filter or modify the data before passing it to the task prompt. For example, you might want to retrieve the dry run of a network configuration change in Cisco NSO and present its payload for approval or rejection by the workflow operator.
Here is how you configure the use of dynamic data when creating a form in Forms Designer:
-
In Forms Designer, click Layout to expand it. From there, drag and drop the HTML element component.
-
In the Content field, provide the jq expression inside the
codebrackets, for example:code${ .dryrunPre }/code.The expression begins with a
$and is enclosed in curly brackets. The text inside the brackets can be custom, but it needs to start with a dot. You will later reference it in the workflow definition and the input from the workflow will be presented inside the HTML element once the task is prompted. -
Click Save.
Let's now confugire the workflow side of the dynamic data.
-
In your workflow definition, find the
callbackstate. -
Inside the
callbackstate, add themetadatakey. Then, inside it, addformDataand provide a value in the following format:"${ { dryrunPre : .result.data } }".Note that
dryrunPrerefers to the expression defined within the HTML element inside the form, whereas the other part refers to the value of thetoStateDatakey insideactionDataFilter. In this case,actionDataFilterhandles and filters the payload provided by NSO during the execution of a dry run for the Create L3VPN operation. Be sure to customize the provided example according to your specific use case. -
A sample workflow with the dynamic data part configured may look like this:
Note |
|
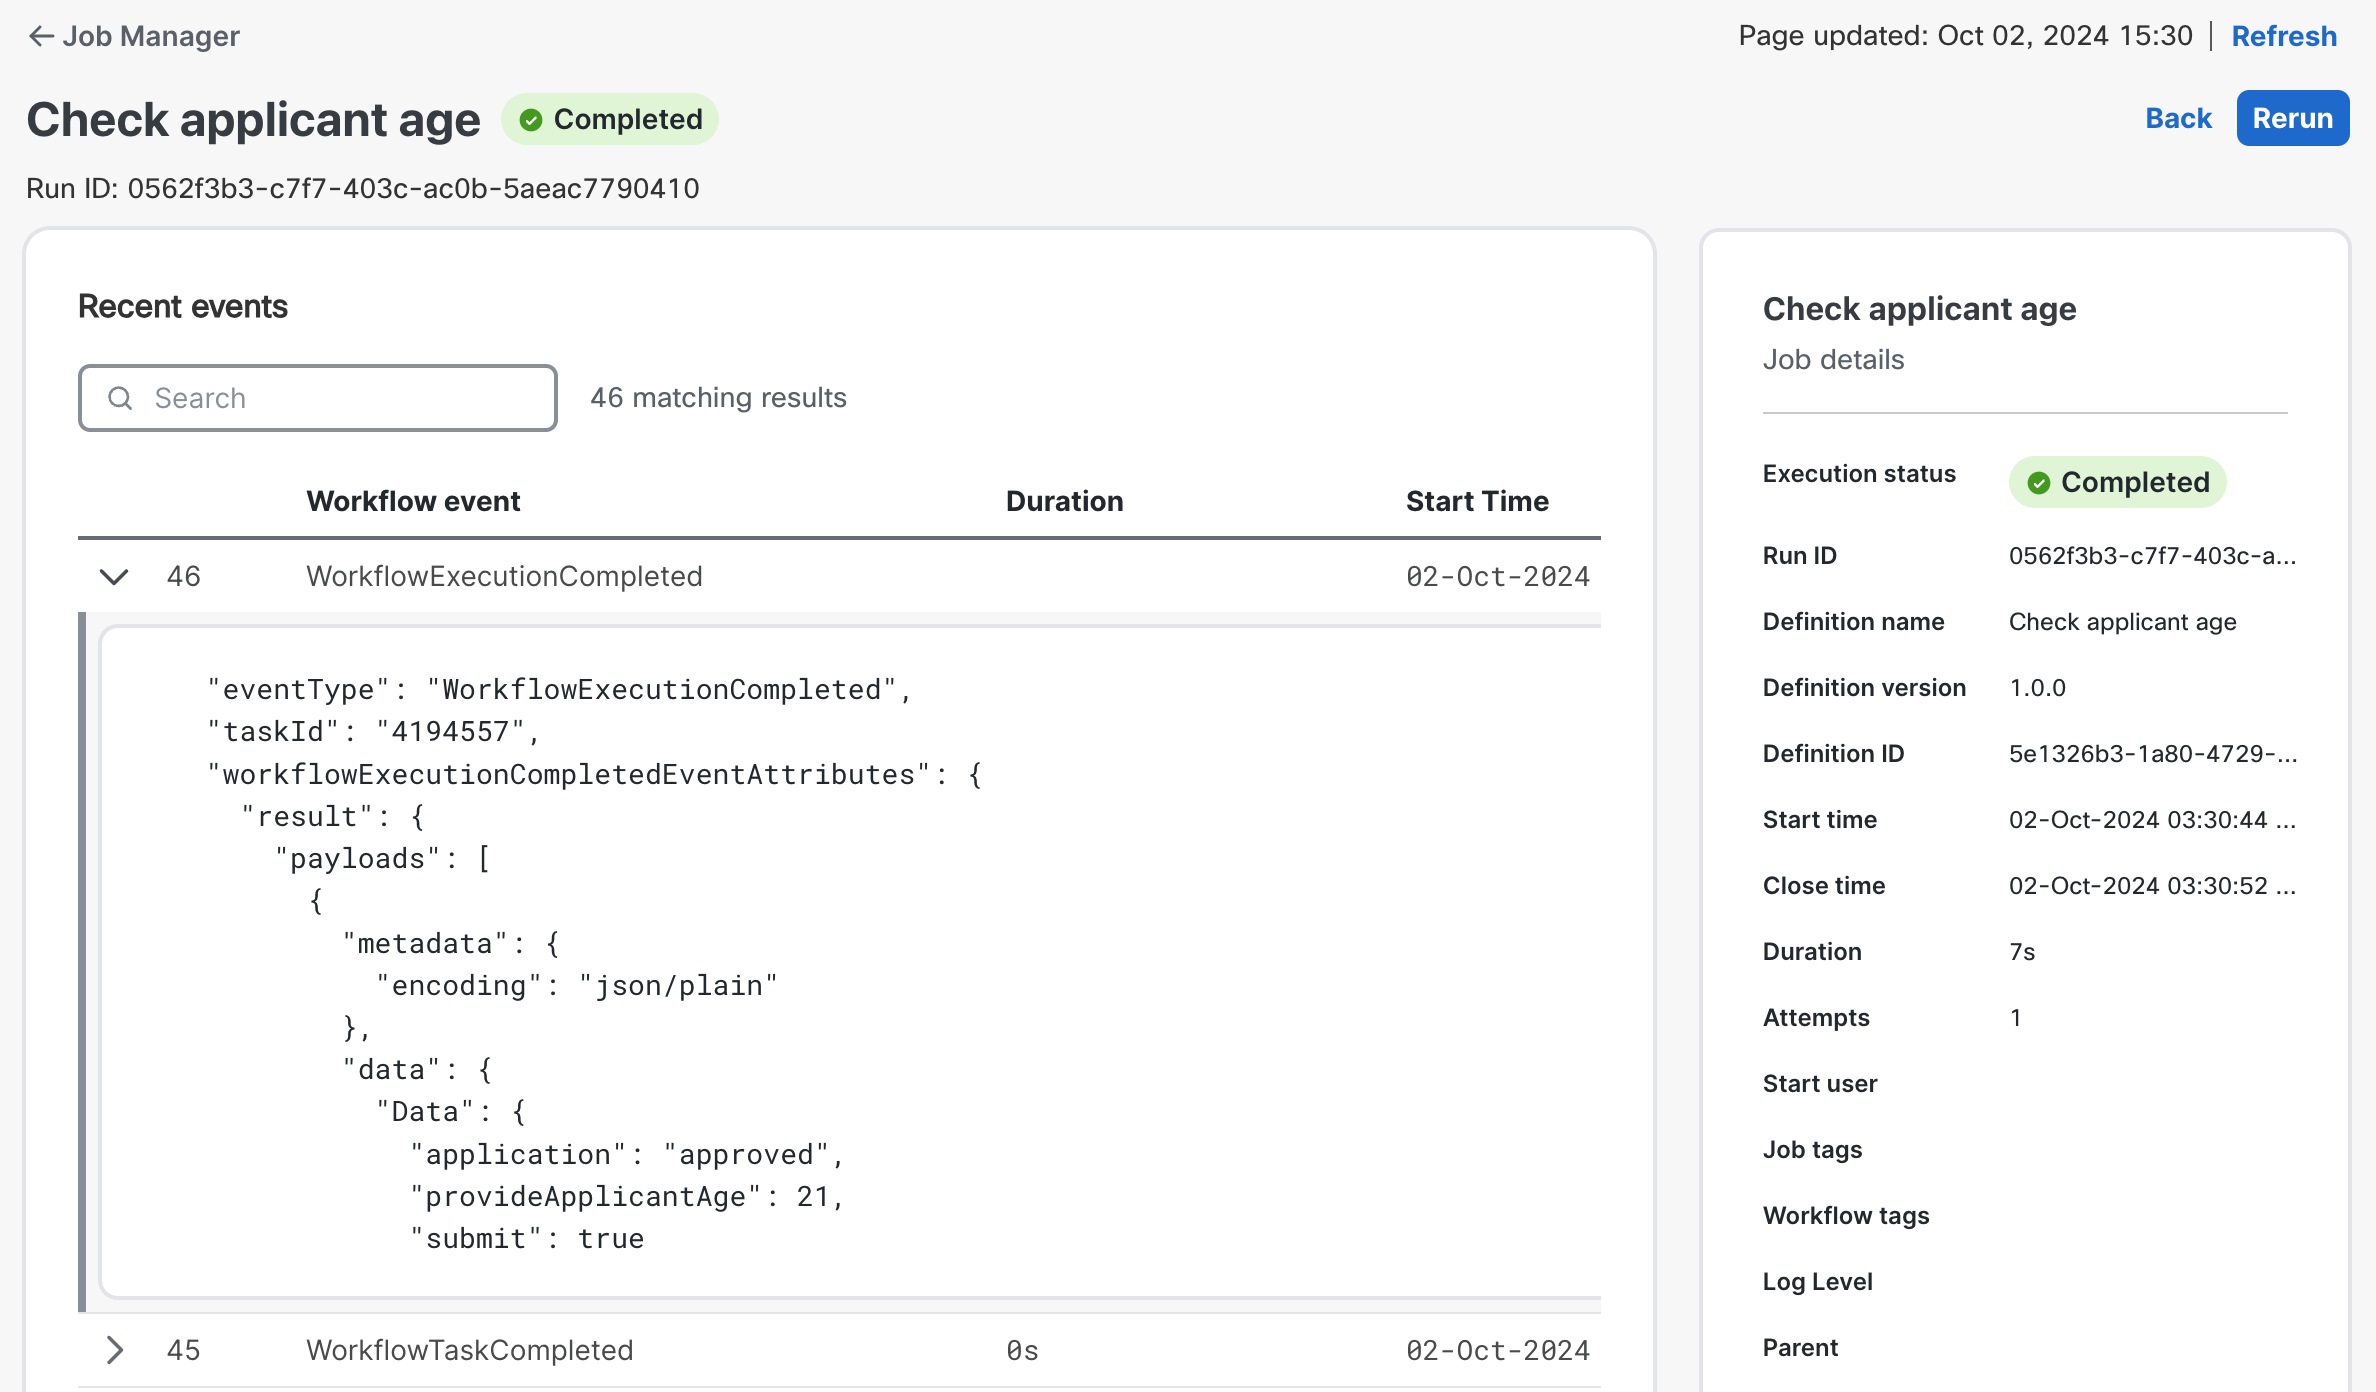
Once you start the workflow and the task is invoked, you will see the payload presented inside the prompt.
 Feedback