- Overview
- Set Up an HxBench Virtual Application
- ESXi Network Recommendation
- Deploy the vCenter Controller
- Deploy the Hyper-V Controller
- Configure the Virtual Machine
- Access the HxBench Web Interface
- Configure the Host in Hyper-V
- Configure the Host in vCenter
- Configure the HxBench Application
- Validate the Network on vCenter Controller
Overview
The HxBench application is delivered in the form of an Open Virtual Appliance (OVA) package. Setting up an application involves deploying a virtual machine, configuring the virtual machine, and configuring the HxBench application.
ESXi Network Recommendation
This section describes how to set up the network to deploy the test virtual machines successfully and to run storage performance testing. You can set up the network manually to run the tests. This section provides the step-by-step tasks for manual network creation.
Datacenter or Cluster with Multiple Hosts
For a datacenter or cluster with multiple hosts, segment the network that connects to subordinate VMs as shown in the figure below. The HxBench Controller assigns static IP addresses to the test VMs and provides IP addresses to the subordinate VMs.
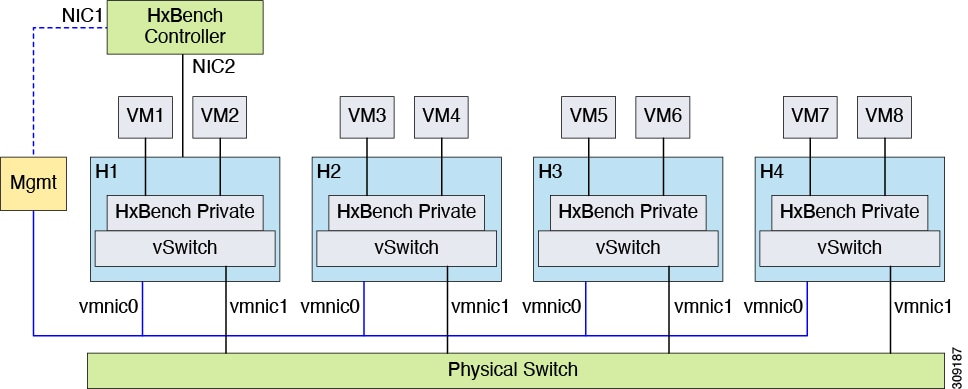
Follow these steps to create the required Standard / Distributed Switch and Port Group for HxBench:
-
Create a Standard / Distributed Switch with an uplink connected to a physical switch. Alternatively, you can select an existing Standard / Distributed Switch with uplink connected to the switch.
-
Using vSphere Web Client, create a Port Group labeled HxBench Private on the newly created Standard / Distributed Switch or on the selected Standard / Distributed Switch with a valid VLAN ID.
-
Repeat steps 1 and 2 on all the hosts in the cluster.
-
During OVA deployment, map NIC-2 of the HxBench Controller to the newly created HxBench Private Port Group.
-
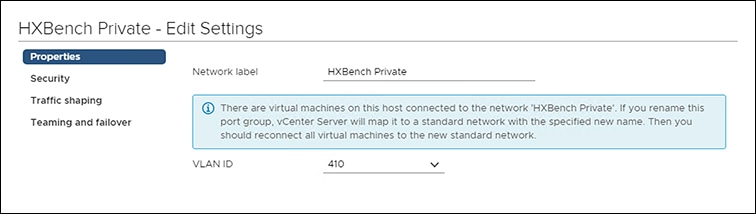
Using vSphere Web Client, update the VLAN ID of the HxBench Private Port Group. Click . On the HxBench Private Properties page, under the General tab, configure VLAN ID from the drop-down list.
-
Make sure that the VLAN ID is updated in the physical switch configuration and that the switch is configured to process traffic based on specific VLAN IDs.
 Note |
For procedural steps on manual network creation for a Datacenter or cluster with a single host, refer to Appendix at the end of this guide. |
Deploy the vCenter Controller
Procedure
Deploy the vCenter Controller as follows:
| Step 1 |
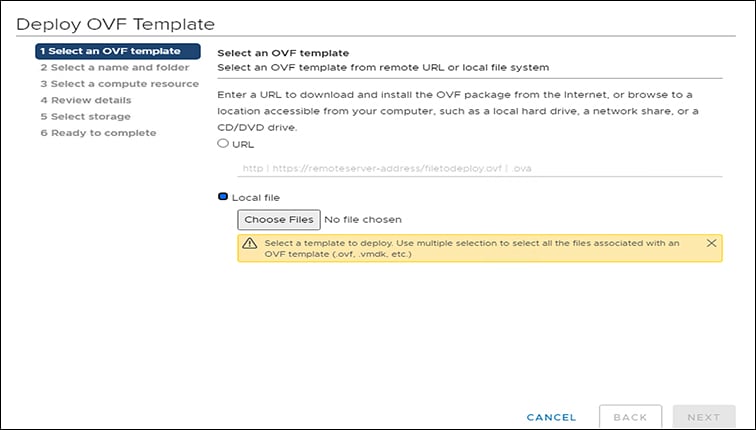
From the vSphere Web Client Navigator, select . 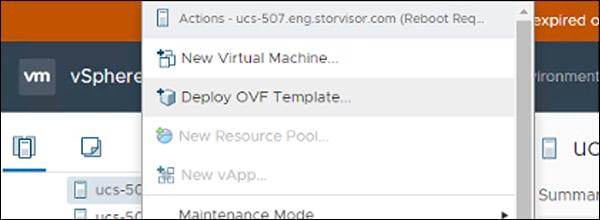 |
||||||||||||
| Step 2 |
Select the OVA template file you want to deploy from the disk.
|
||||||||||||
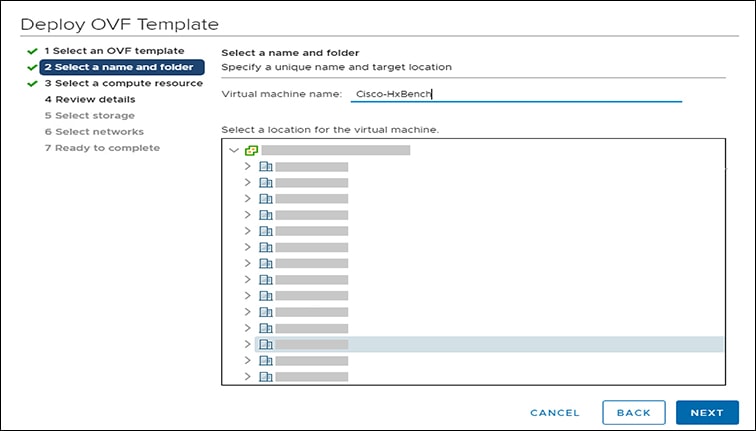
| Step 3 |
Specify a Name for the VM. Click Next.
The name has an 80 character limit and must be unique within the inventory folder. |
||||||||||||
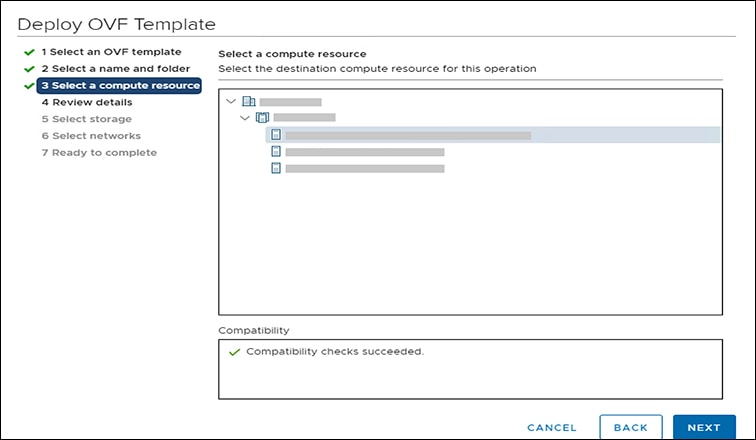
| Step 4 |
Select the computer resource where you want to deploy the VM. Click Next.
|
||||||||||||
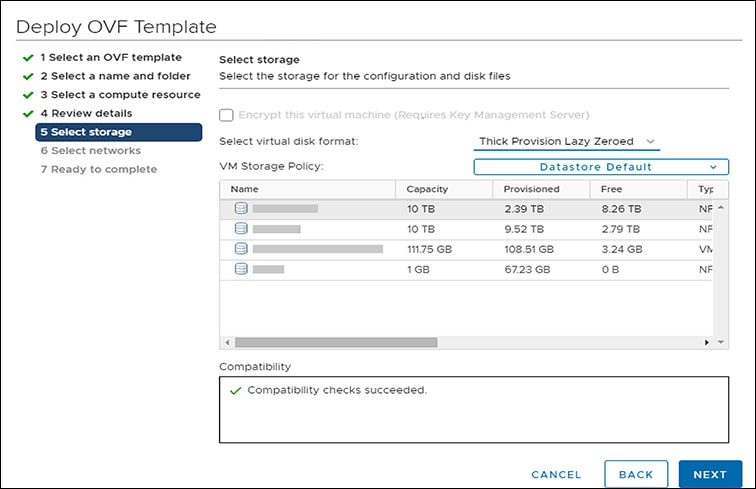
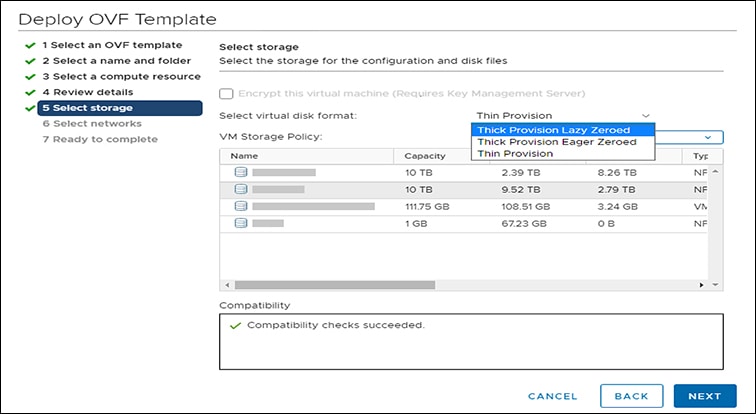
| Step 5 |
Under Select Storage, select the datastore where you want to deploy the VM. Click Next.
|
||||||||||||
| Step 6 |
Select the Disk Format. Click Next.
|
||||||||||||
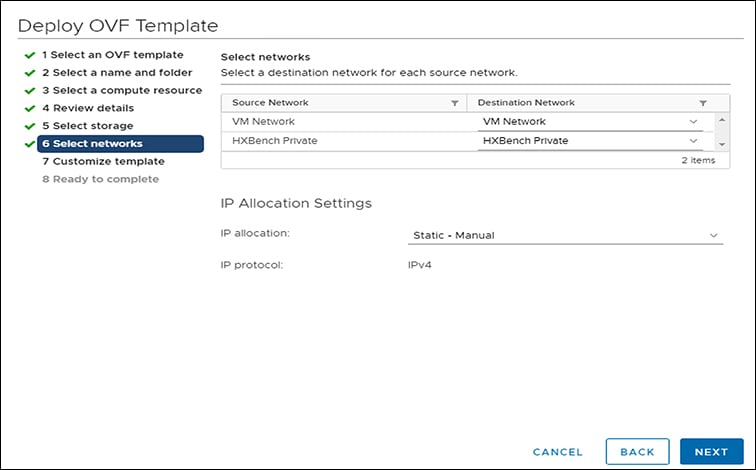
| Step 7 |
Under Select networks, select HxBench Private.
|
||||||||||||
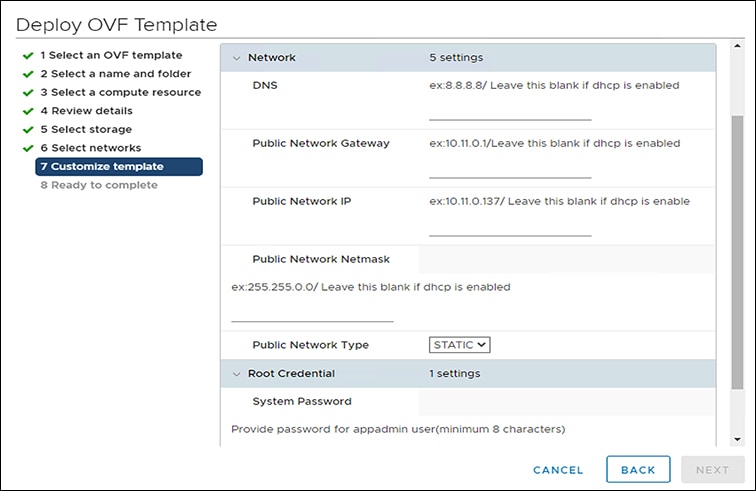
| Step 8 |
Under Customize template, configure the Network settings. You can configure either DHCP or a Static IP address for the VM.
Review the selected options to start deploying the OVA. Click Next. |
||||||||||||
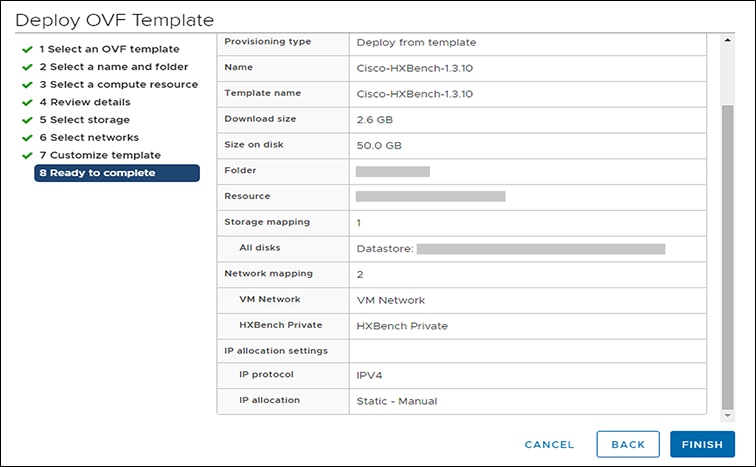
| Step 9 |
Select Ready to complete and click Finish.
|
What to do next
Wait for the deployment task to complete.
After completion, a success message appears.
Deploy the Hyper-V Controller
To deploy the Hyper-V controller:
Procedure
| Step 1 |
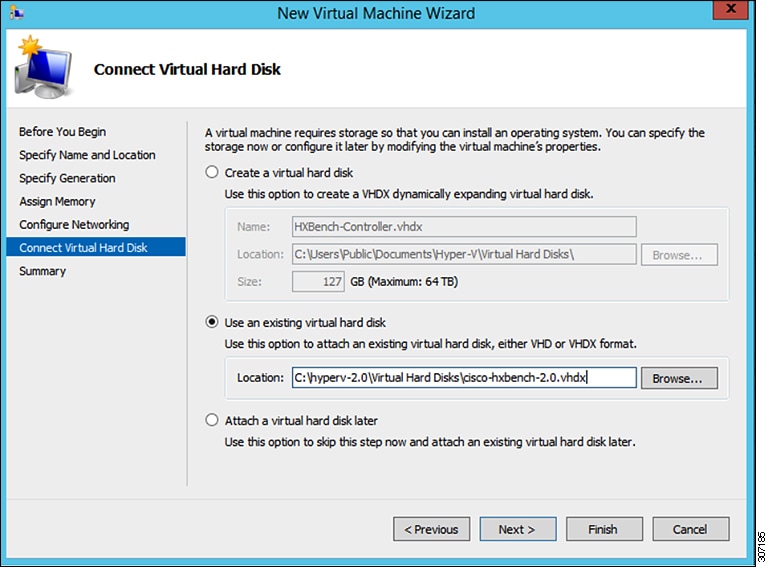
Extract the zip file Cisco-HxBench-2.0.zip and copy the vhdx file Cisco-HxBench-2.0-HyperV.vhdx to the HyperV server. |
| Step 2 |
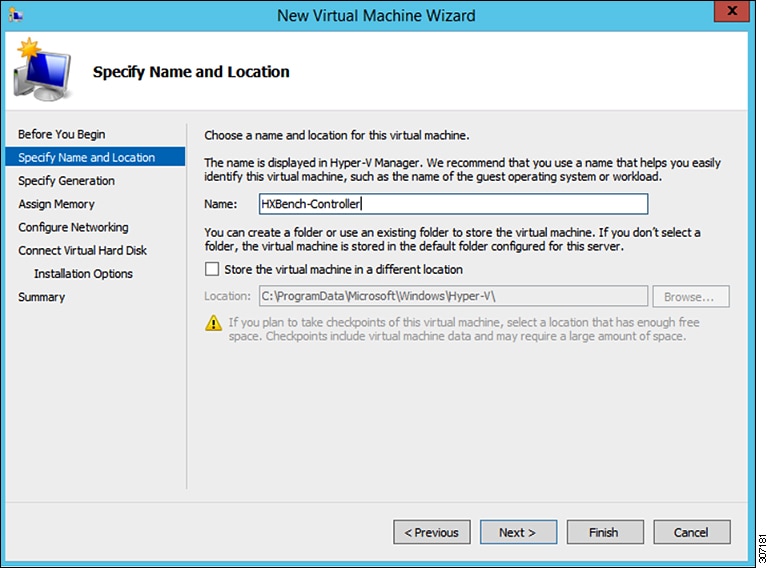
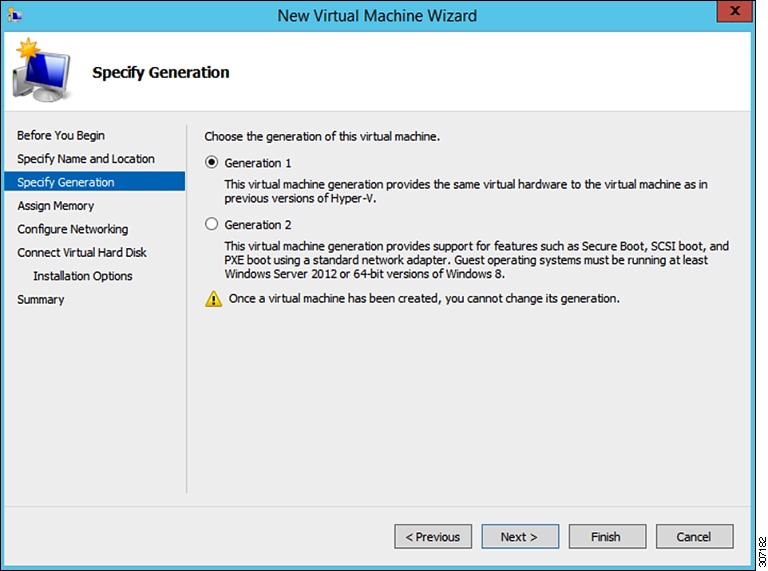
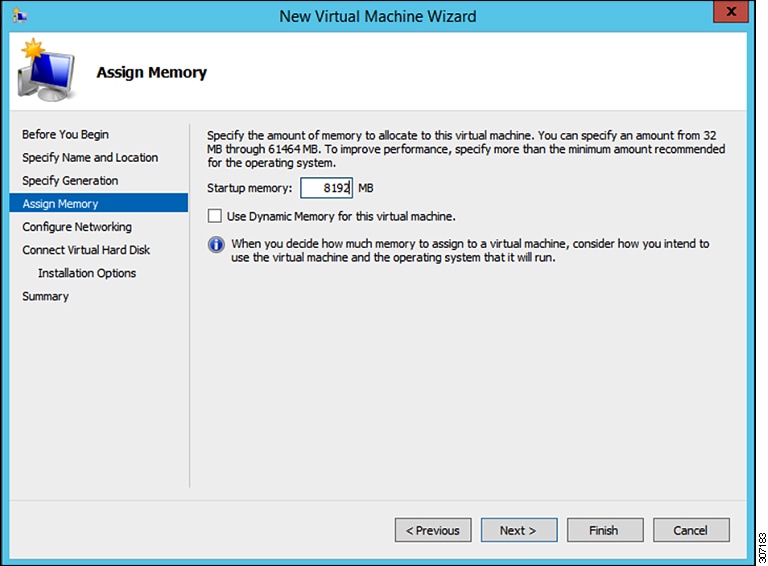
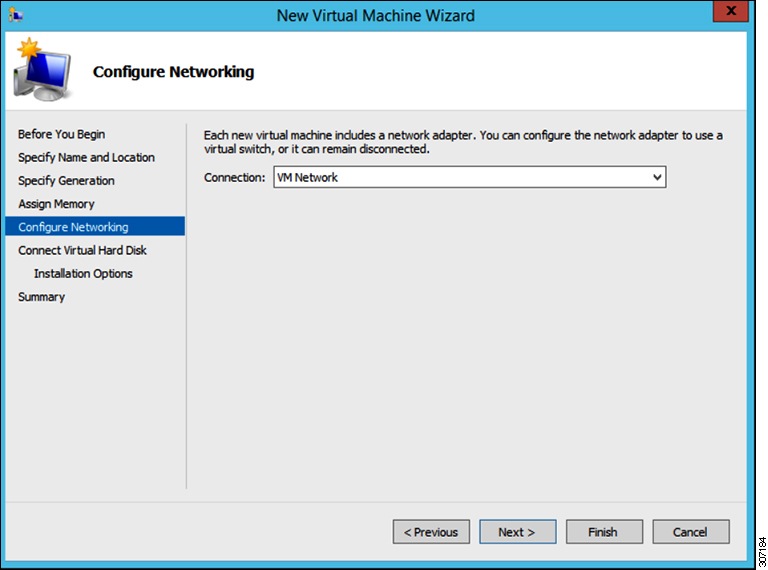
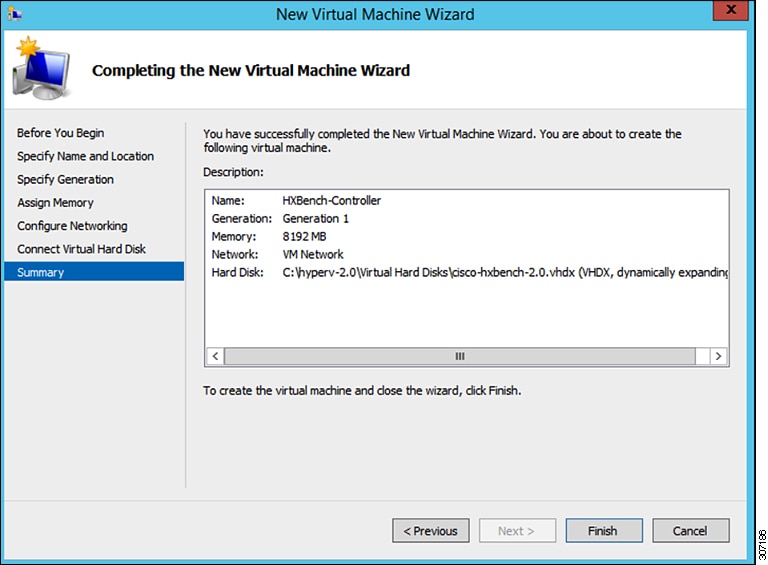
From the HyperV Manager, select the HyperV server where HxBench Controller is to be deployed and select New > Virtual Machine.  The New Virtual Machine Wizard appears. Follow the prompts to configure the new Virtual Machine.
|
| Step 3 |
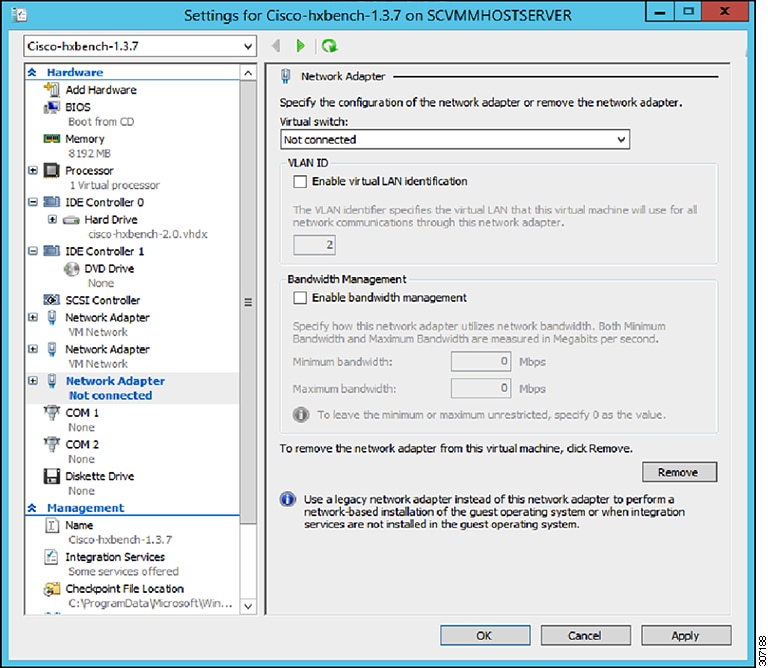
After the completion of the VM deployment, click VM Settings. Under the Add Hardware tab, select Network Adapter, then click Add.
|
| Step 4 |
Choose Public Network for HXBench VM under the Virtual Switch. Click Apply, then click OK. |
| Step 5 |
Assign a VLAN ID to both networks, if enabled.
|
| Step 6 |
Power on the VM by clicking Start. |
| Step 7 |
Click Start to power on the VM and then click Connect to connect via the console. |
| Step 8 |
Change the password from the console. While changing the password, use the default username and password as appadmin/password. |
| Step 9 |
Configure the static or DHCP IP from terminal for the first login. Follow the instructions prompted in the terminal. |
| Step 10 |
After IP configuration, enter the new password as prompted in terminal. The machine will not reboot if DHCP and reboots with static IP selection. |
| Step 11 |
After all IP configuration changes, if any changes are required or any wrong entry IP is entered, edit the interfaces file using VIM editor: /etc/network/interfaces to update the details |
| Step 12 |
If the previous step is done manually, then reboot/reset the machine using Hyper-V manager. |

Configure the Virtual Machine
Procedure
| Step 1 |
Power on the virtual machine. |
||||
| Step 2 |
Log in to the virtual machine from the HxBench Web Interface.
|
||||
| Step 3 |
If you selected DHCP during deployment, the HxBench Application starts running when the VM boots up with the assigned DHCP address. Make a note of the IP address assigned to the VM. If you selected static IP address, use the same to access the HxBench Controller and the HxBench Web Interface. |
Access the HxBench Web Interface
To access the HxBench Web Interface, enter http://<IPaddressof theVM>:8000/hxbench/index.html in your browser.
Log in to the HxBench Web Interface using the following credentials:
|
Username |
appadmin |
|
Password |
Use the Changed password during Hyper-V Controller deployment |
Configure the Host in Hyper-V
Procedure
Before running the test, configure the host as follows:
| Note |
Perform the following steps on all hosts. |
| Step 1 |
From the Powershell CLI, enter: |
| Step 2 |
Using windows powershell in administrator mode, copy and run the following file: “/home/appadmin/host_configuration.ps1” from the deployed HXBench Controller to all Windows HyperV Host and in Powershell execute the following: ./host_configuration.ps1. |
| Step 3 |
Use the same to access the HXBench Controller and the HXBench Web Interface. HX Bench picks up the hostname and tries to deploy VMs on the same. If it fails to resolve the hostname, then VM deployment fails. If this occurs, perform the following steps: |
Configure the Host in vCenter
HxBench picks up the hostname and tries to deploy VMs on the same. If it fails to resolve the hostname, then VM deployment fails.
Procedure
|
Add DNS IP and FQDN of the host to |
Configure the HxBench Application
During initial login to the HxBench application after the installation, perform the following steps.
Procedure
| Step 1 |
Upload Vdbench software to the HxBench controller. |
||||||||||||||||||||||||
| Step 2 |
Upon successful completion of Vdbench software upload, click Next. Provide your server details (vCenter or Hyper-V, shown as follows) where the tests should run. Complete the following fields and click Save.
|
What to do next
Validate the Network on vCenter Controller
After adding the vCenter server, validate the network setup by performing the following checks:
-
Query the network port group details of NIC2 in the HxBench controller.
-
Check the type of switch to which the port group is associated.
-
If the port group is connected to Virtual Distributed Switch (VDS), check whether all the hosts in the cluster are connected to the VDS and NIC2 port group.
Note
If the hosts are not connected to the VDS, you will see a warning that the network setup is partial. In such case, test VMs will be deployed to hosts only after the network setup is complete. You can manually update the configuration to connect all the hosts to a specific port group and VDS.
-
If the port group is connected to the Virtual Standard Switch (VSS), the validation check will query the network and VLAN details of all the host switches.
-
If all the hosts are configured with the same port group and VLAN ID, the validation is successful and HxBench controller redirects to the Run Test workflow.
-
If some of the hosts are not configured with same port group and VLAN ID, the validation status is marked as PARTIAL. You can either continue to use the partial setup or alternatively, or you can create a new network setup on all hosts. Click Cancel to use the partial setup.
If you choose to create a new network setup on all hosts, provide the following details and click Create Network.
Field
Description
VLAN ID
If the network switch is configured to allow traffic from specific VLAN IDs, make sure to update this VLAN ID to the configuration.
Host Name
For example, 10.11.1.xxx
Switches
Choose vSwitch from the drop-down list.
-
-
The HxBench controller assigns static IP addresses to all the test virtual machines. The static IP address is assigned from a private IP address range of 169.254.0.xxx.
 Feedback