Lab Manager

The Lab Manager Page

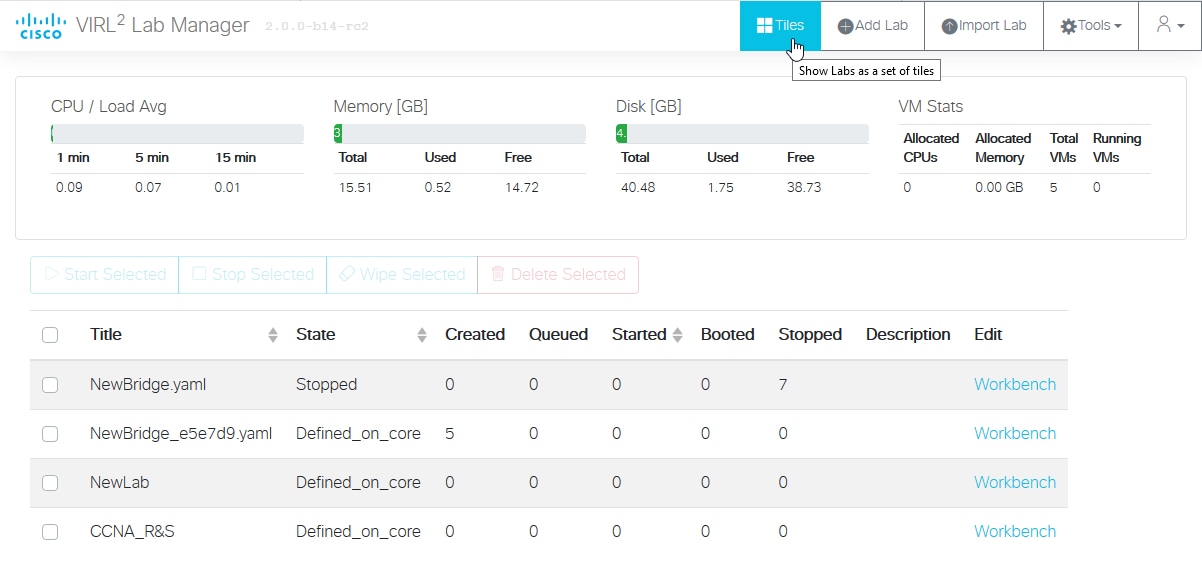
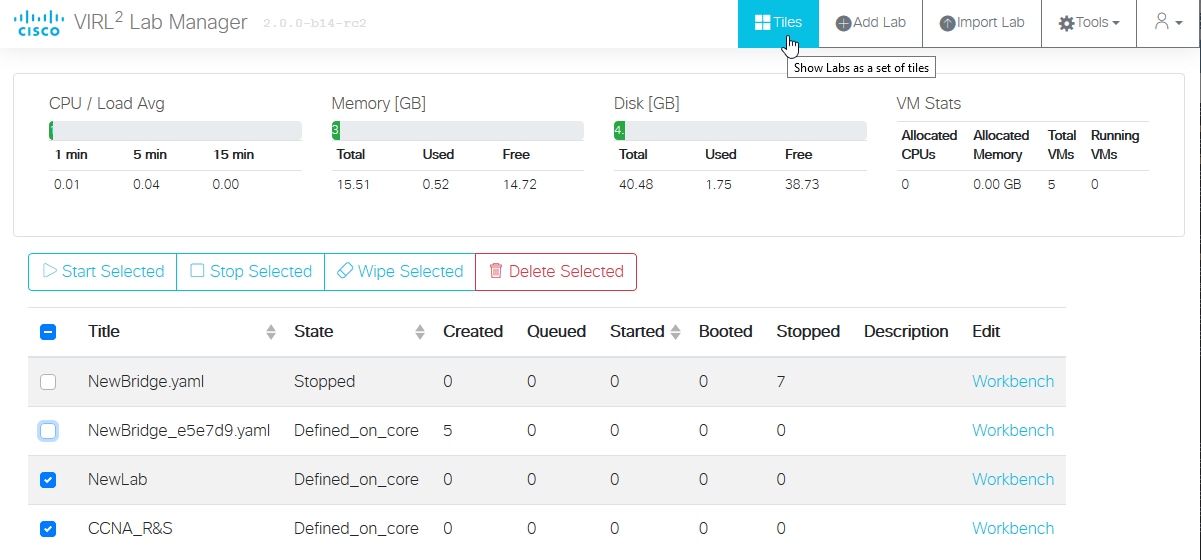
Lab Manager is the landing page that you see when you first log into the UI. At the top of the Lab Manager page, there is a summary of the CML server's system status.

Figure 1. System Status

Screenshot: system status elements in Lab Manager

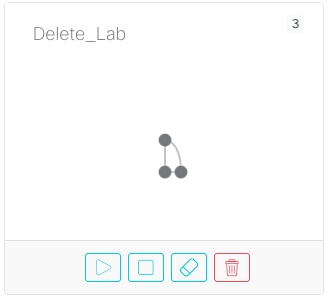
Below the system status elements, the Lab Manager shows a list of the labs that you have created. By default, the list of labs is displayed as a set of tiles. If you have not yet created a lab, no lab tiles will be displayed. Clicking on a lab tile opens that lab in the Workbench.

There is a menu bar at the top of the page with the following items:

Menu Item

Button Type

Tasks

List (default) toggle Changes the layout of the labs. You can toggle between Tiles and List view by pressing the button. See Changing the Lab List View and Multi-Selecting Labs.
Add Lab action Creates a new lab. See Creating a Lab.
Import Lab action Opens the Import Lab page. See Importing Labs.
Tools menu

Opens the tools menu.

The Tools menu item opens the Tools menu.

Figure 2. Tools Menu

Screenshot: Tools menu in Lab Manager

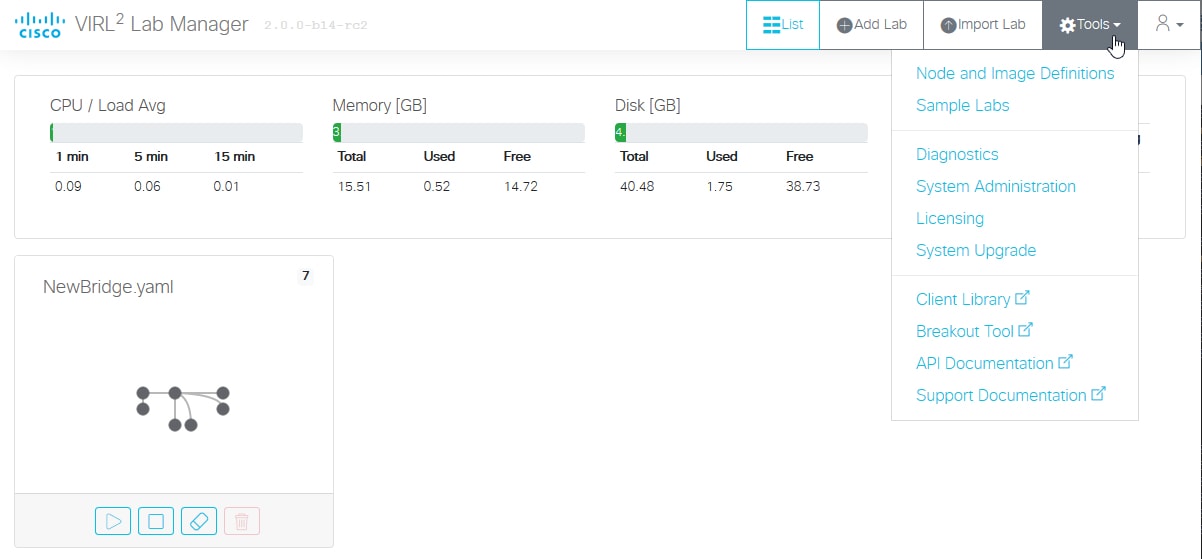
Lab Manager and Workbench are the primary pages in the UI for working with labs. Other pages of the user interface are accessible via the Tools menu:

Menu Item / Page Name

Description

Node and Image Definitions The Node and Image Definitions page shows the node definitions and images available on this CML server. You can create new node definitions and add VM images on this page. See Preparing Custom Images
Sample Labs The Sample Labs page lists preconfigured labs that are ready to use. Load a sample lab into the Lab Manager to get acquainted with the new CML interface.
Diagnostics* The Debug Diagnostics page provides logging information that is useful for troubleshooting.
System Administration* The System Administration page provides system information and links for accessing the CML system settings. The administrator adds new CML application users on this page.
Licensing* Use the Smart Software Licensing page to apply a license or to view the license authorization status.

System Upgrade*

See Administering Cisco Modeling Labs 2.0 for more details on system upgrades.

Client Library Opens the documentation page for the Python Client Library for CML.
Breakout Tool Opens the documentation page for the Breakout Tool. Download the Breakout Tool from this page. See Breakout Tool.
API Documentation Opens the documentation for CML's web service APIs.

Support Documentation

Opens a page with information about getting support for CML.

* = These items are only available to users with application administrator privileges.

Creating a Lab

Before you begin

Log into the CML web UI using an application user account. For example, you may use the initial user account created during the installation process. After logging in, you will see the Lab Manager page of the UI.

Procedure


Step 1

On the Lab Manager's menu bar, click Add Lab.

A new lab is created, and the tile for the lab will appear in the Lab Manager with a default name, such as Lab at Tue 14:30 PM.

Step 2

Optional: Hover over the lab tile and click the lab name to start editing.

Step 3

Optional: Enter a new lab name and press Enter to rename the lab.

You may edit the lab name at any time from the Lab Manager tile or in the Workbench's menu bar.

Importing Labs

The Import Lab page supports the import of both CML 2.0 .yaml topology files and 1.x .virl topology files.

When importing a .virl topology from a 1.x system, be aware of the following limitations:

  • Images being used in the imported topology may not be available on the CML 2.0 system.

  • The network configuration for the imported lab may not match the CML 2.0 system and may require further editing.

  • Some images are no longer supported in CML 2.0. For example, the Ostinato node type has been replaced by Cisco TRex.


Tip

CML will attempt to map unsupported node types from a 1.x .virl file to the closest matching node definition. For example, Ostinato drone nodes will become TRex nodes in the imported topology. Note that the import only converts the node to the new node definition. It cannot convert the node's associated configuration. To ensure that the topology functions as expected, you must check the topology and especially the configuration associated with the nodes. Manually update the configuration of the converted nodes to implement the desired behavior.


Procedure


Step 1

From Lab Manager, select Tools > Import Lab.

Step 2

Click Browse and use the file browser to select the topology file to import from your local system.

Step 3

Click Upload Topology.

The topology is imported, and the page displays a message, such as Uploaded as lab abc123.

If you are importing a 1.x .virl file, you may also see warnings, such as

Warnings
Node /lxc-ostinato-drone-1: lxc-ostinato-drone node mapped to trex, manual adaption required!
Node /lxc-1: lxc node mapped to alpine, manual adaption required!

Pay attention to any warnings displayed during import. Warnings indicate that the topology contains features or node types that have changed since version 1.6. You should check the imported topology before running it and make necessary changes to the node configurations, especially for any nodes mentioned in the warnings.
Step 4

Click Go to Lab... to open the newly imported lab in the Workbench, or click Lab Manager to return to that page and see the new lab in the list of labs.


Organizing Labs

Changing the Lab List View and Multi-Selecting Labs

Lab Manager uses a tiles-based view to show the list of labs. You may change the Lab Manager's layout from tiles view to list view. The list view permits the selection of multiple labs, but the tiles view does not. To apply an action to multiple labs at once, you must first switch to list view.

Procedure


Step 1

Click the List button on the menu bar to change the Lab Manager's layout to list view.

After the button is pressed, Lab Manager shows the labs in a list. The button's label changes to Tiles.

Figure 3. List view for Lab Manager

Screenshot: list view for Lab Manager
Step 2

Select one or more labs by checking the check box in that lab's row.

With multiple labs selected, you can perform an action (start, stop, wipe, or delete) on all of the selected labs.

Example:

Figure 4. Selecting multiple labs in the Lab Manager

Screenshot: selecting multiple labs in the Lab Manager

Deleting Labs

Labs in CML are persistent. After a lab has been stopped, CML will maintain the state for all nodes in the lab. Any setting that you modify during the simulation is automatically saved by the system. The next time you start the lab, all nodes will be using the same running configurations from the last time the lab was stopped.

To delete a lab, you must first stop the lab simulation and remove (wipe) its persistent state.

Figure 5. Start Lab / Stop Lab / Wipe Lab / Delete Lab

Screenshot: Start Lab / Stop Lab / Wipe Lab / Delete Lab

Procedure


Step 1

In the Lab Manager page, locate the lab that you want to delete. If the lab is running, the Wipe Lab button will be disabled and grayed out. Click the Stop Lab button first to stop the running lab.

Step 2

With the lab stopped, click the Wipe Lab button.

A confirmation dialog is shown.
Step 3

Click OK in the dialog to confirm that you want to wipe the lab.

By wiping the lab, all data associated with the lab will be permanently deleted.

Step 4

Click the Delete Lab button to remove the lab.

A confirmation dialog is shown.
Step 5

Click OK in the dialog to confirm that you want to permanently delete the lab.

The lab is deleted, and it is no longer shown in the list on the Lab Manager page.