Install Crosswork Applications
This section explains how to install a Cisco Crosswork application from the Cisco Crosswork UI.
 Note |
|
Procedure
| Step 1 |
Download or copy the CAPP files from cisco.com to a server that can be reached from the CW server. |
||||
| Step 2 |
In the Cisco Crosswork homepage, click on . The Crosswork Summary page is displayed with Crosswork Cluster and Crosswork Platform Infrastructure tiles. 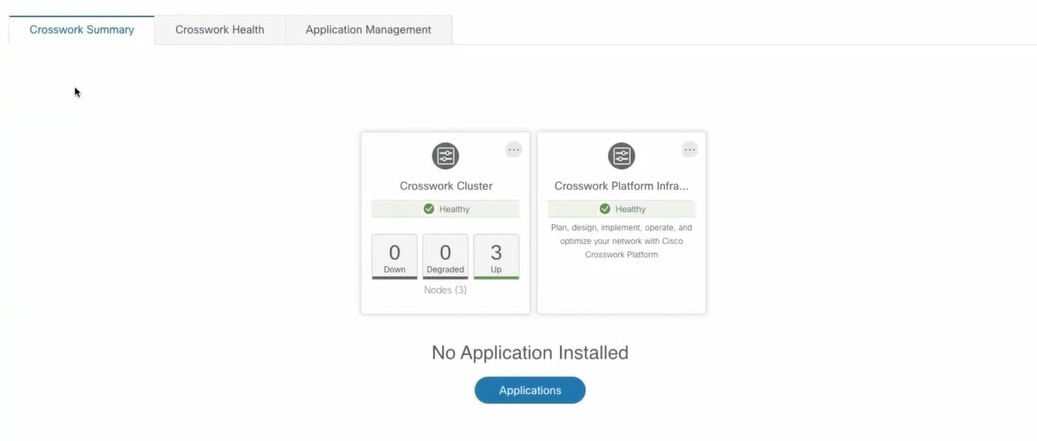 You can click on the tiles to get more information. |
||||
| Step 3 |
To install an application, click on Applications button. Alternately, click on the Application Management tab. |
||||
| Step 4 |
In the Application Management screen, select the Applications tab, and click on the Add File (.tar.gz) option to add a CAPP file. 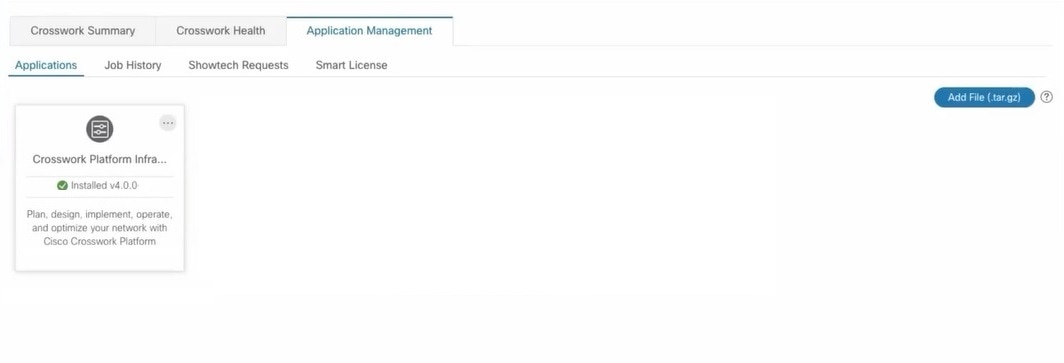 |
||||
| Step 5 |
In the Add File dialog box, enter the relevant information and click Add. 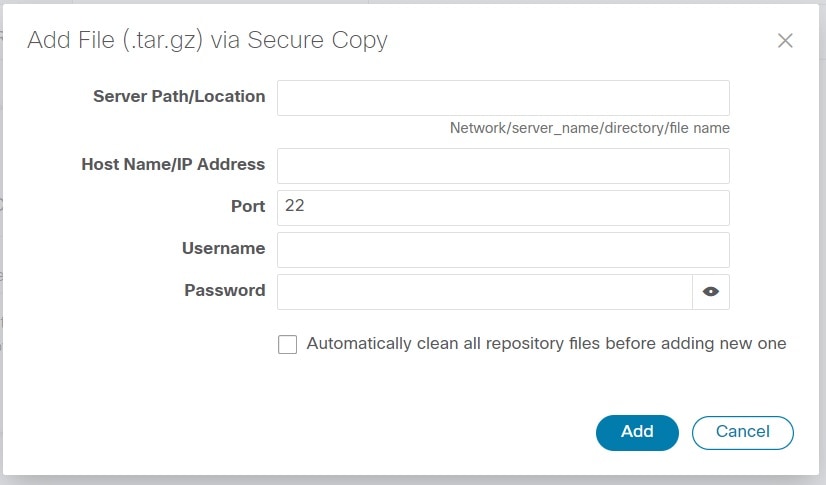 The add operation progress is displayed on the Applications screen. 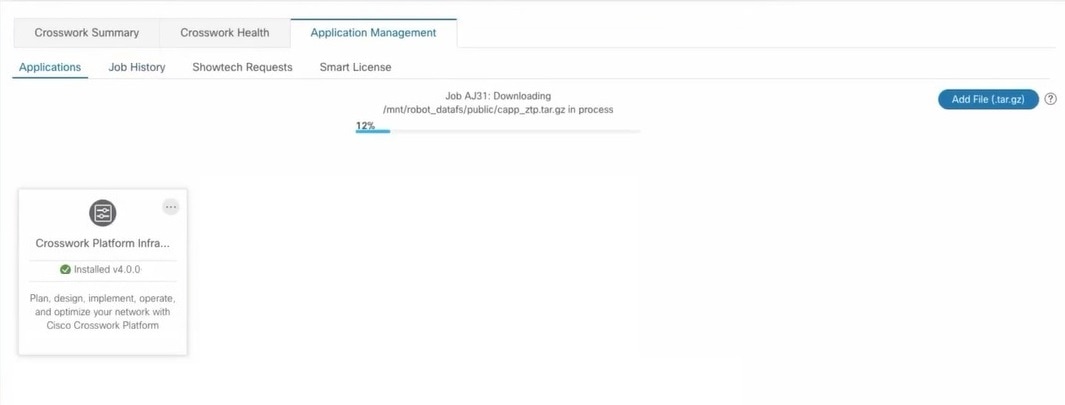
|
||||
| Step 6 |
The newly added application (CAPP file) is displayed as a tile on the Applications screen. To install, click on the Install prompt on the tile. You can also click 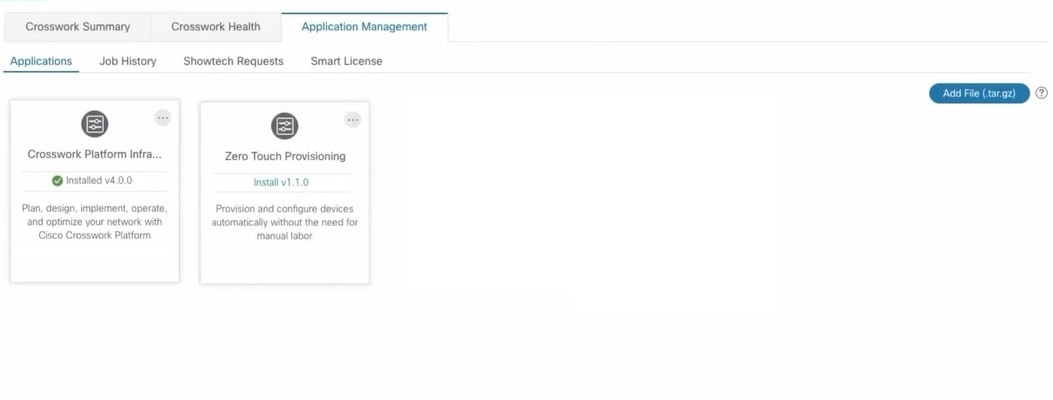 The progress of installation is displayed on the application tile. You can also view the installation progress in the Job History tab. 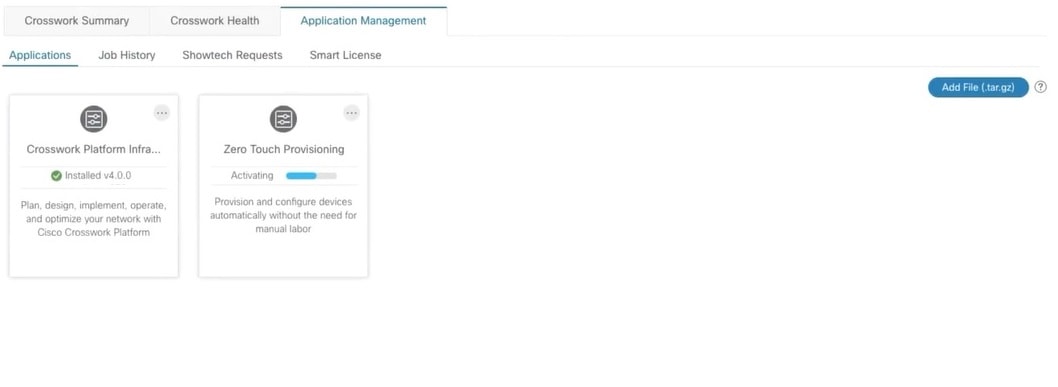
The application is now installed. You can observe the change in the application tile icon. Once an application is installed, all the related-resources, UI screens and menu options are dynamically loaded in the Crosswork UI. You can initiate multiple installs by clicking the install option in the application tiles. The system will install the CAPP files in sequence, and the progress of current CAPP being will be displayed on the screen. The applications are that are in queue to be installed will have the status as "Install pending" 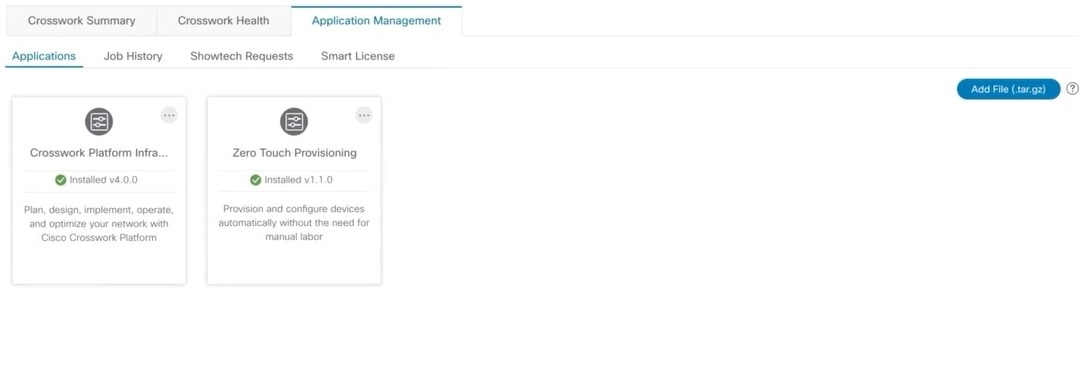
|
||||
| Step 7 |
The first-time installation also activates a CAPP file. However, if the activation fails after a successful installation,
you can manually activate the application. To manually activate an applicable, click the |
||||
| Step 8 |
Repeat steps 6 to 8 for adding more applications. |
||||
| Step 9 |
(Optional) Click |
 Feedback