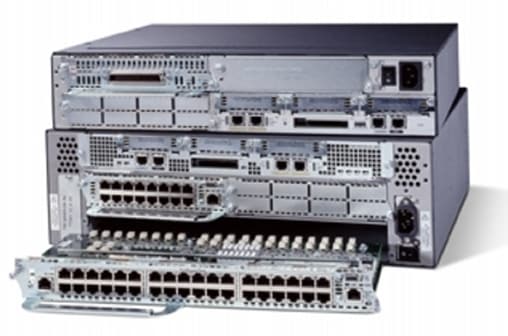
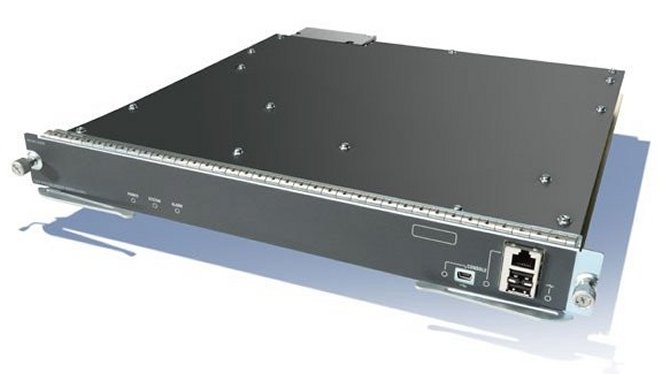
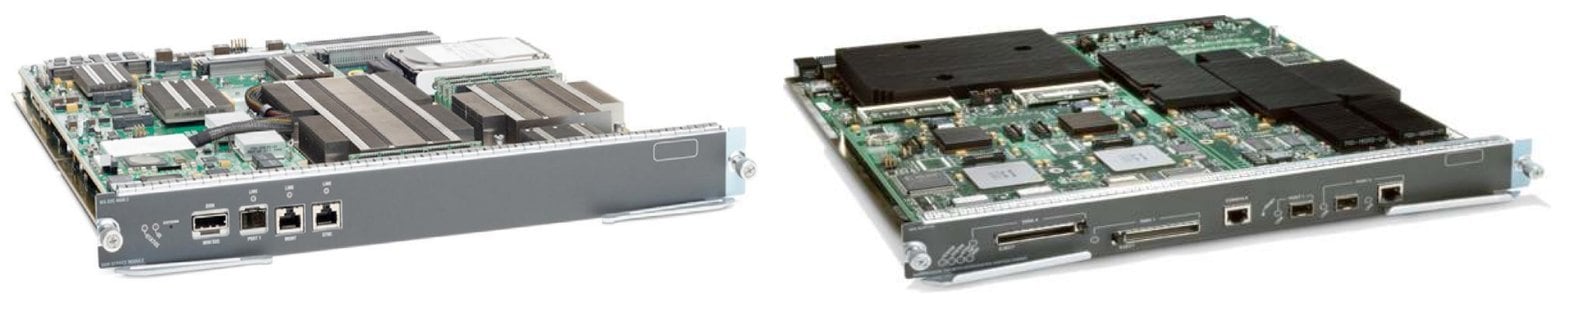
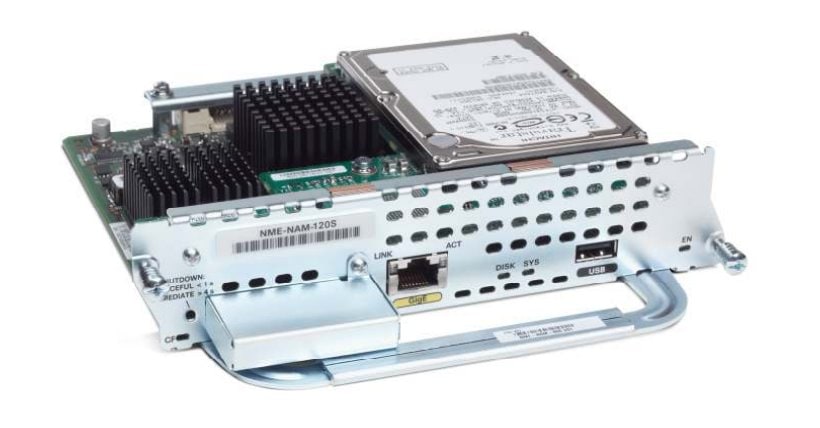
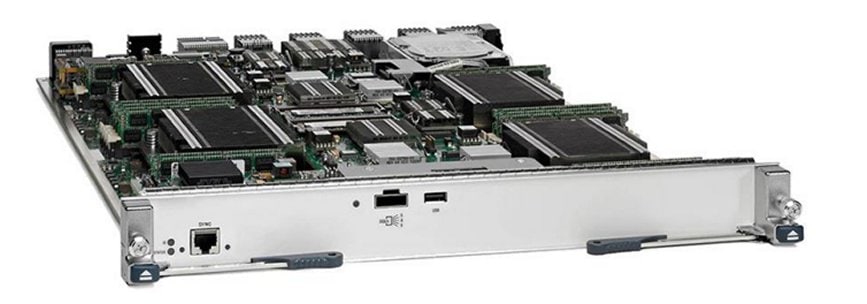
Cisco Services Modules
| Overview | Product Overview | ||||
|---|---|---|---|---|---|
| Status | Available | ||||
| Series Release Date | Pre-1999 | ||||
This product line is supported by Cisco, but is no longer sold.
|
|||||
- US/Canada 800-553-2447
- Worldwide Support Phone Numbers
- All Tools
 Feedback
 Feedback
-
Top Search Results
Key Information
Customers Also Viewed
Saved Content
-
You can now save documents for easier access and future use. Saved documents for this product will be listed here, or visit the My Saved Content page to view and manage all saved content from across Cisco.com.
Log in to see your Saved Content.
Document Categories
-
Data Sheets and Product Information
- Cisco Prime Network Analysis Module (PDF - 1 MB)
- ACE (Cisco Application Control Engine) the Virtual Data Center (PDF - 267 KB)
At-a-Glance
- Cisco Catalyst 6500/Cisco 7600 Series Supervisor Engine 720 Data Sheet
- Cisco Branch Routers Series Network Analysis Module 4.0
- WebVPN Services Module for Catalyst 6500 Series Switches & 7600 Series Routers
- Cisco Branch Routers Series Network Analysis Module 4.0
- Cisco Catalyst 6500 Series/7600 Series ASA Services Module Data Sheet
- Cisco Branch Routers Series Network Analysis Module with Software 5.1
- Cisco Catalyst 6500 Series and Cisco 7600 Series Network Analysis Module 4.2
- Cisco Catalyst 6500 Series and Cisco 7600 Series Network Analysis Module 4.1
- Cisco Catalyst 6500 Series and Cisco 7600 Series Network Analysis Module 4.0
- Cisco Catalyst 6500 Series and Cisco 7600 Series Network Analysis Module 3.6
- Cisco MGX Service Resource Module Enhanced
Data Sheets
- End-of-Sale and End-of-Life Announcement for the Cisco Network Analysis Module Software 4.0 and 4.1
- End-of-Sale and End-of-Life Announcement for the Cisco Catalyst 6500 Series/7600 Series ASA Services Module
- End-of-Sale and End-of-Life Announcement for the Cisco Catalyst 6500 Series Network Analysis Module (NAM-3)
- End-of-Sale and End-of-Life Announcement for the Cisco Catalyst 6000 Network Analysis Module (NAM-3) Software
- End-of-Sale and End-of-Life Announcement for the Cisco Catalyst 6500 Series Module Memory
- End-of-Sale and End-of-Life Announcement for the Cisco Prime Network Analysis Module Software 5.1
- End-of-Sale and End-of-Life Announcement for the Cisco Network Analysis Module Software 4.x and 5.0
- End-of-Sale and End-of-Life Announcement for the Cisco ACE Application Control Engine Module Software Upgrade Licenses for ACE30 Module
- End-of-Sale and End-of-Life Announcement for the Cisco ACE Application Control Engine Software Release A5(x) for ACE Modules
- End-of-Sale and End-of-Life Announcement for the Cisco ACE Application Control Engine ACE30 Module
- End-of-Sale and End-of-Life Announcement for the Cisco ACE Application Control Engine ACE30 Module Bundles
- Redirect of End-of-Sale and End-of-Life Announcement for the Cisco ACE Application Control Engine Module Software Release A4(x)
- End-of-Sale and End-of-Life Announcement for the Cisco Wireless Controller Software for ISM 300 and SRE 700, 710, 900, and 910
- End-of-Sale and End-of-Life Announcement for the Cisco Catalyst 6500 Series Intrusion Detection System (IDSM-2) Services Module
- End-of-Sale and End-of-Life Announcement for the Cisco ACE Application Control Engine Software Release A4(x) for ACE Modules
End-of-Life and End-of-Sale Notices
-
Security Notices
- Cisco Network Analysis Module Software 3.6
- Cisco Unified Wireless Network Software Release 7.4
- Trade Up To 802.11n Performance Promotional Bulletin (PDF - 184 KB)
Bulletins
-
Cisco Catalyst 6500 Series / 7600 Series ASA Services Module
- Field Notice: FN - 72439 - ASA and FTD Software: Network Address Translation Might Become Disabled - Software Upgrade Recommended
- Field Notice: FN - 72103 - ASA, FXOS and Firepower Software: QuoVadis Root CA 2 Decommission Might Affect Smart Licensing, Smart Call Home, And Other Functionality - Software Upgrade Recommended
- Field Notice: FN - 64291 - ASA and FTD Software - Security Appliance Might Fail To Pass Traffic After 213 Days Of Uptime - Reboot Required - Software Upgrade Recommended
- Field Notice: FN - 70467 - ASA Software - AnyConnect Connections Might Fail With TCP Connection Limit Exceeded Error - Software Upgrade Recommended
- Field Notice: FN - 70319 - ASA and FXOS Software - Change in Root Certificate Might Affect Smart Licensing and Smart Call Home Functionality - Software Upgrade Recommended
- Field Notice: FN - 64294 - ISA3000 Software Security Appliance Might Fail To Pass Traffic After 213 Days Of Uptime - Software Upgrade Recommended
-
Cisco Catalyst 6500 Series Policy Feature Card
-
Cisco Service Application Module for IP
Field Notices
- OSPF LSA Manipulation Vulnerability in Multiple Cisco Products
- Cisco Firewall Services Module Command Authorization Vulnerability
- Cisco Firewall Services Module HTTPS Traffic Temporary Denial of Service Vulnerability
- Cisco Firewall Services Module, PIX, and ASA Malformed HTTP Requests Denial of Service Vulnerability
- Cisco Firewall Services Module HTTPS Request Denial of Service Vulnerability
- Cisco Firewall Services Module, PIX and ASA SIP Message Denial of Service Vulnerability
- Cisco Adaptive Security Appliance Software and Firewall Services Module Software Time-Range Object Access List Bypass Vulnerability
- Cisco Adaptive Security Appliance Software and Firewall Services Module Software Secure Shell Denial of Service Vulnerability
- Transport Layer Security Renegotiation Remote Man-in-the-Middle Attack Vulnerability
- Multiple Vulnerabilities in Cisco Firewall Services Module Software
- Cisco Firewall Services Module Cut-Through Proxy Denial of Service Vulnerability
- Denial of Service Vulnerabilities in Content Switching Module
- Application Inspection Vulnerability in Cisco Firewall Services Module
- Multiple Vulnerabilities in the Cisco ACE Application Control Engine Module and Cisco ACE 4710 Application Control Engine
- Firewall Services Module Crafted ICMP Message Vulnerability
Security Advisories, Responses and Notices
-
Release and Compatibility
-
Cisco Catalyst 6500 Series / 7600 Series ASA Services Module
Compatibility Information
-
Cisco Catalyst 6500 Series / 7600 Series ASA Services Module
- Cisco Secure Firewall ASA New Features by Release
- Release Notes for the Cisco ASA Series, 9.12(x)
- Release Notes for Cisco ASDM, 7.12(x)
- 思科 ASDM 7.7(x) 版本说明 (PDF - 758 KB)
- 思科 ASA 系列 9.6(x) 版本说明 (PDF - 873 KB)
- 思科 ASA 系列 9.7(x) 版本说明 (PDF - 626 KB)
-
Cisco Catalyst 6500 Series SSL Services Module
- Release Notes for the Cisco 6-port GE SFP Service Module
Release Notes
-
-
Multimedia
-
Cisco 8000 Series MGX-FRSM-12-T3/E3 Frame Relay Service Module
Overview
-
-
Reference
-
Cisco Catalyst 6500 Series / 7600 Series ASA Services Module
-
Cisco Catalyst 6500 Series Network Analysis Module (NAM-1/NAM-2)
-
Cisco Catalyst 6500 Series SSL Services Module
Command References
-
Cisco Catalyst 6500 Series / 7600 Series ASA Services Module
Documentation Roadmaps
-
Cisco Nexus 7000 Series Network Analysis Module (NAM-NX1)
- Open Source License for Cisco SM-X-PVDM Module (PDF - 1 MB)
Licensing Information
-
-
Design
-
Cisco Catalyst 6500 Series Firewall Services Module
Design Guides
-
-
Install and Upgrade
- Cisco Secure Firewall ASA Upgrade Guide
- Installing and Configuring Cisco SM-X Single-Wide High Density Analog Voice Service Module on Cisco 4000 Series ISR
- Installing and Configuring Cisco SM-X Double-Wide High Density Analog Voice Service Module on Cisco 4000 Series ISR
- Connecting the Cisco SM-X-PVDM Module
- Cisco Prime Network Analysis Module (NAM-3) Catalyst 6500 Series Switch Installation and Configuration Guide 5.1(2)
- Cisco ASA Services Module Quick Start Guide
- Upgrading the Cisco Prime Network Analysis Module Software
- Connecting Cisco T3 and E3 Service Modules to the Network
- Cisco ASA Services Module Installation Note
- Migrating to the Cisco ASA Services Module from the FWSM
- Catalyst 6500 Series Switch Content Switching Module Installation Note Software Release 4.1(2)
- Catalyst 6500 Series Switch Content Switching Module Installation Note Software Release 4.1(3) and higher
- Catalyst 6500 Series Switch Content Switching Module Installation Note Software Release 4.1(1)
- Catalyst 6500 Series Switch Content Switching Module with SSL (CSM-S) Installation Note Software Release 1.1(x)
- Catalyst 6500 Series SSL Services Module Installation and Verification Note
Install and Upgrade Guides
-
Configuration
-
Cisco Catalyst 3750-X/3560-X 1G/10G Service Module
-
Cisco Catalyst 6500 Series/7600 Series Wireless Services Module (WiSM)
Configuration Examples and TechNotes
- Cisco Secure Firewall ASA Legacy Feature Guide
- Cisco Secure Firewall ASA Unified Communications Guide
- SNMP Version 3 Tools Implementation Guide
- CLI Book 3: Cisco ASA Series VPN CLI Configuration Guide, 9.12
- ASDM Book 3: Cisco ASA Series VPN ASDM Configuration Guide, 7.12
- ASDM Book 2: Cisco ASA Series Firewall ASDM Configuration Guide, 7.12
- CLI Book 2: Cisco ASA Series Firewall CLI Configuration Guide, 9.12
- ASDM Book 1: Cisco ASA Series General Operations ASDM Configuration Guide, 7.8
- CLI Book 1: Cisco ASA Series General Operations CLI Configuration Guide, 9.8
- Catalyst 6500 Series Switch Content Switching Module with SSL (CSM-S) Installation and Configuration Note (PDF - 4 MB)
- ASDM Book 1: Cisco ASA Series General Operations ASDM Configuration Guide, 7.1
- ASDM Book 3: Cisco ASA Series VPN ASDM Configuration Guide, 7.1
- CLI Book 2: Cisco ASA Series Firewall CLI Configuration Guide, 9.1
- CLI Book 2: Cisco ASA Series Firewall CLI Configuration Guide, 9.2
- CLI Book 3: Cisco ASA Series VPN CLI Configuration Guide, 9.1
Configuration Guides
-
-
Troubleshooting
-
Cisco Catalyst 6500 Series SSL Services Module
-
Cisco Wireless Services Module 2 (WiSM2)
-
Troubleshooting Tools
Error and System Messages
-
Cisco ACE Application Control Engine Module
Troubleshooting Guides
-
Cisco Catalyst 6500 Series / 7600 Series ASA Services Module
-
Cisco Catalyst 6500 Series Policy Feature Card
-
Cisco Catalyst 3750-X/3560-X 1G/10G Service Module
-
Cisco Catalyst 6500 Series/7600 Series Wireless Services Module (WiSM)
- Troubleshoot "QM_SANITY_WARNING" Message on 12000 series router
Troubleshooting TechNotes
-
-
Log in to see available downloads.
-
-
Unless specified, documentation for the Cisco Services Modules is applicable to all models.
Below are the models within this series:
- Catalyst 3750-X/3560-X 1G/10G Service Module
- Catalyst 6500 Series 16-Port 10/100/1000 BASE-T Fabric-Enabled Module
- Catalyst 6500 Series 1550nm 10 Gigabit Ethernet Module
- Catalyst 6500 Series / 7600 Series ASA Services Module
- Catalyst 6500 Series Policy Feature Card
- Catalyst 6500 Series/7600 Series WebVPN Services Module
- Catalyst 6500/6000 Series Services Maintenance Partition
- ONS Radio Access Network (RAN) Service Module
- Service Application Module for IP
- VPN Internal Service Module for ISR G2
