
Mounting the Cisco ISO Image
Before you begin
Before you start the installation, we recommend that you manually configure the boot order. The Cisco CMX ISO image deployment is supported only on the Cisco CMX 3375 Appliance.
Procedure
|
Step 1 |
Download the Cisco CMX 11 image from Download Software page. |
|
Step 2 |
Power up the Cisco CMX 3375 appliance and configure the CIMC IP address and user credentials. |
|
Step 3 |
Log in to the CIMC IP using Internet Explorer. |
|
Step 4 |
In CIMC GUI, from the left pane, click tab. 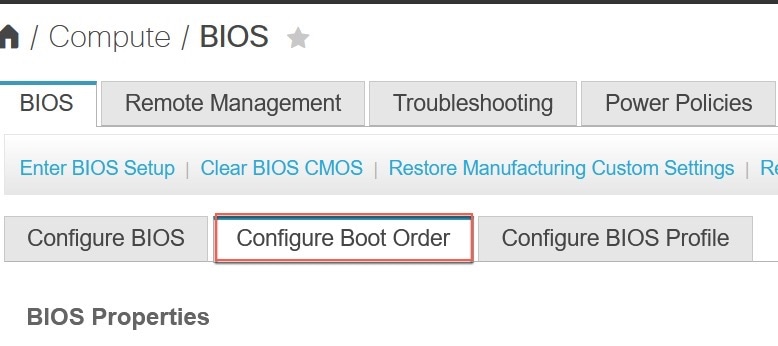
|
|
Step 5 |
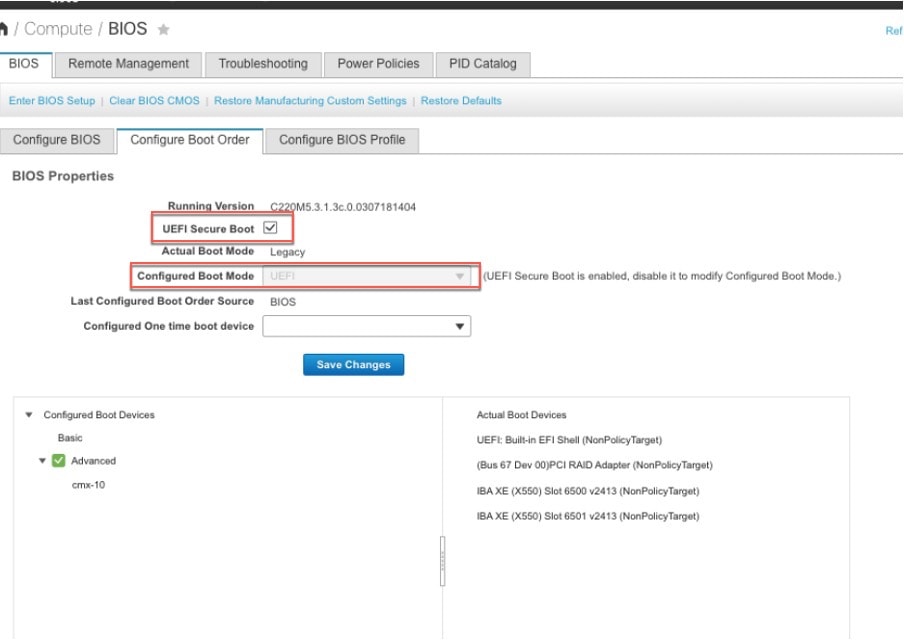
In the Configured Boot Mode tab, perform the following:
|
|
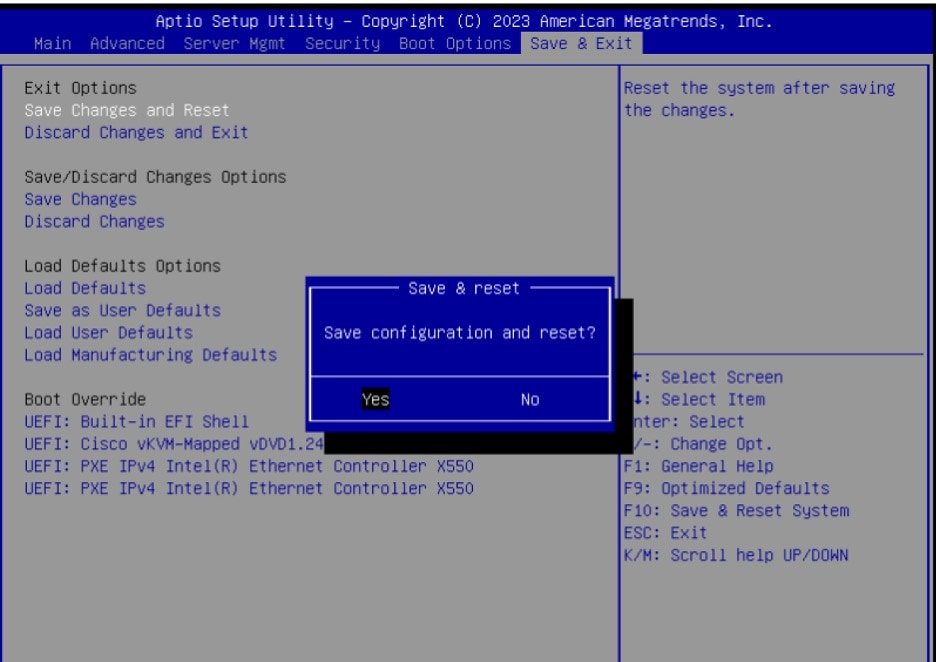
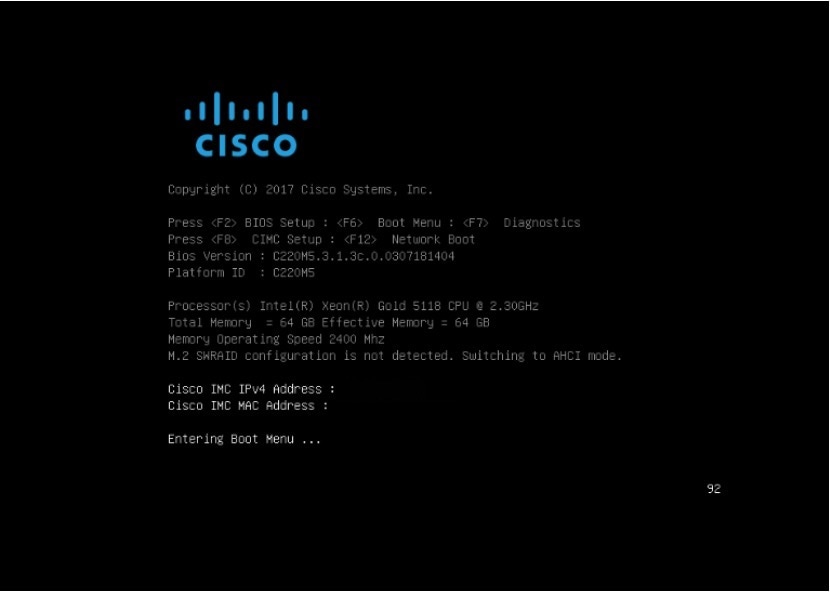
Step 6 |
Follow the on-screen instructions to reboot the system. |
|
Step 7 |
Click Configure Boot Order. The option is displayed at the right end of the window. |
|
Step 8 |
In the Configure Boot Order window, click the Advanced tab. |
|
Step 9 |
Click Add Virtual Media and enter a name for the new virtual media. |
|
Step 10 |
From the Sub Type drop-down list, choose KVM MAPPED DVD. |
|
Step 11 |
Click Save Changes. The new virtual media is created and enabled. |
|
Step 12 |
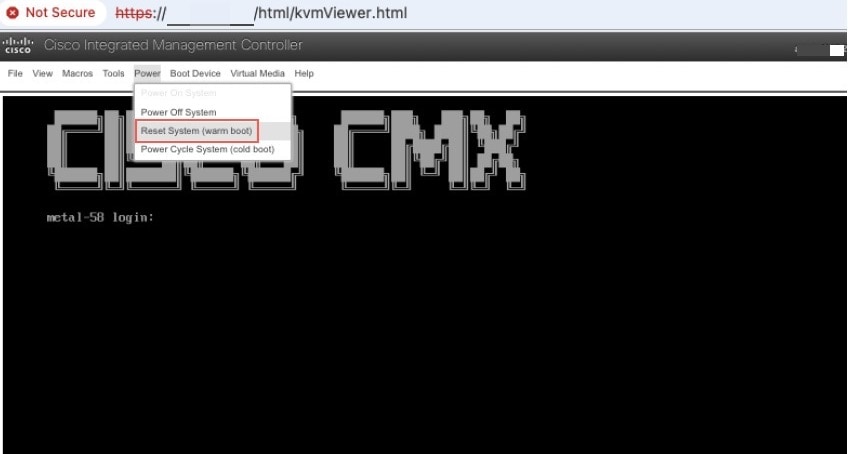
Use IE and open KVM. We recommend that you use HTML Based KVM on IE or Firefox for more consistent results. 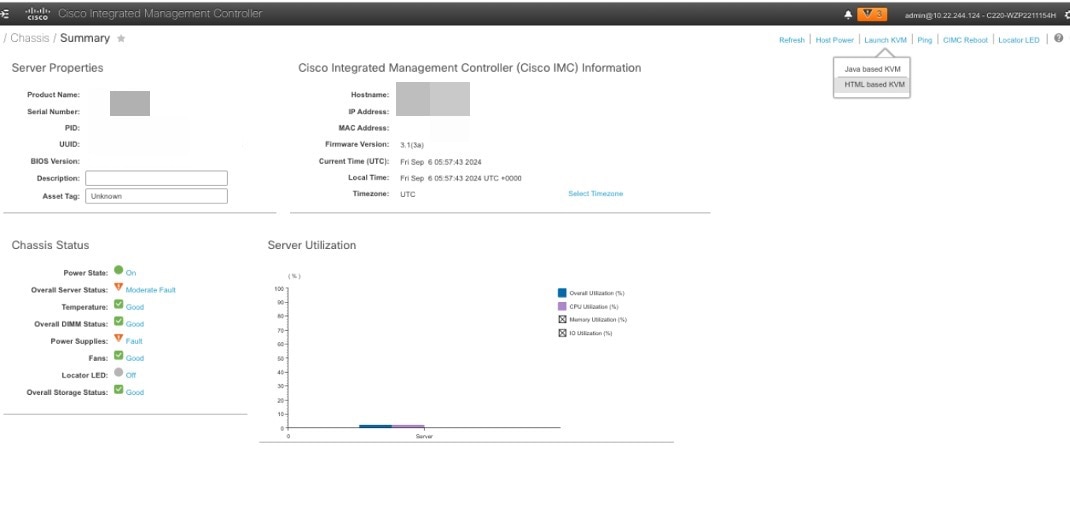
|
|
Step 13 |
Click the link displayed to accept the certificate and load the KVM client application. 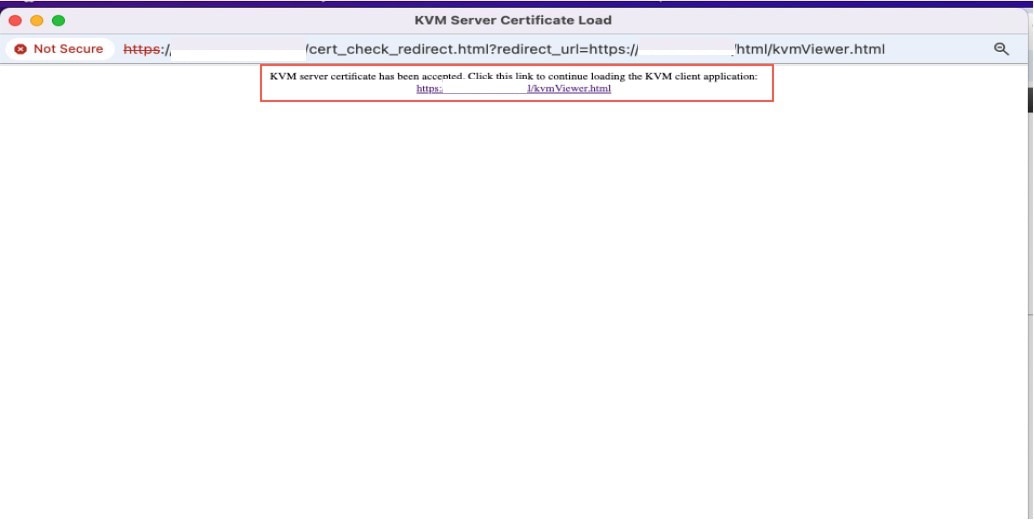
|
|
Step 14 |
Click . 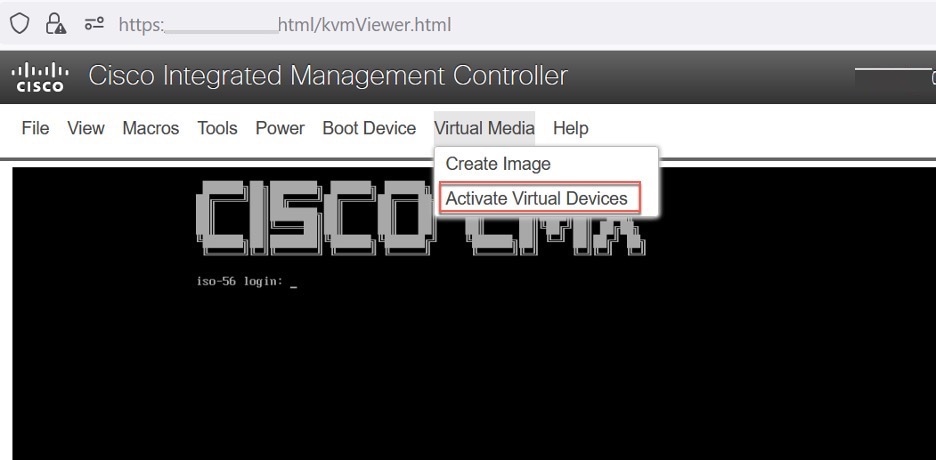
|
|
Step 15 |
To map the locally downloaded Cisco CMX ISO, click . 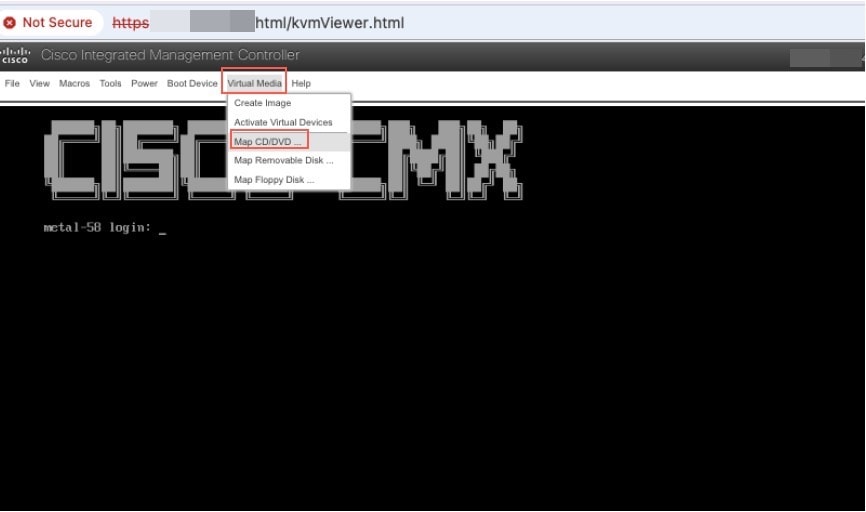
|
|
Step 16 |
Use the Browse option to select the ISO file. |
|
Step 17 |
To map the selected ISO file, click Map Drive. 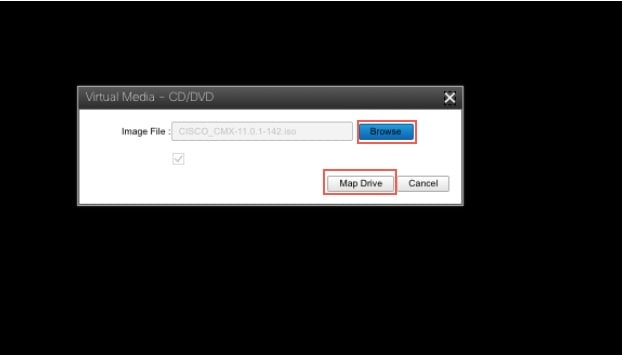 |
|
Step 18 |
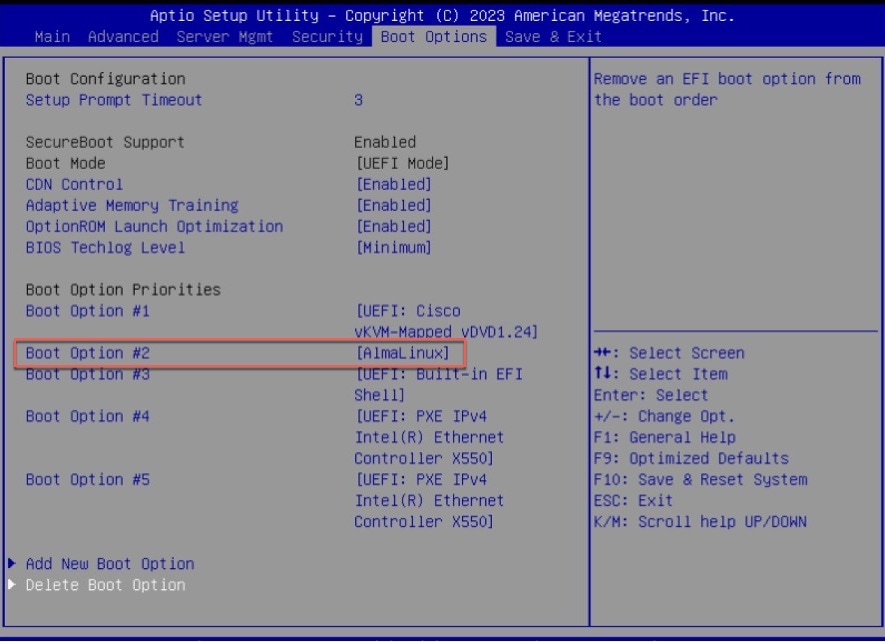
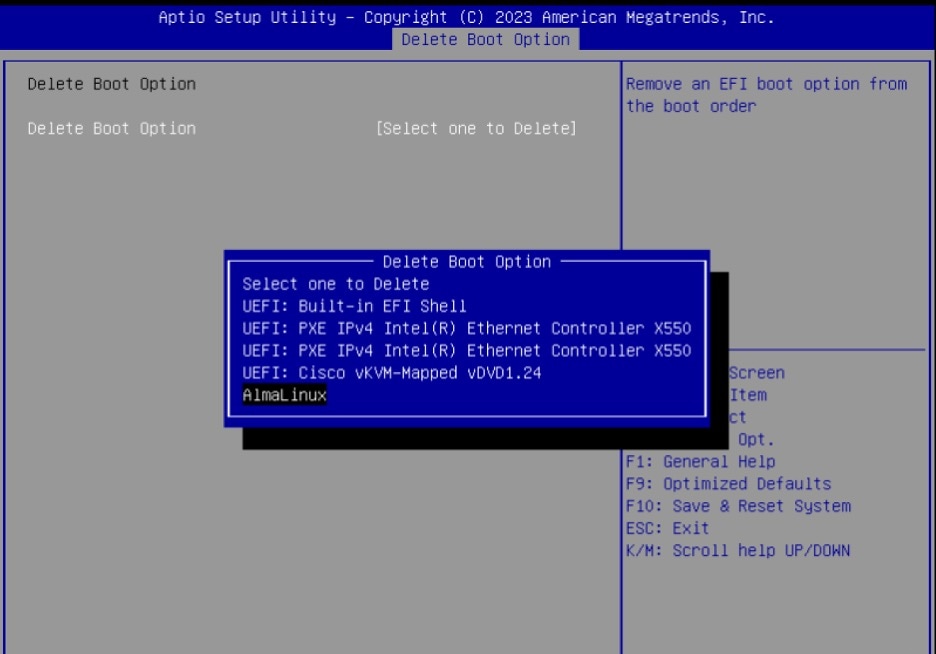
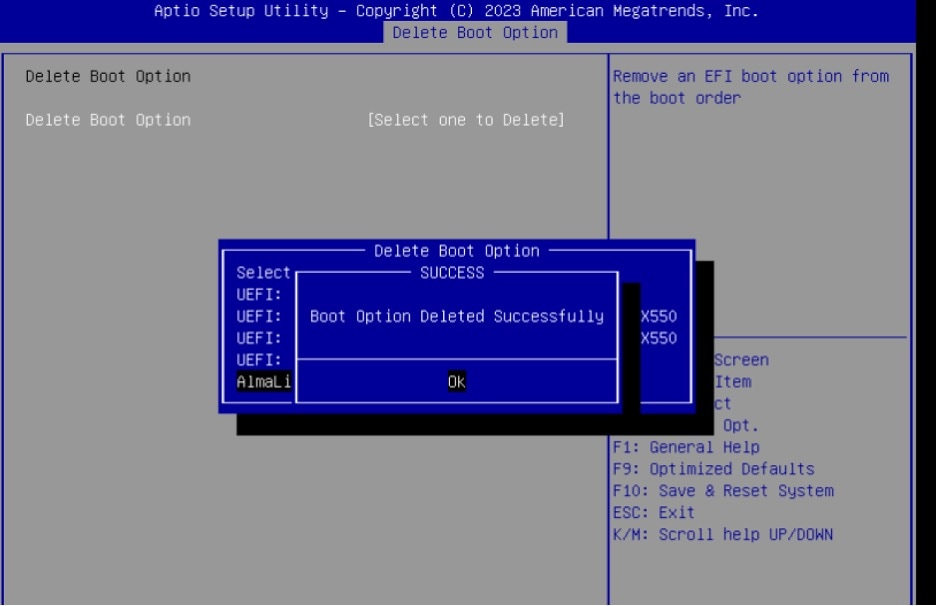
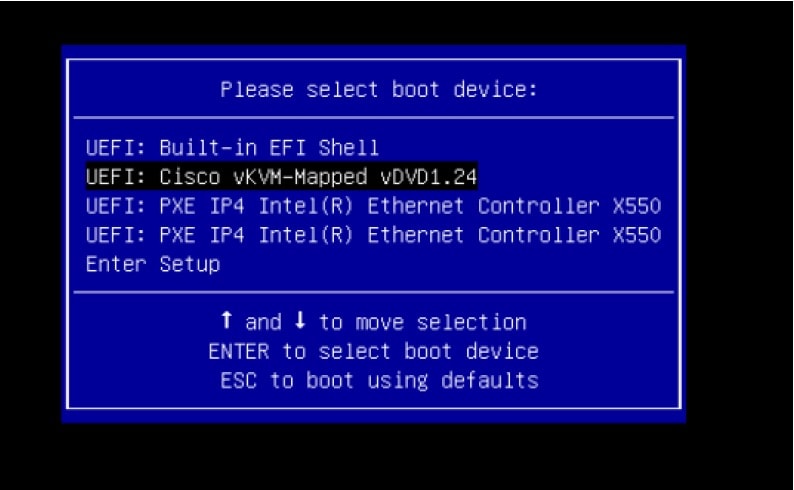
In the KVM window, navigate to Boot Device option. |
|
Step 19 |
Select the new virtual media (created in step 9) and click ok to proceed. 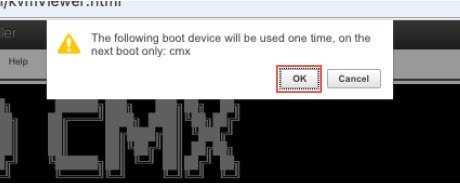 |


 Feedback