SAML-Based SSO Solution
SAML is an XML-based open standard data format that enables administrators to access a defined set of Cisco collaboration applications seamlessly after signing into one of those applications. SAML describes the exchange of security related information between trusted business partners. It is an authentication protocol used by service providers (for example, Unified Communications Manager) to authenticate a user. SAML enables exchange of security authentication information between an Identity Provider (IdP) and a service provider.
With SAML SSO enabled, you can launch the Security Assertion Markup Language (SAML) SSO-supported applications or other supported applications, such as Unified Communications Manager, after a single sign-in with an Identity Provider (IdP). You no longer need to sign in to these applications separately.
Although Cisco Collaboration infrastructure may prove to be compatible with other IdPs claiming SAML 2.0 compliance, only the following IdPs have been tested with Cisco Collaboration solutions:
-
OpenAM 10.0.1
-
Microsoft® Active Directory® Federation Services 2.0, 3.0, 4.0, and 5.0
-
PingFederate® 6.10.0.4
-
F5 BIG-IP 11.6.0
-
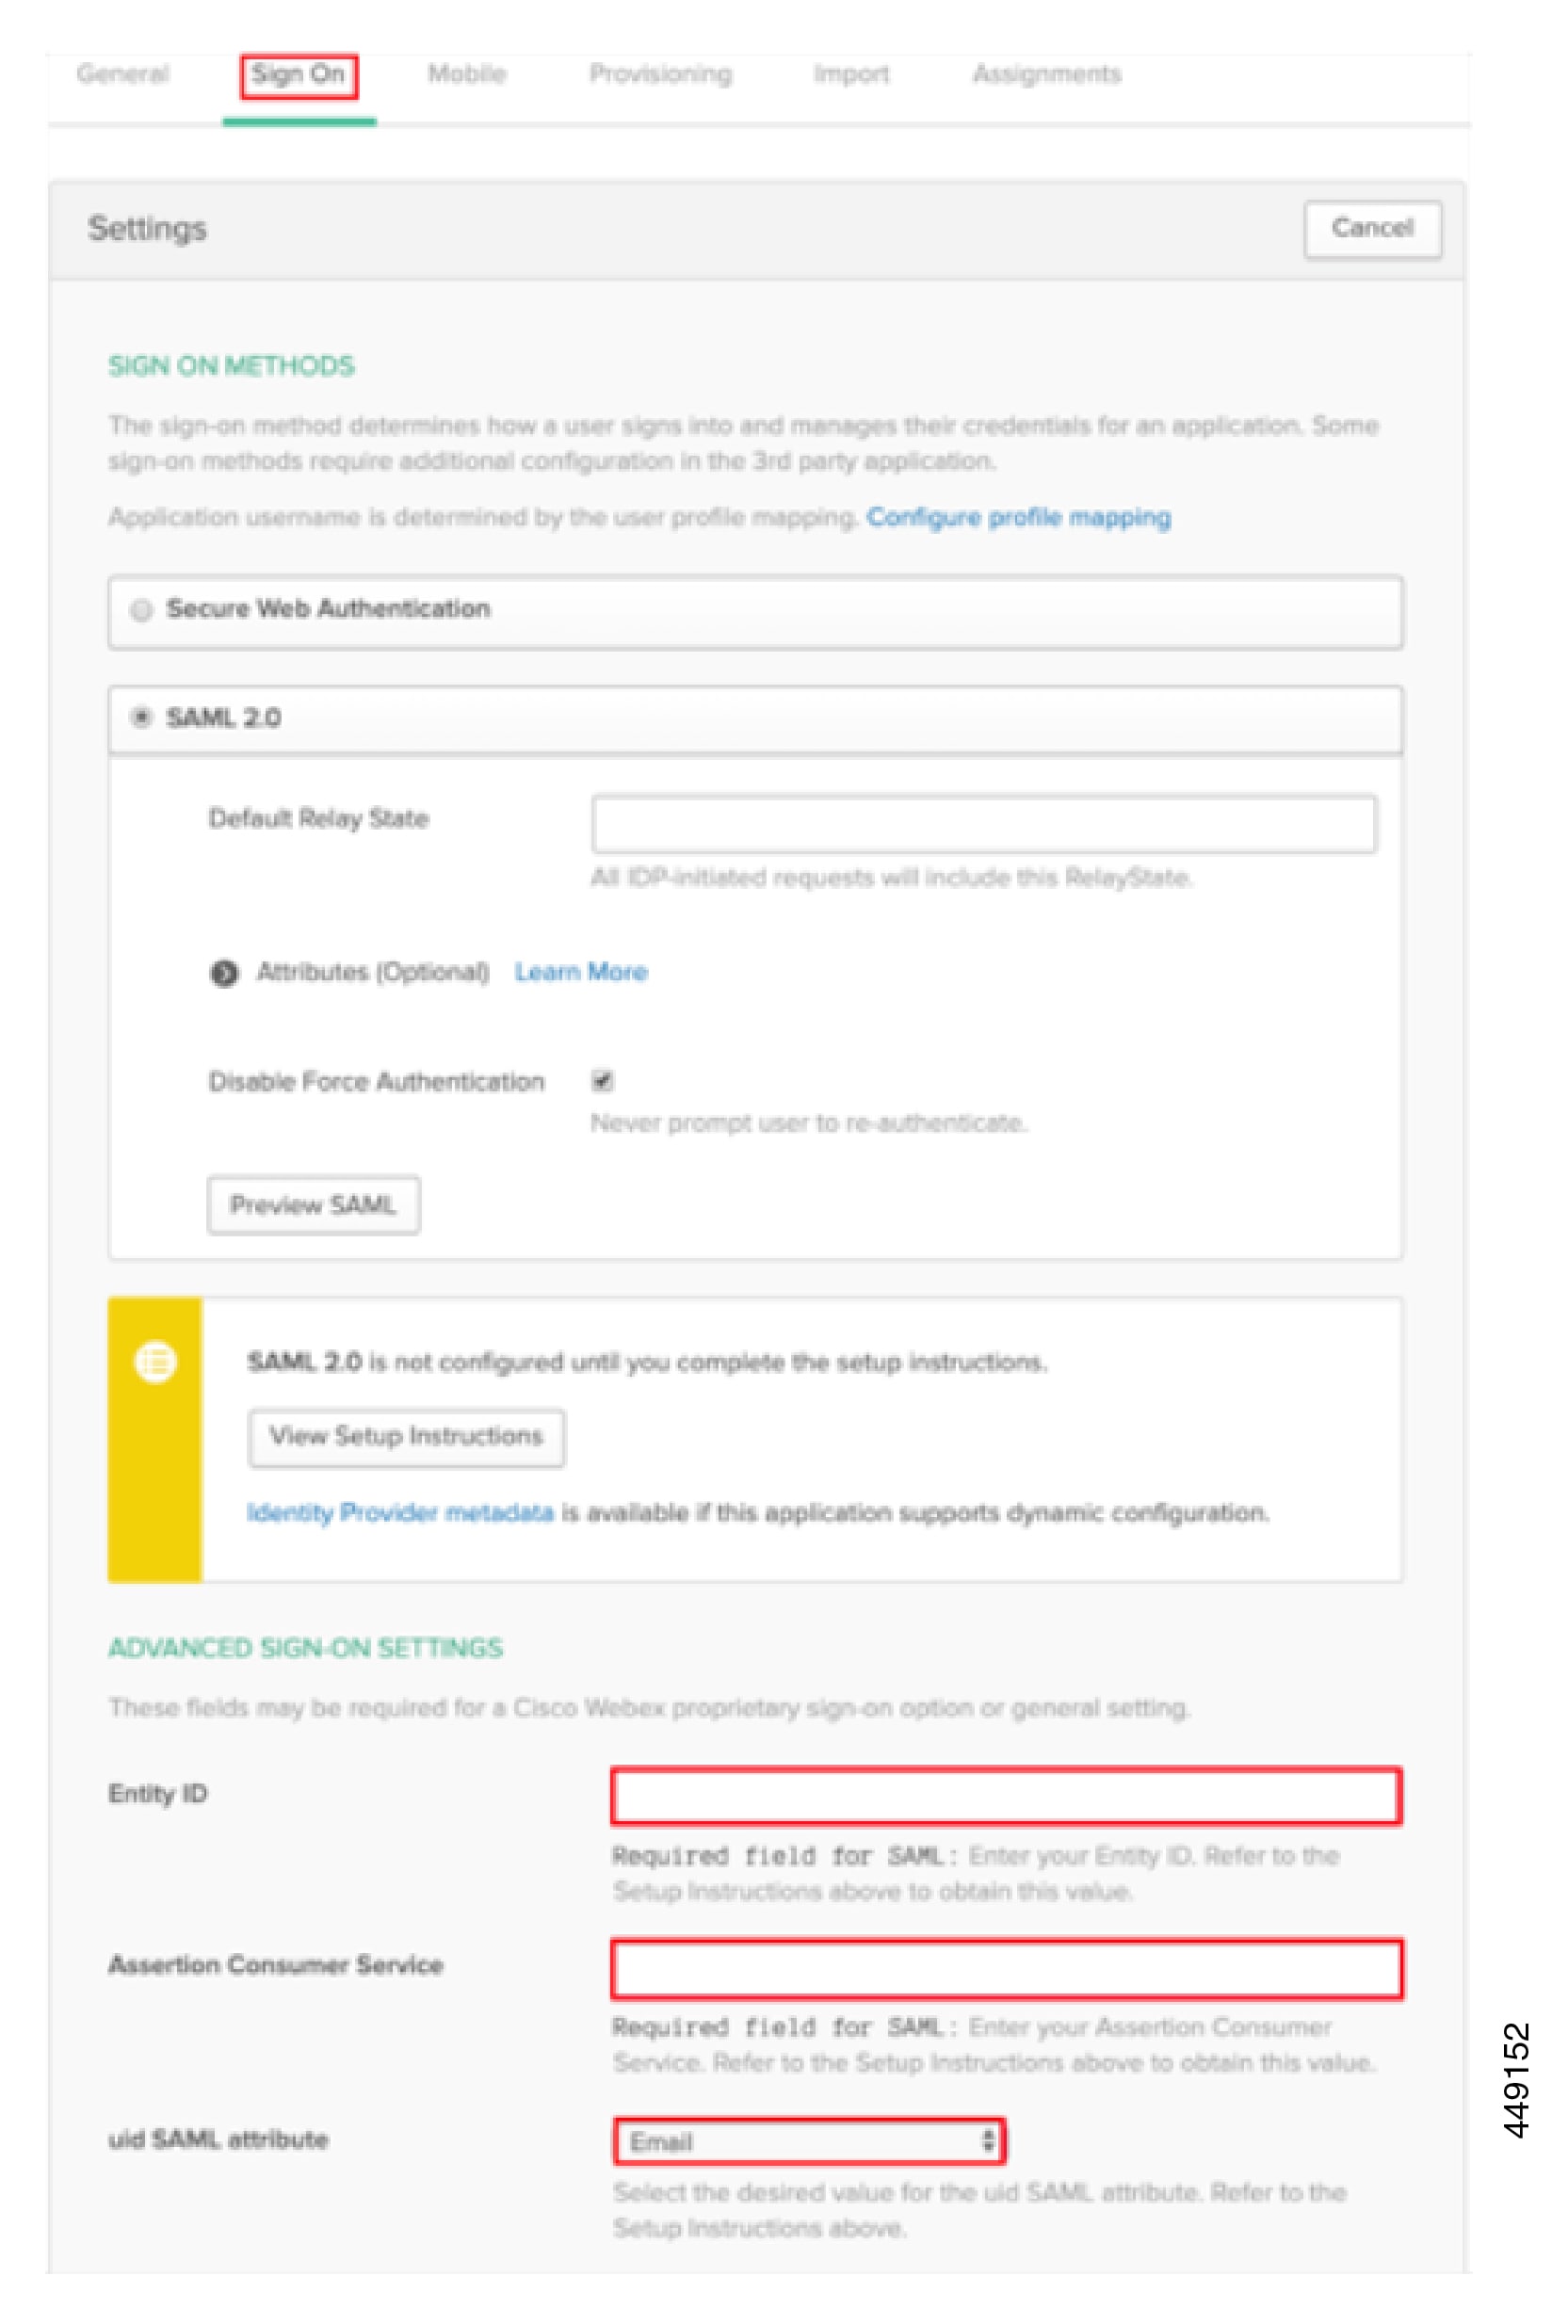
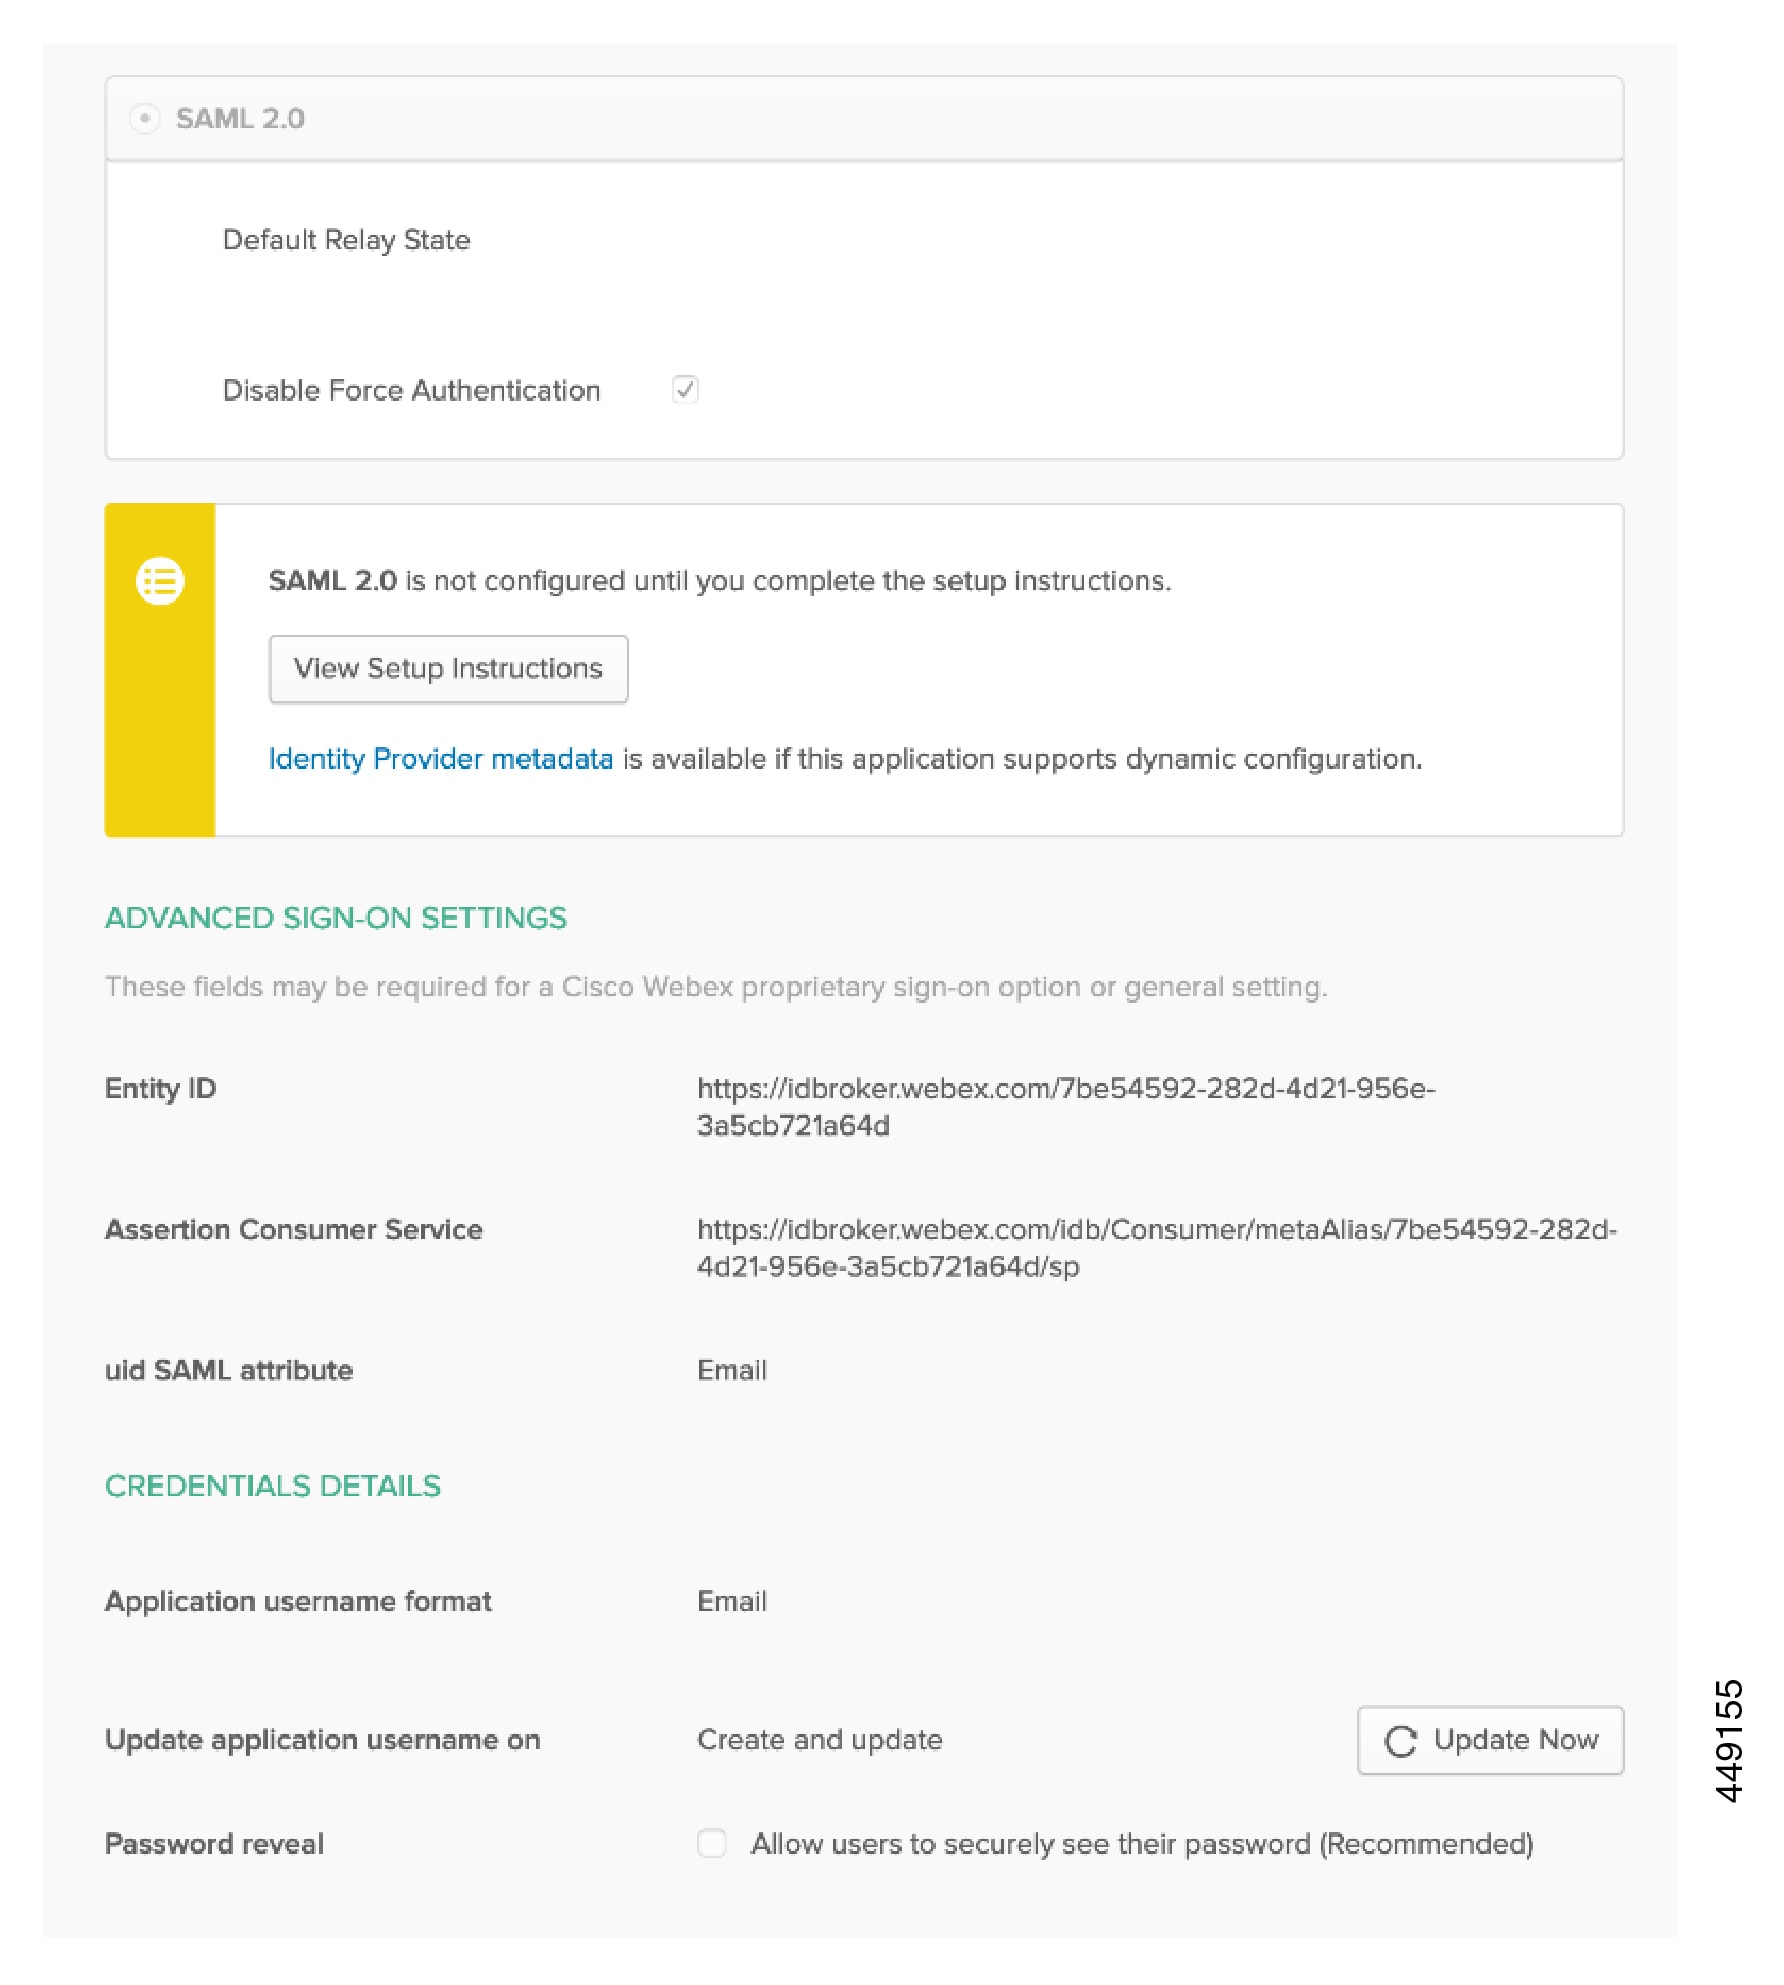
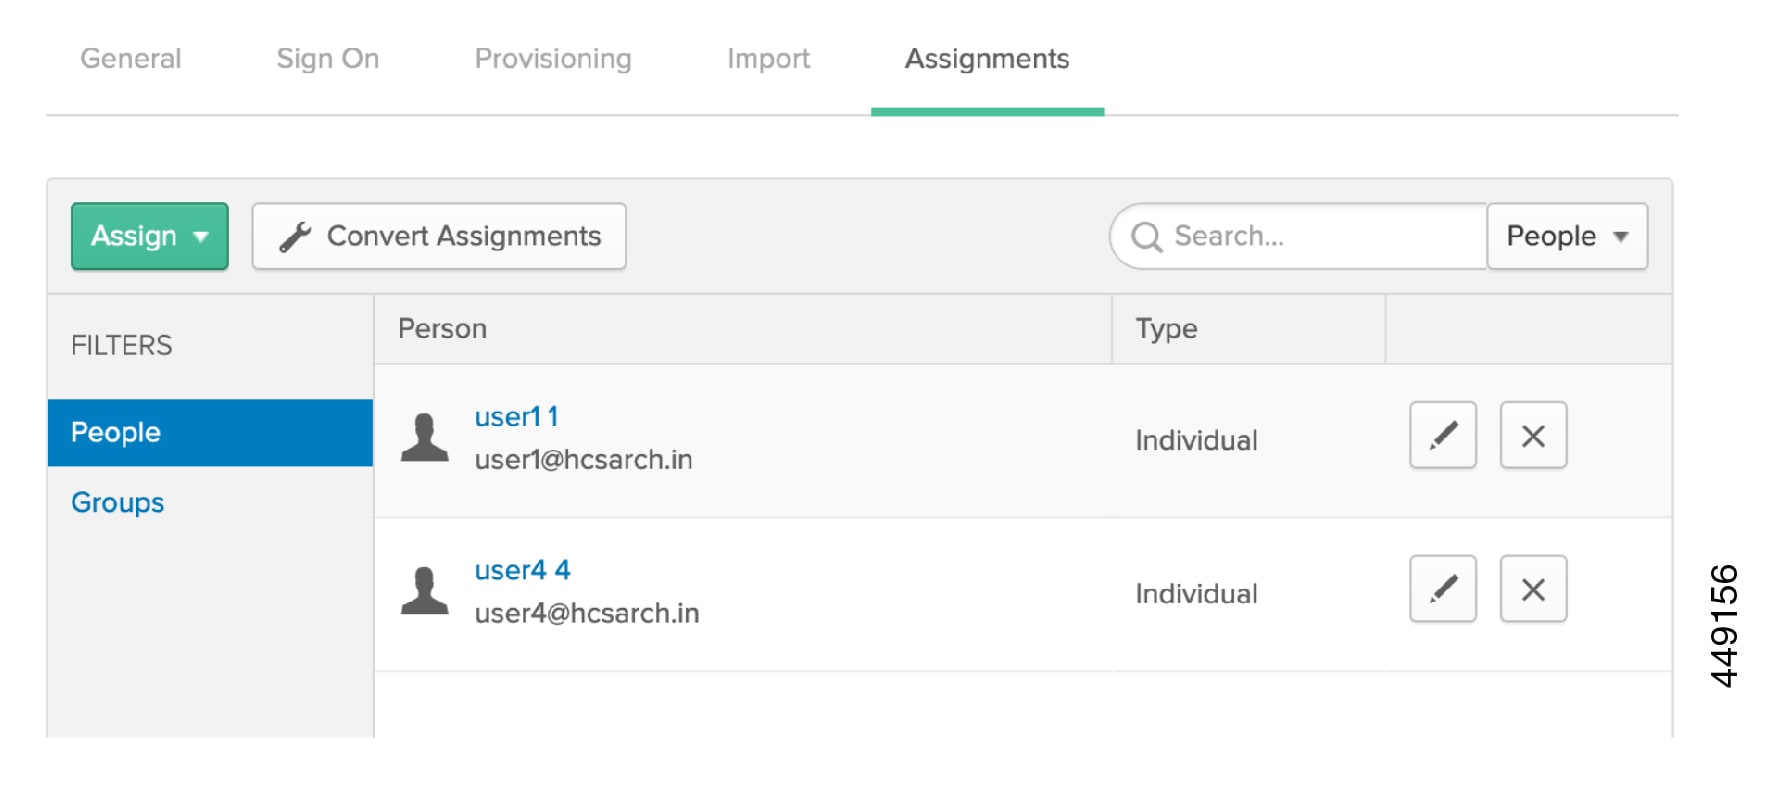
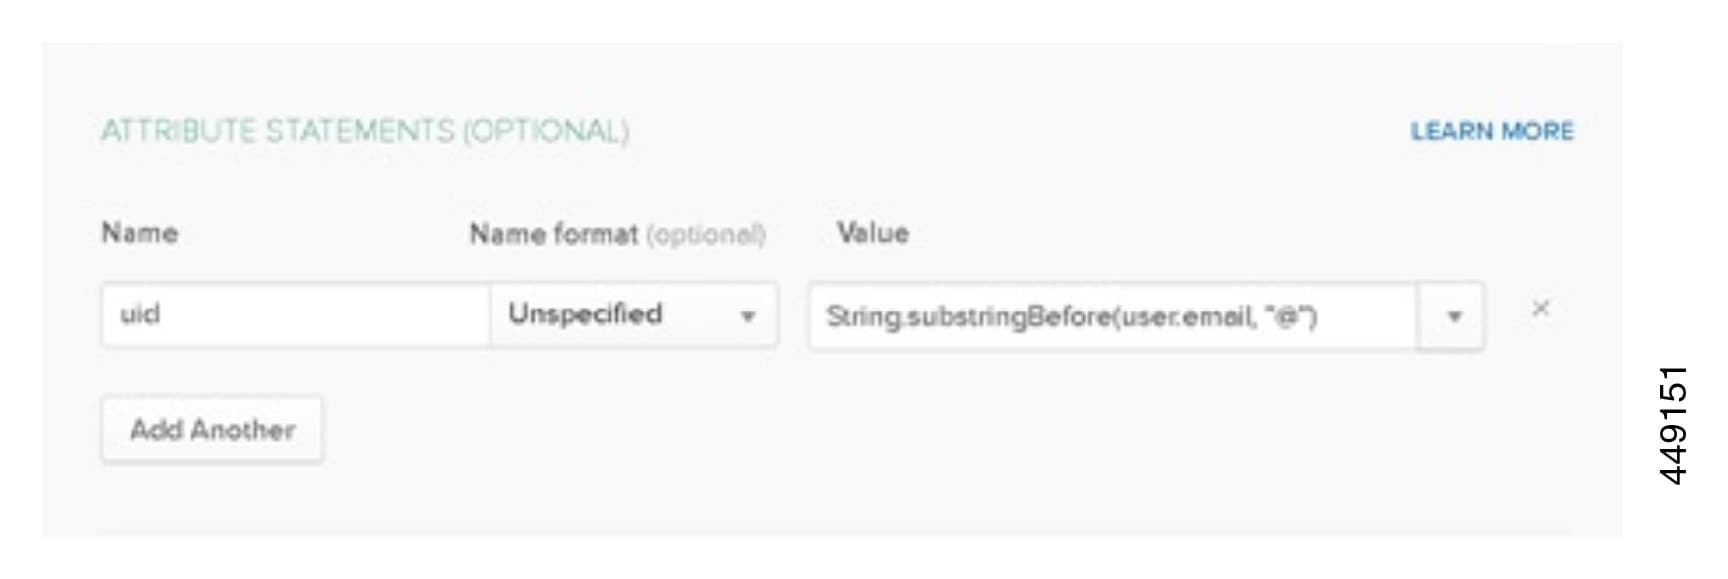
Okta 2017.38
See SSO Configuration for Cisco Webex on On-Premise and MRA with OKTA IdP for SSO configuration examples with OKTA IdP.
See SAML SSO Deployment Guide for Cisco Unified Communications Applications, for more information.


 Feedback