Setting Up Single-Node Intersight Connected Virtual Appliance
Cisco Intersight Virtual Appliance is distributed as a deployable virtual machine contained in an Open Virtual Appliance (OVA) file format, ZIP file format, or TAR file format.
Before You Begin: Ensure that you have installed Intersight Virtual Appliance software as per the instructions in Installing Cisco Intersight Virtual Appliance and Intersight Assist on VMware vSphere.
 Note |
An appliance installer is required to restore the appliance from a backup. If a backup is taken from appliance release version N, it can only be restored using an installer version N or higher. For example:
A limited number of appliance installer versions are available on Cisco Software Central. If the required version of the installer is not present, contact Cisco TAC. |
After the Cisco Intersight Virtual Appliance software deployment is complete, and the VM is powered on, access your VM using the <<https://your fqdn.com>> URL. The Intersight Appliance Installer screen appears and allows you to complete the setup for either a new install, recover the appliance software from backup, or add a node to the appliance.
The wizard runs through a series of steps to download and install software packages. You can view the progress of the installation.
Use the following instructions to complete the Intersight Connected Virtual Appliance setup:
Procedure
|
Step 1 |
On the Intersight Appliance Installer screen, select Install Connected Virtual Appliance and click Start. |
||
|
Step 2 |
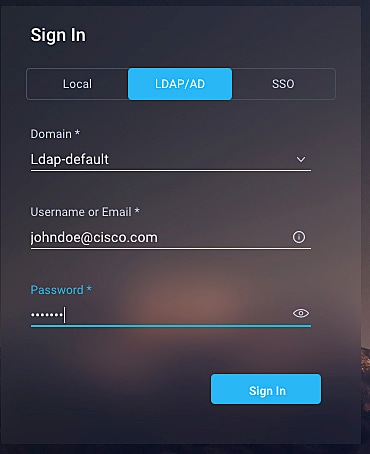
Log in to the Intersight Virtual Appliance Connect page using your Cisco ID. If you do not have a Cisco ID, you can create one here.
|
||
|
Step 3 |
In the Intersight Appliance Installer setup wizard, do the following: |
||
|
Step 4 |
Specify Data Collection. Specify your preference to allow Intersight to send additional system information to Cisco. This option is enabled by default. For more information about what data is collected by Intersight, see Data Collected from Intersight Connected Virtual Appliance. |
||
|
Step 5 |
Click Register License. Obtain a license registration token from Cisco Smart License Manager and apply the token to activate your license. The license registration process could take a few minutes to complete. For more information about registering your Intersight license, watch Cisco Intersight Licensing Tiers and Registration. After you click Finish, the Intersight Connected Virtual Appliance dashboard displays. |
What to do next
-
You can add additional nodes to create a multi-node cluster for High Availability. For more information, see Configuring a Multi-Node Cluster for High Availability in Intersight Virtual Appliance.
-
You can add a metrics node to create a multi-node cluster for advantage tier metrics data collection. For more information, see Configuring a Multi-Node Cluster for Increased Metrics Scalability in Intersight Virtual Appliance.
 Feedback