Intersight Appliance Maintenance Shell
Intersight Appliance Maintenance Shell
Cisco Intersight Virtual Appliance provides a diagnostic utility to monitor the installation and provide remediation steps to install the appliance successfully. This console-based utility helps in troubleshooting and addressing misconfiguration or networking issues during the appliance installation. The Maintenance Shell aims to:
-
Detect and display issues with the installation prerequisites.
-
Enable editing the inputs that are provided during the initial appliance deployment.
-
Assist with continuing the installation after you fix the settings or change inputs during the appliance deployment.
Check the status of your installation by visiting <http://fqdn-of-your-appliance> after the VM is powered ON. If you notice that your VM does not respond after about 15 minutes since power-on, use the Intersight Appliance Maintenance Shell to troubleshoot networking or misconfiguration issues. When the login prompt appears, the diagnostic account is ready. Use the following instructions to troubleshoot:
-
From either vCenter or Hyper-V Manager, navigate to your virtual machine and open a console window.
-
To open the Appliance Maintenance Shell, log in as admin User with username admin and enter the administrator password that you used during the appliance deployment.
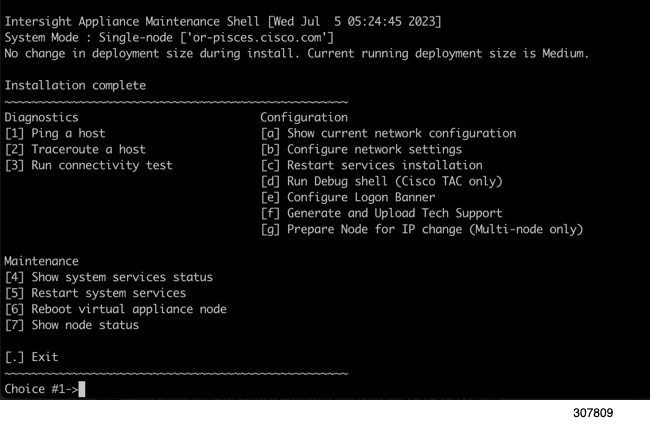
Figure 1. Intersight Appliance Maintenance Shell 
-
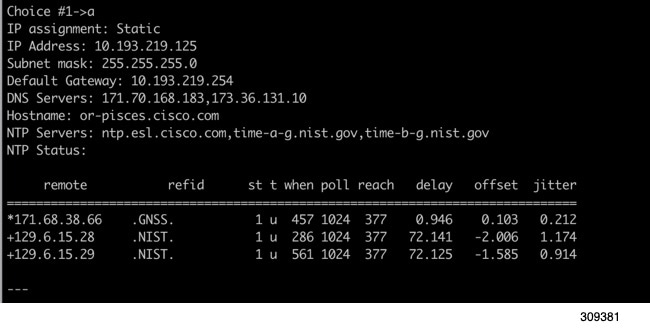
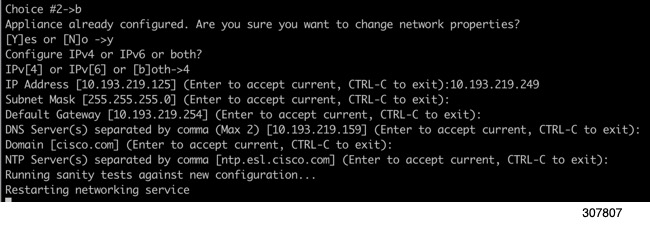
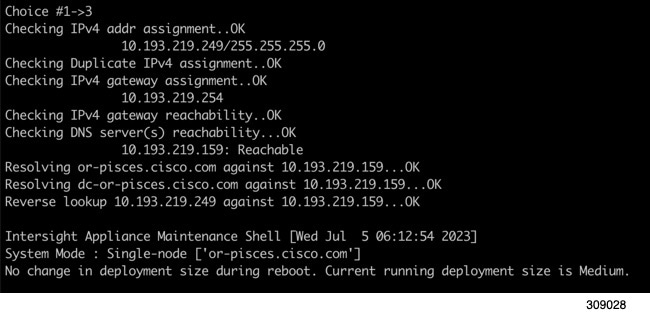
Select one of the options listed in the following table to learn more about the command and the outcome of the command:
|
Intersight Appliance Maintenance Shell Options |
Description |
||
|---|---|---|---|
|
Diagnostic Options |
|
||
|
Configuration Options |
|
||
|
Maintenance Options |
This option enables you to gracefully reboot the appliance VM and restart the appliance services. Options in this sub-menu are intended for debugging and recovery, and must be used as instructed by Cisco TAC. You can access this option as a admin user. [4] Show system service status—This option provides a summary of the running/pending services and reports any errors. This option enables you to monitor the status of the appliance if the system is unresponsive or if there is a service disruption at any time. [5] Restart system services—This option enables you to troubleshoot the appliance and restarts the services running on it. [6] Reboot virtual appliance node—This option stops services, reboots the appliance, and restores the services when the appliance reboots. |
For a demonstration of the Intersight Virtual Appliance Installation and troubleshooting, watch Cisco Intersight Appliance Installation and Debug.
Monitoring Virtual Appliance Sizing Options
The Intersight Appliance Maintenance Shell displays the status updates about the deployment size determination and the subsequent action. You can monitor the status of the deployment in the console and take remedial actions as required. The messages listed in the table below explain the scenario and the particular resource requirements for deployment.
|
Initial Message |
Final Message |
||
|---|---|---|---|
|
Installing <size>deployment size. This message is displayed when the required resources are adequate, and the desired size is being deployed.
|
Installed <size>deployment size. |
||
|
Installing <size >deployment size, after being under resourced. This message is displayed when the existing deployment is under-resourced for the current deployment size, and upon restarting the VM after the necessary resources have been added. This deployment could be in either size. |
Installed <size> deployment size, after being under resourced. |
||
|
Installed <size> deployment size. This message is displayed when the existing resources and the required resources are similar and no upgrade is required. |
No change in deployment size during reboot. Current running deployment size is Small. |
||
|
Downgrading deployment size from Medium to Small. This message is deployed when a Medium deployment size is downgraded to Small. |
Downgraded deployment size from Medium to Small. |
||
|
Upgrading deployment size from Small to Medium. This message is displayed when the deployment size is upgraded from Small to Medium. |
Upgraded deployment size from Small to Medium. |


 Feedback