Table of Contents
Combined Upgrade Procedure for VMware ESXi and Cisco Nexus 1000V VEM
Creating a Customized ISO File
Upgrading VMware ESXi and the Cisco Nexus 1000V VEM
Introduction
This document describes the combined upgrade procedure for the VMware ESXi image and the Cisco Nexus 1000V VEM image. It also explains the prerequisites for the combined upgrade and how to create a customized ISO file.
You can upgrade the VEM and ESXi versions simultaneously. A combined upgrade is supported for VMware vSphere Release 5.0 update 1 and later, and Cisco Nexus 1000V Release 4.2(1)SV1(5.2) and later. You can upgrade the VEM and ESXi versions manually or by using the VMware Upgrade Manager (VUM). We recommend that you use VUM for the combined upgrade.
For more information on the Cisco Nexus 1000V installation and upgrade, see the Cisco Nexus 1000V Installation and Upgrade Guide.
Prerequisites
Ensure that you have installed and configured the following components on the target setup before you begin the combined upgrade:
Creating a Customized ISO File
To create a customized ISO file using the VMware ESXi image and the Cisco Nexus 1000V VEM image, complete the following steps:
Step 1
Log in to the VMWare PowerCLI application.
Step 2
Run the set-executionpolicy unrestricted command. For example:
Step 3
Connect to the vCenter server by using the connect-viserver command. For example:
Step 4
Load the ESXi depot by using the add-esxsoftwaredepot command. For example:
vSphere PowerCLI> add-esxsoftwaredepot 'C:\Documents and Settings\Administrator\Desktop\upgrade\229\VMware-ESXi-5.1.0-799733-depot.zip'Step 5
Display the image profiles by using the get-esximageprofile command. For example:
Step 6
Clone the ESXi standard image profile by using the new-esximageprofile command. For example:
vSphere PowerCLI> new-esximageprofile -clonecrofile ESXi-5.1.0-799733-standard -name ESXi-N1Kv-bundle![]()
Note
The image profiles are usually in read-only format. You must clone the image profile before adding the VEM image to it.
Step 7
Load the Cisco Nexus 1000V VEM offline bundle by using the add-esxsoftwaredepot command. For example:
vSphere PowerCLI> add-esxsoftwaredepot 'C:\Documents and Settings\Administrator\Desktop\upgrade\229\VEM510-201408170106-BG-release.zipStep 8
Confirm that the n1kv-vib package is loaded by using the get-esxsoftwarepackage command. For example:
Step 9
Bundle the n1kv-package into the cloned image profile by using the add-esxsoftwarepackage command. For example:
vSphere PowerCLI> add-esxsoftwarepackage -softwarepackage cisco-vem-v170-esx -imageprofile ESXi-N1Kv-bundleStep 10
Verify that the Cisco VIB is added to the cloned image profile by using the following commands:
Step 11
Export the image profile to an ISO file by using the export-esximageprofile command. For example:
vSphere PowerCLI> Export-EsxImageProfile -ImageProfile ESXi-N1Kv-bundle -FilePath 'C:\Documents and Settings\Administrator\Desktop\ESXi-N1Kv-bundle.iso' -ExportToIso
Upgrading VMware ESXi and the Cisco Nexus 1000V VEM
Complete the following steps to upgrade the VMware ESXi and the Cisco Nexus 1000V VEM image simultaneously:
Step 1
Log in to VMware vSphere client.
Step 2
In the vSphere client, click the Home icon in the address bar.
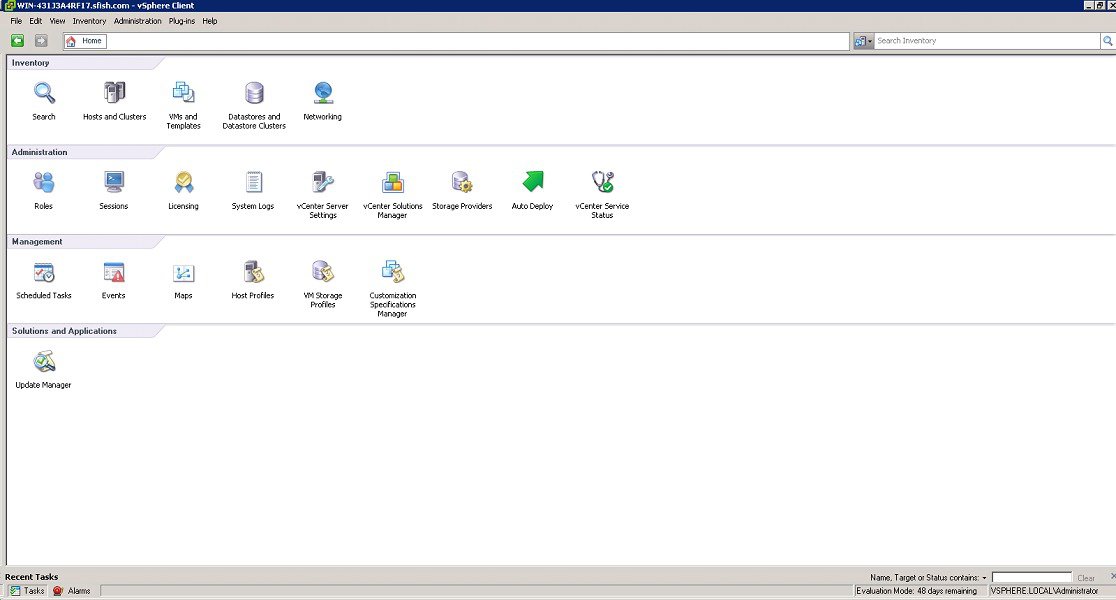
Figure 1 VMware vSphere Client
![]()
Step 3
Under the Solutions and Applications section, click Update Manager.
Step 4
Click the ESXi Images tab and then click the Import ESXi Image link.
Step 5
In the Import ESXi Image dialog box, click Browse and navigate to the location of the customized upgrade ISO image.
Step 6
Choose the upgrade ISO file (for example, ESXi-N1Kv-bundle) and click Open.
Step 7
Click Next to import the ISO file. In the Security Warning dialog box, click Ignore.
Step 8
After the upgrade ISO file is uploaded, click Next.
Step 9
In the Baseline Name and Description section, enter a name and description for the baseline (ISO).
Step 10
Click Finish. The ISO image is uploaded and listed
on the Import ESXi tab.
Step 11
Click the Baselines and Groups tab and verify whether the new ISO is listed
under the Baselines table.
Step 12
In the vSphere client, choose Home > Hosts and Cluster
s.
Step 13
In the left pane, select the target host to upgrade and click the Update Manager tab.
Step 14
On the Update Manager tab, click Attach.
Step 15
In the Attached Baseline or Group dialog box, under the Individual Baselines by Type area, expand the Upgrade Baseline option.
Step 16
Select the customized ISO image (for example, ESXi-N1Kv-bundle) and click Attach.
Step 17
In the Update Manager tab, click Scan.
Step 18
In the Confirm Scan dialog box, check the Upgrades check box and click Scan.
![]()
Note
The baseline may display as Non-Compliant or Incompatible after the scan is complete.
Step 19
Under the All Groups and Independent baselines section, select the host and click the Details link to open the Upgrade Details window. Reboot the host if prompted.
![]()
Note
After the reboot, the Compliance State displays as Non-Compliant or Incompatible.
Step 20
When you are finished viewing the upgrade details, click Close.
Step 21
In the Update Manager tab, click Remediate.
Step 22
In the Remediate dialog box, click Next.
Step 23
In the End User License Agreement screen, check the I accept the terms and license agreement check box and click Next.
Step 24
In the ESXi 5.x Upgrade screen, follow the instructions and click Next.
Step 25
In the Schedule screen, click Next.
Step 26
In the Host Remediation Options screen, under the Maintenance Mode Options area, check the Disable any removable media devices connected to the virtual machines on the host check box, and click Next.
Step 27
In the Cluster
Remediation Options screen, click Next.
Step 28
In the Ready to Complete screen, click Finish. The host will go into maintenance mode and reboot.
Step 29
To check the host versions, click each host in the left pane and confirm that 5.x appears in the top-left corner of the right pane and that the version information matches the Cisco Nexus 1000V and VMware Compatibility Information.
Verifying the Upgrade
Complete the following steps to verify whether the combined upgrade procedure succeeded:
Step 1
Verify the build number on the ESXi host by using the vmware command. For example:
Step 2
Verify the VEM status by using the vem status command. For example:
Step 3
Verify the VEM version by using the vemcmd show version command. For example:
Step 4
Verify the VEM module status by using the show module command. For example:
Step 5
Verify that the VEM is installed by using the esxcli software vib list |grep cisco command. For example:
Cisco and the Cisco logo are trademarks or registered trademarks of Cisco and/or its affiliates in the U.S. and other countries. To view a list of Cisco trademarks, go to this URL: www.cisco.com/go/trademarks. Third-party trademarks mentioned are the property of their respective owners. The use of the word partner does not imply a partnership relationship between Cisco and any other company. (1110R)