The Remediation and Quarantine Process
Remediation (definining the circumstances under which an endpoint should be quarantined) and quarantine (isolating an endpoint so it cannot communicate on the network) is a multi-step process summarized in the next section, How to Remediate and Quarantine.
How to Remediate and Quarantine
The following summarizes the tasks required to remediate and quarantine an endpoint. You perform some tasks in APIC and some in the Firewall Management Center.
Before you begin
Consult a reference such as the Endpoint Groups (EPG) Usage and Design whitepaper or the Cisco APIC Basic Configuration Guide to understand APIC-related concepts.
SUMMARY STEPS
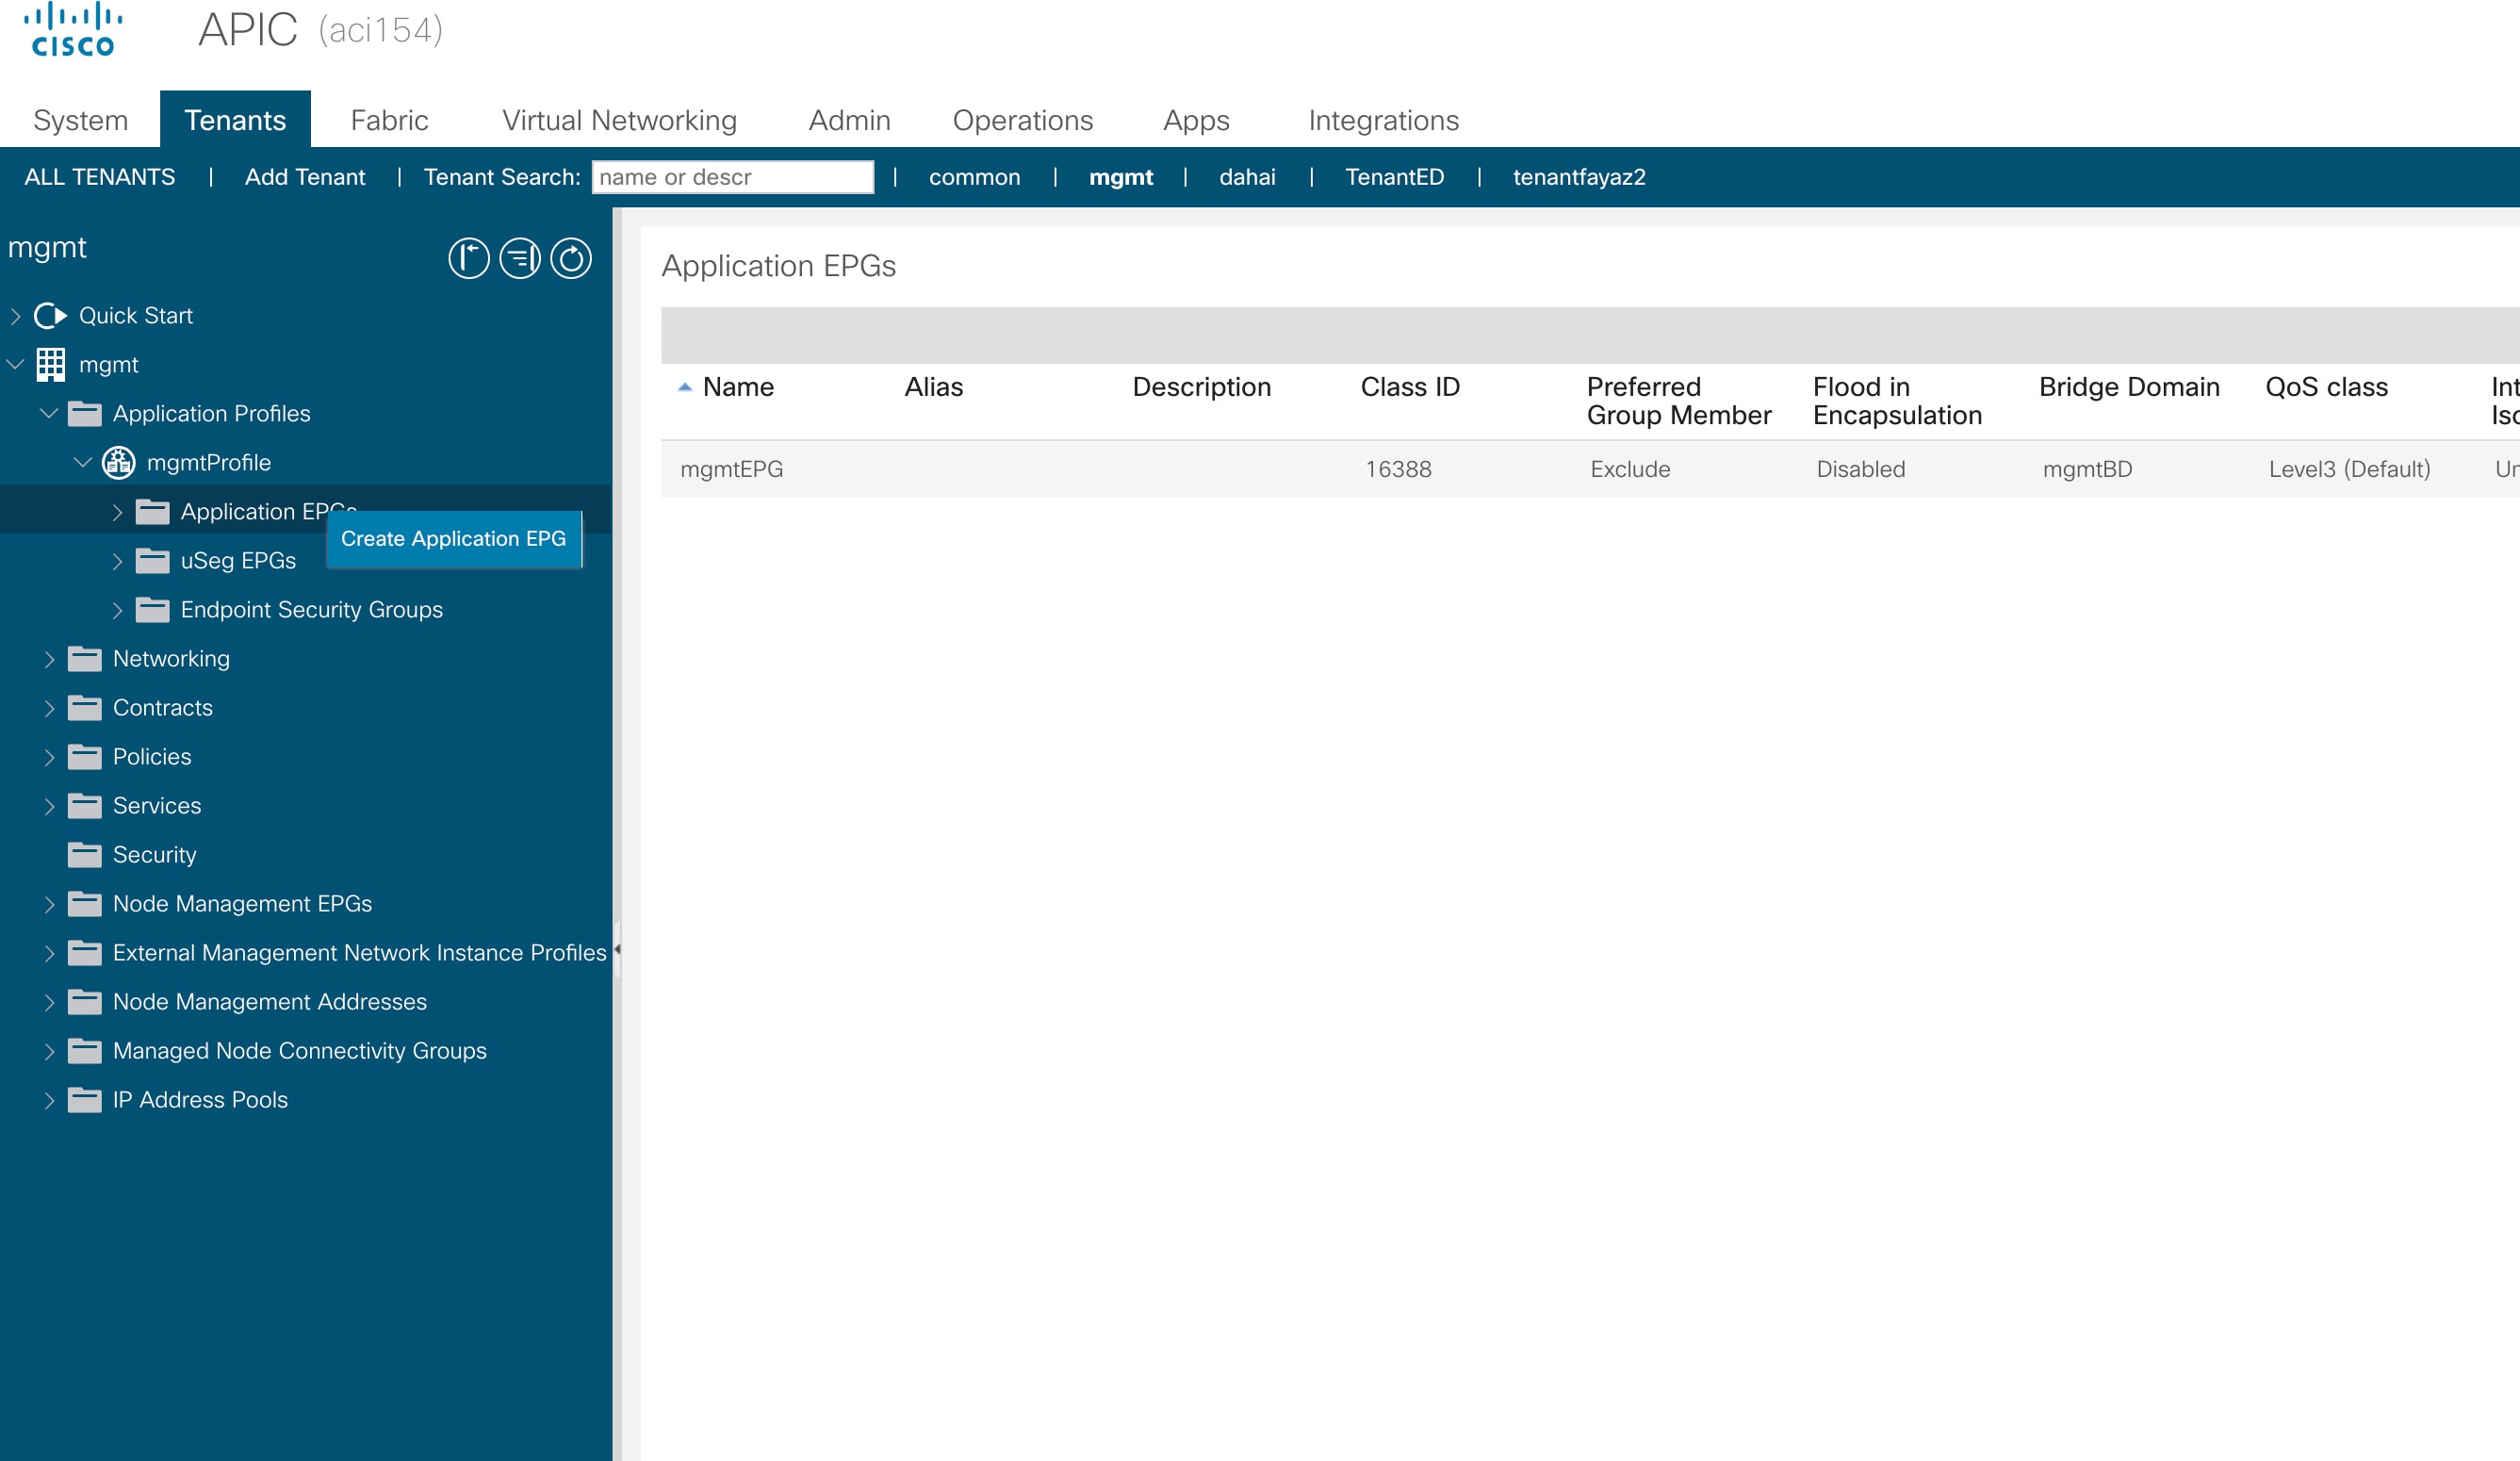
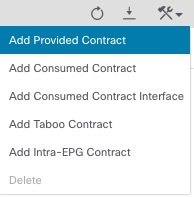
- Optionally create a management contract and management contract endpoint group (EPG).
- Create a remediation module instance and type.
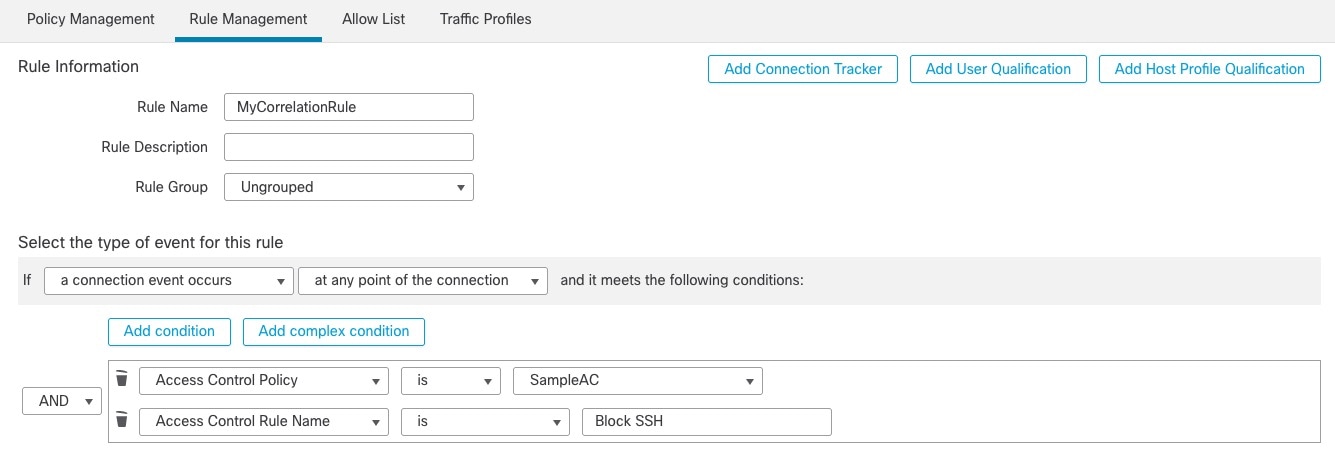
- Configure an access control rule that determines the conditions under which an endpoint should be quarantined.
- Associate the correlation rule with the remediation policy.
- Verify the quarantine and remediation.
DETAILED STEPS
| Command or Action | Purpose | |
|---|---|---|
|
Step 1 |
Optionally create a management contract and management contract endpoint group (EPG). |
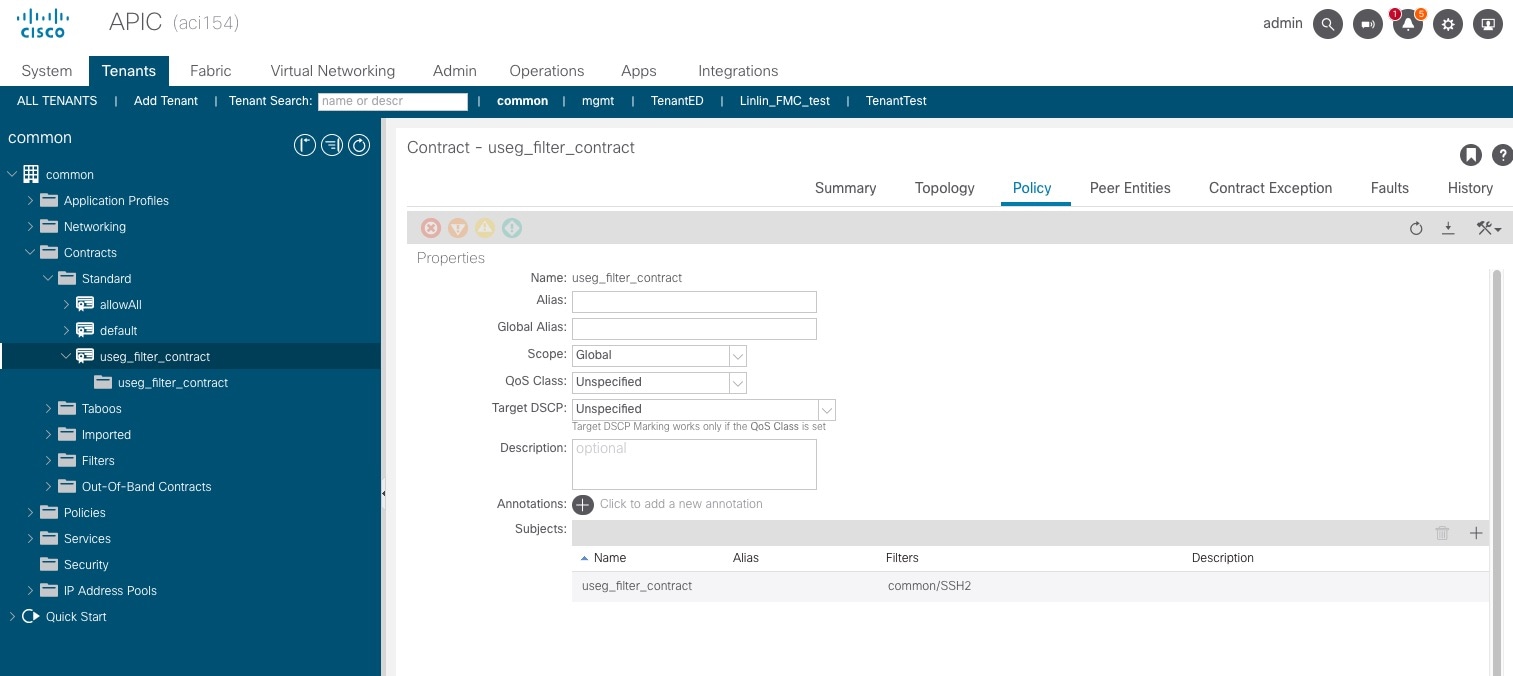
APIC uses an allow-list model where we explicitly define what traffic should be permitted. A contract is a policy construct used to define communication between EPGs. |
|
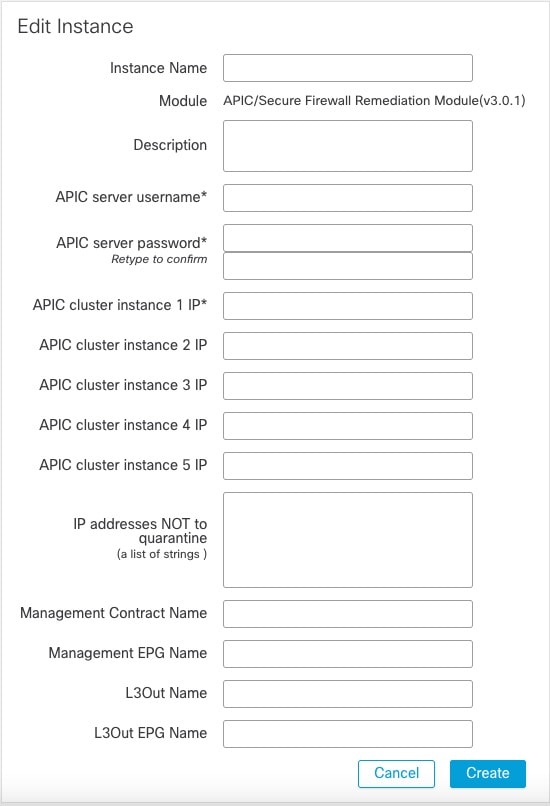
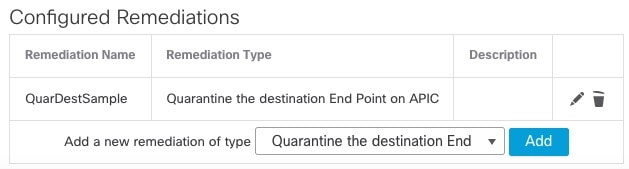
Step 2 |
Create a remediation module instance and type. |
Perform this task in the Firewall Management Center. The remediation module creates, on APIC, the EPG that enables you to view and work with quarantined endpoints. The remediation module can:
For more information, see Create a Remediation Module Instance and Type. |
|
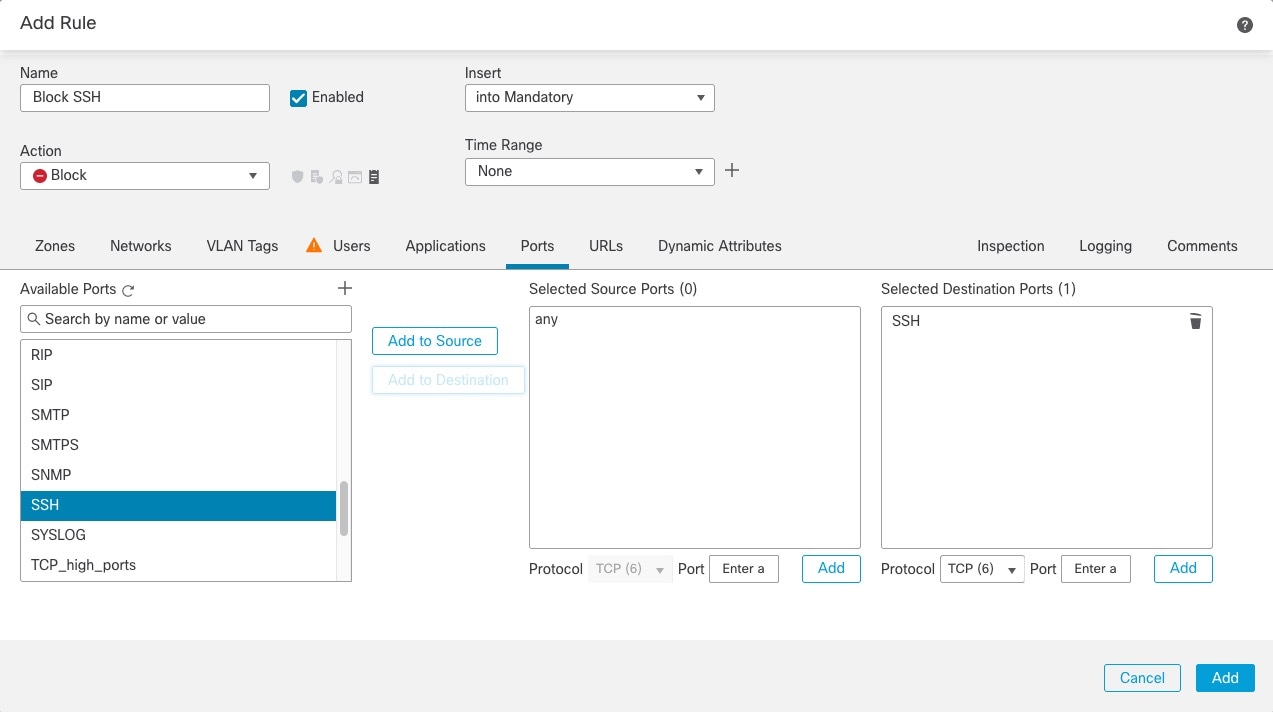
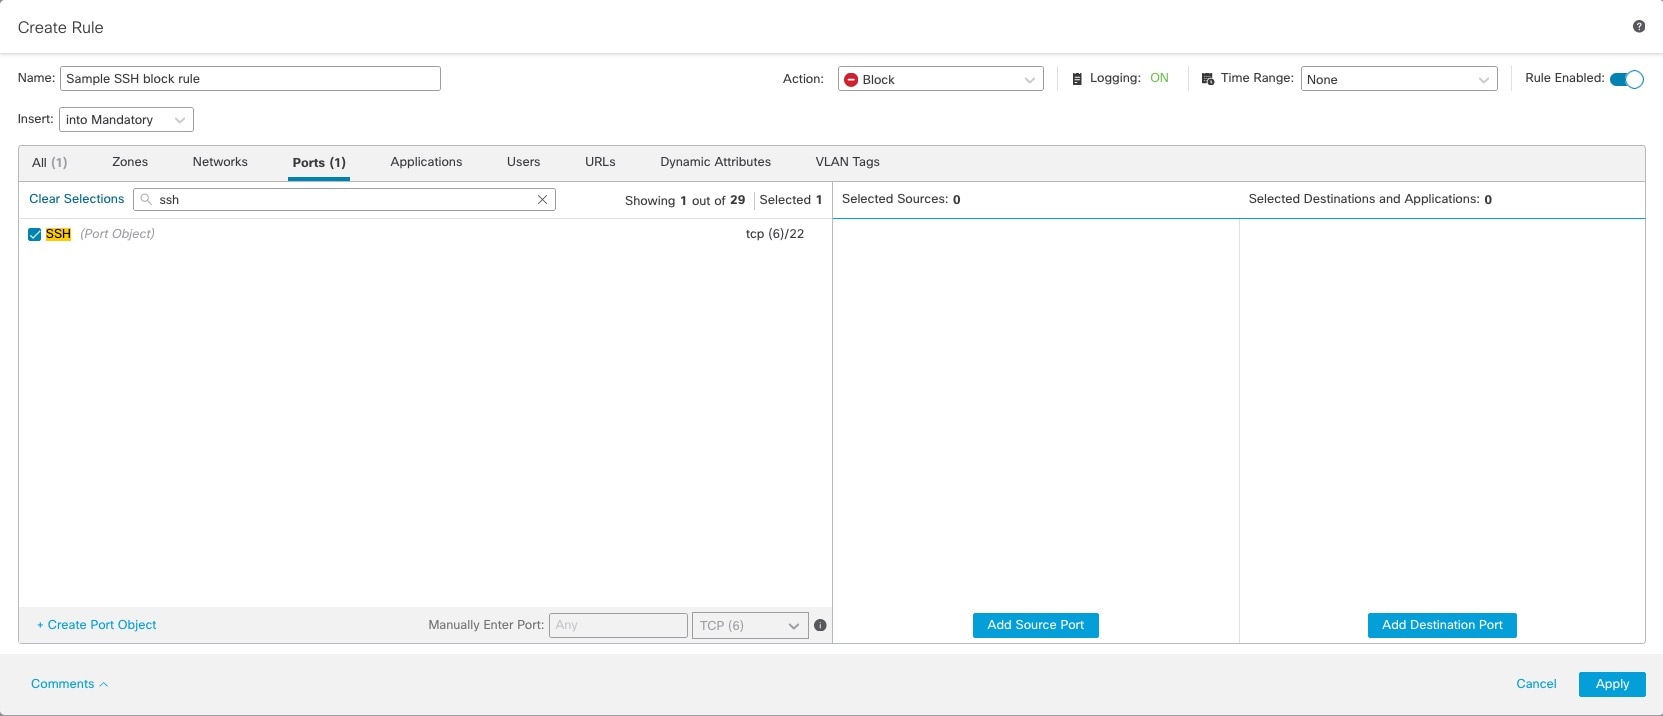
Step 3 |
Configure an access control rule that determines the conditions under which an endpoint should be quarantined. |
Perform this task in the Firewall Management Center. Determine the conditions under which you want an endpoint quarantined; for example, passing unsecure traffic. Set up an access control rule that in turn triggers the remediation policy you set up previously. For more information, see Configure an Access Control Rule for the Remediation. |
|
Step 4 |
Associate the correlation rule with the remediation policy. |
Perform this task in the Firewall Management Center. This triggers the quarantine on APIC. For more information, see Associate the Correlation Rule with the Remediation Module Instance. |
|
Step 5 |
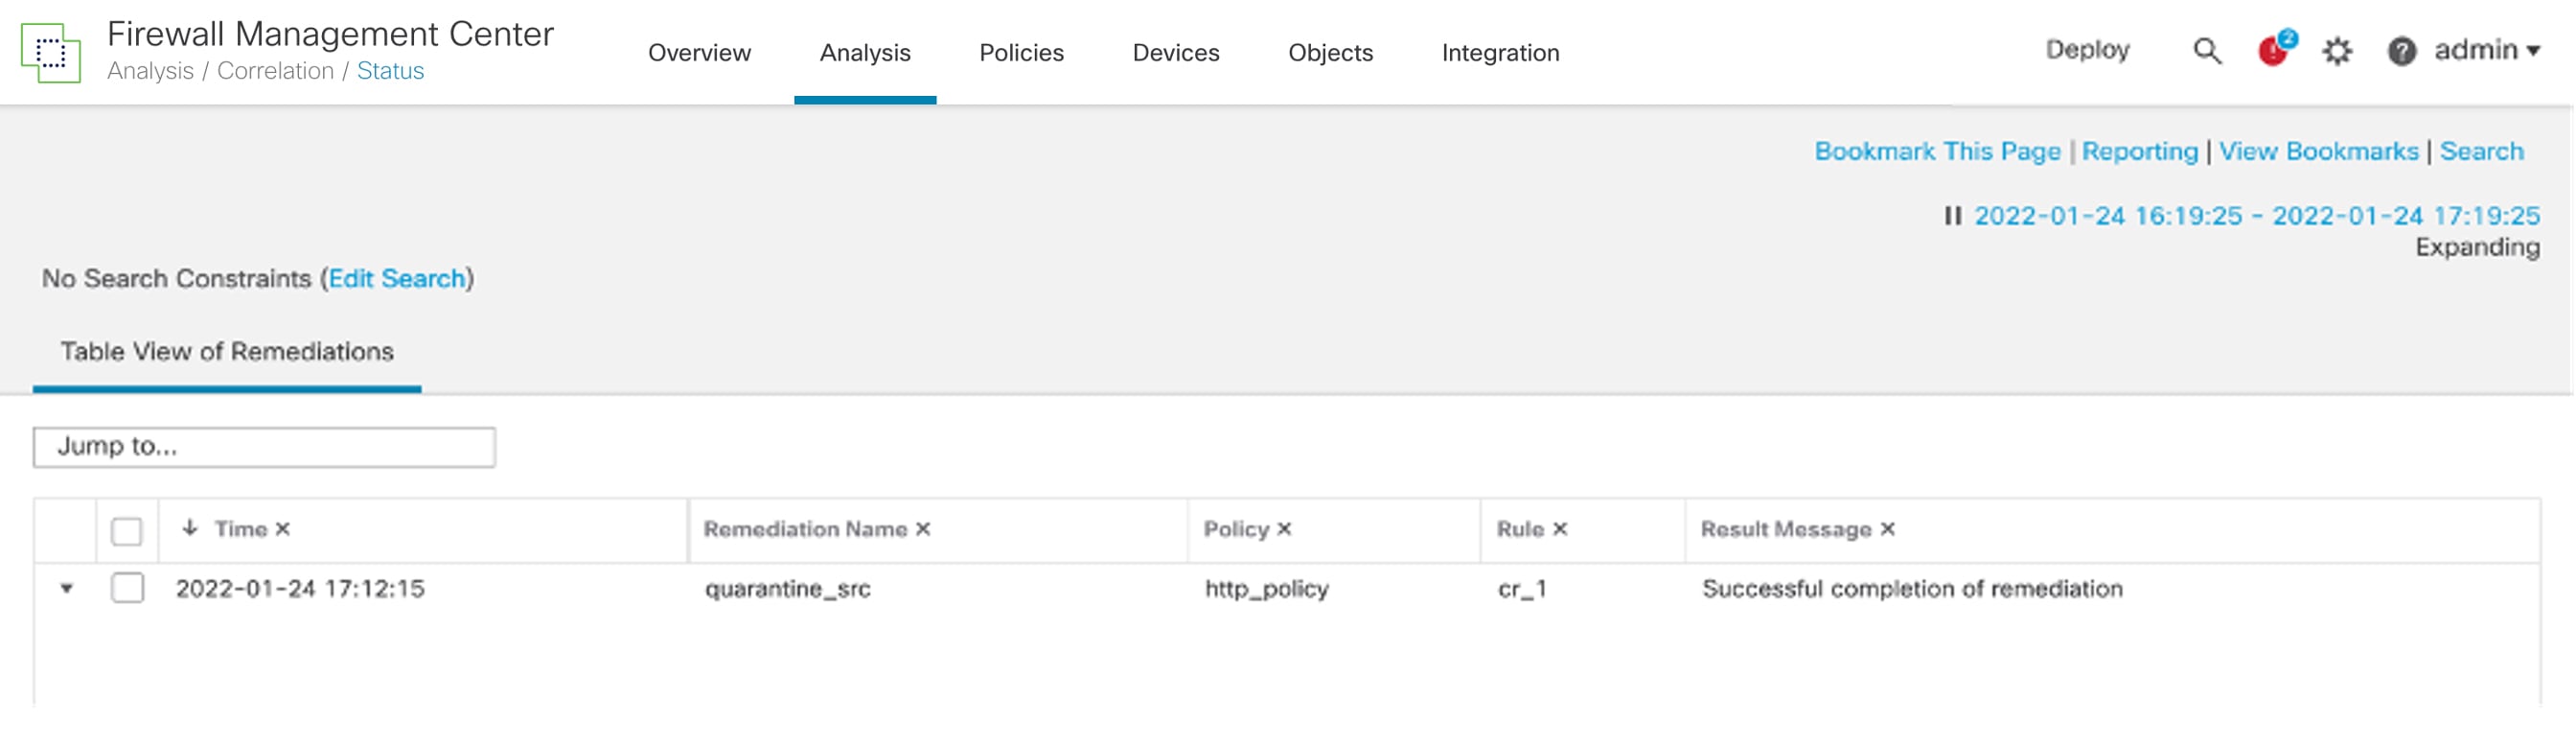
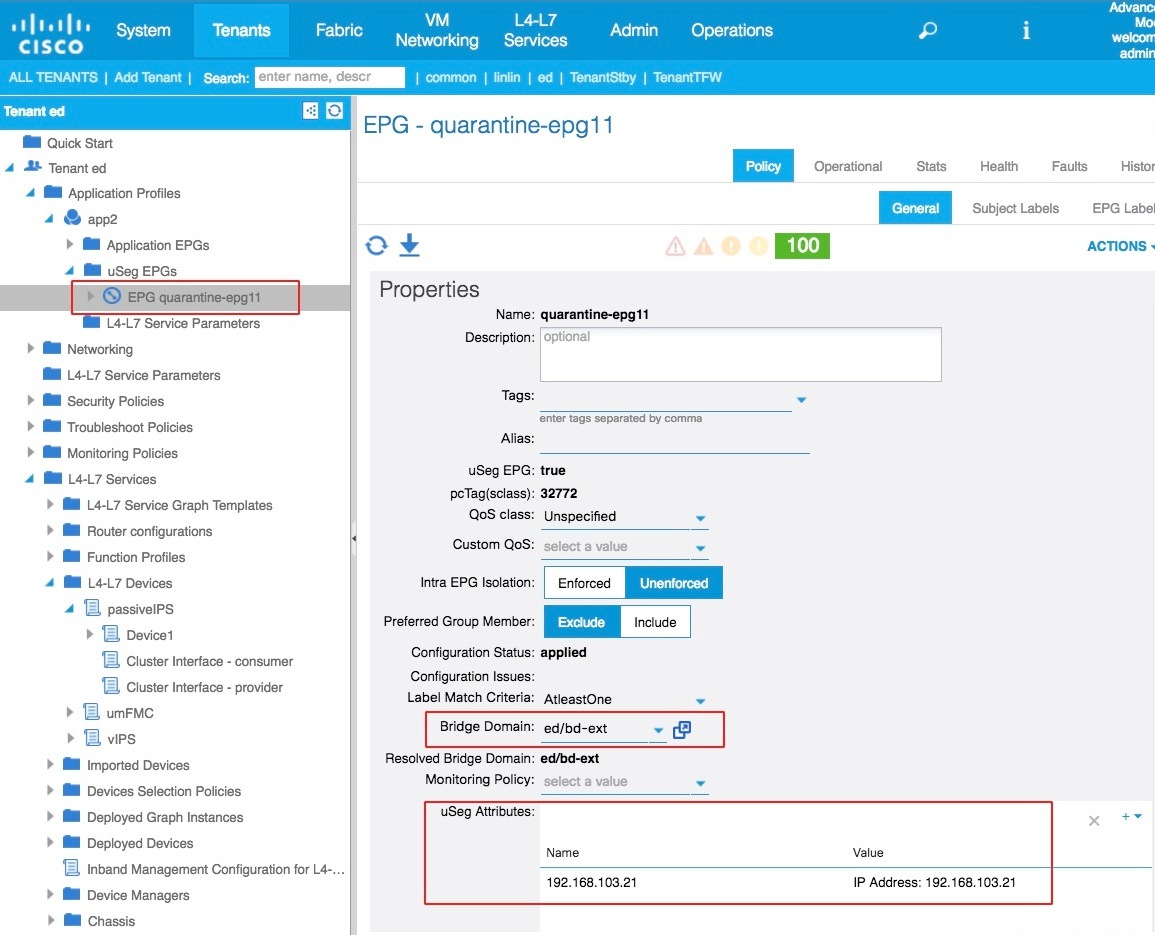
Verify the quarantine and remediation. |
Verify the quarantine in APIC and verify the remediation in the Firewall Management Center. For more information, see Verify the Quarantine in APIC and Verify the Remediation in the Firewall Management Center. |


 Feedback