Opening Your First Secure Message

This chapter provides step-by-step instructions for first-time recipients of password-protected secure messages. It explains how to enroll with Cisco Secure Email Encryption Service and open secure messages.

This chapter discusses the following topics:


Note


The latest version of this guide and other Secure Email Encryption Service documentation is available on this https://www.cisco.com/c/en/us/support/security/email-encryption/products-user-guide-list.html.

Important


If JavaScript is disabled on your web browser, the functionality of some of the web pages will not work.

Important


If you are using Internet Explorer to access the web pages, it might cause alignment issues. It is recommended to switch to any one of the following supported browsers:
  • Google Chrome

  • Mozilla Firefox

  • Safari (for MAC operating system)


Overview of Secure Messages

A Secure Message is a type of encrypted email message. Some Secure Messages are password-protected, whereas others are encrypted but do not require a password.

If you receive a password-protected Secure Message, you need to set up a free user account with Cisco Secure Message Service to open your encrypted message.

After you enroll with the service, you can use your account password to open all Secure Messages that you receive—from any sender. You can also use the service to send and manage your own Secure Messages.

Why Use Secure Messages?

Secure Messages enable you to easily send and receive encrypted email. Typically, senders encrypt messages to prevent important or confidential information from getting into the wrong hands. Encryption protects against accidental breaches of security, as well as intentional illegal and malicious security breaches. Often, when individuals or organizations send Secure Messages, they want to protect confidential information for the benefit of the recipient. In some cases, senders are required to maintain confidentiality because of government regulations or statutes. For example, a health care provider might use a Secure Message to convey confidential information about a patient’s medical history, and a financial institution might send protected information about a personal bank account.

Secure Message Notification

When someone sends you a Secure Message, you receive the following files:

  • Notification email message. The notification message indicates that someone has sent you a secure, encrypted message in the form of a Secure Message. The notification also includes links to information about Secure Messages and Encryption Service.

  • Encrypted message file attachment. The notification message includes an encrypted message file attachment. The file attachment uses the naming convention of securedoc_date Ttime .html where date and time are represented as a numerical date and time stamp that are added to the file. For example, you might receive a file called securedoc_20100615T193043.html, where the year, month, and day are represented as 20100615 and time is represented as 193043. This file contains both the Secure Message and the encrypted content. To view the Secure Message, save the file attachment to your hard drive. Then, double-click the file to display the Secure Message in a web browser. Typically, a computer must have an Internet connection to properly display the Secure Message and decrypt the message.


    Note


    If the email administrator has enabled the support for large file attachments, and the secure message contains a file attachment of size greater than 25 MB, then the securedoc html attachment is not present in the secure message.


The notification message that you receive will look in one of the following ways:

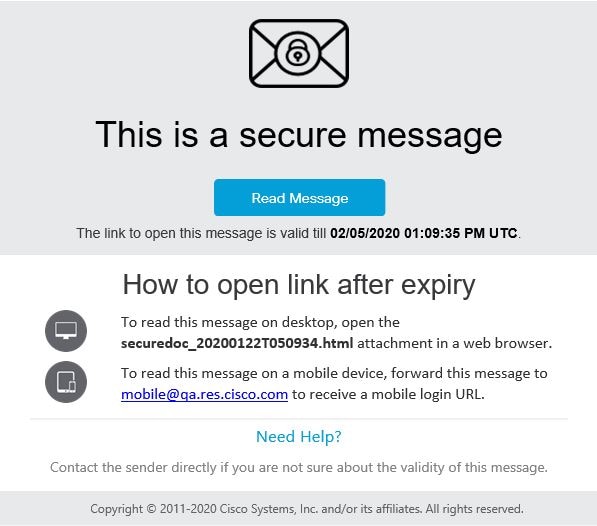
  • The following figure shows a notification email message with the Read Message button. To read a secure message, click the Read Message button. By default, the Read Message link is valid for a maximum of 14 days. After the link expires, you can read messages by opening the attachment in a web browser or forwarding the message to mobile.res.cisco.com.

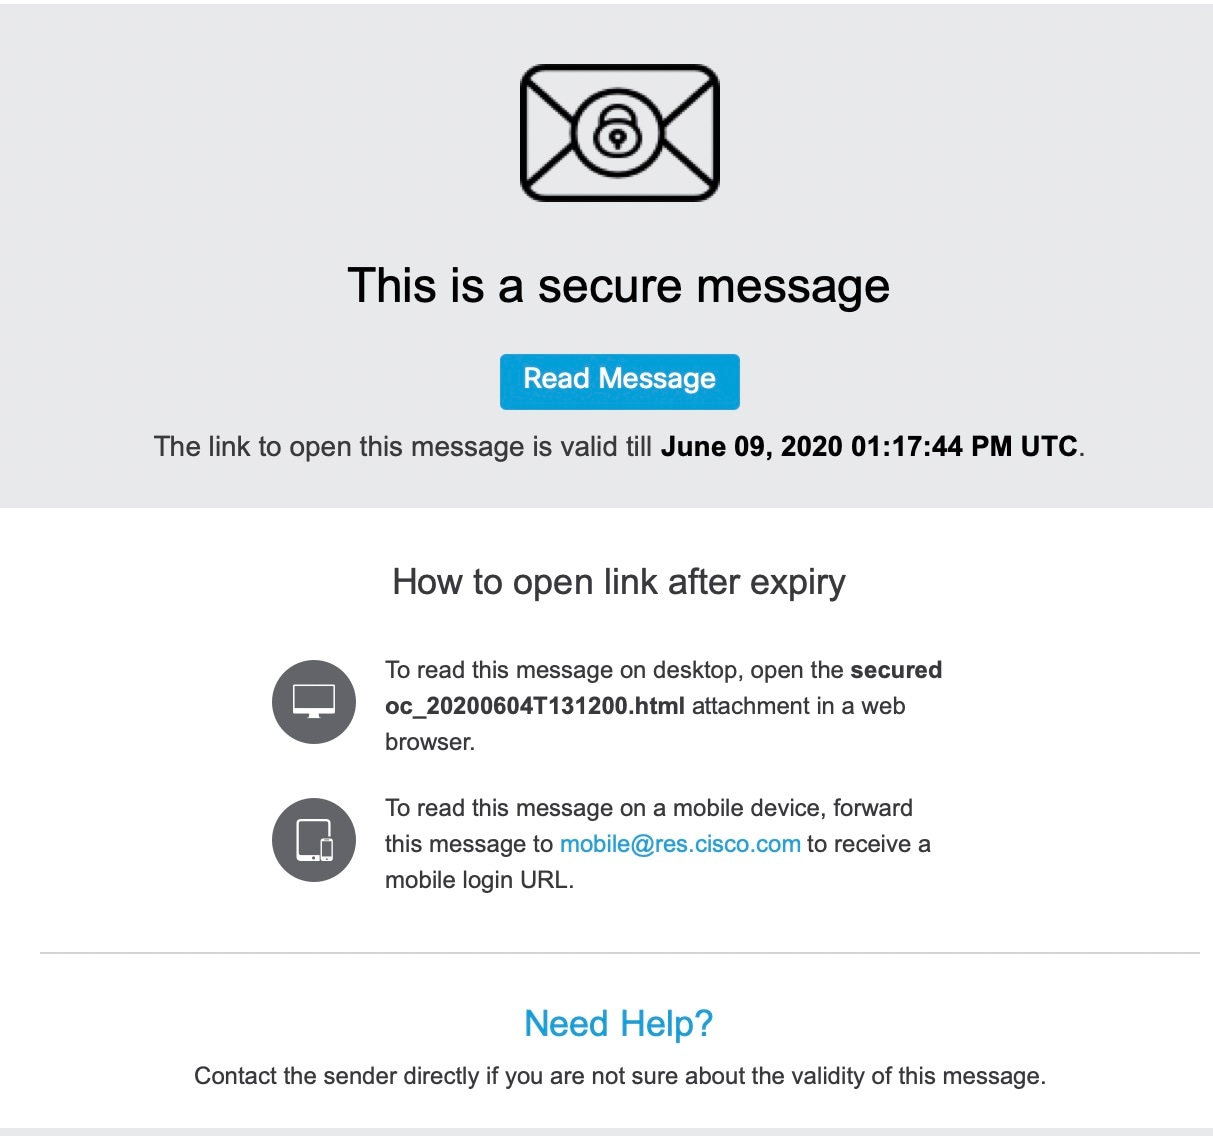
  • The following figure shows a notification email message with the Read Message button. The email expiration month is in text format and the day of month with timestamp. This new date format is applicable for custom templates only.

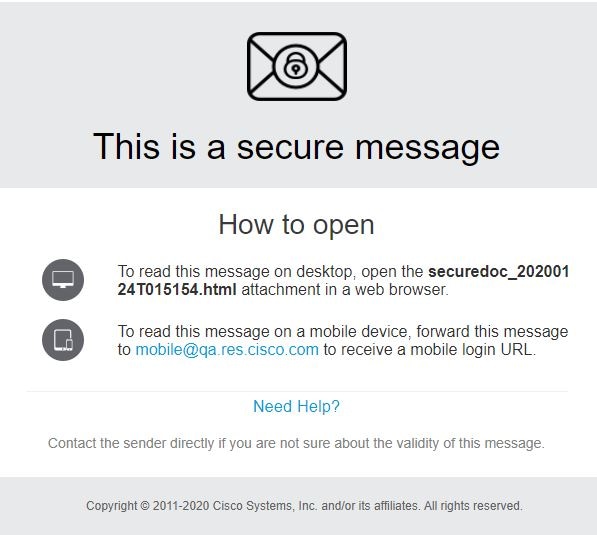
  • The next figure shows a notification email message without the Read Message button. To read a secure message, open the securedoc_dateTtime.html file attachment in a web browser or forward the message to mobile.res.cisco.com. For more information, see Steps to Opening Your First Secure Message.

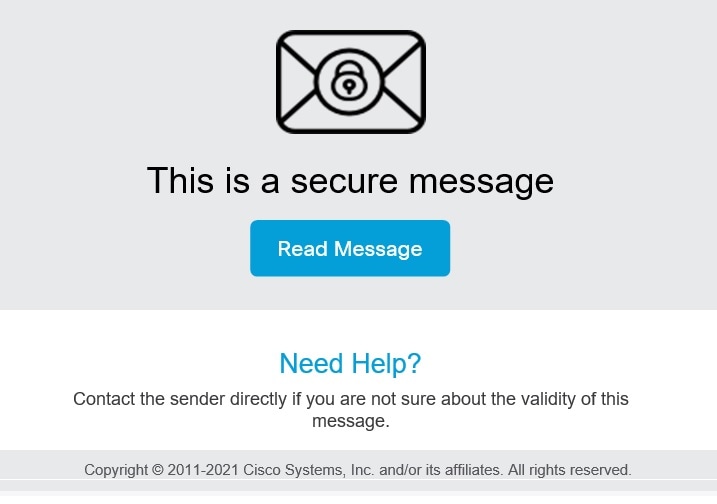
  • The following figure shows a notification email without the securedoc html attachment and the expiry date. This notification type appears when the secure message contains a file attachment of size greater than 25 MB. Click the Read Message button to open the secure message.


Note


The file attachment includes software to decrypt the encrypted message when you enter the password for your user account. In some cases, the included software cannot decrypt the message, and you must use one of the alternative decryption methods. For more information about alternative methods for opening secure messages, see Troubleshooting Secure Message Issues

Note


Some encrypted messages may be sent to the Spam folder. Please check your Spam folder for secure messages. Additionally, you may notice a yellow or red warning banner on secure messages. You can click the "Looks safe" button.


Note


You cannot open a secure message if its encryption key has expired. Your email administrator configures the validity of the encryption key. If the encryption key has expired, you will see the error message: "Cannot open this secure message. This secure message has expired due to the security setting configured by the administrator."

Components of a Secure Message

When you click on the Read message button in the received secure message, it directs you to the web browser and the message is displayed.

The Secure Message login page displays the recipient email addresses in a searchable drop-down box. You can use the searchable drop-down box to open a secured message in any one of the following ways:

  • Select the required recipient email address from the searchable drop-down box.

  • Search for a recipient email address by entering any character that matches the recipient email address in the searchable drop-down box.


Note


If JavaScript is disabled on your web browser, you will not be able to search for a recipient email address. You can only view and select the list of recipient email addresses in the searchable drop-down box.

If you send a Secure Message to a single recipient, the “Your Address” field is auto-populated with the recipient's email address. If there are multiple recipients in the 'To' and 'CC' address fields of the Secure Message, the “Your Address” field is auto-populated when you enter any character that matches the recipient email address in the searchable drop-down box.


Note


If you have received a secure message as a BCC recipient, your email address will not appear in the Username field drop down menu. To open the secure message, click the Email address not listed option on the login page and type your email address in the Your Email Address field that appears.

If you have already enrolled with the service, the Open button appears. Click the Open button to decrypt the content and view your message.

If you have not enrolled with the service, you will be directed to enroll and create a user account before you can enter your password. If your email address is not associated with a user account, the message may display a Register button. In that case, click the Register button to enroll with the service.

When you open the securedoc attachment in the received mail, the Secure Message is displayed in a web browser.

The following table describes the important features of a Secure Message highlighted in above figure.

Feature

Description

Address fields and subject line

The address fields identify the sender in the From: field and intended recipient in the To: field.

Password field

If the secure message is password-protected, enter your Encryption Service password to open the message. If you have not enrolled with the service, you will be directed to enroll before you can enter your password.

Open button

If you receive a password-protected message and you have already enrolled with the service, the Open button appears. Click the Open button to decrypt the content and view your message. The Open button appears only after you enroll with the service and create a user account. If your email address is not associated with a user account, the message may display a Register button in place of the Open button. In that case, click the Register button to enroll with the service.

If the Secure Message was sent to you with low security, you will see an Acknowledge button instead of an Open button.

Note

 
Your company may have configured a single-sign-on (SAML) login for you to use with the Cisco Secure Message Service. In this case, a pop-up will appear that allows you to log in using your company’s credentials.

Sign in with Google button

If you have a Google account, you need to register by clicking the Google Sig-up button. After registering, you can sign in with Google and read your secure messages. In this case, you do not have to enroll with Encryption Service or enter the Encryption Service password.

Help link

Click the Help link to access the online help for Secure Messages. The online help describes the standard and alternative methods for opening Secure Messages. It also provides a link to frequently asked questions (FAQs).

Message security level

The message security level can be low, medium, or high. The default is medium. When a message is sent with low security, you do not need to enter a password to open it. Medium security enables standard password features. When a message is sent with high security, you must always enter a password to open it, even if you previously chose the “Remember me on this computer” option.

Remember Me checkbox

Select the “Remember me on this computer” check box to have your settings remembered on your computer. These settings vary depending on the encryption profile. For example, when receiving a medium security message, you may not have to enter a password to open it, but when receiving a high security message, you will always have to enter your password.

Language

Select the language that will be used to translate incoming Secure Messages. This selection will override the language that is determined by the System Default Locale set in the BCE configuration file.

Logo

Displays the image that you chose as the custom logo for the envelope profile in Account Management > Branding > Images page in the Encryption Service application.

For information about other Secure Message features, see the frequently asked questions (FAQs) at:

https://res.cisco.com/websafe/help?topic=FAQ

Many Secure Message components vary from each other, depending on several factors, including:

  • The sender’s account configuration.

  • The software available on the recipient’s computer.

  • Modifications that email gateways sometimes make to the encrypted message file attachment.

  • The status of the recipient as either enrolled or unenrolled with the service.

Secure Messages are dynamic, and the components of a particular message can vary over time.

Steps to Opening Your First Secure Message

This section provides step-by-step instructions for opening a password-protected Secure Message for the first time. The steps demonstrate a typical scenario for a first-time recipient. Some of the steps may vary, depending on the particular circumstances. If you have a Google account, you can open the secure messages using Google authentication. For more information, see the Opening Secure Messages Through Google Sign-in.


Note


These steps apply to first-time recipients opening a password-protected message only. After you enroll with Encryption Service and activate your account, you can use your password to open secure messages from any sender. If you receive a Secure Message that is not password-protected, you do not need to register to open the message. For more information, see the Opening Secure Messages After You Activate Your Encryption Service Account.

To open your first secure message, you must perform the following steps.


Note


If the secure message contains a file attachment size of more than 25 MB, the securedoc html attachment is not present in the secure message. In such cases, click the Read Message button on the secure message and start from step 3 below.


Procedure


Step 1

Save the Encrypted Message File Attachment to Your Hard Drive

Step 2

Open the File in a Web Browser

Step 3

Click the Register Button to Enroll with the Service

Step 4

Activate Your Encryption Service Account

Step 5

View the Secure Message Again and Enter Your Password


Save the Encrypted Message File Attachment to Your Hard Drive

When you receive a secure message notification, you need to download the file attachment (securedoc_date Ttime .html where date and time represent the time stamp appended at the time the mail is sent), and save it to your hard drive before opening it.


Note


The dialog box for saving an attachment may look different, depending on your email program, and whether you use a web mail site, such as Yahoo! Mail, Gmail, or Hotmail.

For more information about the notification message, see the Secure Message Notification.

Open the File in a Web Browser

Open the securedoc_date Ttime .html file (from the downloaded location on your system) in a web browser.


Note


Do not open the file directly from the email attachment. You must first download the file to your system and then open the html file from the downloaded location in your system.


The Secure Message displays the registartion page.

Click the Register Button to Enroll with the Service

You need to register your account with Cisco Secure Email Encryption Service to open a Secure Message.


Note


Your company may have configured single-sign-on (SAML) authentication for you to use with Encryption Service. In this case, the new user registration is a shortened registration and only requests that you enter the portal language and the name for the Encryption Service user account. The below figure shows the new user registration with SAML authentication.

The New User Registration page is displayed.


Note


You will not be able to view the customized logo and footer links in the New User Registration page until you register your account with Cisco Secure Message Service.

Note


Security questions and personal security phrases are no longer required during new account registration.

Enter the information in the following fields:

Table 1. Fields on the Encryption Service Registration Page

Field

Value

First Name

Required. Enter the first name of the Encryption Service user account.

Last Name

Required. Enter the last name of the Encryption Service user account.

Password and Confirm Password

Required. Enter and confirm a password for the account. Password must be alphanumeric and case-sensitive.

The following password requirements can be additionally set by your Account Administrator:

  • Password must contain characters from at least three of the available character types: lowercase letters, uppercase letters, digits, and special characters.

  • Password must not contain a character repeated more than three times consecutively.

  • Password must not contain the username or the reversed username.

  • Password must not be “Cisco”, “ocsic” or any similar words by changing the capitalization of letters, or replacing “i” with “1”, “|”, “!”, “o” with “0”, or “s” with “$”.

Note


If you forget your password, click the Forgot password? button on a Secure Message to reset your password.

If your company has configured a single-sign-on (SAML) login for you to use with the Cisco Secure Message Service, you will need to contact your company’s support group to obtain or reset your password.

I agree to Encryption Service's Terms of Service

You must click this checkbox to register your account on Encryption Service.


Note


Dynamic password validation does not perform a check on any additional password rules configured for your Encryption Service account by your account administrator.

Upon registering, the following account activation page is displayed. You need to follow the instructions in the account activation mail to activate your Encryption Service account.


Note


You may need to set up more than one user account, if you receive Secure Messages at multiple email addresses. You need a separate user account for each email address.

Activate Your Encryption Service Account

Check your email inbox for an activation message from the service. If the email is not in your inbox, check the spam or junk email folder in case the activation message was filtered.

In the activation email message, click the link to activate your user account.

View the Secure Message Again and Enter Your Password

Procedure


Step 1

Return to the Secure Message. The Register button is no longer displayed on the message. The Open button appears in its place.

Step 2

Enter the password for your Cisco Secure Message Service user account, and click Open.

Note

 
Your company might have configured a single-sign-on (SAML) login for you to use with the Cisco Secure Message Service. In this case, a pop-up will appear that allows you to log in using your company’s credentials (username and password) to authenticate and open the encrypted email. If you sign in through your Google account, then you do not need to enter your Encryption Service username and password to read the secure message.

The decrypted message is displayed in the browser window.

Step 3

Click Reply to send a Secure Reply message or click Forward to send a Secure Forward message, after you open a Secure Message. When you send a Secure Reply or Secure Forward message, the recipient receives a Secure Message containing the encrypted message.

Note

 
Depending on the original sender’s preferences, some features may not be available. For example, it might not be possible to send a Secure Reply or Secure Forward message.

Opening Secure Messages After You Activate Your Encryption Service Account

After you enroll with the Cisco Secure Message Service and activate your account, you can use your Encryption Service password to open secure messages from any sender.

While opening the secure message, if you forget your Encryption Service password, click the Forgot password? button on a Secure Message to reset your password. You will receive a New Password message to the email address associated with your account.

The New Password message contains a link to the Create New Password page. When you click on this link, you will be re-directed to a browser, where you can create a new password and use that password to log in to your account and open the secure message. Whenever you reset your password, a notification mail is sent to the e-mail address that is associated with your Encryption Service account. Security questions are no longer required to reset your password.

Note


If your company has configured a single-sign-on (SAML) login for you to use with the Cisco Secure Message Service, you will need to contact your company's support group to obtain or reset your password.


Note


The password reset link is valid for 60 minutes only. You must change your password before the link expires.


Opening Secure Messages Through Google Sign-in

If you have a Google account, you can open the secure messages using Google authentication. In this case, you do not need enroll with Encryption Service or enter Encryption Service password to open secure messages.

To open your first secure message through Google authentication:

Procedure


Step 1

Download the attached securedoc.html file to your system.

Step 2

Navigate to the location where the file is saved, and open the file in a web browser.

Note

 
If the secure message contains a file attachment size of more than 25 MB, the securedoc html attachment is not present in the secure message. In such cases, click the Read Message button on the secure message.

Step 3

Click the Google Sign-up button to register.

Step 4

Choose your Google account.

Step 5

In the New Google User Registration page, enter your first name and last name, and then click Register.

The confirmation message appears. You will receive the confirmation letter on your email.

Step 6

Return to the Secure Messages and click the Sign in with Google button and read your secure message.

Note

 
The Password field is required only with Encryption Service authentication. If you open the secure message through Google Sign-in, the Password field is not applicable. Skip this field and click Sign in with Google.