Profiles configuration

Set an Active Discovery profile

Set an Active Discovery profile by adding a policy, targetting IP addresses and arranging a schedule.

Procedure


Step 1

On Cisco Cyber Vision, navigate to Admin > Active Discovery > Profiles.

Step 2

Click the Create profile button.

A form to create an Active Discovery profile pops up.

Step 3

Give the profile a name.

Step 4

Select a policy to base the profile on.
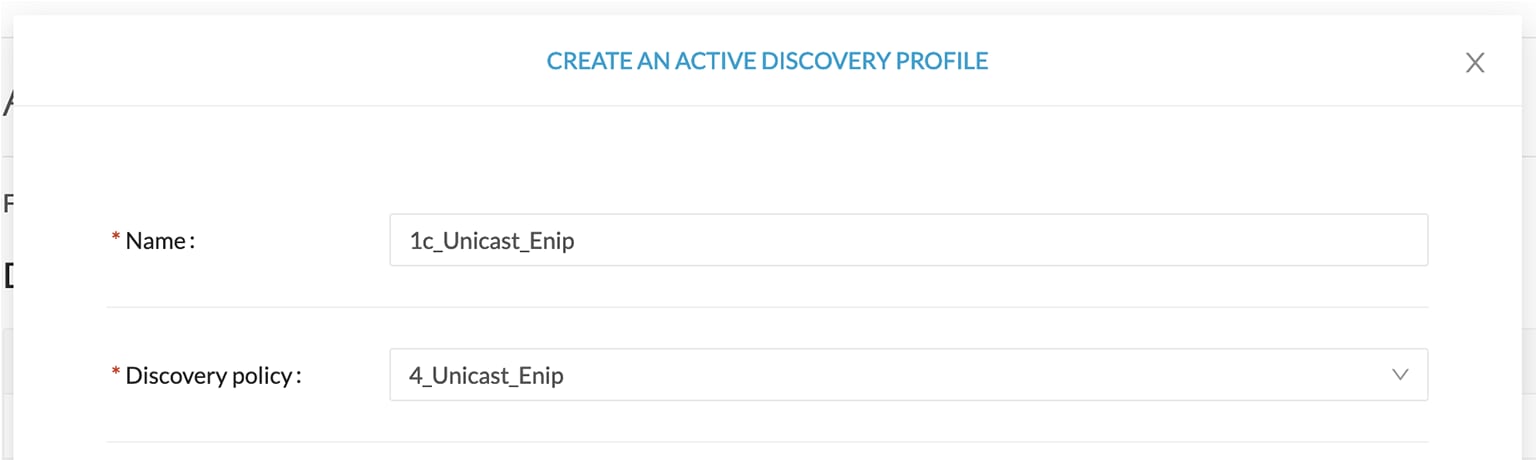
Step 5

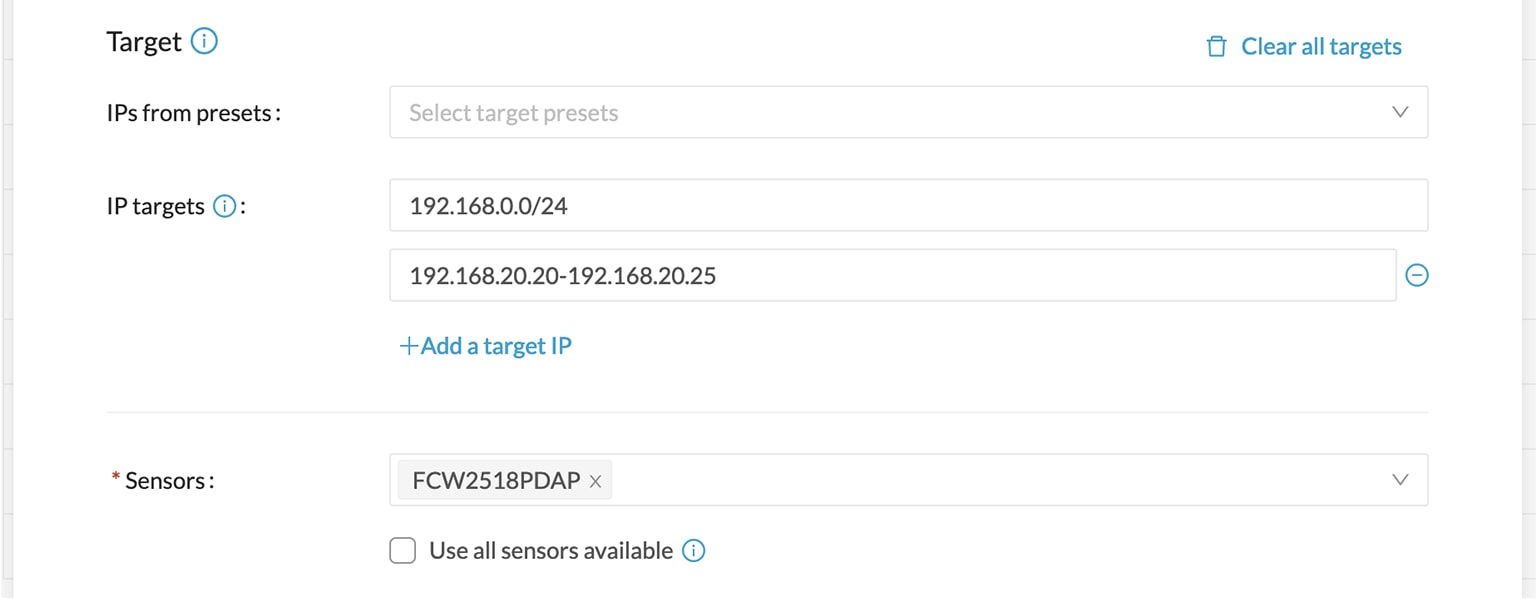
Set target IP addresses: different options are available, such as:

  • selecting a preset: the preset's device list will be used to list the IP addresses to be queried. In other words, the Active Discovery engine will use the IPv4 inside a component list to build its own list of components to check. You can use default and custom presets.

  • setting IP targets: you can directly add the IP adresses, IP ranges and subnets you want to be queried.

  • selecting sensors: all IP adresses detected by a sensor will be queried. You can also tick the Use all sensors available option.

Step 6

Optionally, you can arrange a schedule for Active Discovery to be launched. To do so:
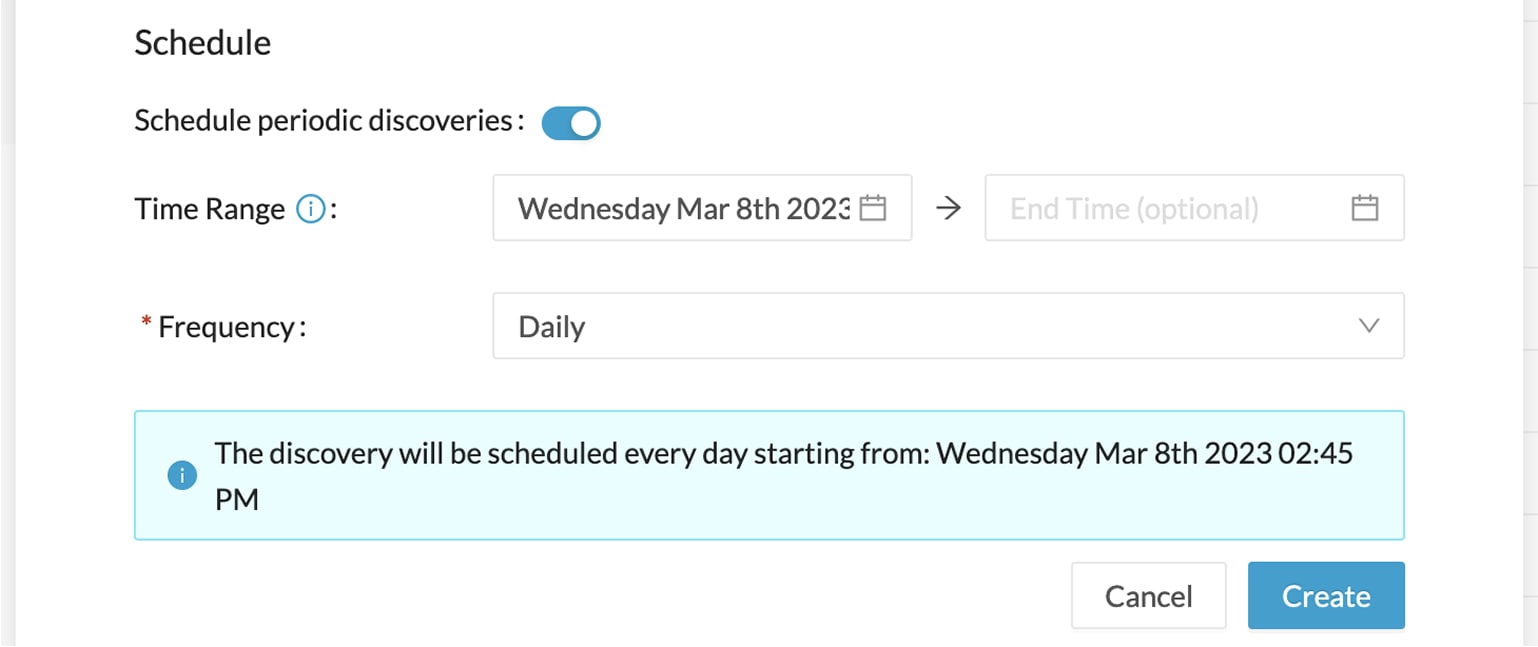
  1. Toggle ON the Schedule periodic discoveries button.

    Additional options to setup appear:

  2. Set a time range by selecting a start and end date and time.

    The end date and time is optional. If you don't set it, Active Discovery will be launched endlessly.

  3. Set a frequency. You can set it to hourly, daily, weekly and monthly.

Step 7

Click Create.

The profile is added to the list and discovery is enabled by default if scheduling is set.