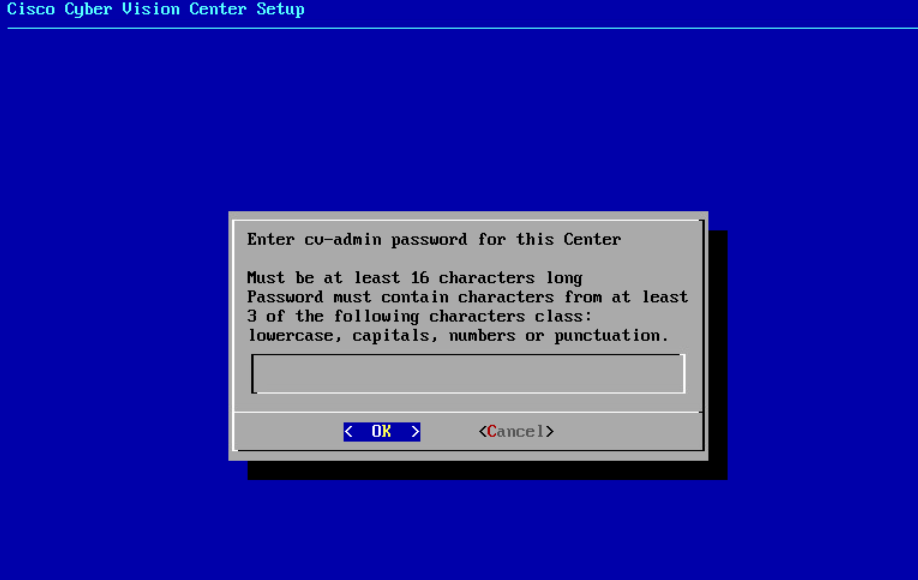
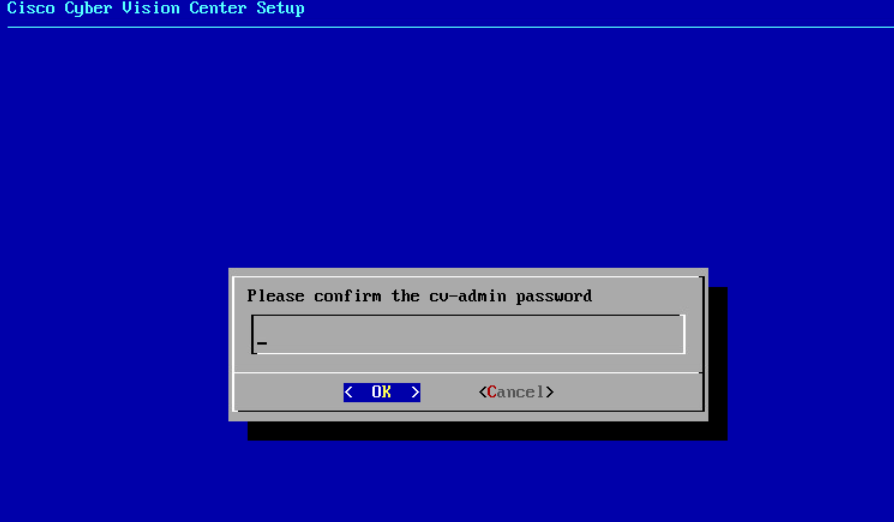
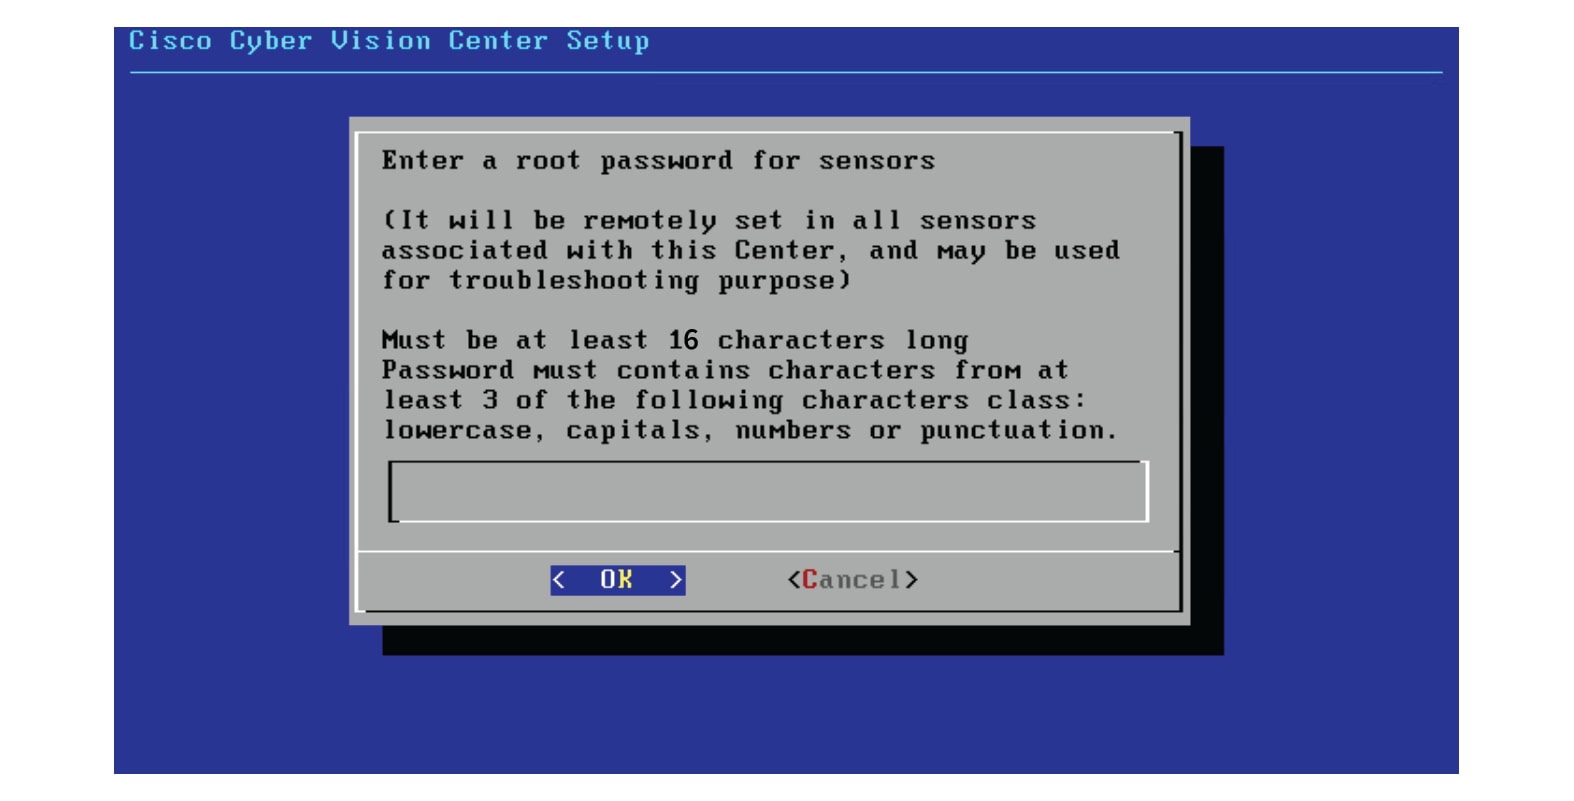
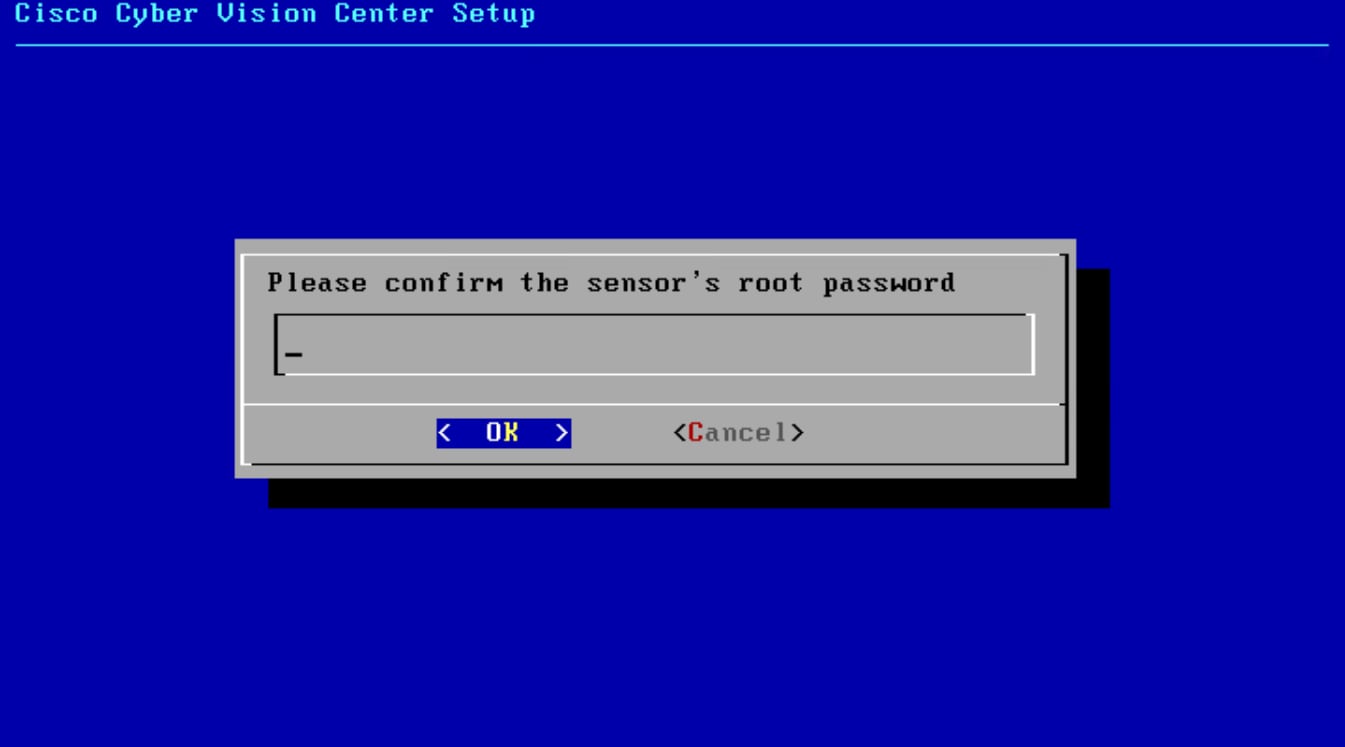
Create and configure the instance
-
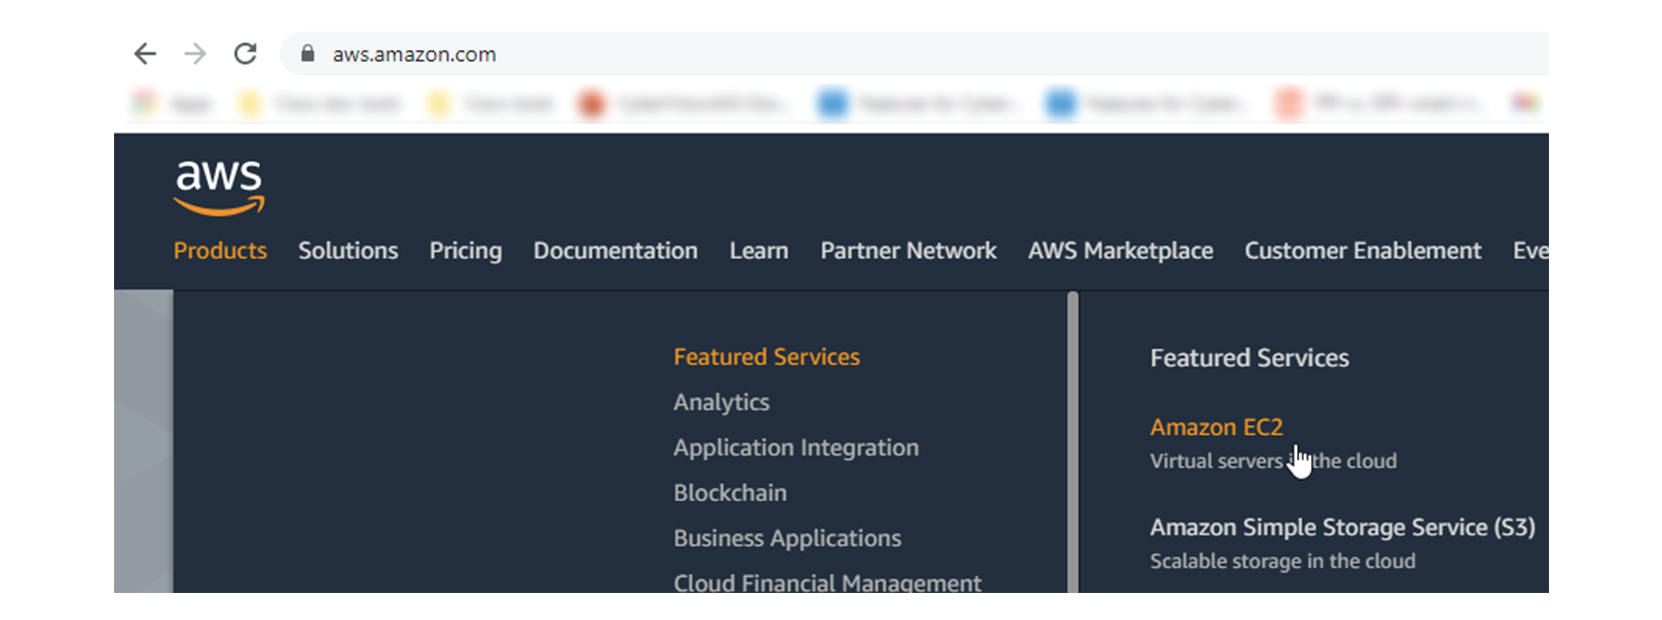
Go to https://aws.amazon.com Amazon Web Services and sign in.
-
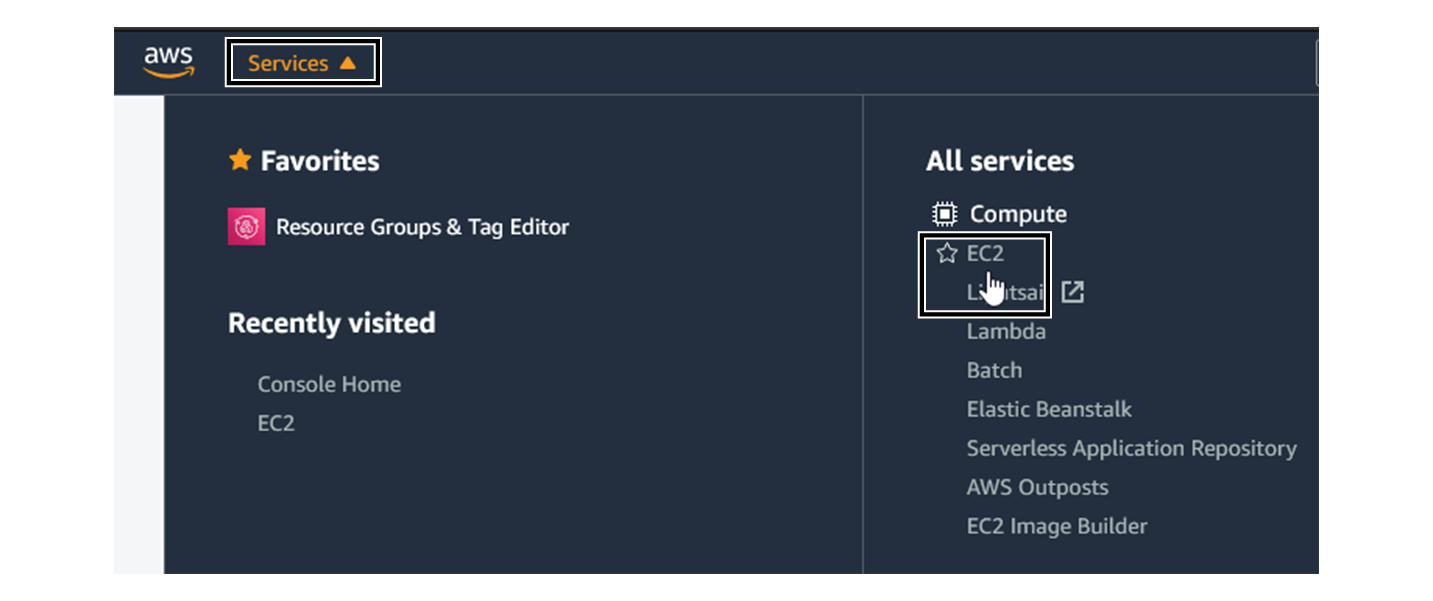
Navigate to Services > EC2.
-
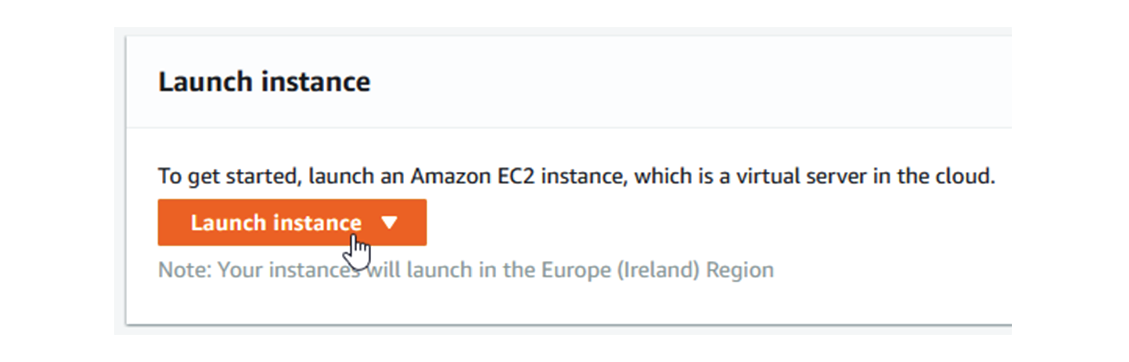
Click Launch Instance.
-
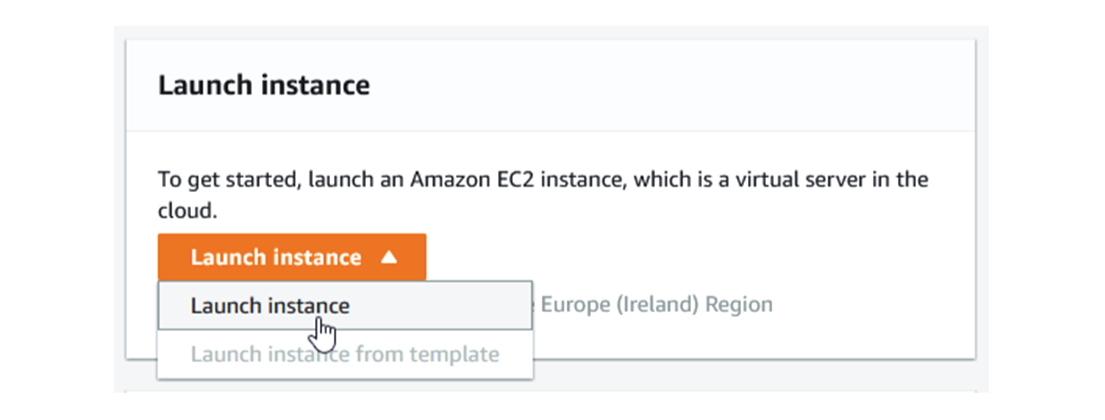
Click Launch Instance again.
-
Choose your Cisco Cyber Vision AMI from the AWS Marketplace and click Select.
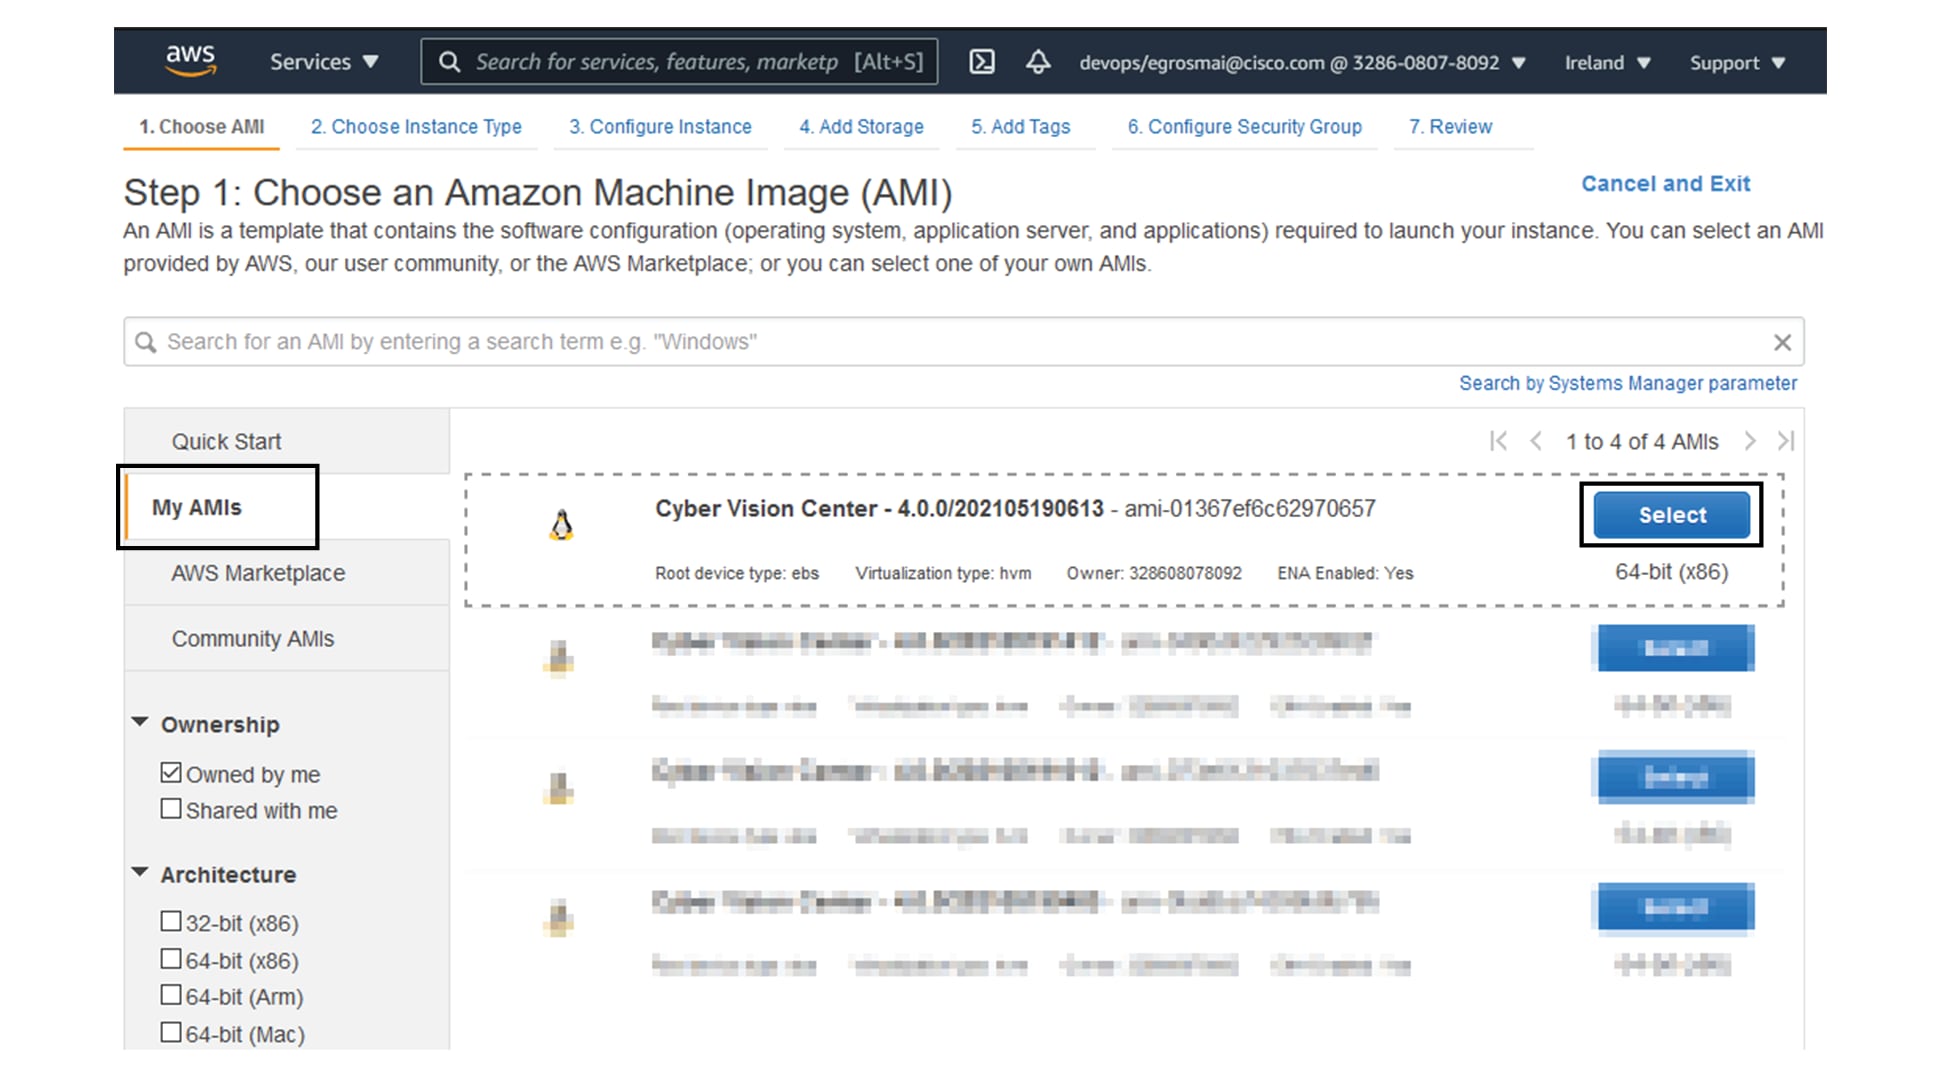

Note
In the example above, the image is mapped with sample AMIs. Those images are for internal use. You will find the image in the AWS marketplace using the keyword "Cisco Cyber Vision". The correct version to use should appear.
-
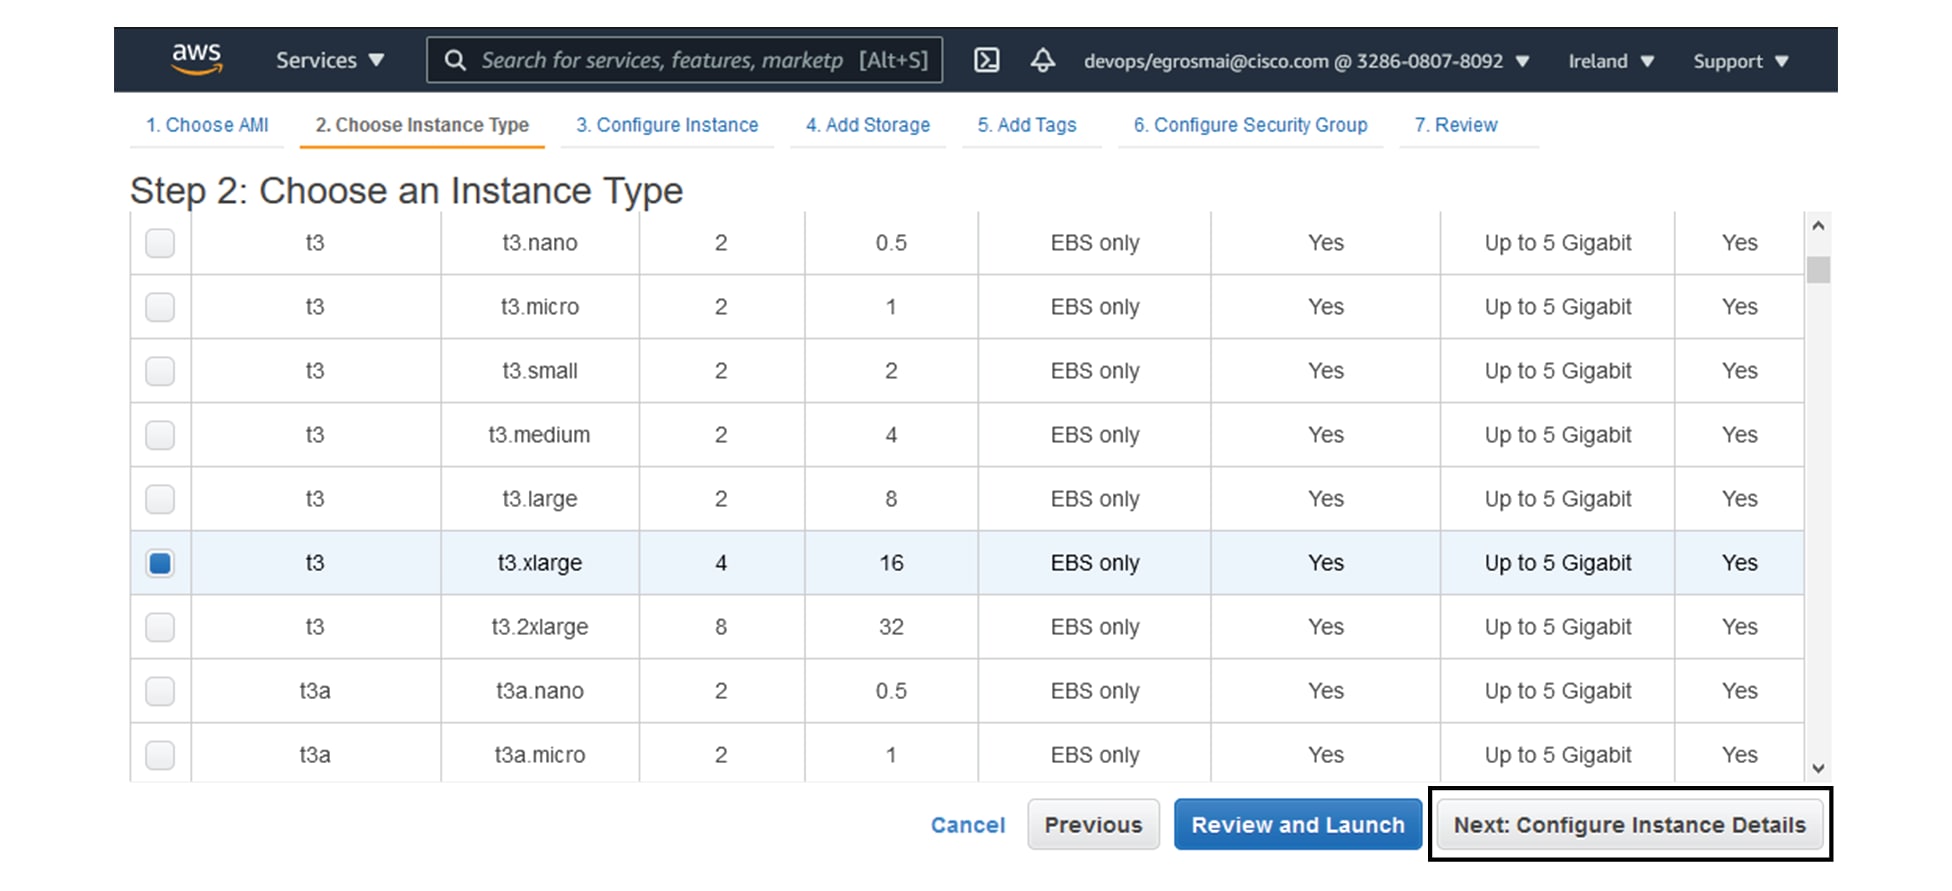
Choose the instance type from the available list and click Next.
|
Supported instance families |
|
|---|---|
|
|
VM sizing |
|
|
Minimum – up to 500 components:
|
|
|
Recommended: For 10,000 components w/o Center DPI:
For more than 10,000 components or Center DPI:
|
-
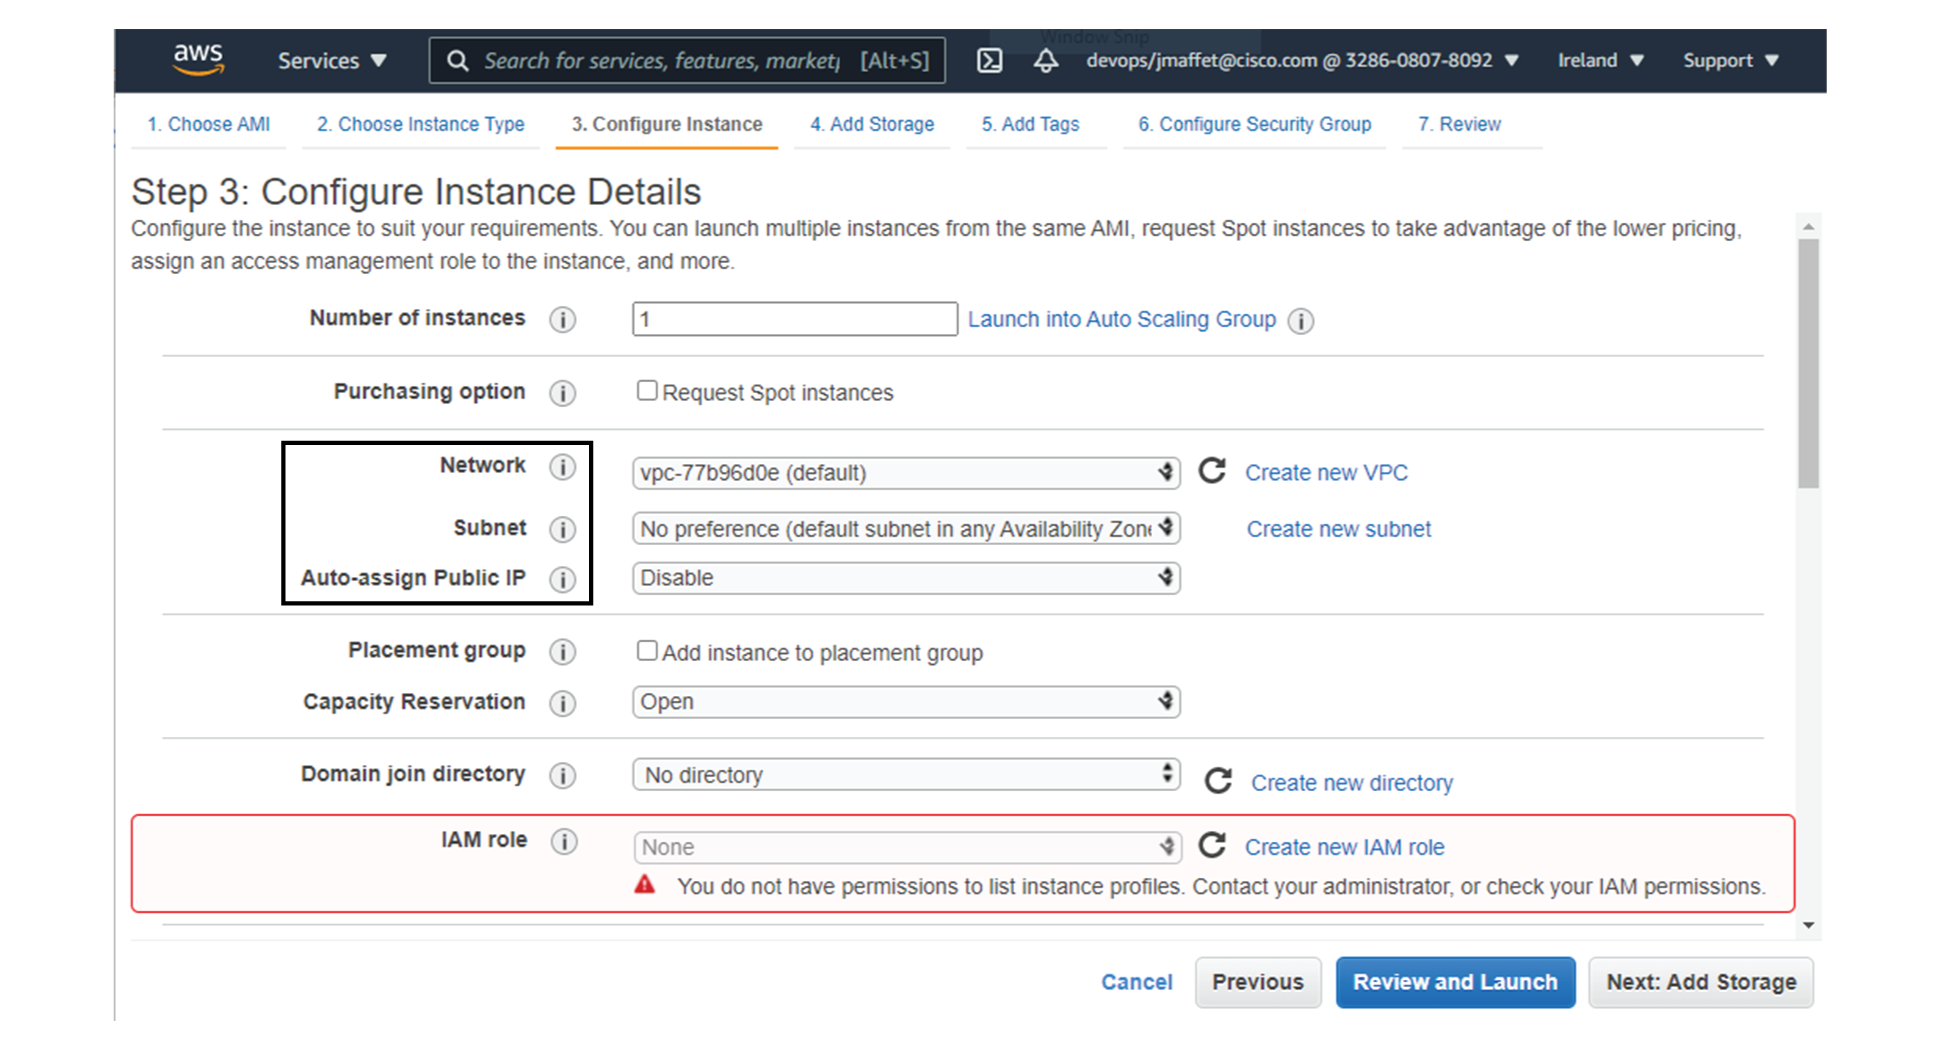
Configure instance details.
-
Choose the VPC and the subnet network.
-
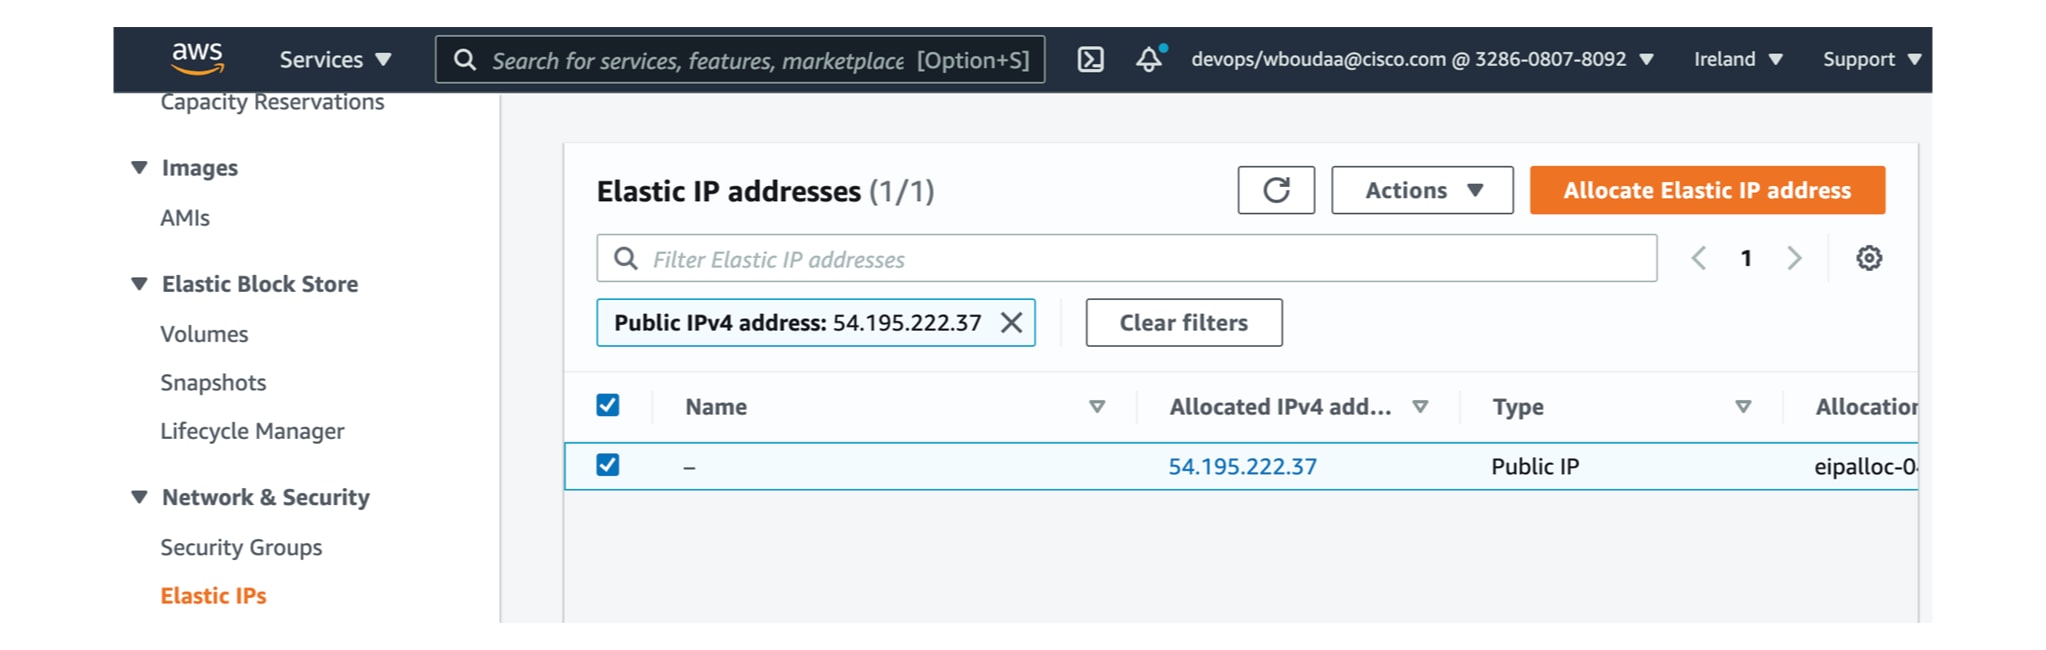
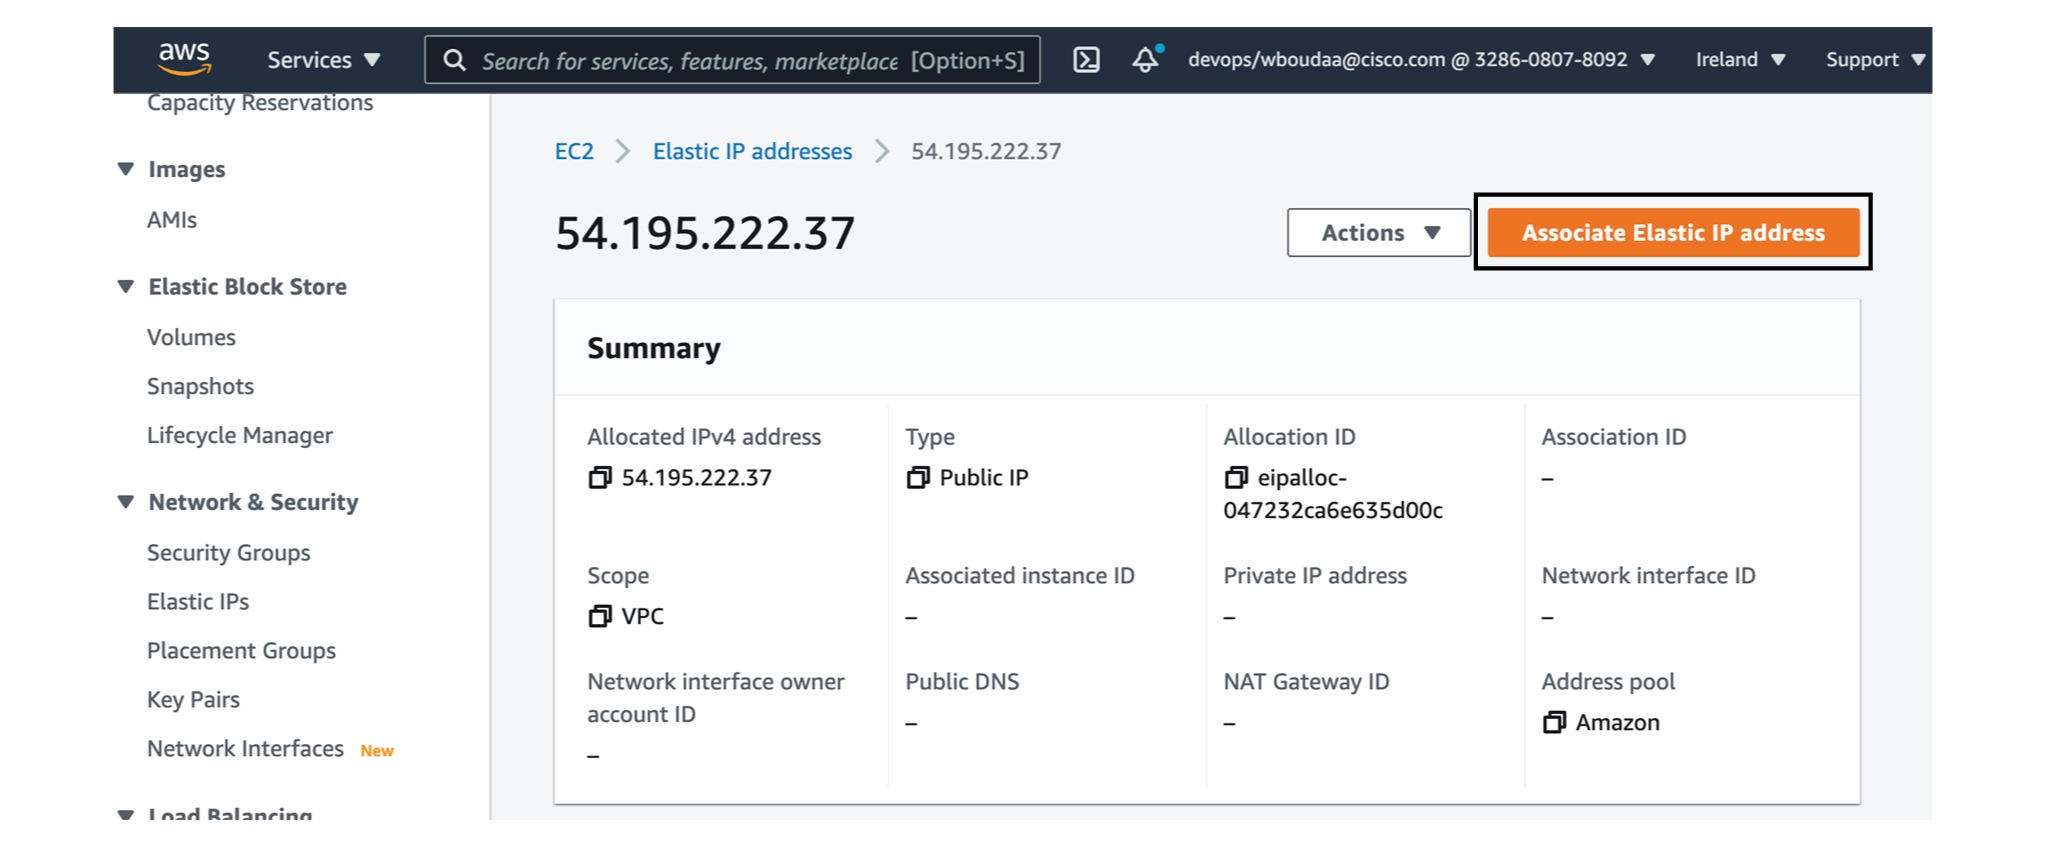
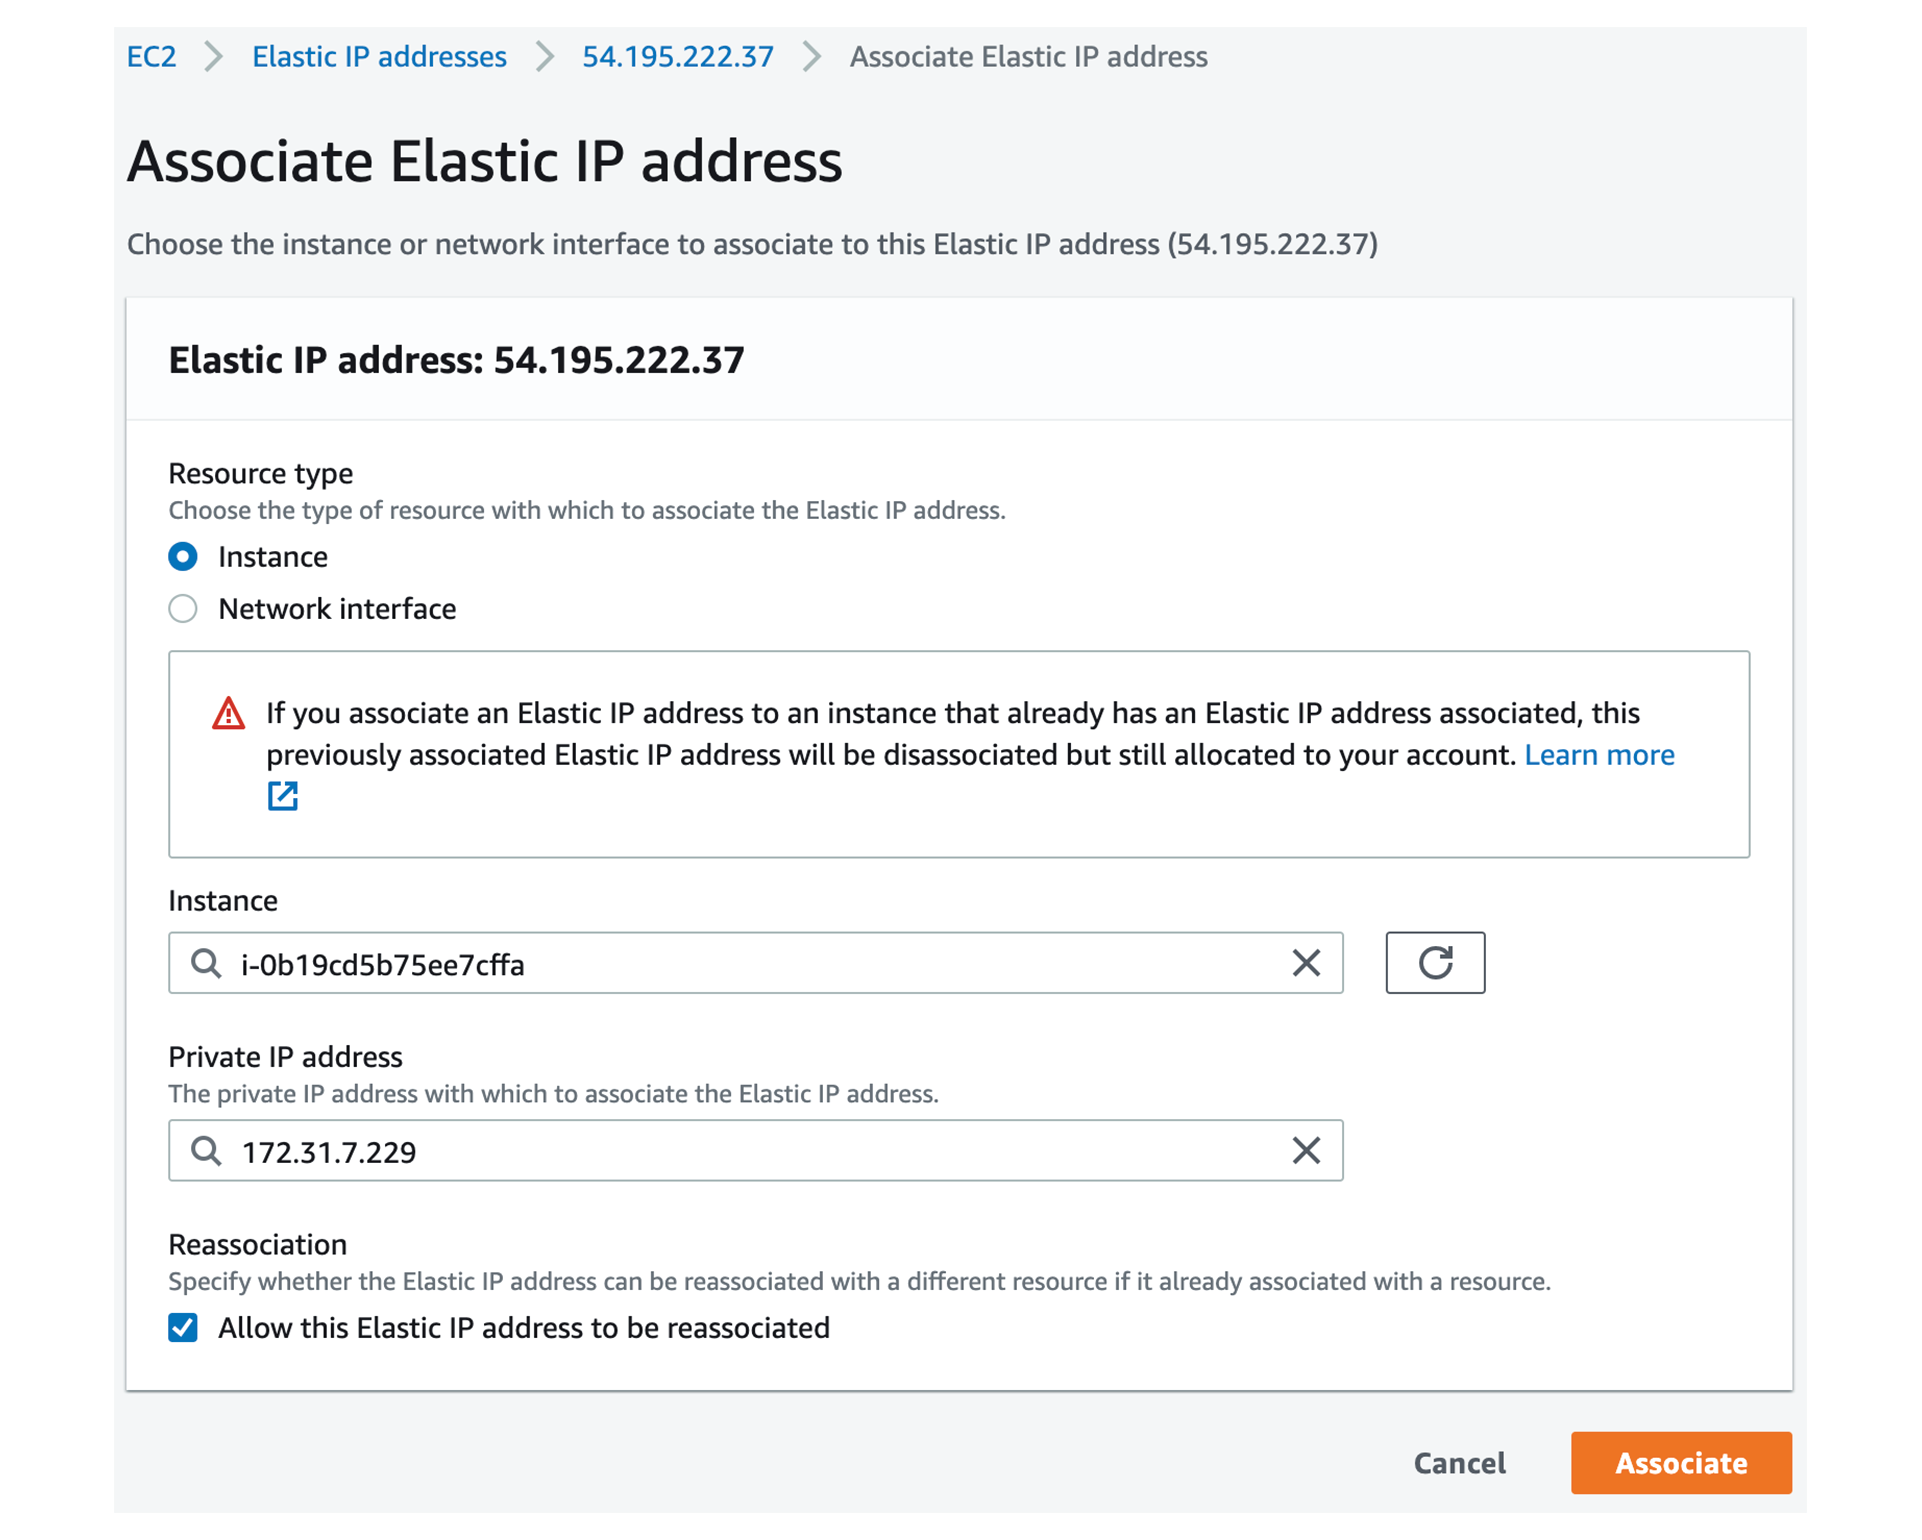
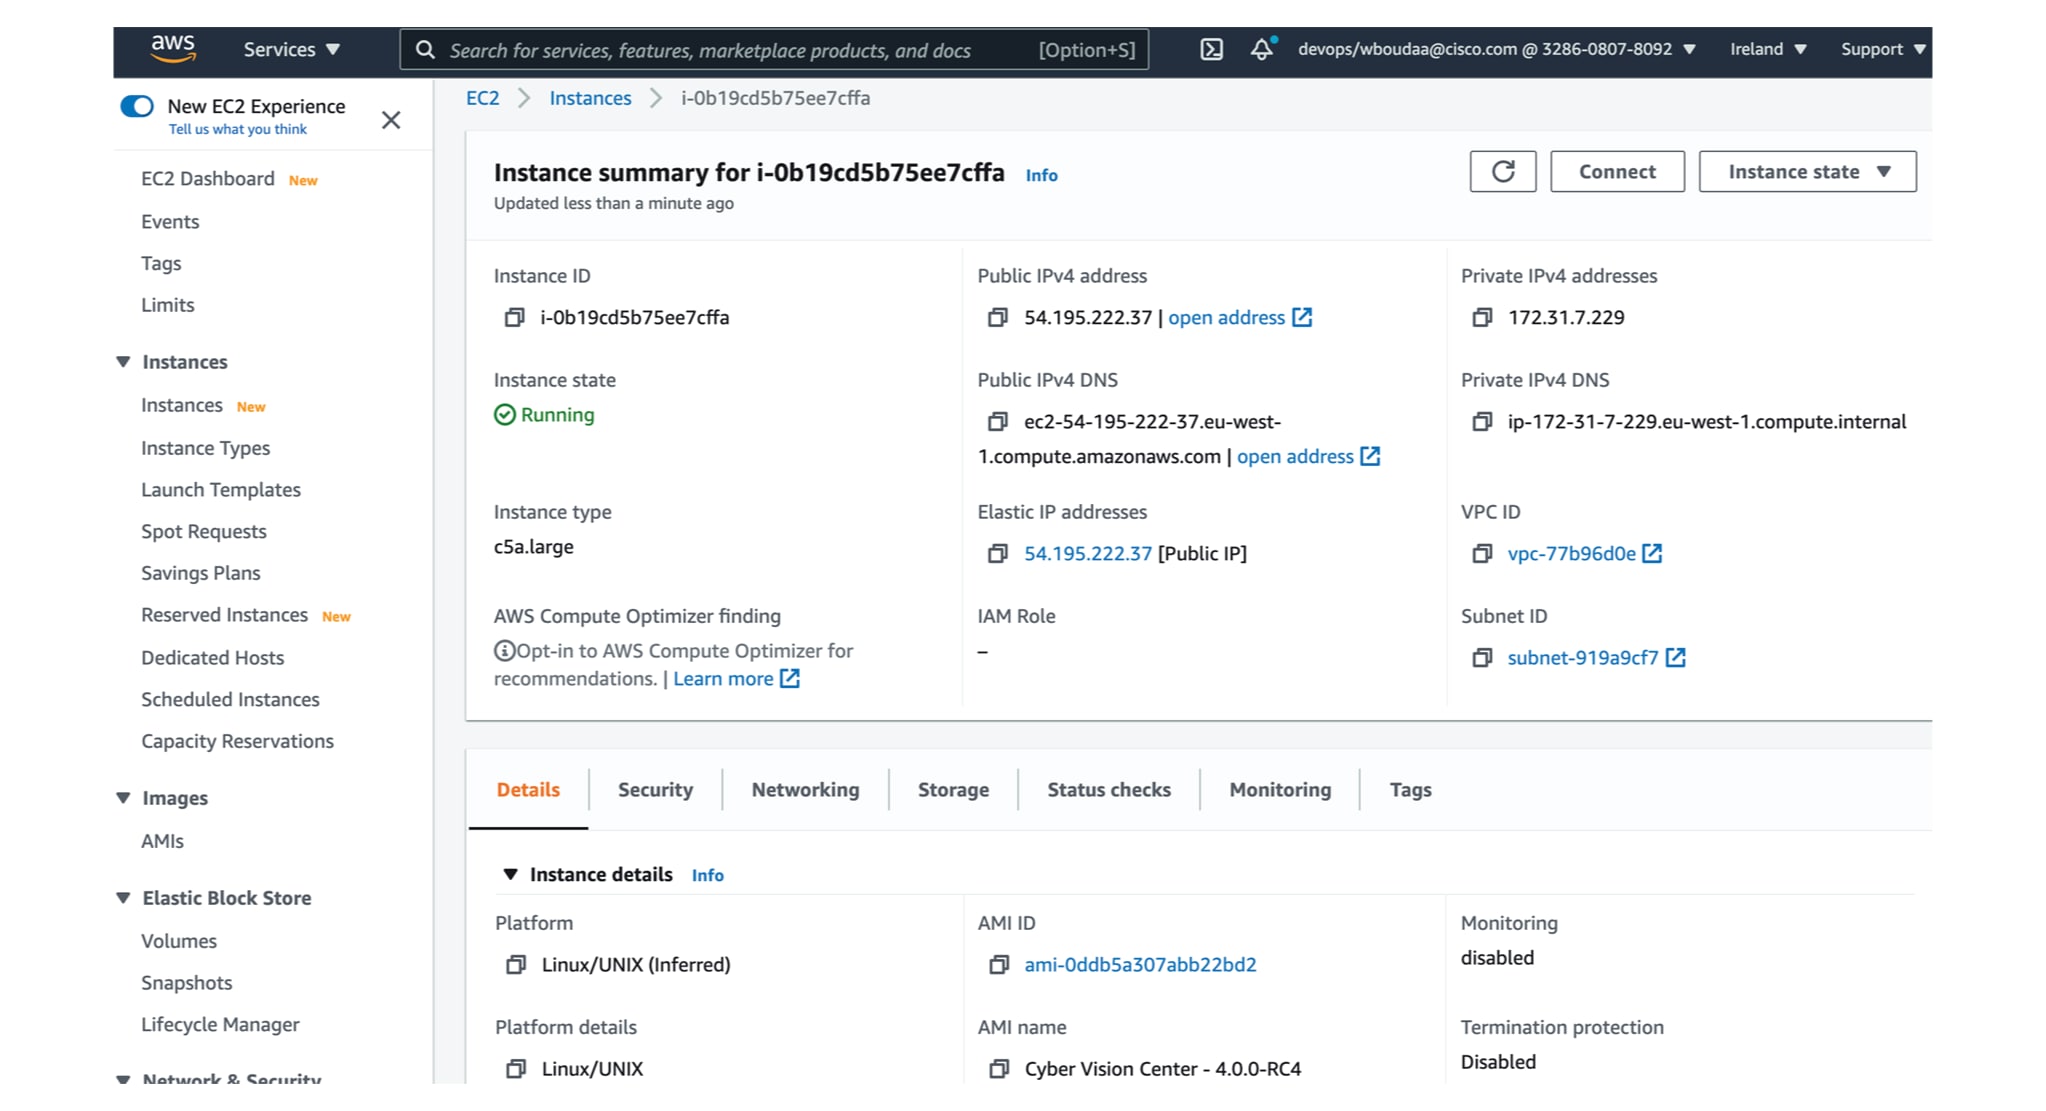
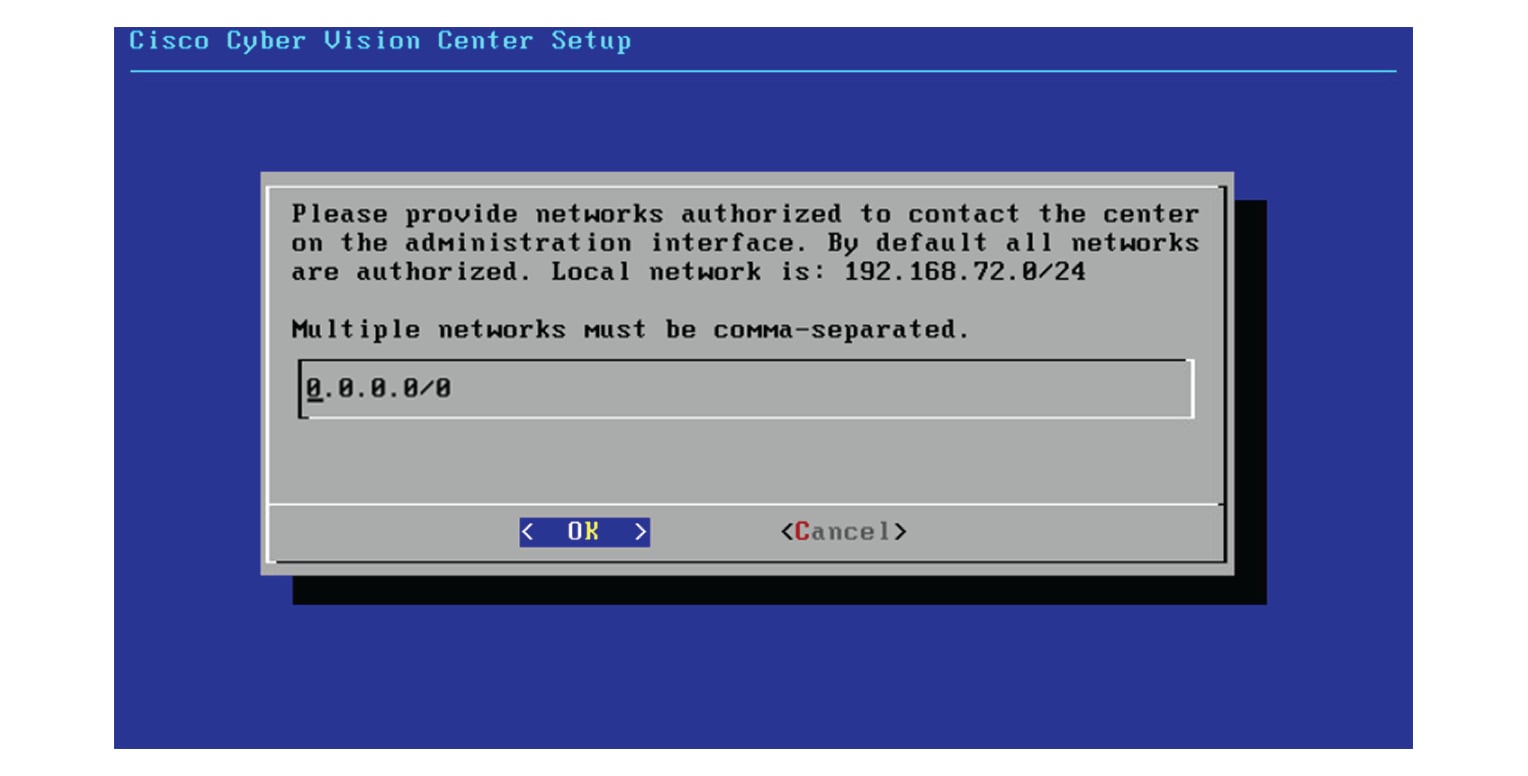
The public IP address should be disabled. An Elastic IP will be associated to the Cisco Cyber Vision instance to avoid any Dynamic public IP issues. The Public IP address association will be described later in this section.
-
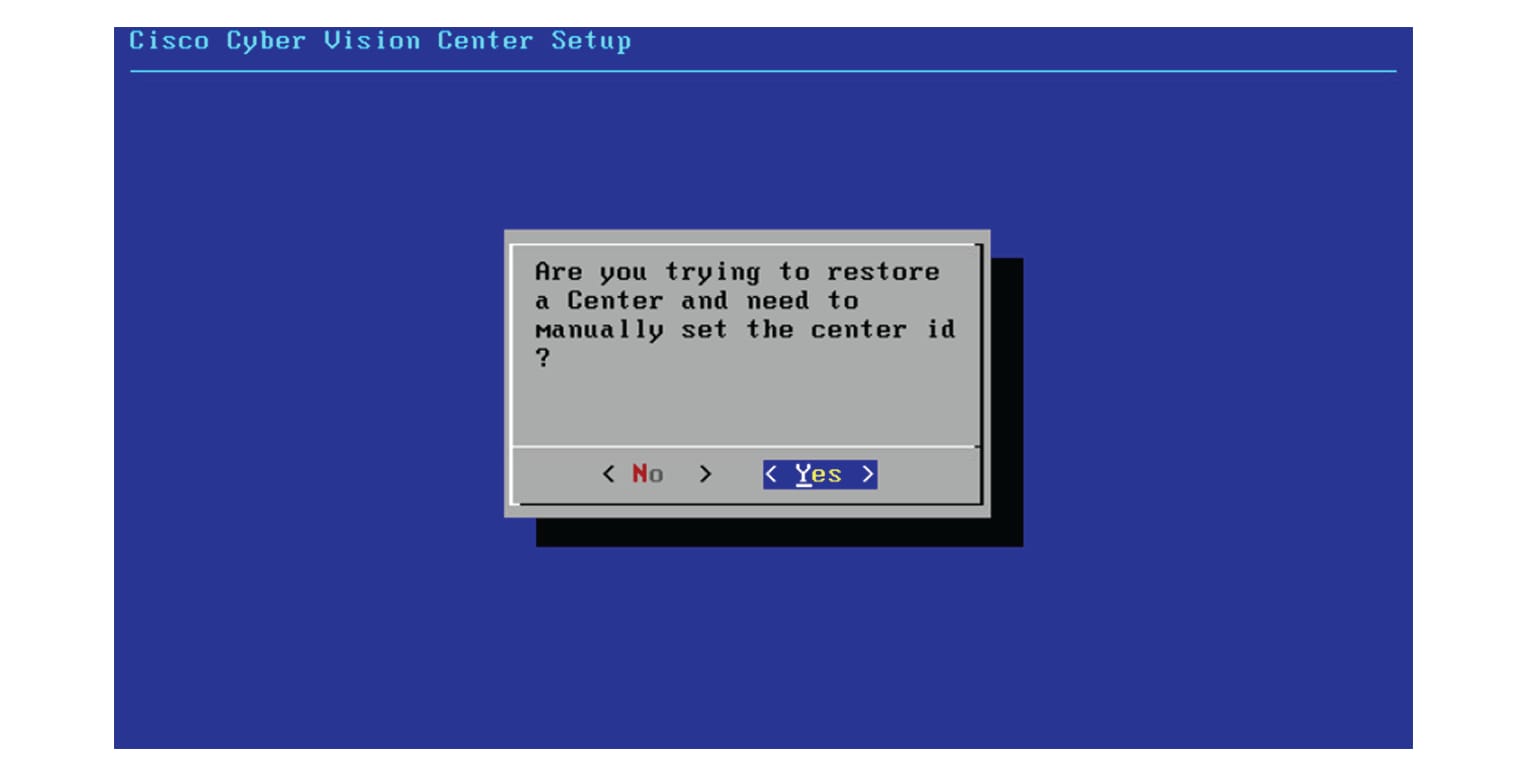
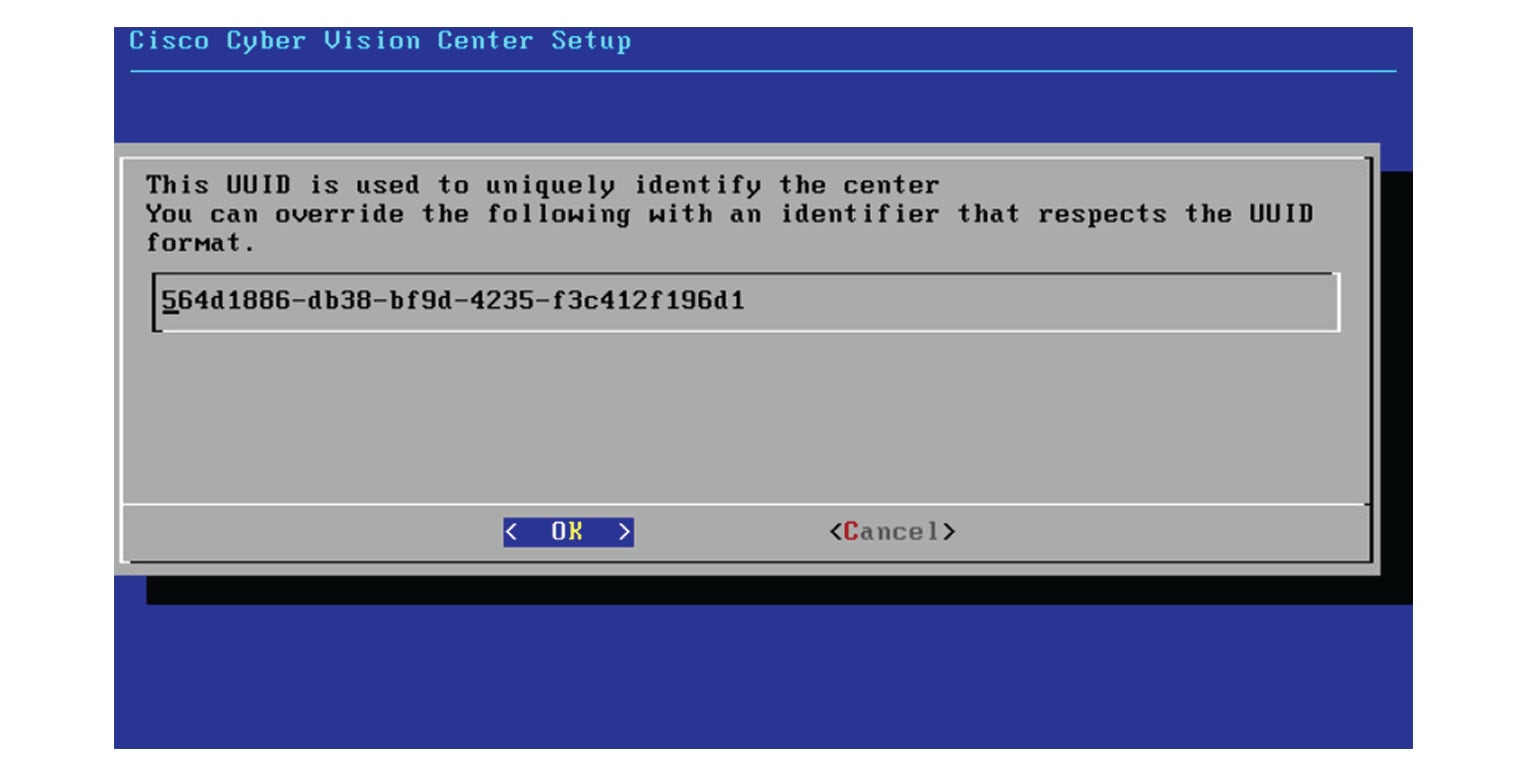
Depending on the Center type you can fill the Advanced Details > User data part at the bottom of Configure Instance Details menu.
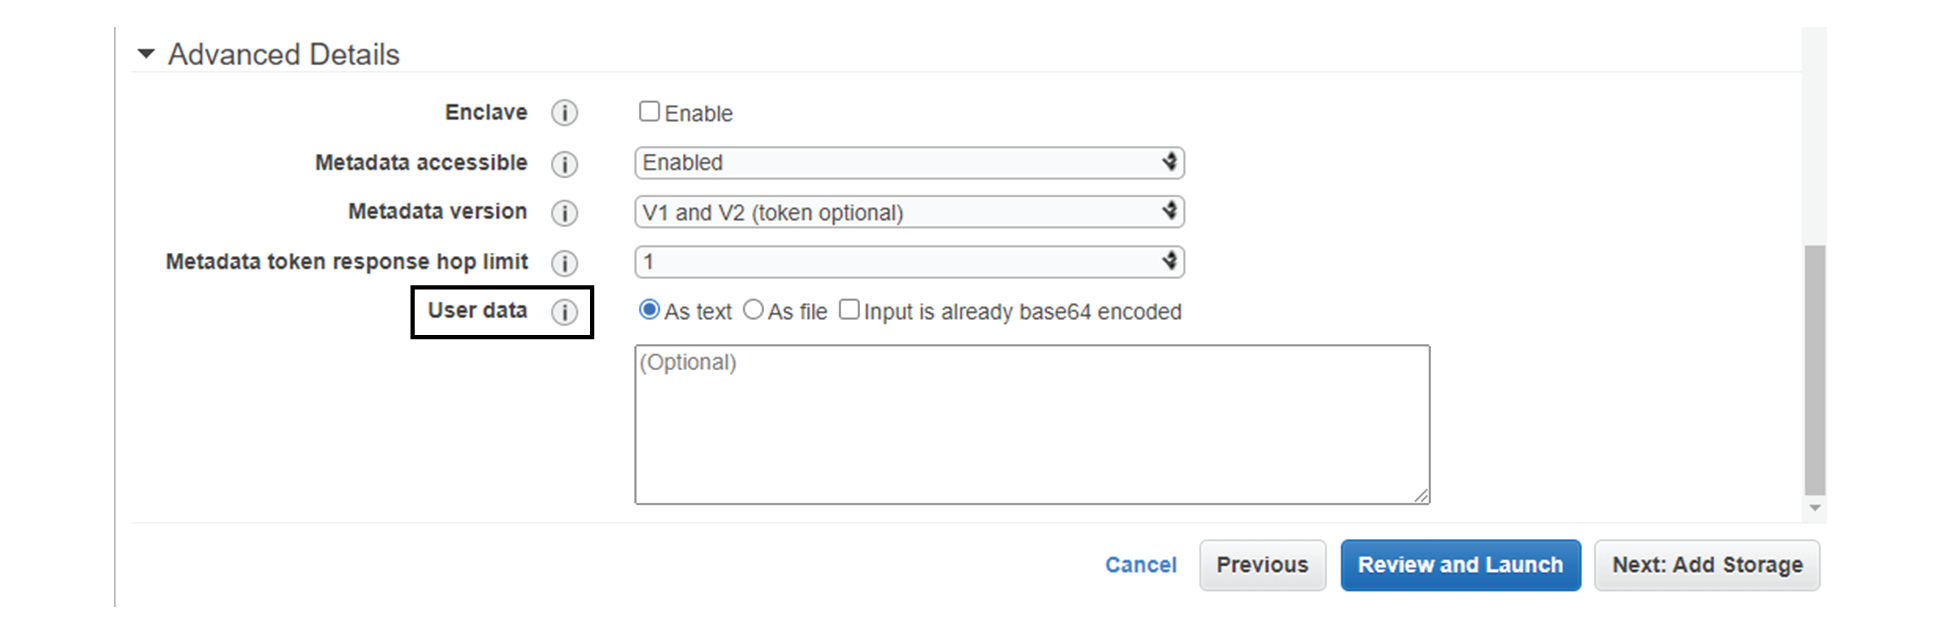
If a JSON file is used to specify the type of the Center, this step will be skipped during the installation.
-
To deploy a Center, leave the textbox empty.
-
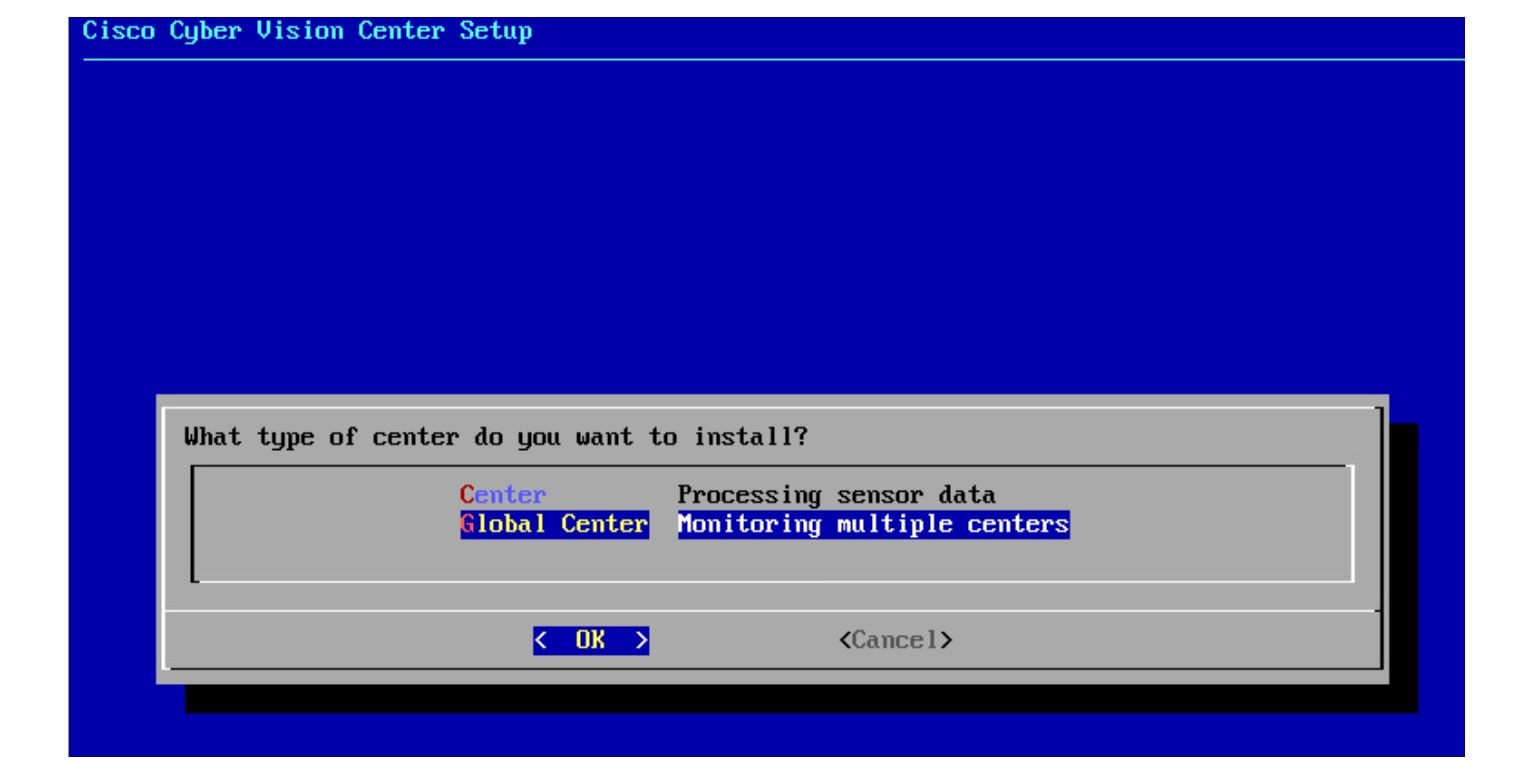
To deploy a Center with sync, the minimal configuration is:
{
"center-type": "Local Center",
}
-
To deploy a Global Center, the minimal configuration is:
{
"center-type": "Global Center",
}
For all json parameters, refer to Annex – Setup Center json file.
-
-
Click Next: Add Storage.
-
If needed, click the button to add a new volume.
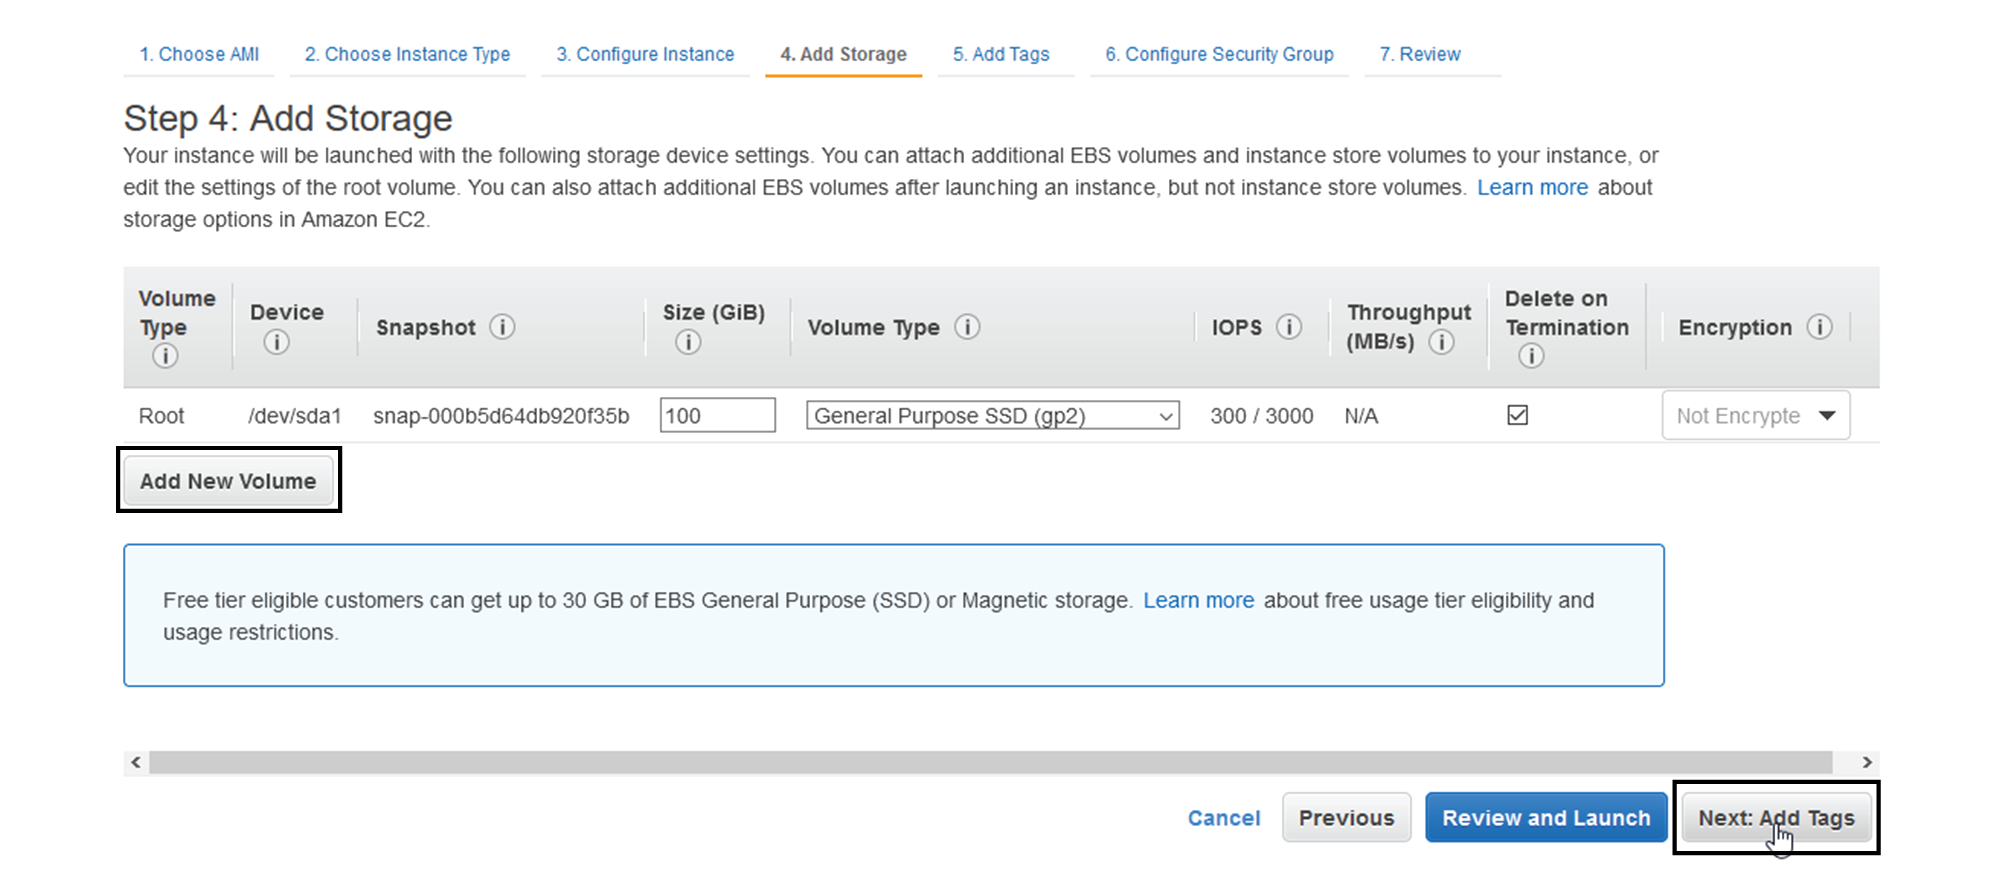
Note
Make sure to setup the correct disk size as this information will remain and cannot be modified.
Note
Do not use the Magnetic (Standard) for Volume Type.
Note
Default type will be SSD.
-
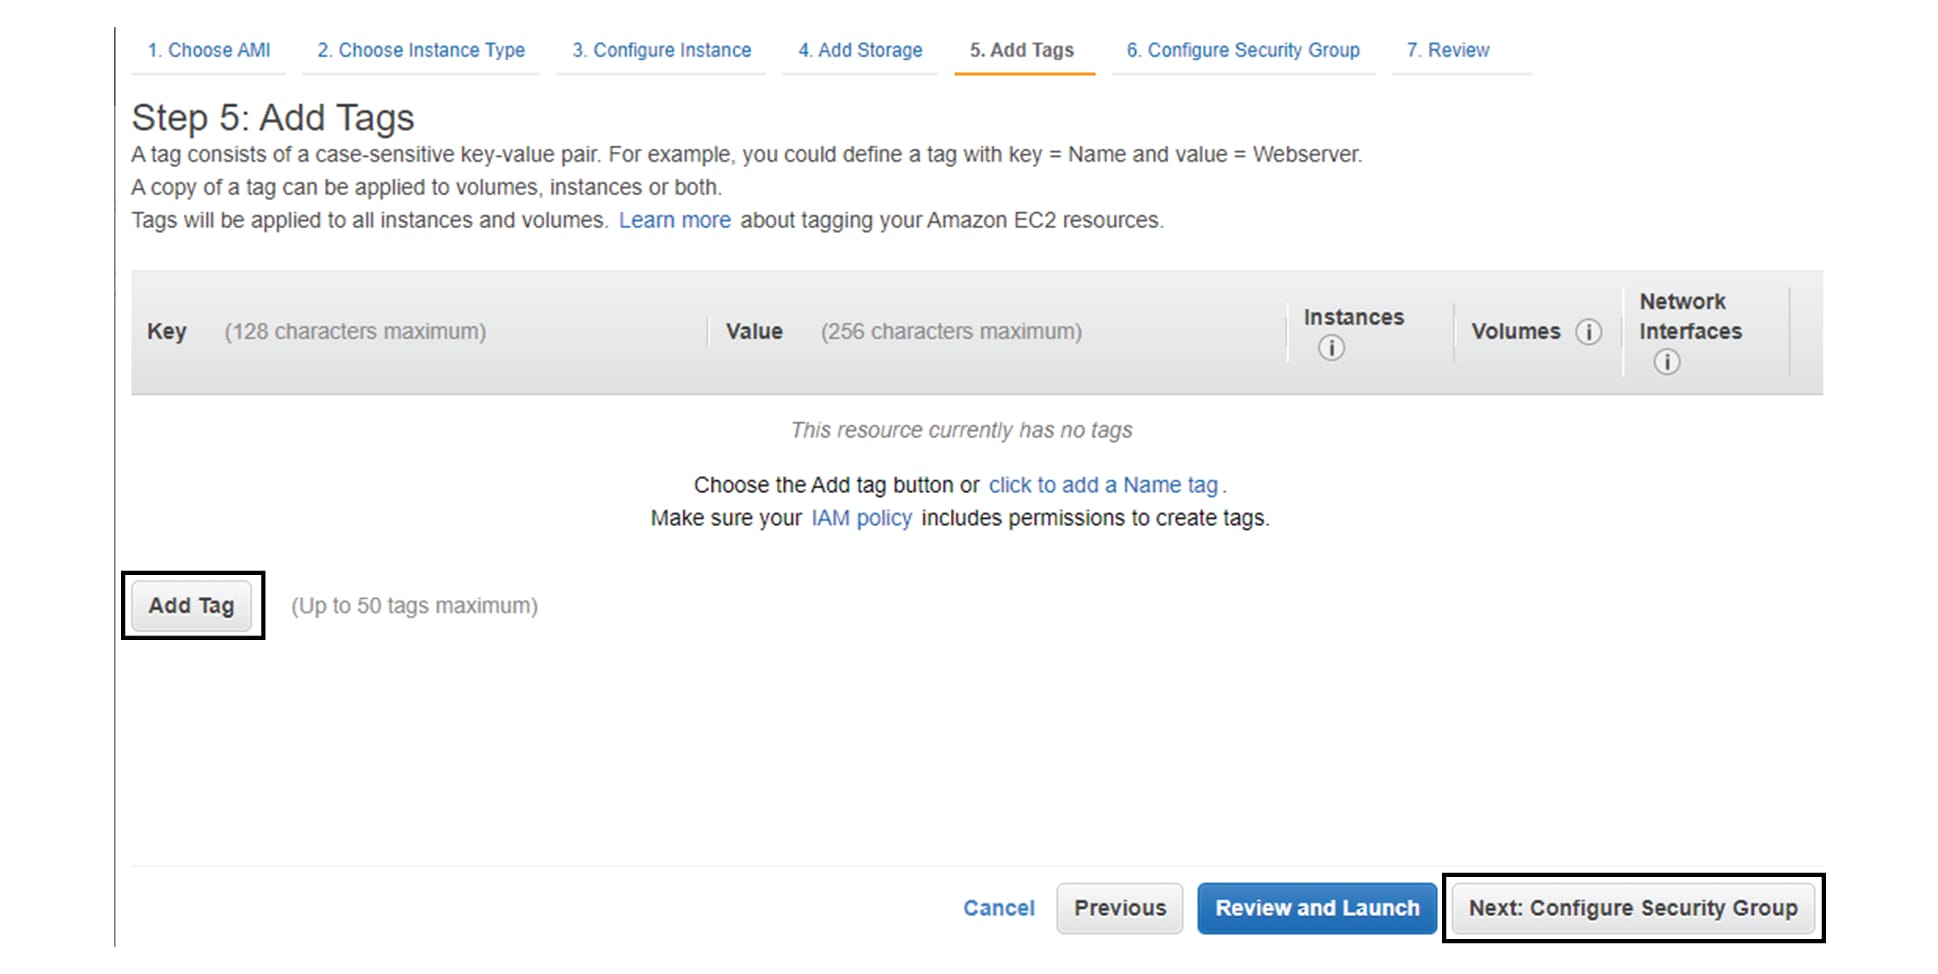
You can add tags to identify resources internally on AWS.
-
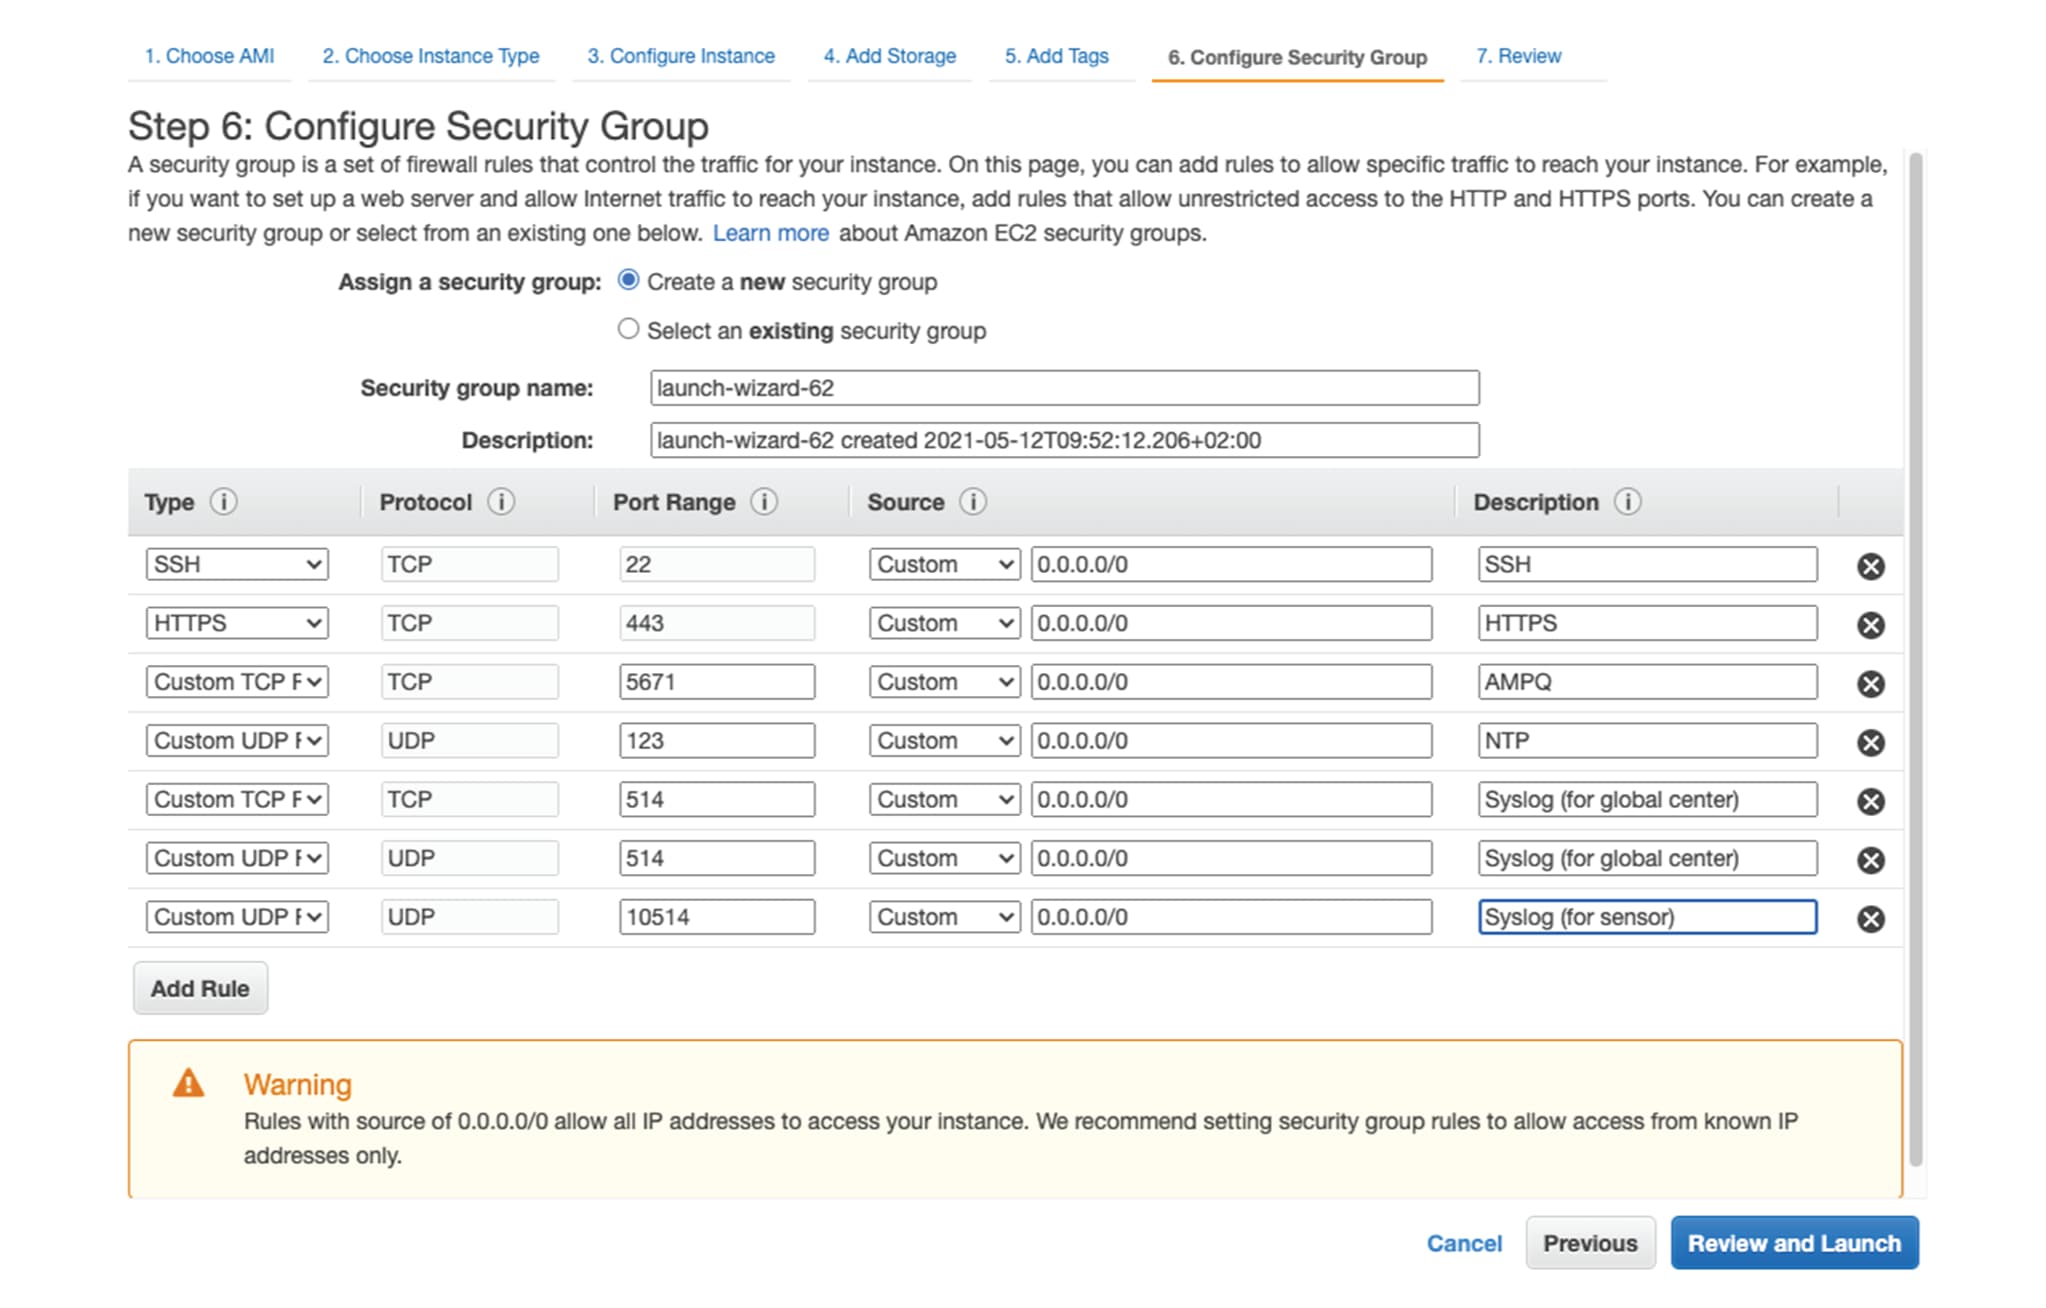
AWS firewall settings
Add the rules that provide access from users or other resources to the Center. List of the ports that need to be added:
For Global Center <--> Center communication
|
Protocol |
Port |
|
|---|---|---|
|
AMPQ |
TCP/5671 |
|
|
NTP |
UDP/123 |
|
|
Syslog |
UDP/TCP 514 |
|
|
SSH |
TCP/22 |
For CS workstation/ntp server <--> Center communication
|
Protocol |
Port |
|
|---|---|---|
|
HTTPS |
TCP/443 |
|
|
SSH |
TCP/22 |
|
|
NTP |
UDP/123 |
For Sensor à Center communication
|
Protocol |
Port |
|
|---|---|---|
|
AMPQ |
TCP/5671 |
|
|
Syslog |
UDP/10514 |
Example of a security configuration:
-
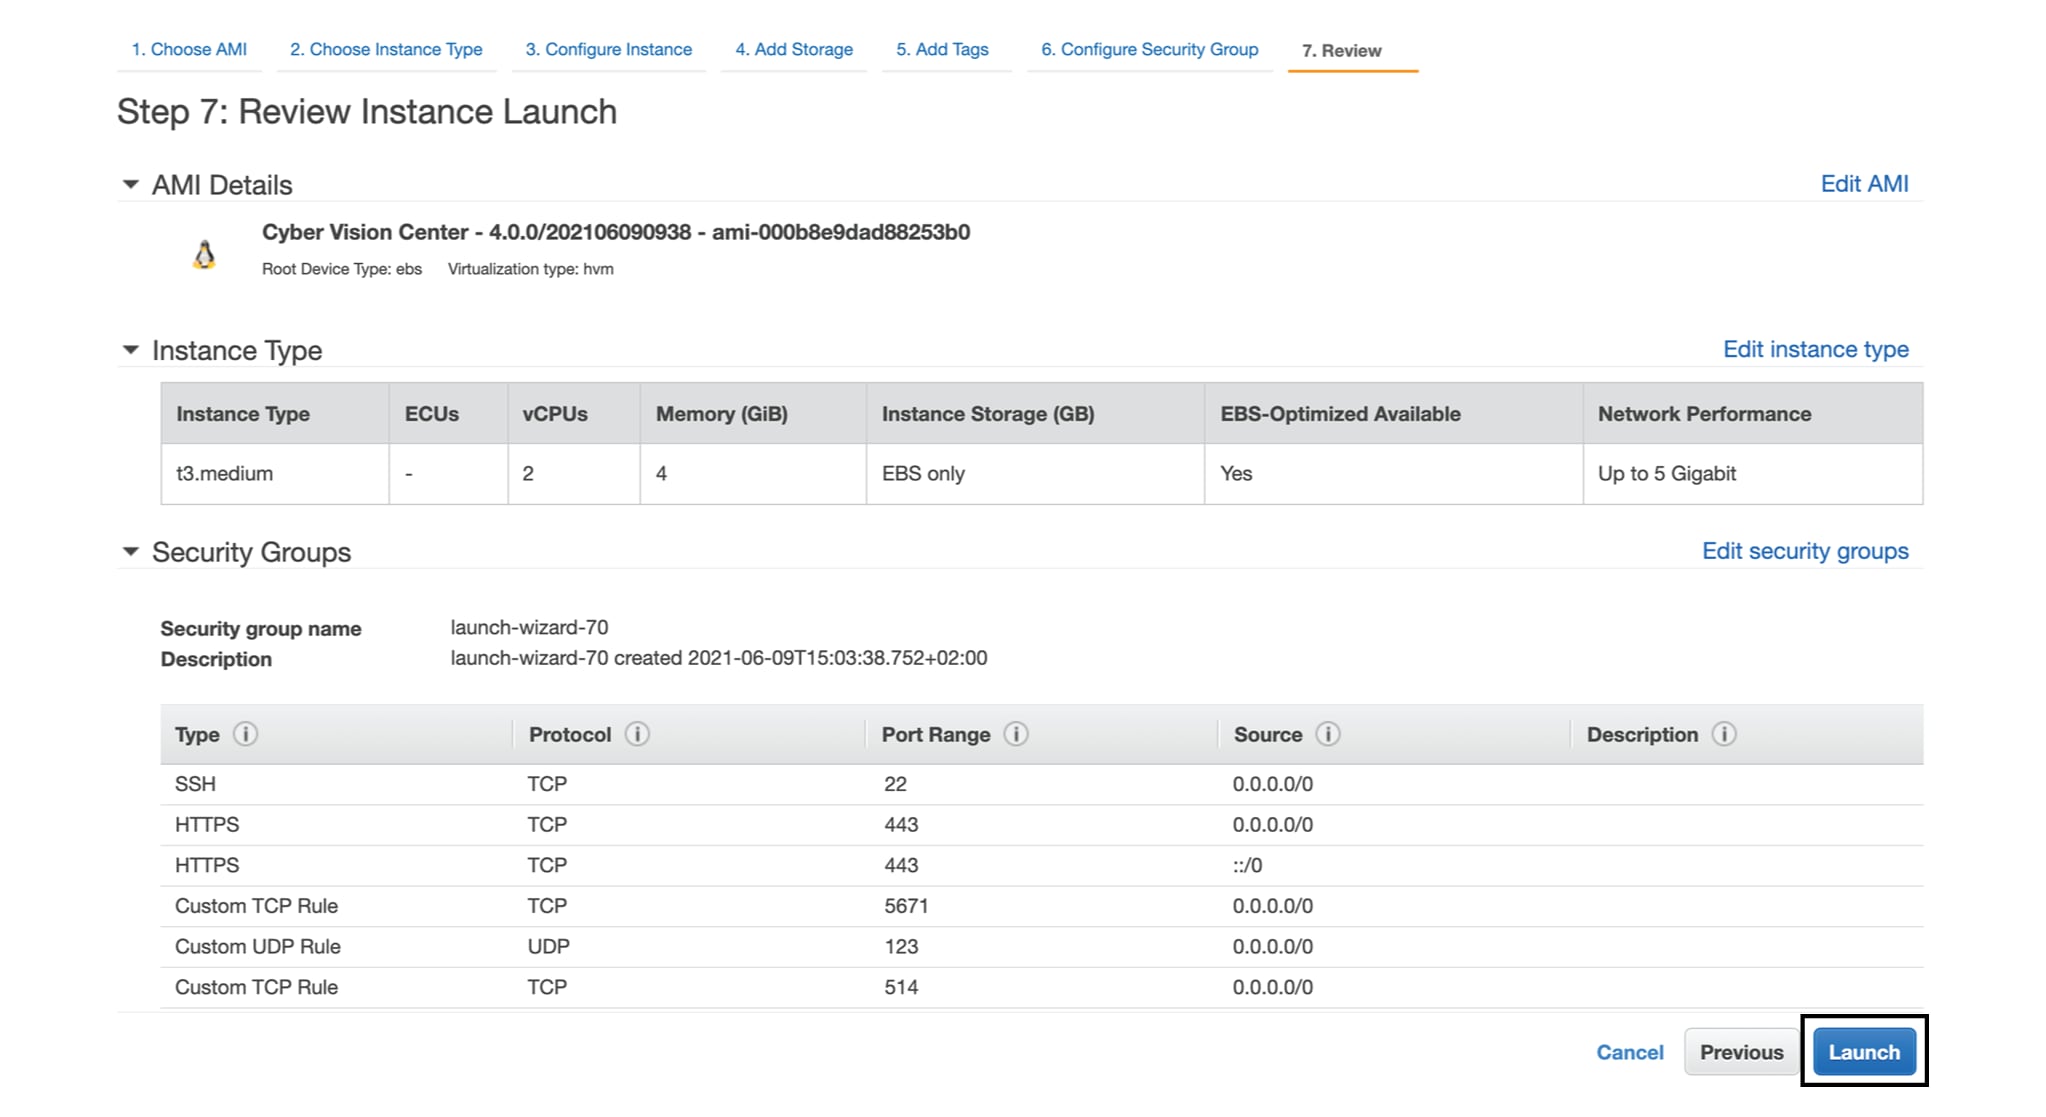
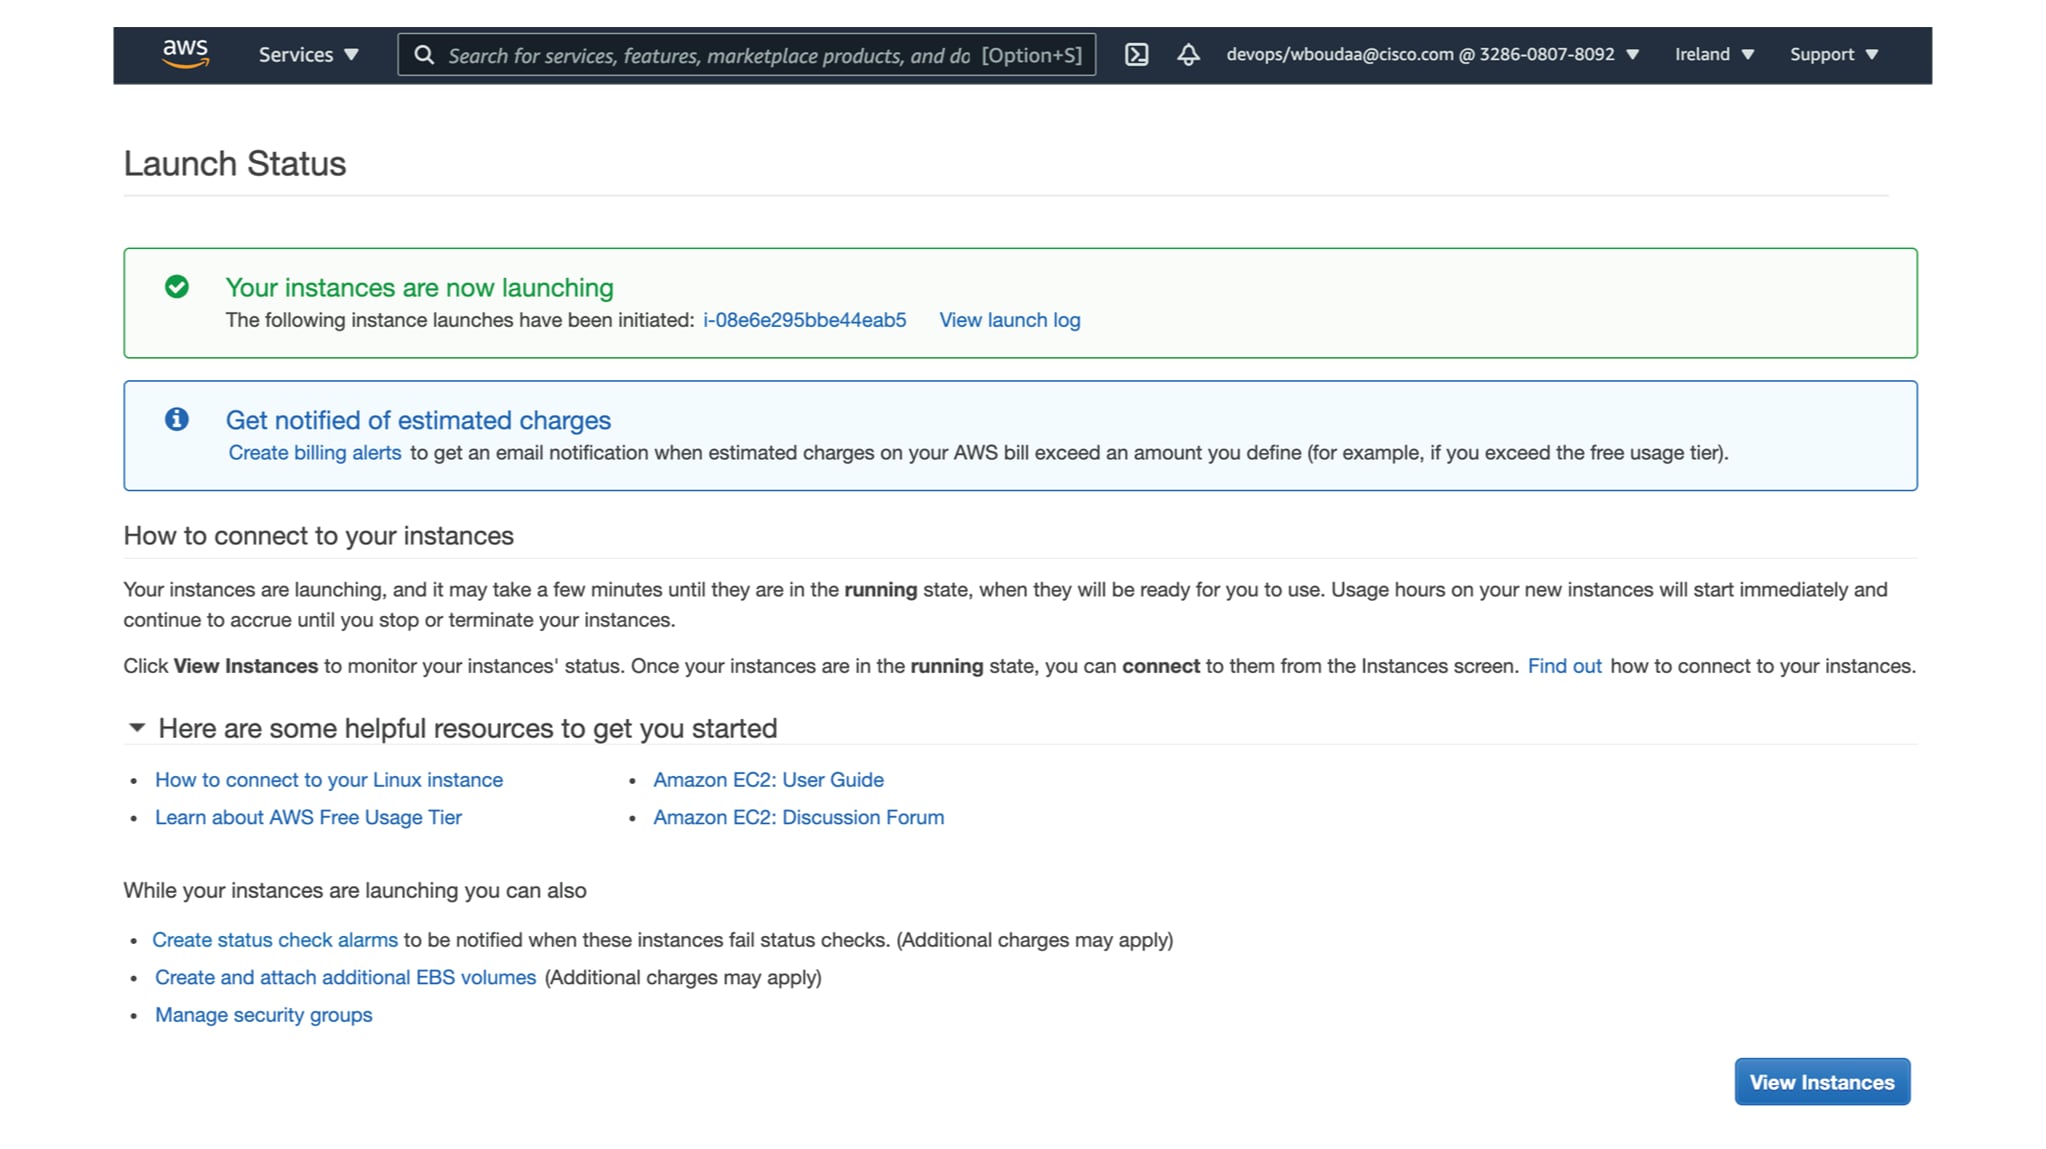
Review your settings and click Launch.
-
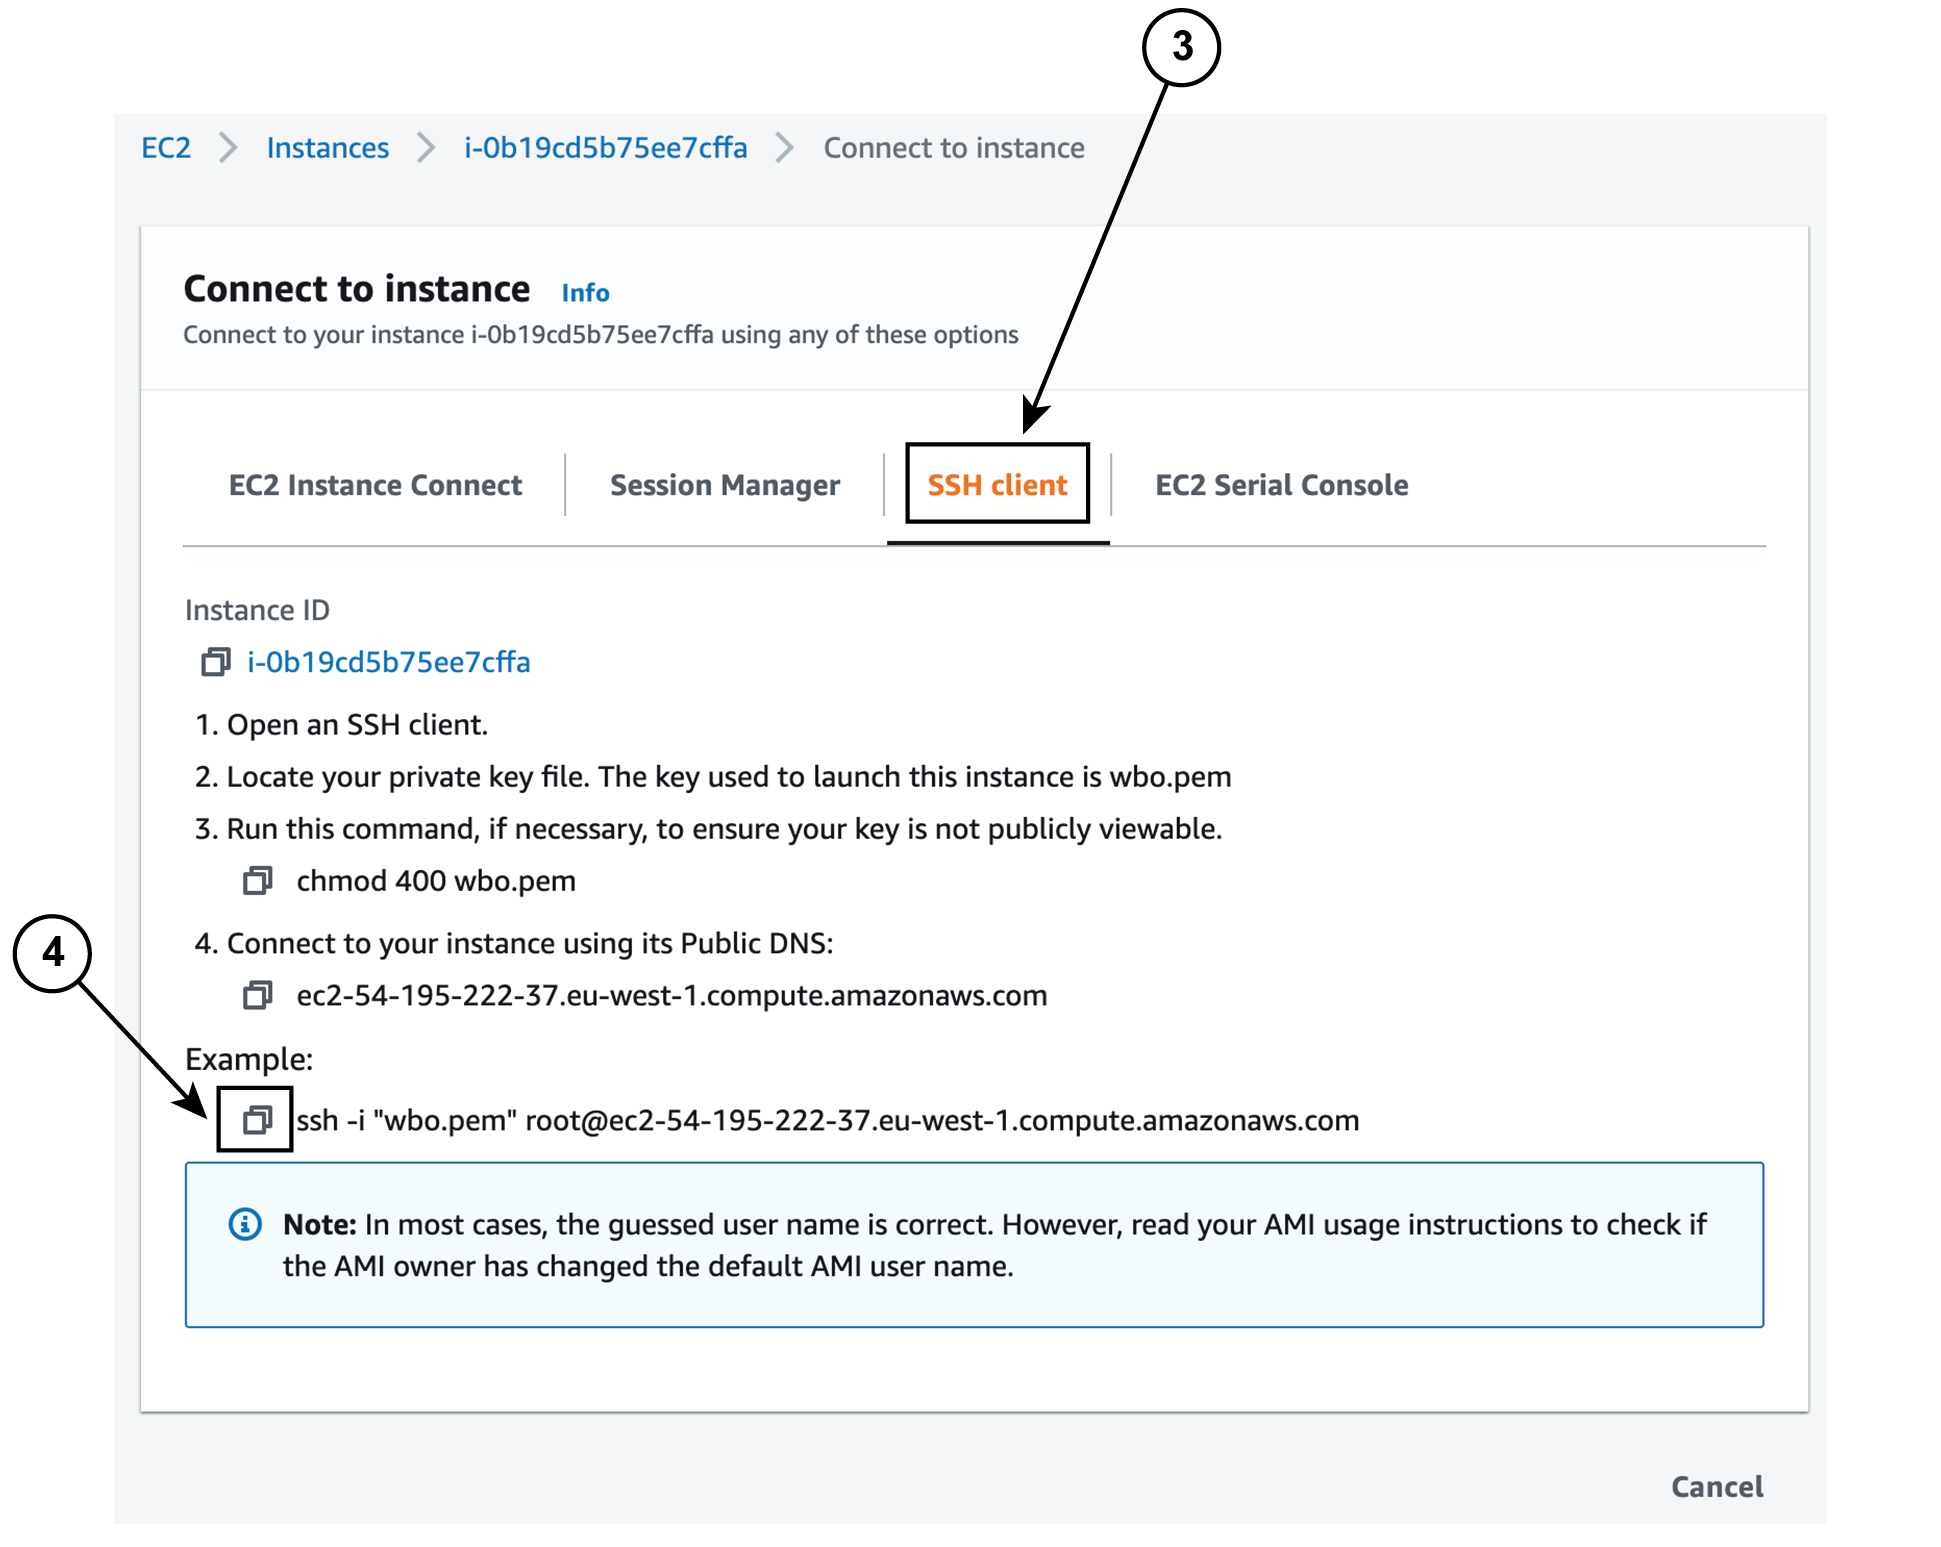
Select or create a new key pair for the SSH connection.

-
Click Download Key Pair. A file called YOURKEYPAIRNAME.pem will be downloaded.
-
Then, click Launch Instance.

 Feedback