Information About Deploying Transit VPC
Transit VPC acts as a hub for traffic flowing to another destination such as a VPC or a remote network. The following list summarizes the three main components for deploying the transit VPC design.
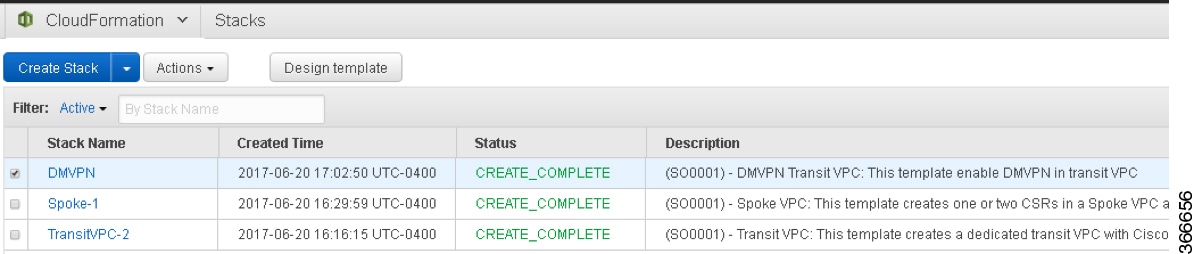
- Launching a Transit VPC Hub
This procedure deploys the transit VPC hub, which acts as the central hub for traffic flowing to other destinations (other VPCs or remote networks). The transit VPC hub hosts two Cisco CSR 1000v instances, which allow for VPN termination and routing. For more information, see Launching a Transit VPC Hub.
- Launching a Spoke VPC
This procedure creates a spoke VPC, which connects to the transit VPC hub through dynamically routed VPN connections. The VPN connections of spoke VPCs allow the spoke VPCs to use routing and failover capabilities to maintain highly available network connections. To know how to launch a Spoke VPC, see Launching a Spoke VPC.
- Launching DMVPN for Transit VPC
(Optional) This procedure launches Dynamic Multipoint VPN (DMVPN), which connects the transit VPC network to a private DMVPN hub. DMVPN is a combination of GRE, NHRP, and IPsec. The transit VPC hub is treated as a DMVPN spoke. Follow the steps in the procedure: Launching DMVPN for Transit VPC.
 Note |
A Cisco CSR 1000V instance is deployed on AWS by using a CloudFormation template that attaches interfaces through ENIAttachment objects. When using a CloudFormation template to deploy a Cisco CSR 1000V instance on AWS, ensure that you attach the interfaces directly to the instance as part of the Instance object definition, rather than using an ENIAttachment object separately. |
Note |
For the current version of all CSR transit VPC, if a CSR 1000v instance is down and a new spoke comes up, and is recovered, the new spoke in the transit VPC might not get configured with IPSec tunnel configuration. Do not stop a transit CSR instance voluntarily as the instances are deployed in pair to provide High Availability for your traffic through the cloud. If a transit VPC CSR 1000v instance goes down, the autoscaling feature detects this and spins up a replacement CSR. To know more about enabling Autoscaler in a transit VPC solution, see Deploying Transit VPC with Autoscaling. |

 Feedback