Securing the
Chassis
This chapter describes how to secure the Cisco NCS 6000 Series chassis to a concrete floor.
Securing the Chassis
The chassis is shipped with a drill hole template to assist you in putting the bolts in the proper position on the floor. The template is used for both raised floors and slabs. The drill hole template identifies primary and secondary locations for securing the chassis to the floor. Whenever possible, use the following:
The instructions in this chapter are specific to securing the chassis to a concrete floor. The instructions for securing the chassis to a raised floor vary from site to site, depending on such details as whether your floor needs additional support (as local practice applies for raised floors), and where (depending on the location of the floor tiles) the bolt holes need to be. Work with your facilities representative to determine your needs for your particular site.
- Prerequisites
- Required Tools and Equipment
- Steps
- Unpacking Chassis Components
- Component Return Information
Prerequisites
Identify the chassis location and ensure that there is sufficient space before performing this task.
Required Tools and Equipment
-
Drill hole template
-
Marking pen or pencil
-
3/8-inch ratchet wrench
-
Set of standard and metric sockets
-
Drill and bits for masonry and wood
-
Number-1 Phillips screwdriver
 Note | The full list of tools depends on the anchor bolt kit that you use. See the documentation for your anchor bolt kit for details. |
Steps
| Step 1 | Using the drill hole template, mark the pilot holes on the floor at the identified locations. | ||
| Step 2 | Remove the drill hole template, and drill the indicated anchor bolt holes into the floor at the pilot hole locations. | ||
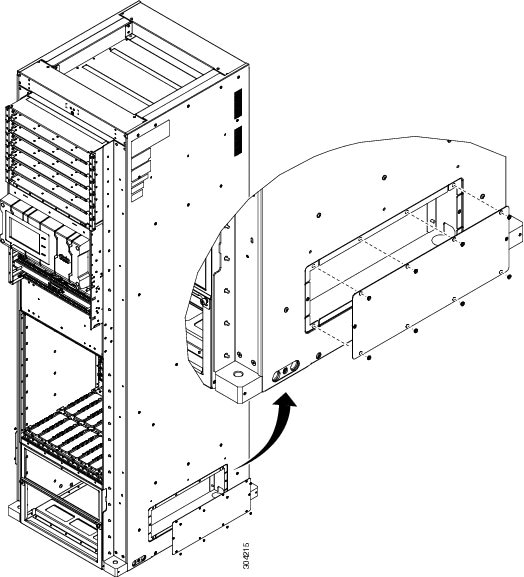
| Step 3 | If an alternate
floor mounting pattern is required, remove the lower side panels (left and
right sides of the chassis) to expose additional floor mounting holes.
 | ||
| Step 4 | Carefully move
the chassis into place over the bolt holes. See the
Moving the Unpacked Chassis
for details on moving the chassis with the dolly.
| ||
| Step 5 | Lock the dolly caster anti-rotation and brake systems. | ||
| Step 6 | With a person
on each side of the chassis, turn all four lifting cranks of the dolly
counterclockwise slowly to lower the chassis to the floor.
| ||
| Step 7 | Remove the
dolly from the chassis.
| ||
| Step 8 | Insert all anchor bolts. | ||
| Step 9 | Tighten all bolts and nuts. |
Unpacking Chassis Components
The remaining shipping boxes and pallets are now ready to be delivered from the receiving/shipping dock or a site holding area to the final location of the Cisco NCS 6000 Series chassis.
Steps
| Step 1 | If possible,
move the pallets to the same location as the unpacked and secured chassis. If
not possible, move the individual boxes containing the various components to
the chassis location.
| ||
| Step 2 | Unpack all primary pallet parts from the packaging, and set the parts aside for installation. | ||
| Step 3 | Unpack all
secondary pallet parts from the packaging, and set the parts aside for
installation.
| ||
| Step 4 | Unpack all power components from the packaging, and set the parts carefully aside on an ESD-immune surface for installation. | ||
| Step 5 | Unpack all
exterior cosmetic parts from the packaging and set the parts aside.
To continue with the installation of individual components, see the Cisco Network Convergence System 6000 Series Routers Hardware Installation Guide or the Cisco Network Convergence 6000 Fabric Card Chassis Hardware Installation Guide |
Component Return Information
Before preparing to return the product or product components, you must contact Cisco technical support and provide them with the details of your difficulty. Cisco technical support must confirm your product or component failure before assigning an RMA number for return shipment. For additional information, see Obtaining Documentation and Submitting a Service Request.
To facilitate your conversation with Cisco technical support, locate and note the serial number for the chassis. The serial number label for the Cisco NCS 6000 Series chassis is located on the rear side of the chassis, lower left corner.
 Feedback