Configuring Leaf Switch Physical Ports Using Policy Association
The procedure below uses a Quick Start wizard.
 Note |
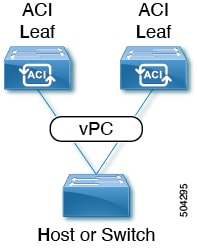
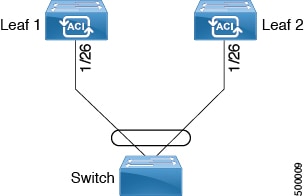
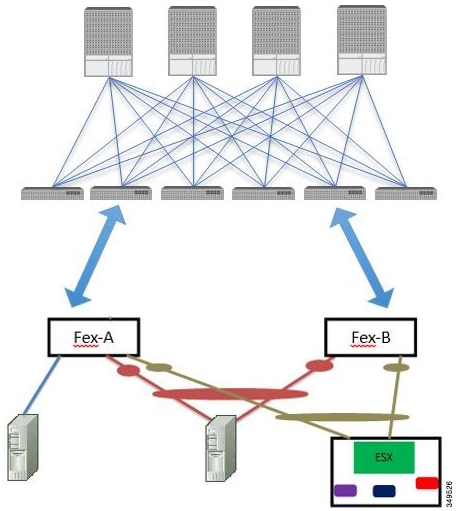
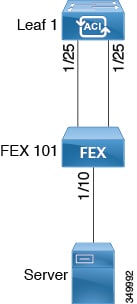
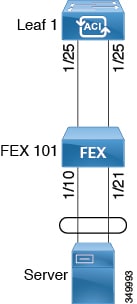
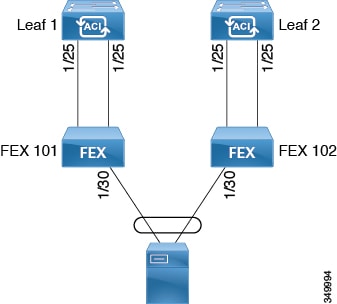
This procedure provides the steps for attaching a server to an ACI leaf switch interface. The steps would be the same for attaching other kinds of devices to an ACI leaf switch interface. 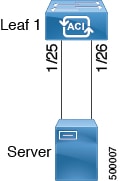 |
Before you begin
-
The ACI fabric is installed, APIC controllers are online, and the APIC cluster is formed and healthy.
-
An APIC fabric administrator account is available that will enable creating the necessary fabric infrastructure configurations.
-
The target leaf switches are registered in the ACI fabric and available.
Procedure
|
Step 1 |
On the APIC menu bar, navigate to , and click Configure an interface, PC, and VPC. |
||
|
Step 2 |
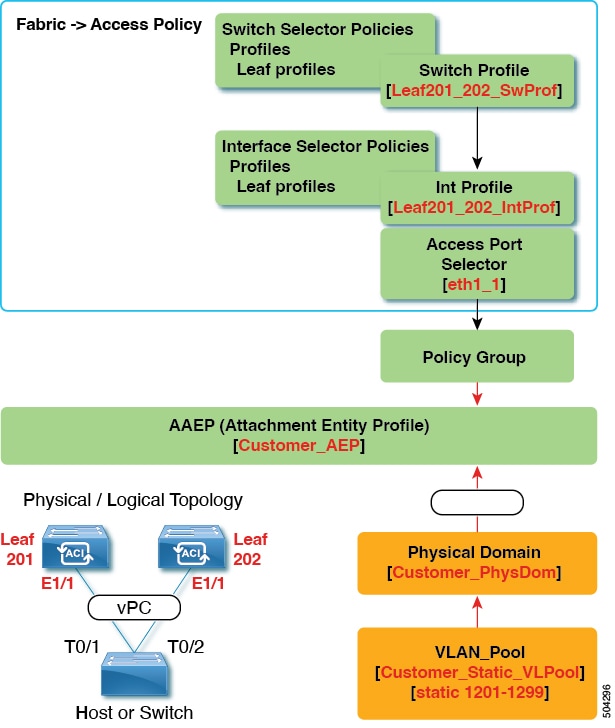
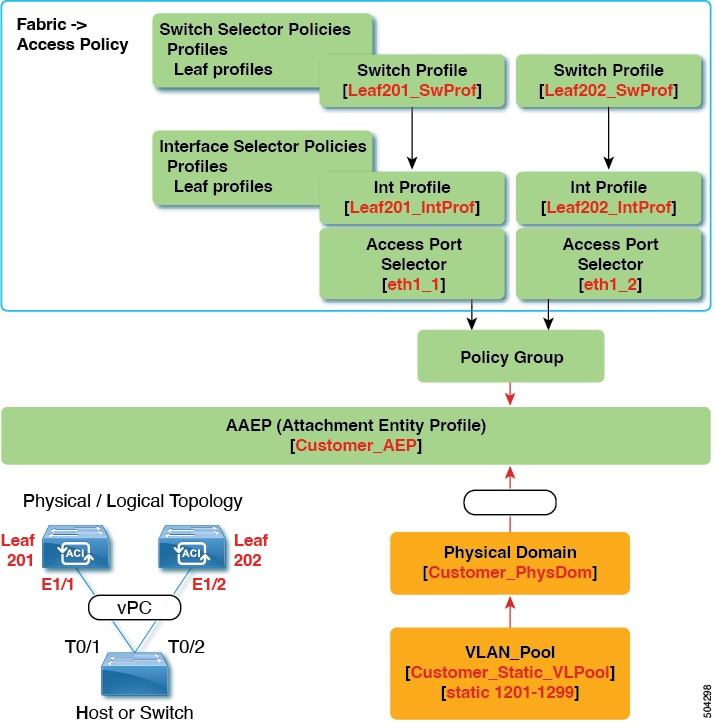
In the Select Switches To Configure Interfaces work area, click the large + to select switches to configure. In the Switches section, click the + to add switch ID(s) from the drop-down list of available switch IDs and click Update. |
||
|
Step 3 |
Click the large + to configure switch interfaces. The interface policy group is a named policy that specifies the group of interface policies you will apply to the selected interfaces of the switch. Examples of interface policies include Link Level Policy (for example, 1gbit port speed), Storm Control Interface Policy, and so forth.
Verification: Use the CLI show int command on the switch where the server is attached to verify that the switch interface is configured accordingly. |
What to do next
This completes the basic leaf interface configuration steps.
Note |
While this configuration enables hardware connectivity, no data traffic can flow without a valid application profile, EPG, and contract that is associated with this hardware configuration. |

 Feedback