- Get Started with Cisco DNA Center
- Configure Cisco DNA Center System Settings
- Configure Site Network Settings
- Discover Your Network
- Manage Your Device Inventory
- Manage Software Images
- Display Your Network Topology
- Design Your Network
- Configure Policies
- Provision Your Network
- Configure Telemetry
- Manage Users
- Back Up and Restore Cisco DNA Center
Get Started with Cisco DNA Center
About Cisco DNA Center
Cisco Digital Network Architecture (DNA) offers centralized, intuitive management that makes it fast and easy to design, provision, and apply policies across your entire network environment. It also delivers end-to-end visibility and uses network insights to optimize network performance and deliver the best user and application experience. DNA Center allows you to
-
Move faster—Provision thousands of devices across your enterprise. Act fast with centralized management, and automate device deployment.
-
Lower costs—Reduce errors with automation. Policy-driven deployment and onboarding deliver better uptime and improved security.
-
Reduce risk—Predict problems early. Use actionable insights for optimal performance of your network, devices, and applications.
Log In
Default Home Page
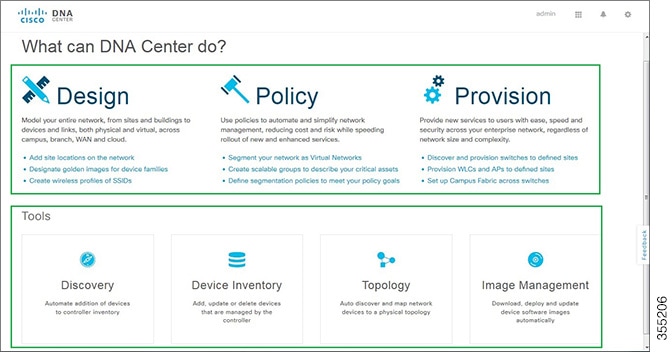
After you log in to DNA Center, you are taken to the DNA Center home page, which is divided into two main areas—Applications and Tools:
Applications include:
-
Design—Model your entire network, from sites and buildings to devices and links, both physical and virtual, across campus, branch, WAN and cloud.
-
Policy—Create policies to automate and simplify network management, reducing cost and risk while speeding rollout of new and enhanced services.
-
Provision—Provide new services to users with ease, speed and security across your enterprise network, regardless of network size and complexity.
Tools—Include all the installed tools that help you configure the network such as Discovery, Device Inventory, Topology, etc.
From the DNA Center home page, you can also search for applications and tools by entering an application or tool name in the Search field.
Start Using DNA Center
To start using DNA Center, you must first configure the DNA Center settings so that the server can communicate outside the network. See Configure Site Network Settings.
After you configure the DNA Center settings, your current environment determines how you start using DNA Center:
-
Existing infrastructure—If you have an existing infrastructure, start with Discovery. After running Discovery, all your devices are displayed on the Design screen.
-
New or nonexisting infrastructure—If you have no existing infrastructure and are starting from scratch, see creating your network hierarchy.
 Feedback