Access Cisco Global Launchpad

Access Hosted Cisco Global Launchpad

You can access Cisco Global Launchpad with Cisco DNA Portal.

If you are new to Cisco DNA Portal, you must create a Cisco account and a Cisco DNA Portal account. Then you can log in to Cisco DNA Portal to access Cisco Global Launchpad.

If you are familiar with Cisco DNA Portal and have a Cisco account and a Cisco DNA Portal account, you can directly log in to Cisco DNA Portal to access Cisco Global Launchpad.

Log in to the Cisco DNA Portal with Cisco

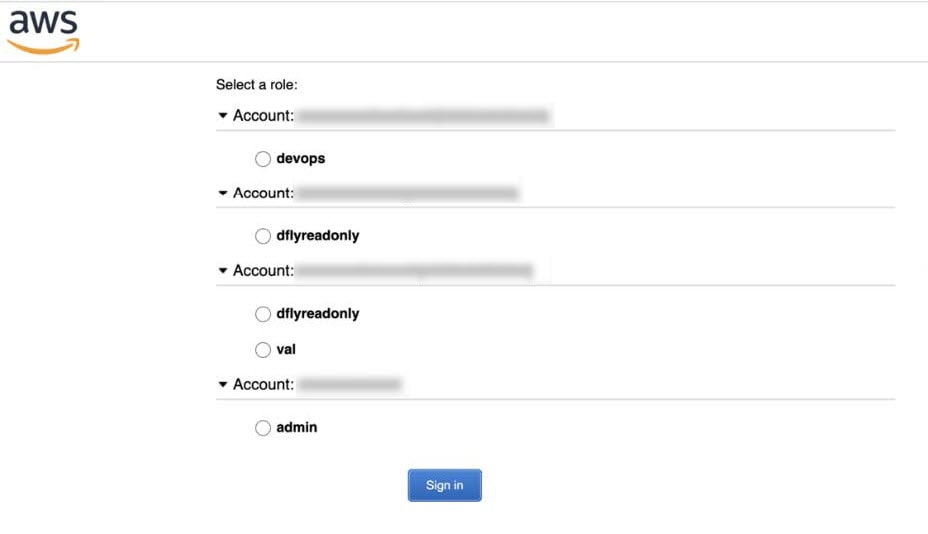
To access Cisco Global Launchpad through the Cisco DNA Portal, you must log in to the Cisco DNA Portal.

Procedure


Step 1

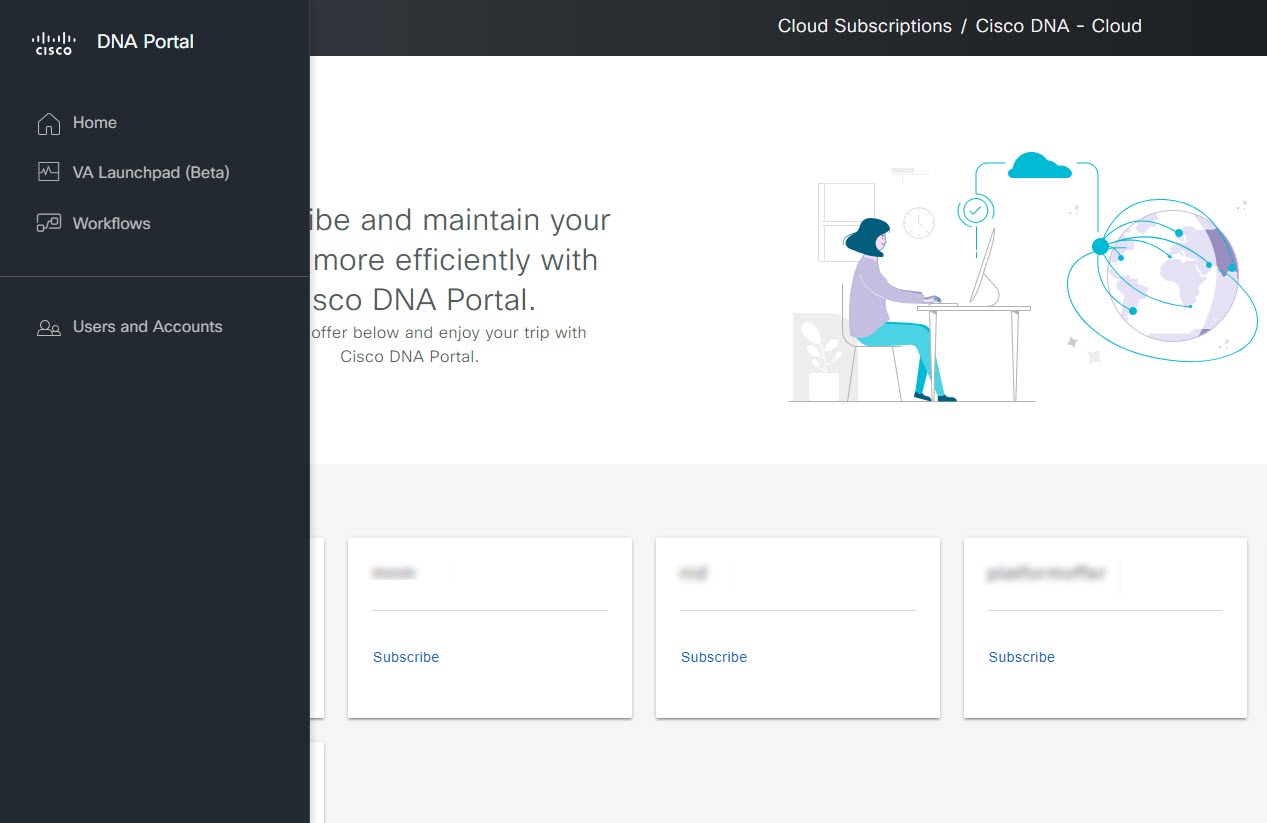
In your browser, enter:

dna.cisco.com/valaunchpad

The Cisco DNA Portal login window is displayed.

Step 2

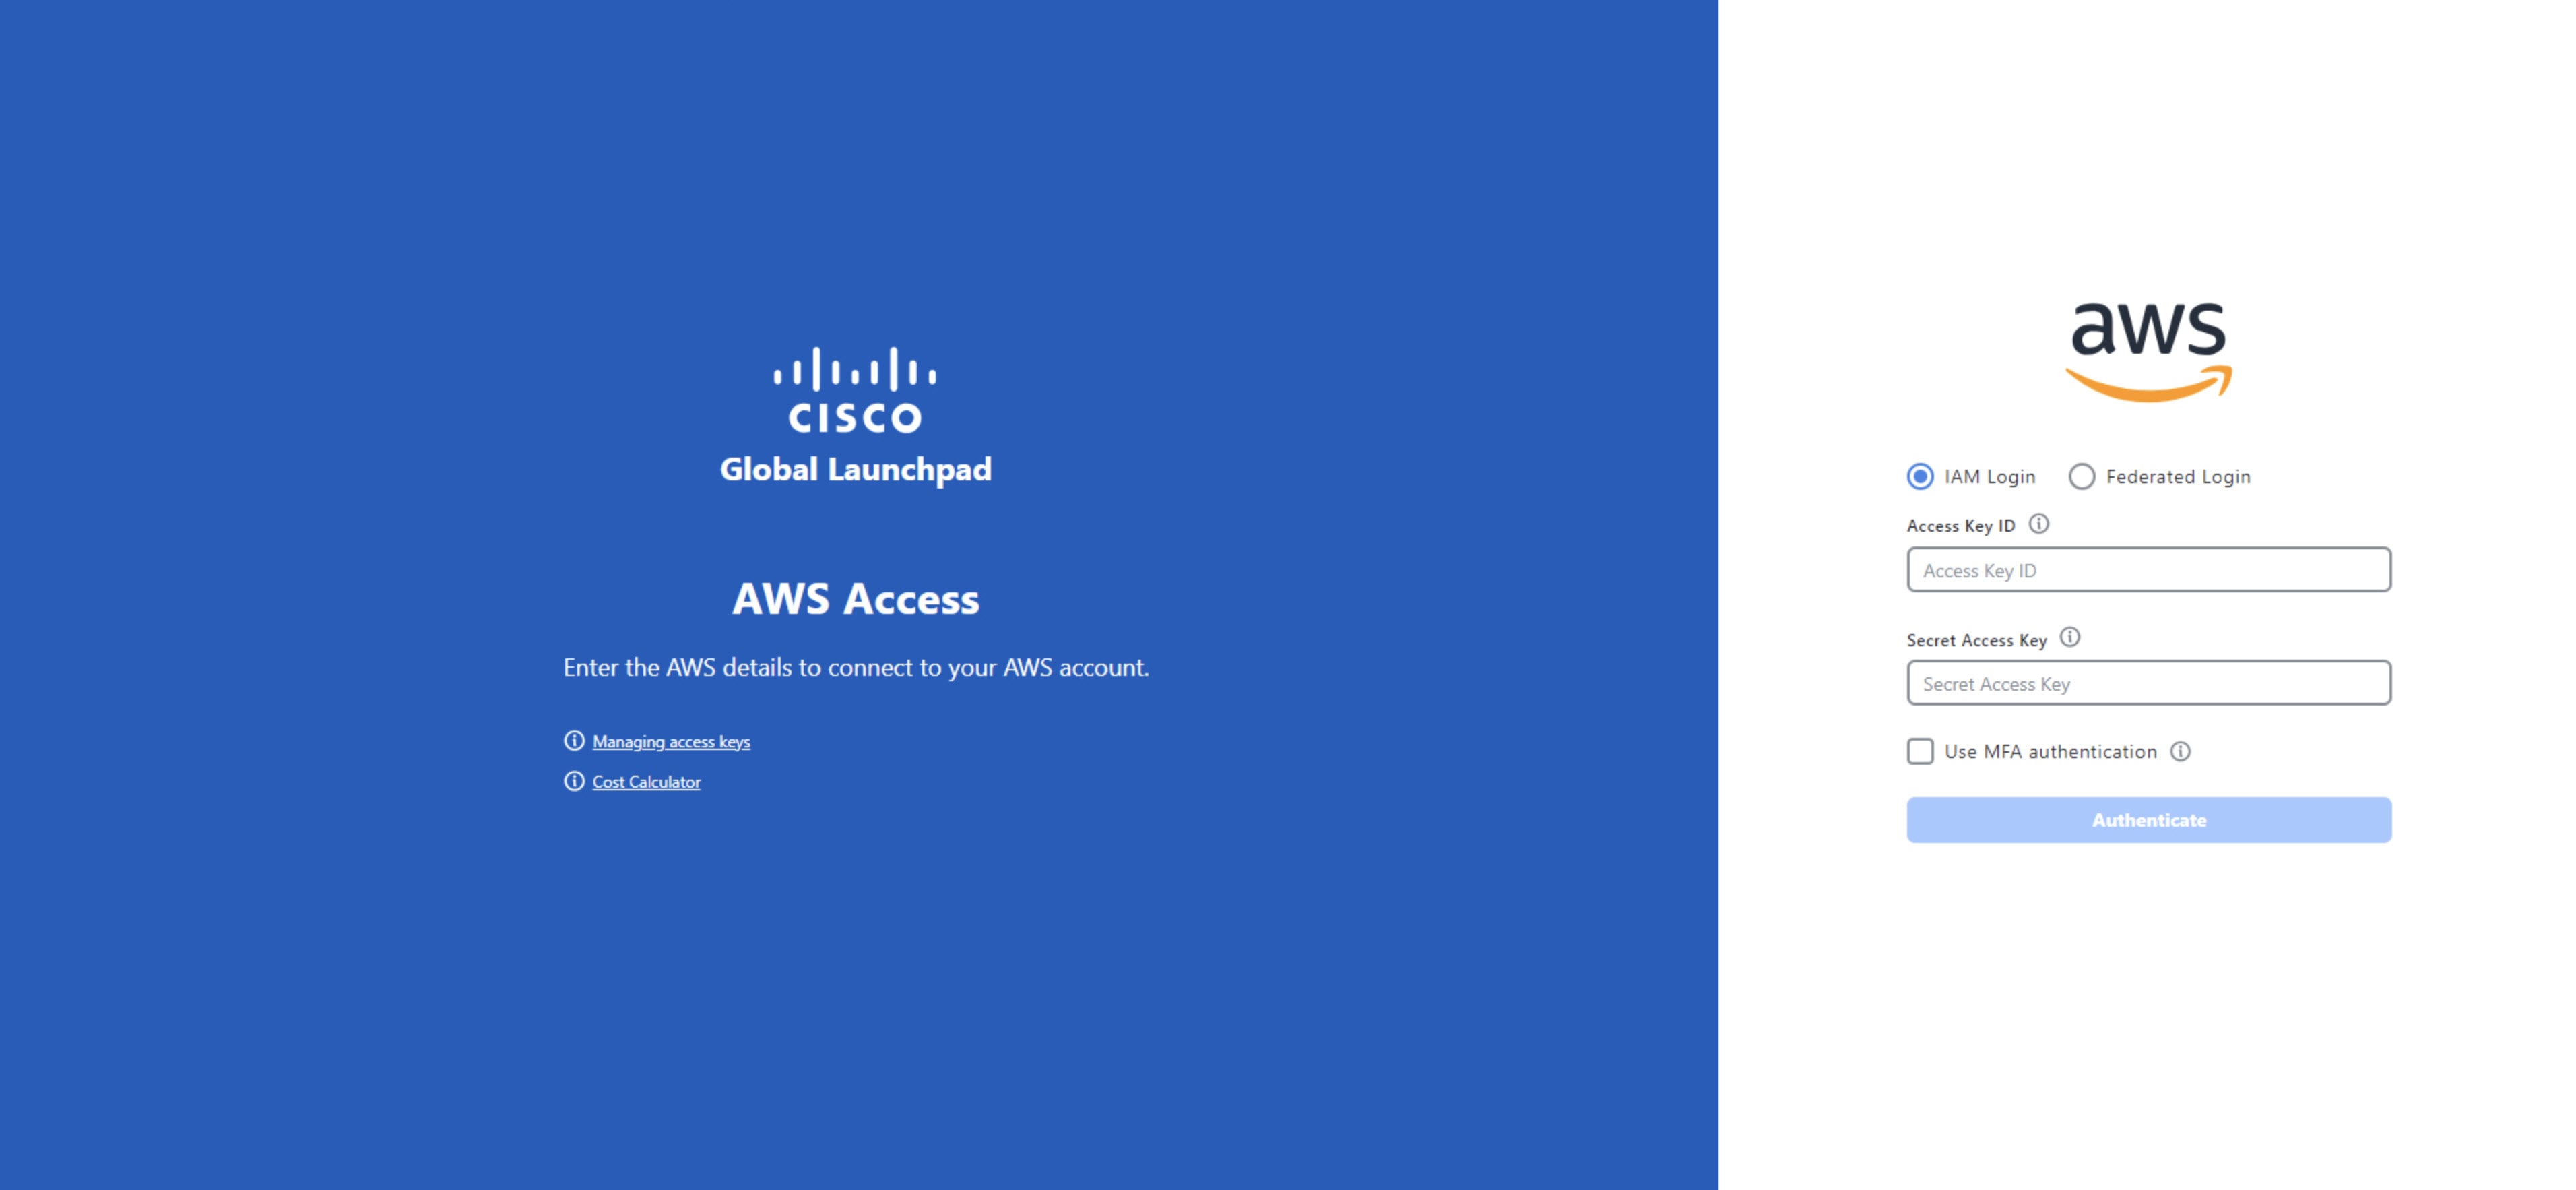
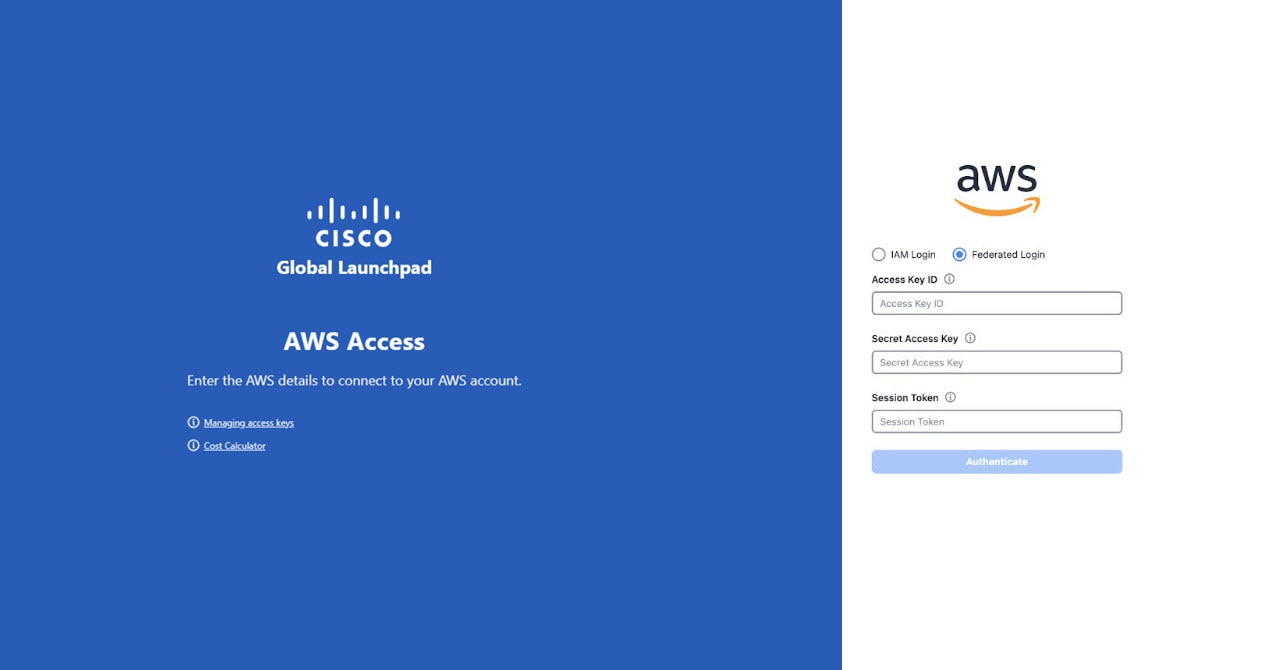
Perform one of these actions:

  1. If you have a Cisco account, click Log In With Cisco.

  2. If you do not have a Cisco account, click Create a new account. In the window that appears, enter the information for your account and click Continue. For more information, see Creating a Cisco account.

Step 3

Enter your Cisco account email in the Email field, and click Next.

Step 4

Enter your Cisco account password in the Password field, and click Log in.

The VA Launchpad page appears.


Log in to Cisco Global Launchpad

The Cisco Global Launchpad supports these authentication methods:


Note


Cisco Global Launchpad does not store your AWS credentials.


Log in using IAM

Use this procedure to log in to Cisco Global Launchpad using identity and access management (IAM). If your company uses MFA, you can choose to log in using this method.


Note


Do not open the application in more than one browser tab, in multiple browser windows, or in multiple browser applications at the same time.


Before you begin

Make sure these requirements are met:

  • Your AWS account has the administrator access permission assigned to it. For more information, see "Prerequisites for automated deployment" in the Cisco Catalyst Center on AWS Deployment Guide.

  • Cisco Global Launchpad is installed or you have access to the hosted Cisco Global Launchpad.

  • You have your AWS Access Key ID and Secret Access Key on hand.

  • If your company uses multifactor authentication (MFA), MFA needs to be set up in AWS before you log in. For information, see the Enabling a virtual multi-factor authentication (MFA) device (console) topic in the AWS documentation.

Procedure


Step 1

From a browser window, enter the appropriate URL to go to the AWS login window for Cisco Global Launchpad, based on whether you use local or hosted access:

  • If you installed Cisco Global Launchpad locally, enter the Cisco Global Launchpad URL in this format:

    http://<localhost>:<client-port-number>/valaunchpad

    For example:

    http://192.0.2.1:90/valaunchpad
  • If you are accessing the hosted Cisco Global Launchpad, enter dna.cisco.com and follow the on-screen prompts to log in. (For information, see Log in to the Cisco DNA Portal with Cisco.)

    From the Cisco DNA Portal home page, click the menu icon and choose VA Launchpad.

The AWS login window is displayed.

Step 2

Under the AWS logo, click the IAM Login radio button.

Step 3

Enter your credentials in the fields.

For information about how to get an Access Key ID and Secret Access Key, see the AWS Managing access keys topic in the AWS Identity and Access Management User Guide on the AWS website.

Step 4

(Optional) If your company uses MFA, click the Use MFA authentication check box.

Step 5

Click Authenticate.

If you are logging in with MFA, choose your MFA device from the drop-down list and enter your MFA passcode.

After logging in successfully, the Login Status screen is displayed. This page displays the statuses of various operations that the system performs when you log in. Then the Dashboard pane is displayed and the us-east-1 region is selected by default.

Step 6

If you're prompted to update the region version, follow the prompts to complete the update.

For more information, see Update a region.

Step 7

If you encounter any login errors, you need to resolve them and log in again.

For more information, see "Deployment troubleshooting" in the Cisco Catalyst Center on AWS Deployment Guide.


Log in using a federated identity

Use this procedure to log in to Cisco Global Launchpad using a federated identity.


Note


Do not open the application in more than one browser tab, in multiple browser windows, or in multiple browser applications at the same time.


Before you begin

Make sure these requirements are met:

Procedure


Step 1

From a browser window, enter the appropriate URL to go to the AWS login window for Cisco Global Launchpad, based on whether you use local or hosted access:

  • If you installed Cisco Global Launchpad locally, enter the Cisco Global Launchpad URL in this format:

    http://<localhost>:<client-port-number>/valaunchpad

    For example:

    http://192.0.2.1:90/valaunchpad
  • If you are accessing the hosted Cisco Global Launchpad, enter dna.cisco.com and follow the on-screen prompts to log in.

    From the Cisco DNA Portal home page, click the menu icon and choose VA Launchpad.

The AWS login window is displayed.

Step 2

Under the AWS logo, click the Federated Login radio button.

Step 3

Enter your credentials in the fields.

For more information, see Generate federated user credentials using saml2aws or Generate federated user credentials using the AWS CLI.

Step 4

Click Authenticate.

After you log in successfully, the Login Status screen is displayed. This page displays the statuses of various operations that the system performs when you log in. Then the Dashboard pane is displayed and the us-east-1 region is selected by default.

Step 5

If you're prompted to update the region version, follow the prompts to complete the update.

For more information, see Update a region.

Step 6

If you encounter any login errors, you must resolve them and log in again.

For troubleshooting information, see "Deployment troubleshooting" in the Cisco Catalyst Center on AWS Deployment Guide.


Generate federated user credentials using saml2aws

Follow these steps to generate temporary AWS credentials using a Command Line Interface (CLI) tool and to log in to Cisco Global Launchpad using the generated credentials.

Procedure

Step 1

From the CLI, install saml2aws.

For information, see the detailed instructions on Github.

Step 2

Verify the installation by entering saml2aws.

If the installation is successful, this output is displayed:

Step 3

Configure your account.

  1. Enter saml2aws configure.

  2. At the Please choose a provider prompt, use the up- or down-arrow keys to choose a provider or enter the provider name. When you're done, press Enter.

  3. At the AWS Profile prompt, press Enter to use the default AWS profile.

  4. At the URL prompt, enter the URL of your identity provider (IdP) and press Enter.

    Note


    You can get this information from your IdP.

  5. At the prompts, enter your username and password. Then press Enter.

Step 4

Generate your federated credentials.

  1. Enter saml2aws login.

  2. At the prompts, enter your username and password.

  3. At the prompt, select either the Admin or CiscoDNACenter role. Then press Enter.

    Note


    Ensure that the tokens created for these roles have a minimum expiry of 180 minutes (3 hours).

Your credentials are generated and stored in ~/aws/credentials.

Step 5

Download the credentials by entering saml2aws script.

Step 6

Note the values of these parameters as you will use them to log in to Cisco Global Launchpad as a federated user:

  • AWS_ACCESS_KEY_ID

  • AWS_SECRET_ACCESS_KEY

  • AWS_SESSION_TOKEN

Step 7

On the Cisco Global Launchpad login window, select Federated Login and enter the generated credentials in the corresponding fields.


Generate federated user credentials using the AWS CLI

Follow these steps to generate temporary AWS credentials using the AWS Command Line Interface (CLI) and to log in to Cisco Global Launchpad using the generated credentials.

Procedure

Step 1

In a browser window, navigate to the AWS Single Sign On (SSO)/Active Directory (AD) window.

Step 2

In the AWS Single Sign On (SSO)/Active Directory (AD) window, click the AWS Console link.

This window is displayed.

Step 3

Right-click anywhere in the window, and from the drop-down menu, choose Inspect Element or Inspect (depending on the browser).

Note


You can also press the F12 key to open the Developer Tools panel.

The Developer Tools panel is displayed, similar to this window.

Step 4

In the Developer Tools panel, click the Network tab and check the Preserve Log check box.

In the tool panel, the Preserve Log option is next to the Magnifying Glass icon.

Step 5

In the AWS Console, click Sign In.

Step 6

In the Developer Tools panel, filter the required API calls by entering saml in the Filter field.

Step 7

Click the API request named saml.

Step 8

Click the Payload tab.

The saml API response is displayed under the Form Data tab.

Step 9

Copy the value of the SAML response.

Note


Be sure to copy the entire value, but do not copy the SAMLResponse field name.

Step 10

Navigate to your AWS Console, choose IAM > Access Management > Identity Providers, and select your IdP.

Step 11

Obtain these details for your IdP:

  • Role assigned to the IdP

  • Amazon Resource Name (ARN) of the IdP

Step 12

From the AWS CLI, enter this command:

aws sts assume-role-with-saml --role-arn <Role-Arn> --principal-arn <IDP-Arn> --saml-assertion <SAML response>

The variables in this command refer to the values obtained earlier, as follows:

  • <Role-Arn>: Role assigned to the IdP, obtained in Step 11.

  • <IDP-Arn>: Amazon Resource Name (ARN) of the IdP, obtained in Step 11.

  • <SAML response>: Value of the SAML response, obtained in Step 9.

For example:

Output similar to this output is displayed:

{
"Credentials": {
"AccessKeyId": "xxxx",
"SecretAccessKey": "xxxxx",
"SessionToken": "xxxxxxxxx,
"Expiration": "2023-03-10T18:07:15+00:00"
},
"AssumedRoleUser": {
"AssumedRoleId": "xxx:user@sso.com",
"Arn":"arn:aws:sts::059356109852:assumed-role/ADFS-AWS-ADMIN/user@sso.com"
},
"Subject": "SSO\\USER",
"SubjectType": "transient",
"Issuer": "http://EC2AMAZ-MH1F3CD.sso.com/adfs/services/trust",
"Audience": "https://signin.aws.amazon.com/saml",
"NameQualifier": "POIUYTRFVNMKJGFKJHJJHJcYLQCePSAZg="
}

Step 13

Note the values of these generated credentials:

  • AccessKeyId

  • SecretAccessKey

  • SessionToken

Step 14

On the Cisco Global Launchpad login window, select Federated Login and enter the generated credentials from Step 13 in the corresponding fields.


Log out

Depending on how you accessed your Cisco Global Launchpad account, you either need to log out of only Cisco Global Launchpad or both Cisco Global Launchpad and Cisco DNA Portal.

Procedure


Step 1

Log out of Cisco Global Launchpad by doing these steps:

  1. In the left navigation pane, click Log out.

  2. In the Confirmation dialog box, click Log Out.

Step 2

(Optional) If you accessed Cisco Global Launchpad through Cisco DNA Portal, log out of Cisco DNA Portal by doing these steps:

  1. In the upper-right corner of the Cisco DNA Portal GUI, click your displayed username.

  2. Click Log Out.