Install Fleet Upgrade

This document covers the following topics:

Meeting installation prerequisites

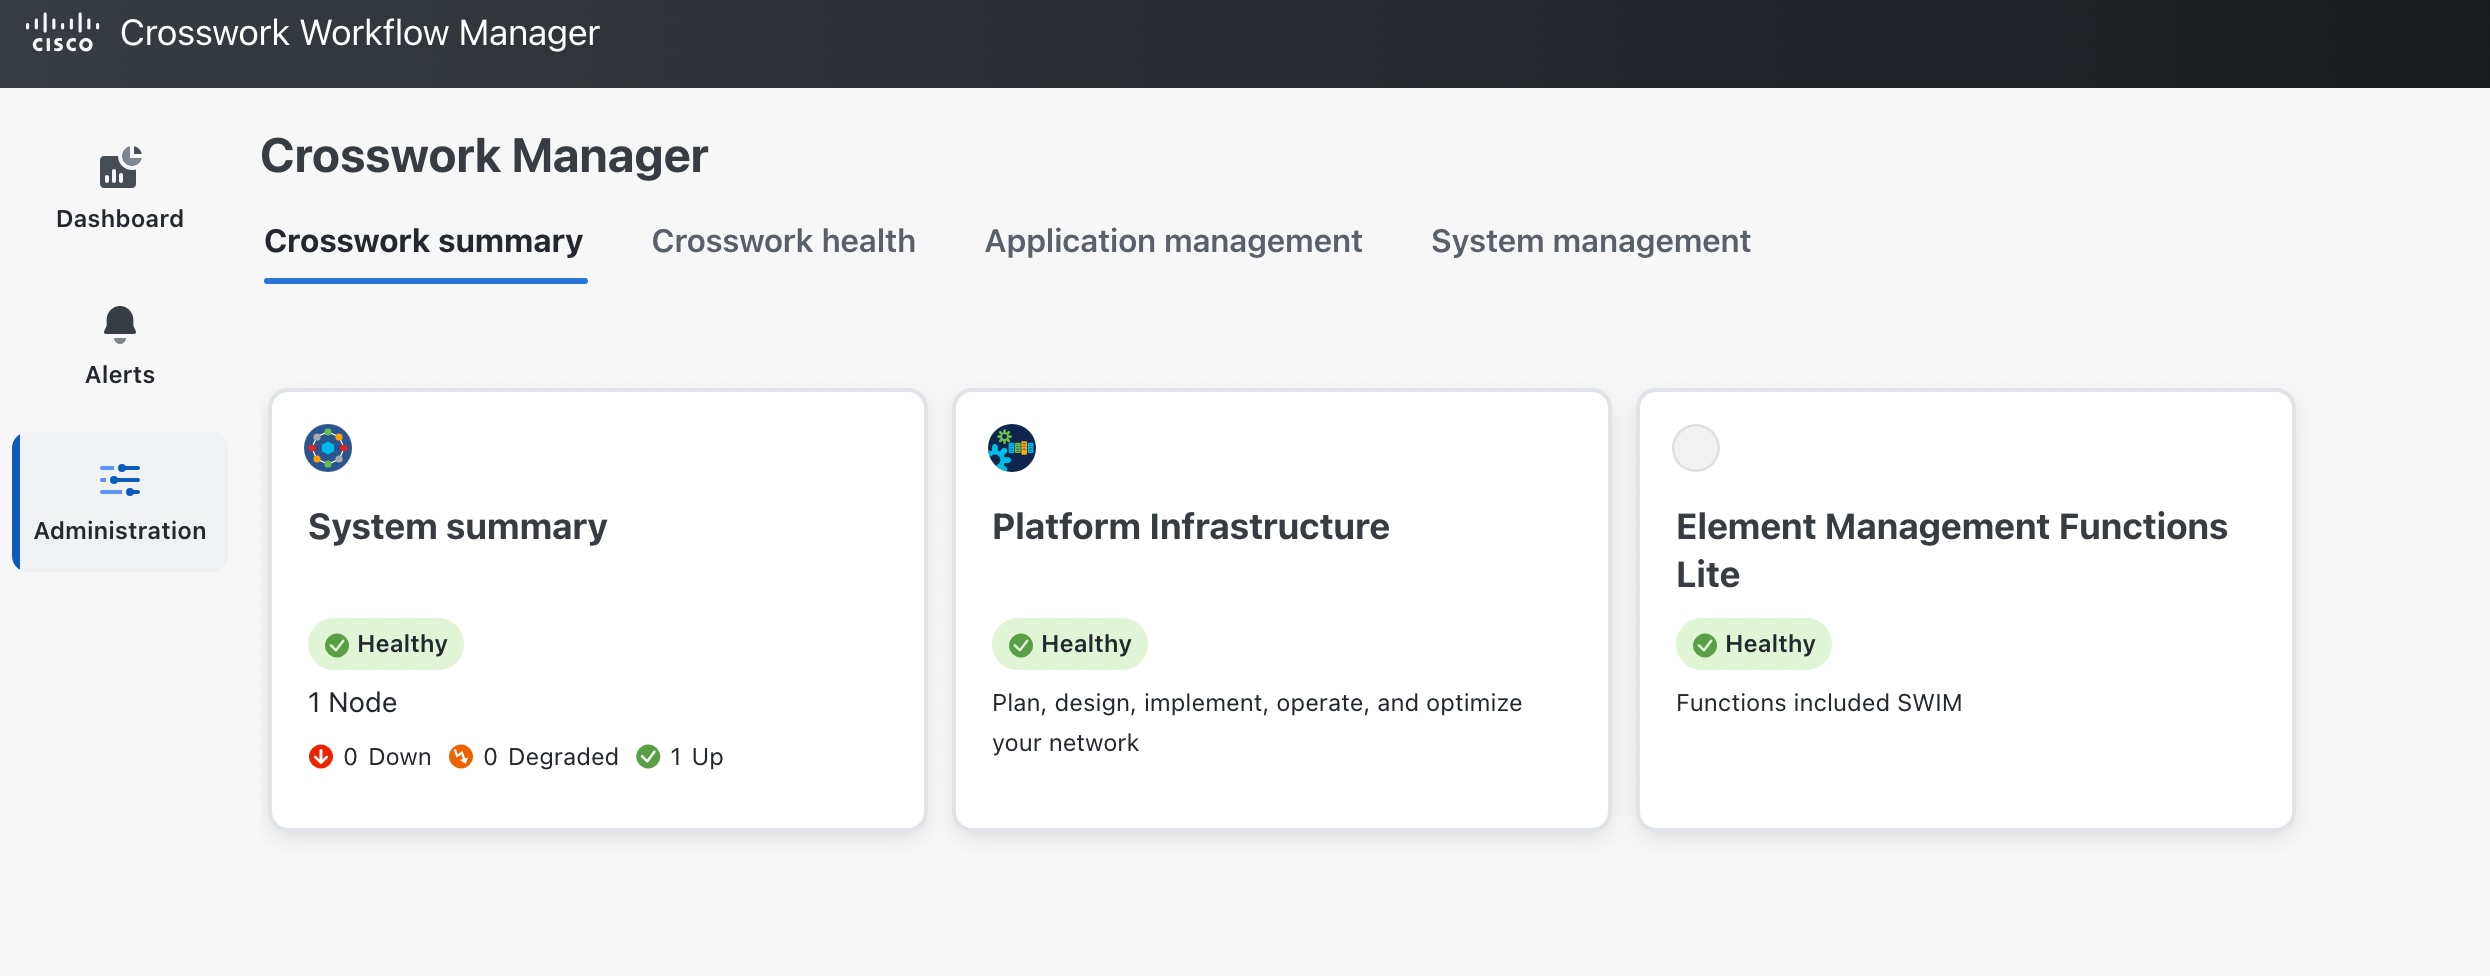
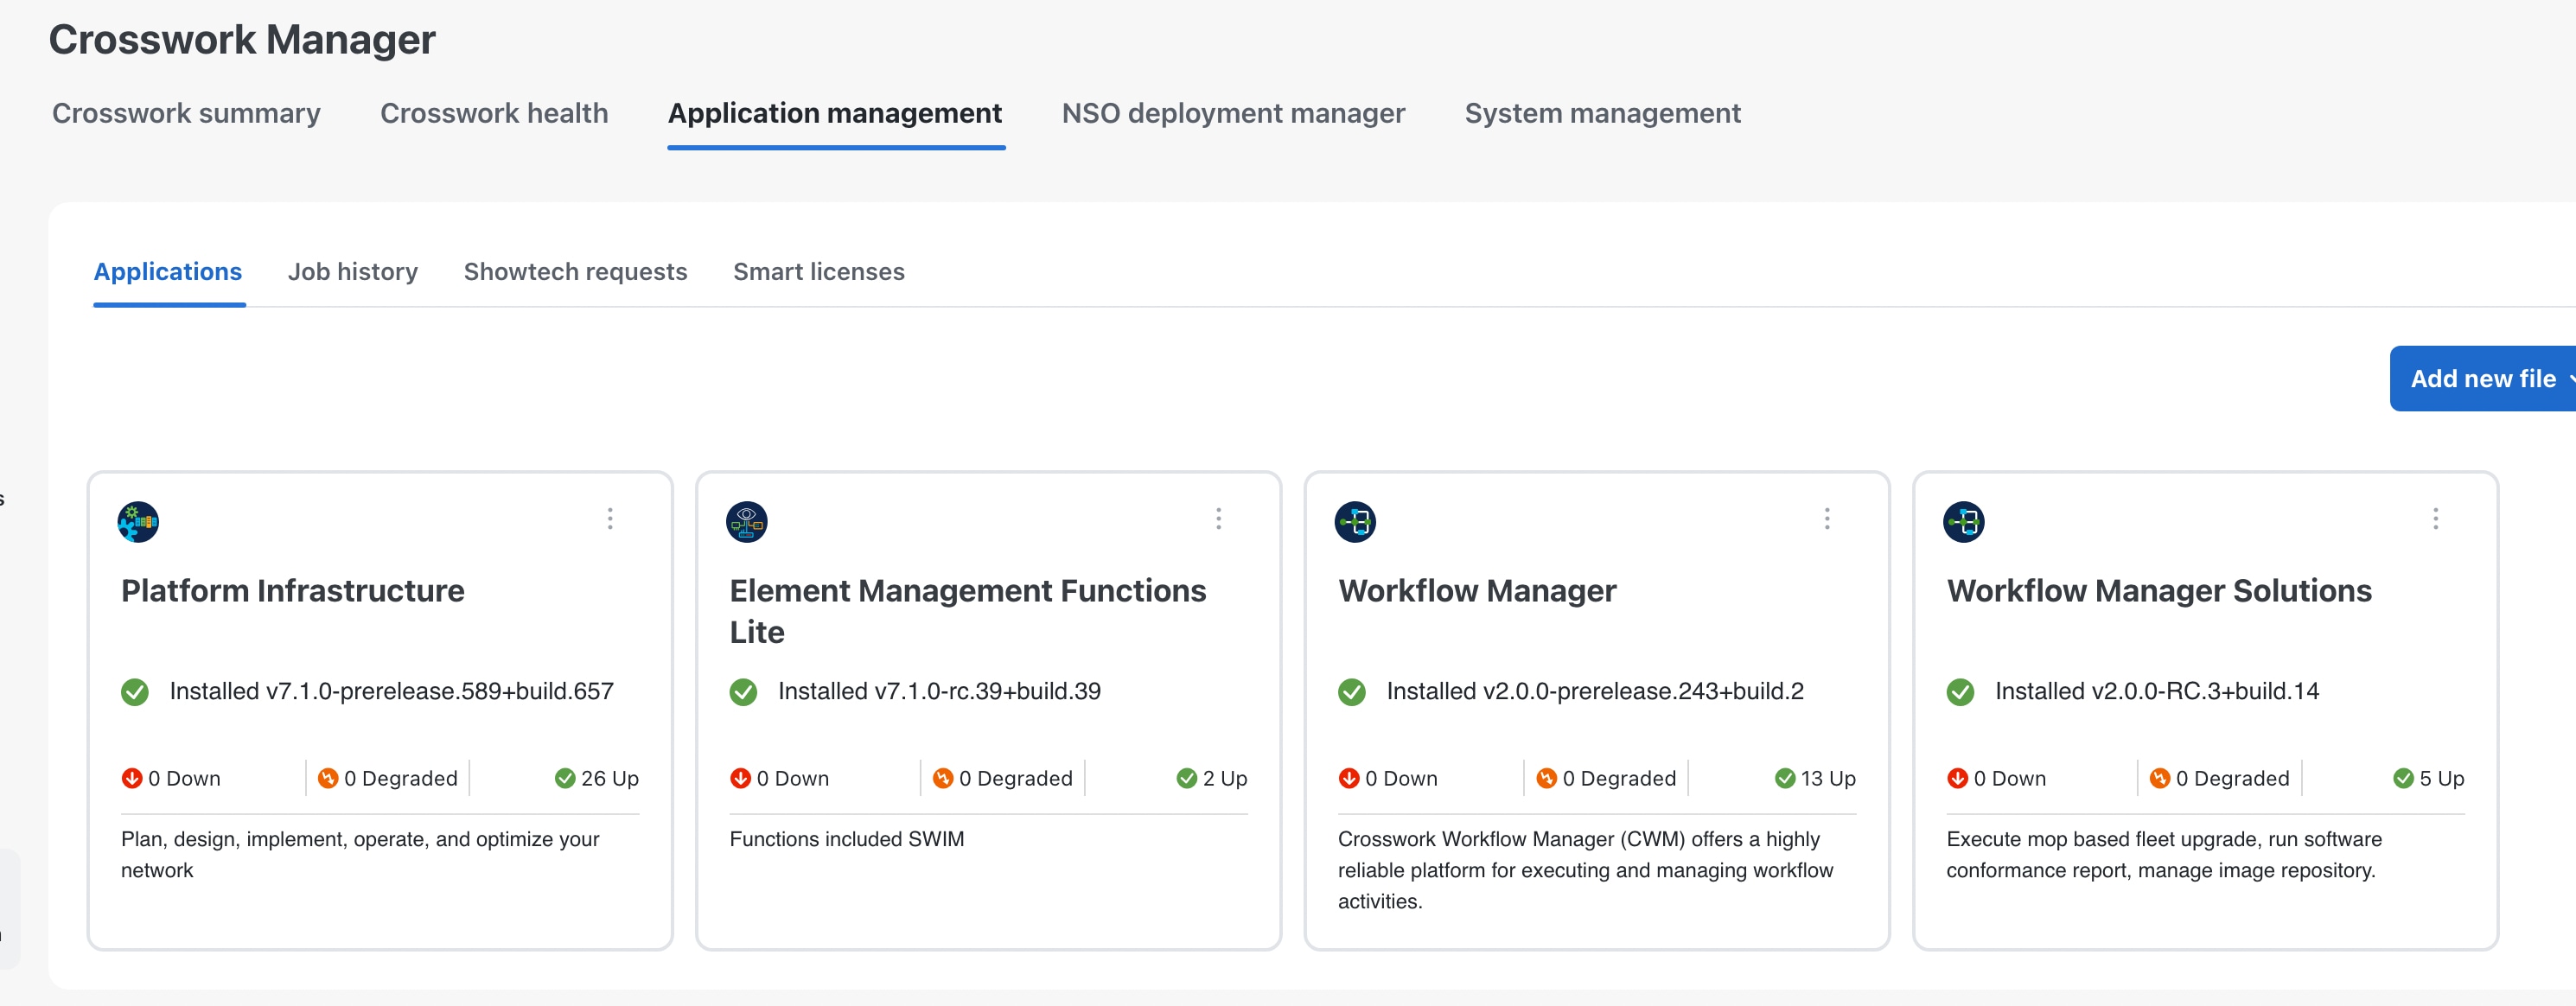
Cisco Crosswork Workflow Manager (CWM) Solutions is a collection of pre-built use cases that offers customers a convenient and efficient way to manage and upgrade their devices. It provides out-the-box use cases that are easy to deploy and ready to use, allowing users to quickly onboard their devices for management.

CWM Solutions Fleet Upgrade lets users manage, distribute, and commit software image upgrades to multiple devices at the same time, including to third-party devices.

Fleet Upgrade is automated, customizable, extensible, provides strong error checking, and supports devices from Cisco and other vendors.

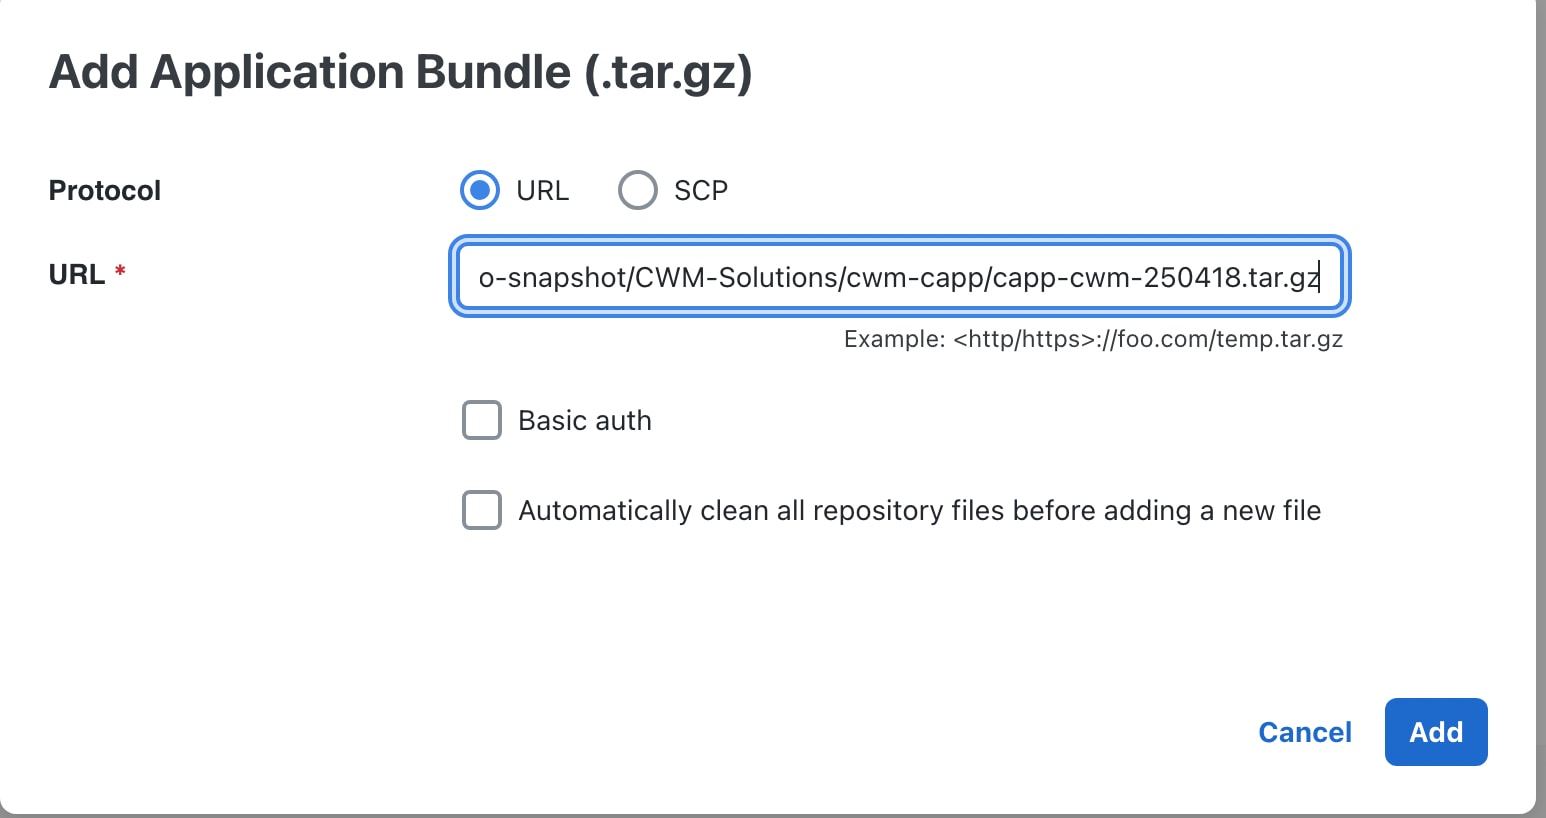
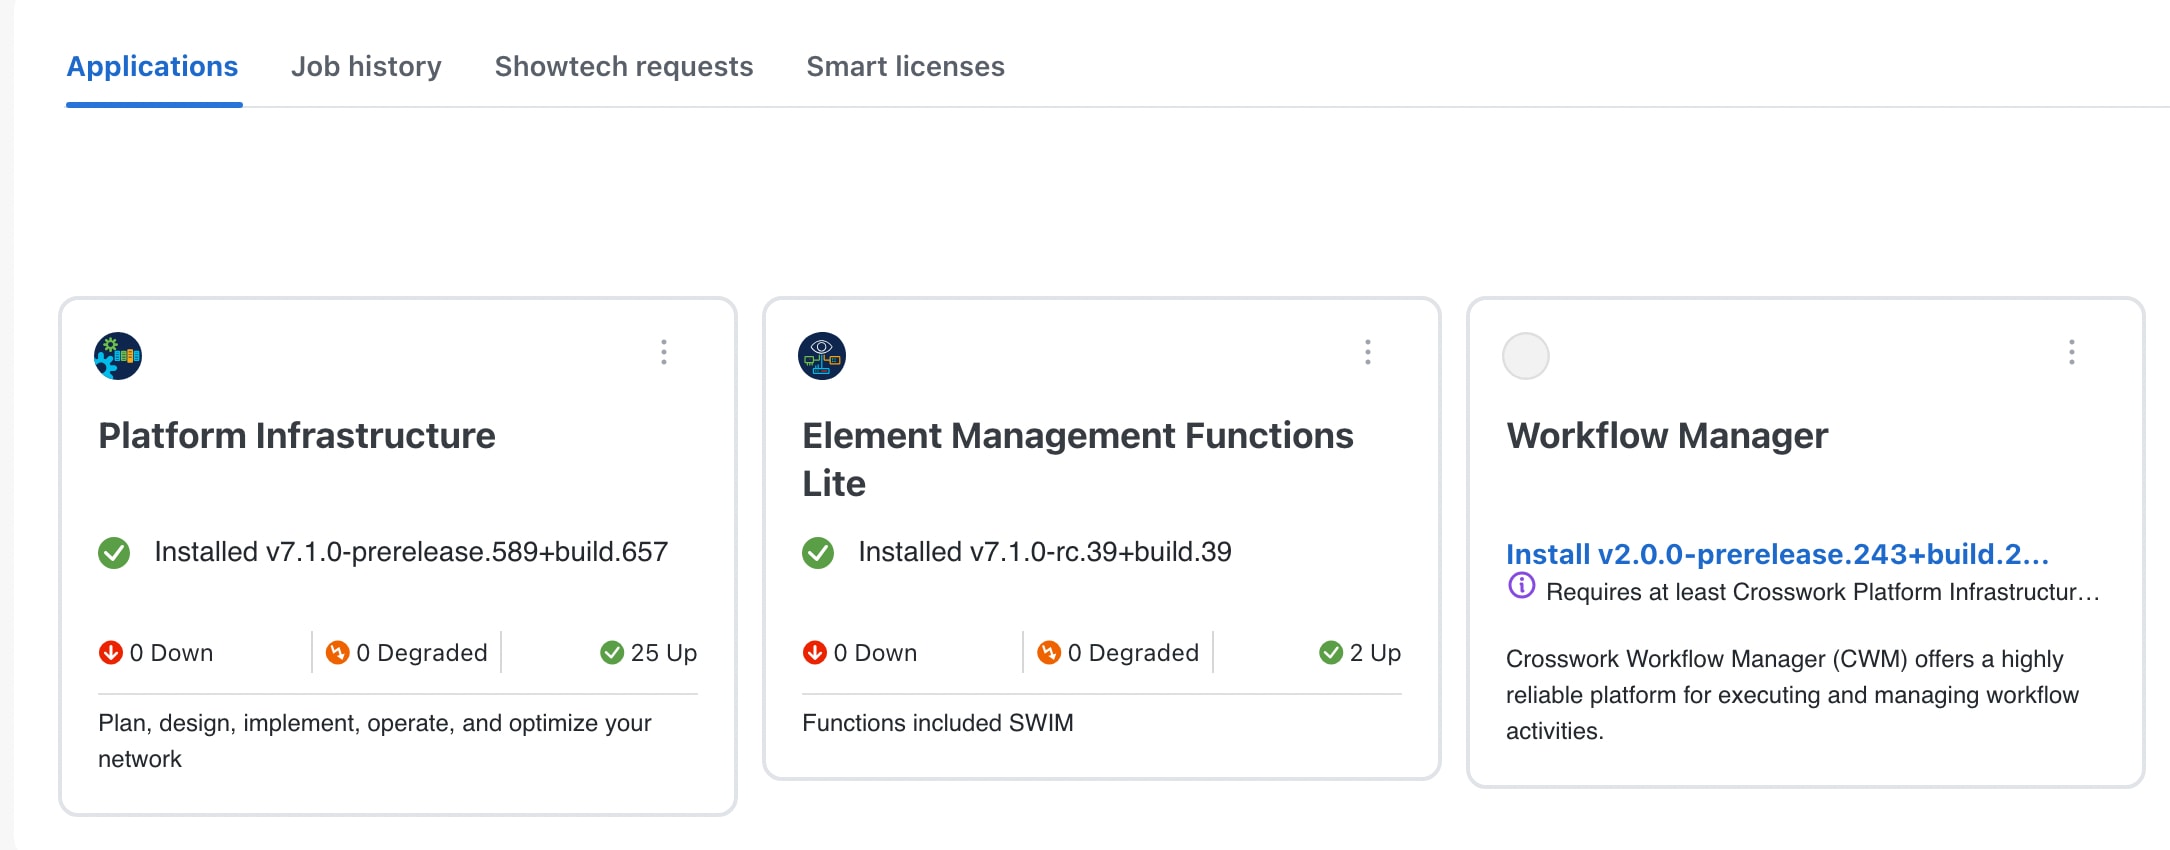
Installing CWM Solutions Fleet Upgrade requires installation of Cisco Crosswork Workflow Manager (CWM) and Cisco Network Services Orchestrator (NSO). The remaining sections of this topic detail the hardware, software and other requirements to be met for successful installation of this version of Cisco CWM Solutions and Fleet Upgrade.

Server hardware

You must install CWM Solutions on a server equipped with Cisco CWM. CWM Solutions also requires Cisco Network Services Orchestrator (NSO).

As a general guideline, users should select high-specification computing hardware for CWM Solutions installations. Installation of the CWM OVA requires VMware with vCenter 8 and ESXi 8 hosts. Due to their high performance, solid state drives (SSDs) are preferred over traditional hard disk drives (HDDs). If you are using HDDs, their minimum speed should be over 15000 RPM. The VM data store(s) must have disk-access latency less than 10 ms or greater than 5000 IOPS.

Table 1. Server hardware requirements
Component Software form Size vCPUs Memory Disk (SSD) Swap disk
Cisco CWM SVM OVA XLarge profile 24 128GB 1TB n/a
Cisco NSO 6.4.1 Tar / signed binary n/a 16 256GB 1TB 256GB

Server software

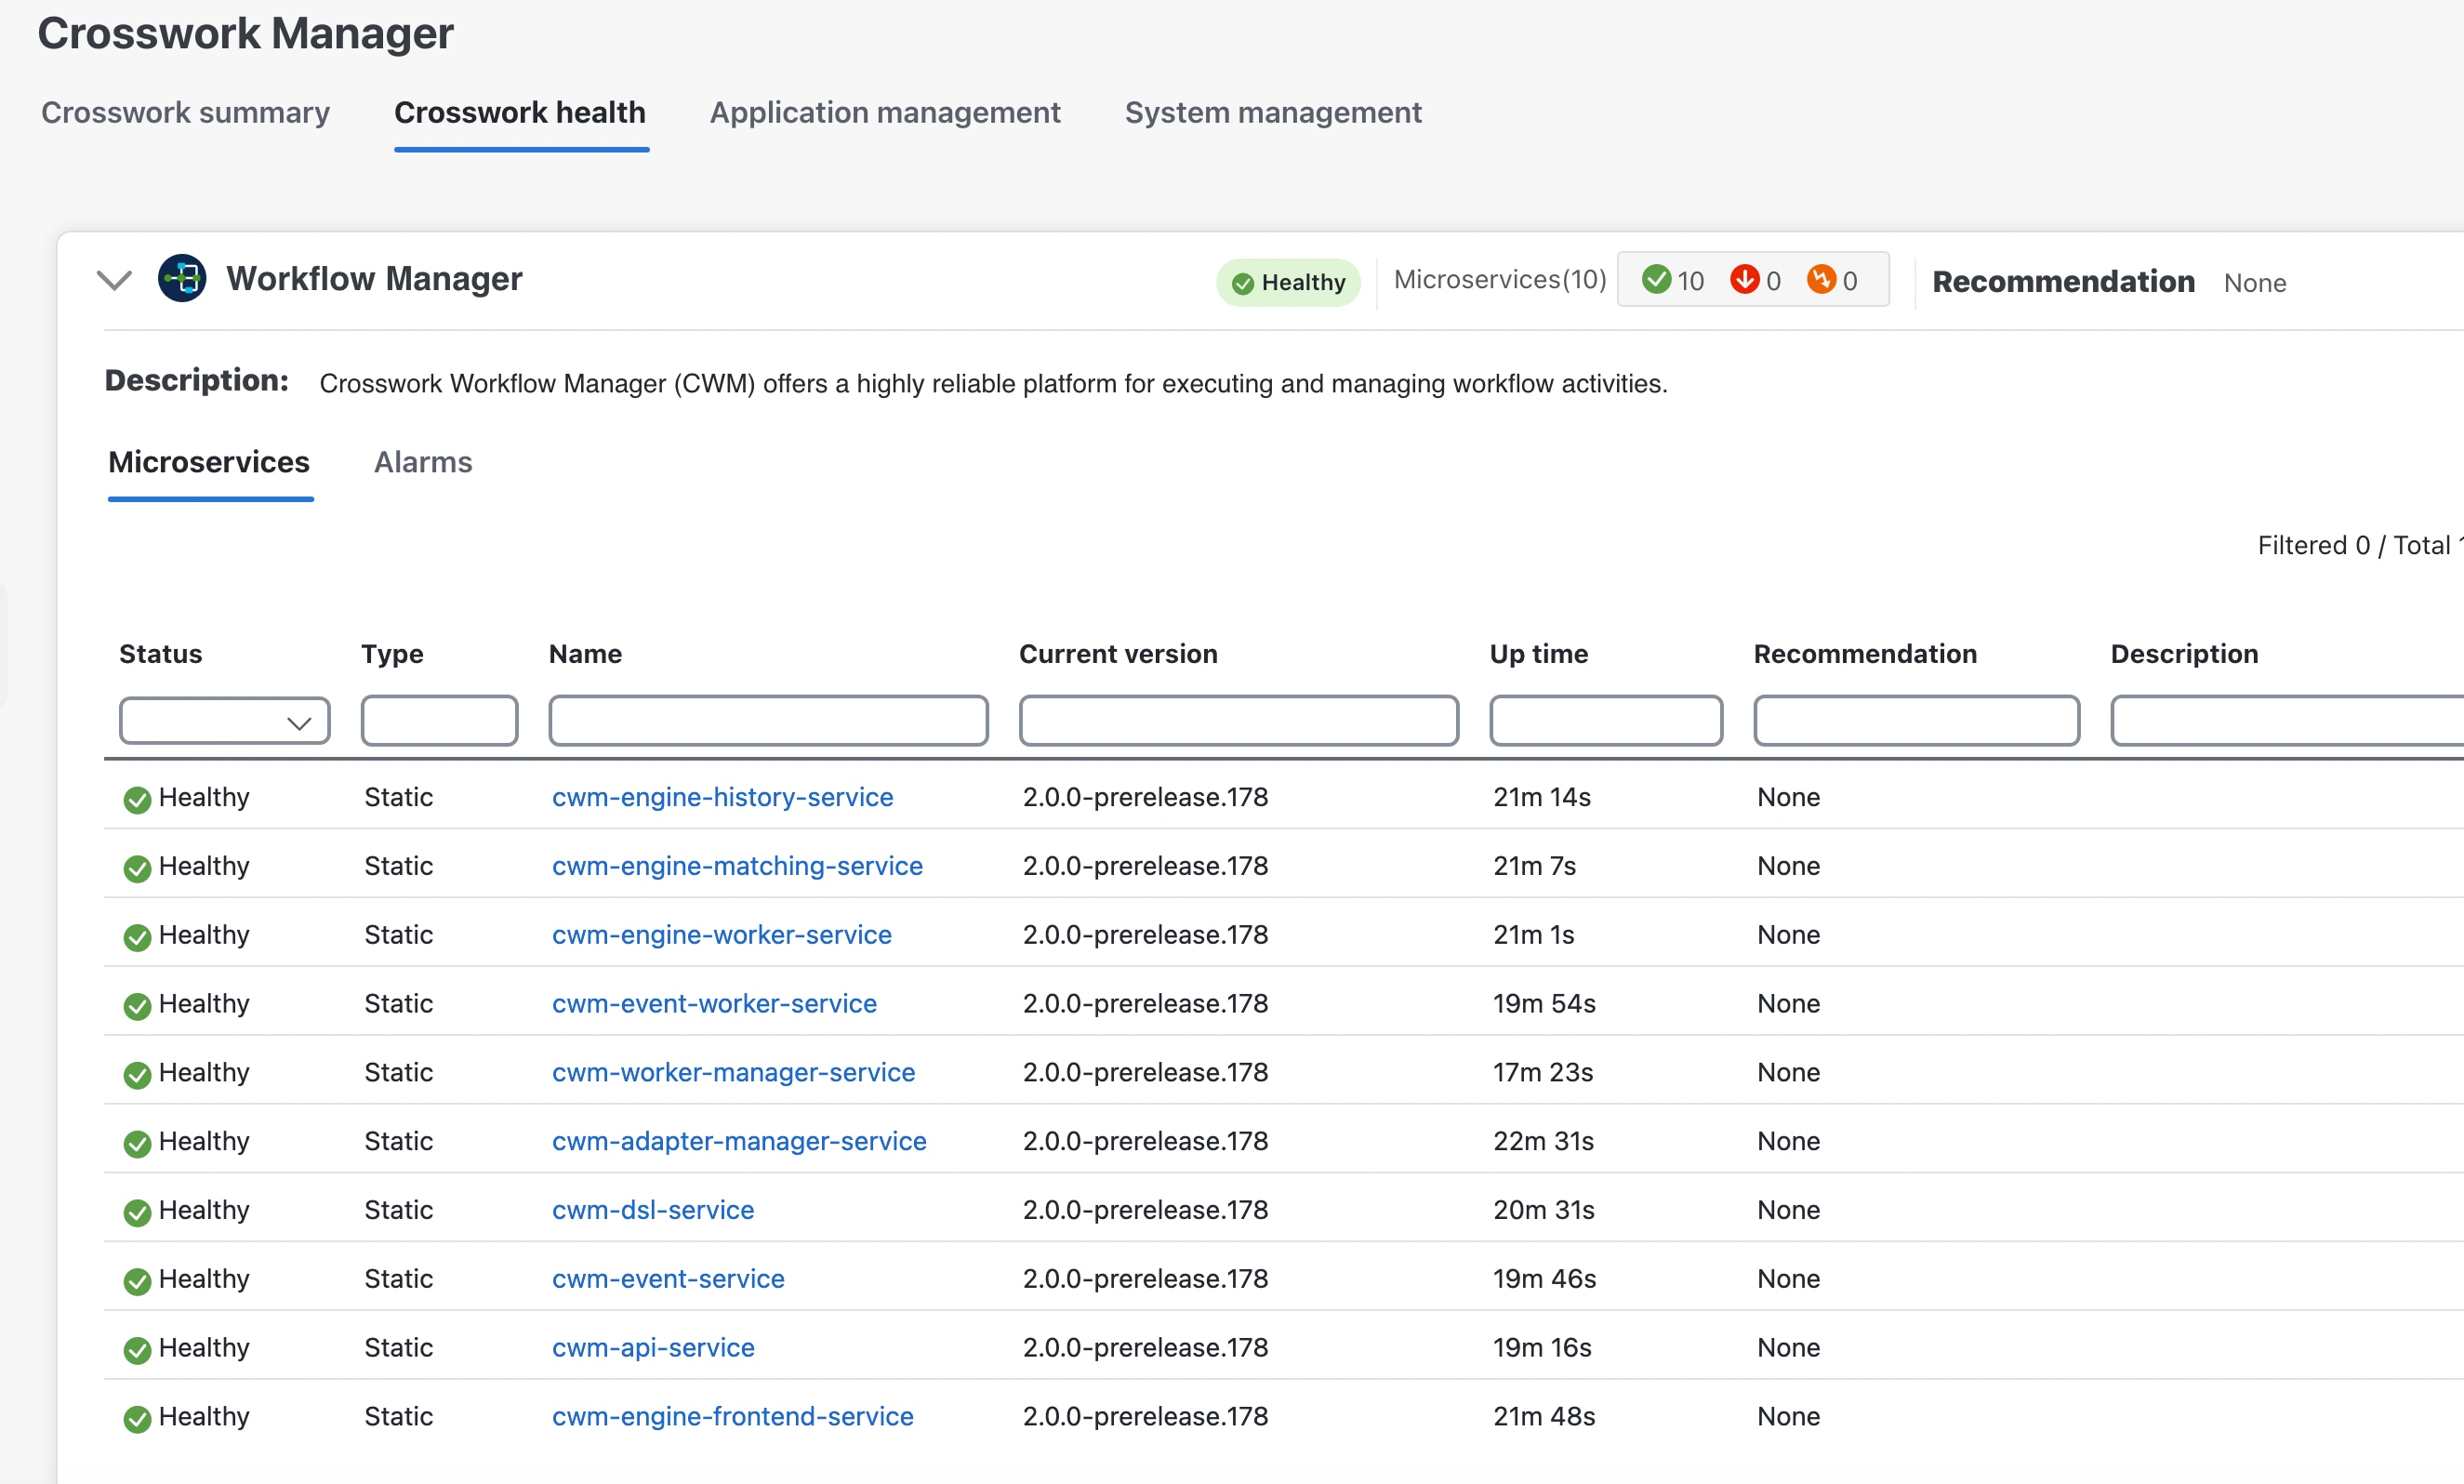
CWM Solutions Fleet Upgrade runs on the following minimum versions of server software:

  • EMS Lite CAPP

  • CWM CAPP

  • CWM Solutions CAPP

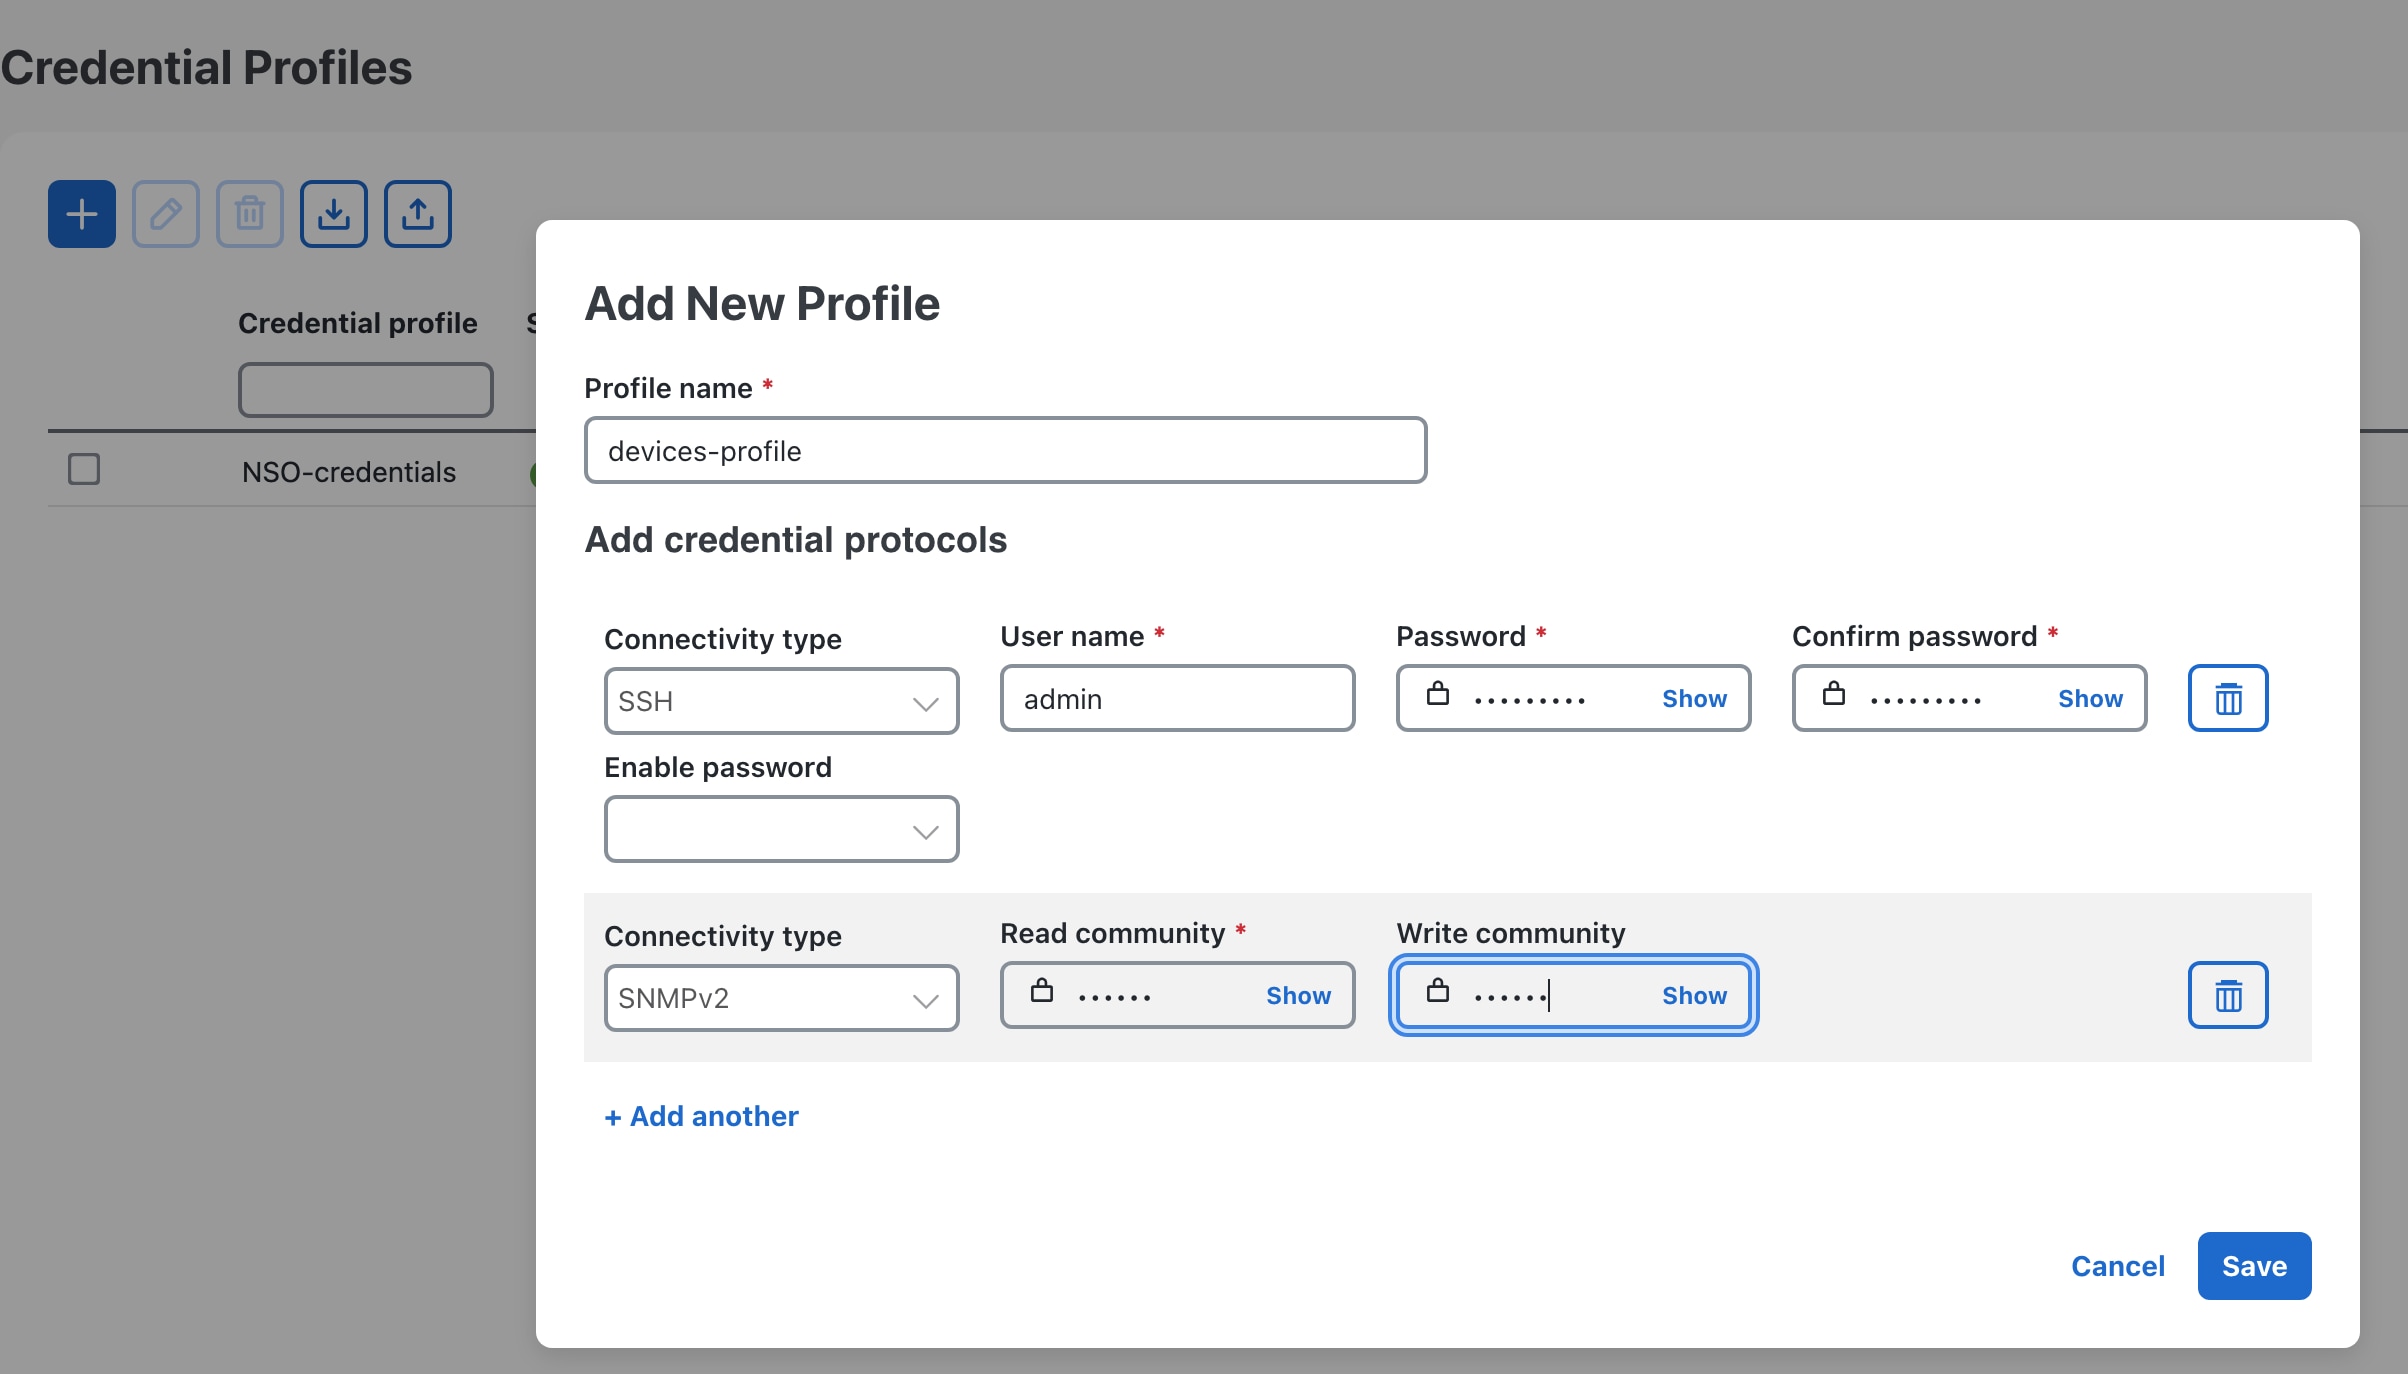
  • Cisco NSO Function Pack Packages

  • The CWM adapters for NSO and REST: cwm.v2.0.0.cisco.nso.v1.0.3.tar.gz and cwm.v2.0.0.generic.rest.v1.0.3.tar.gz

CWM Solutions Fleet Upgrade runs with Cisco NSO Version 6.4.1, with the following additional requirements:

  • The NSO installation must be a System install, NOT a Local install. For details on the distinction, see Ways to Deploy NSO.

  • Python 3.9 or later

  • Python package textfsm.

  • Java 17 or later

  • Ubuntu 22 or RHEL 8

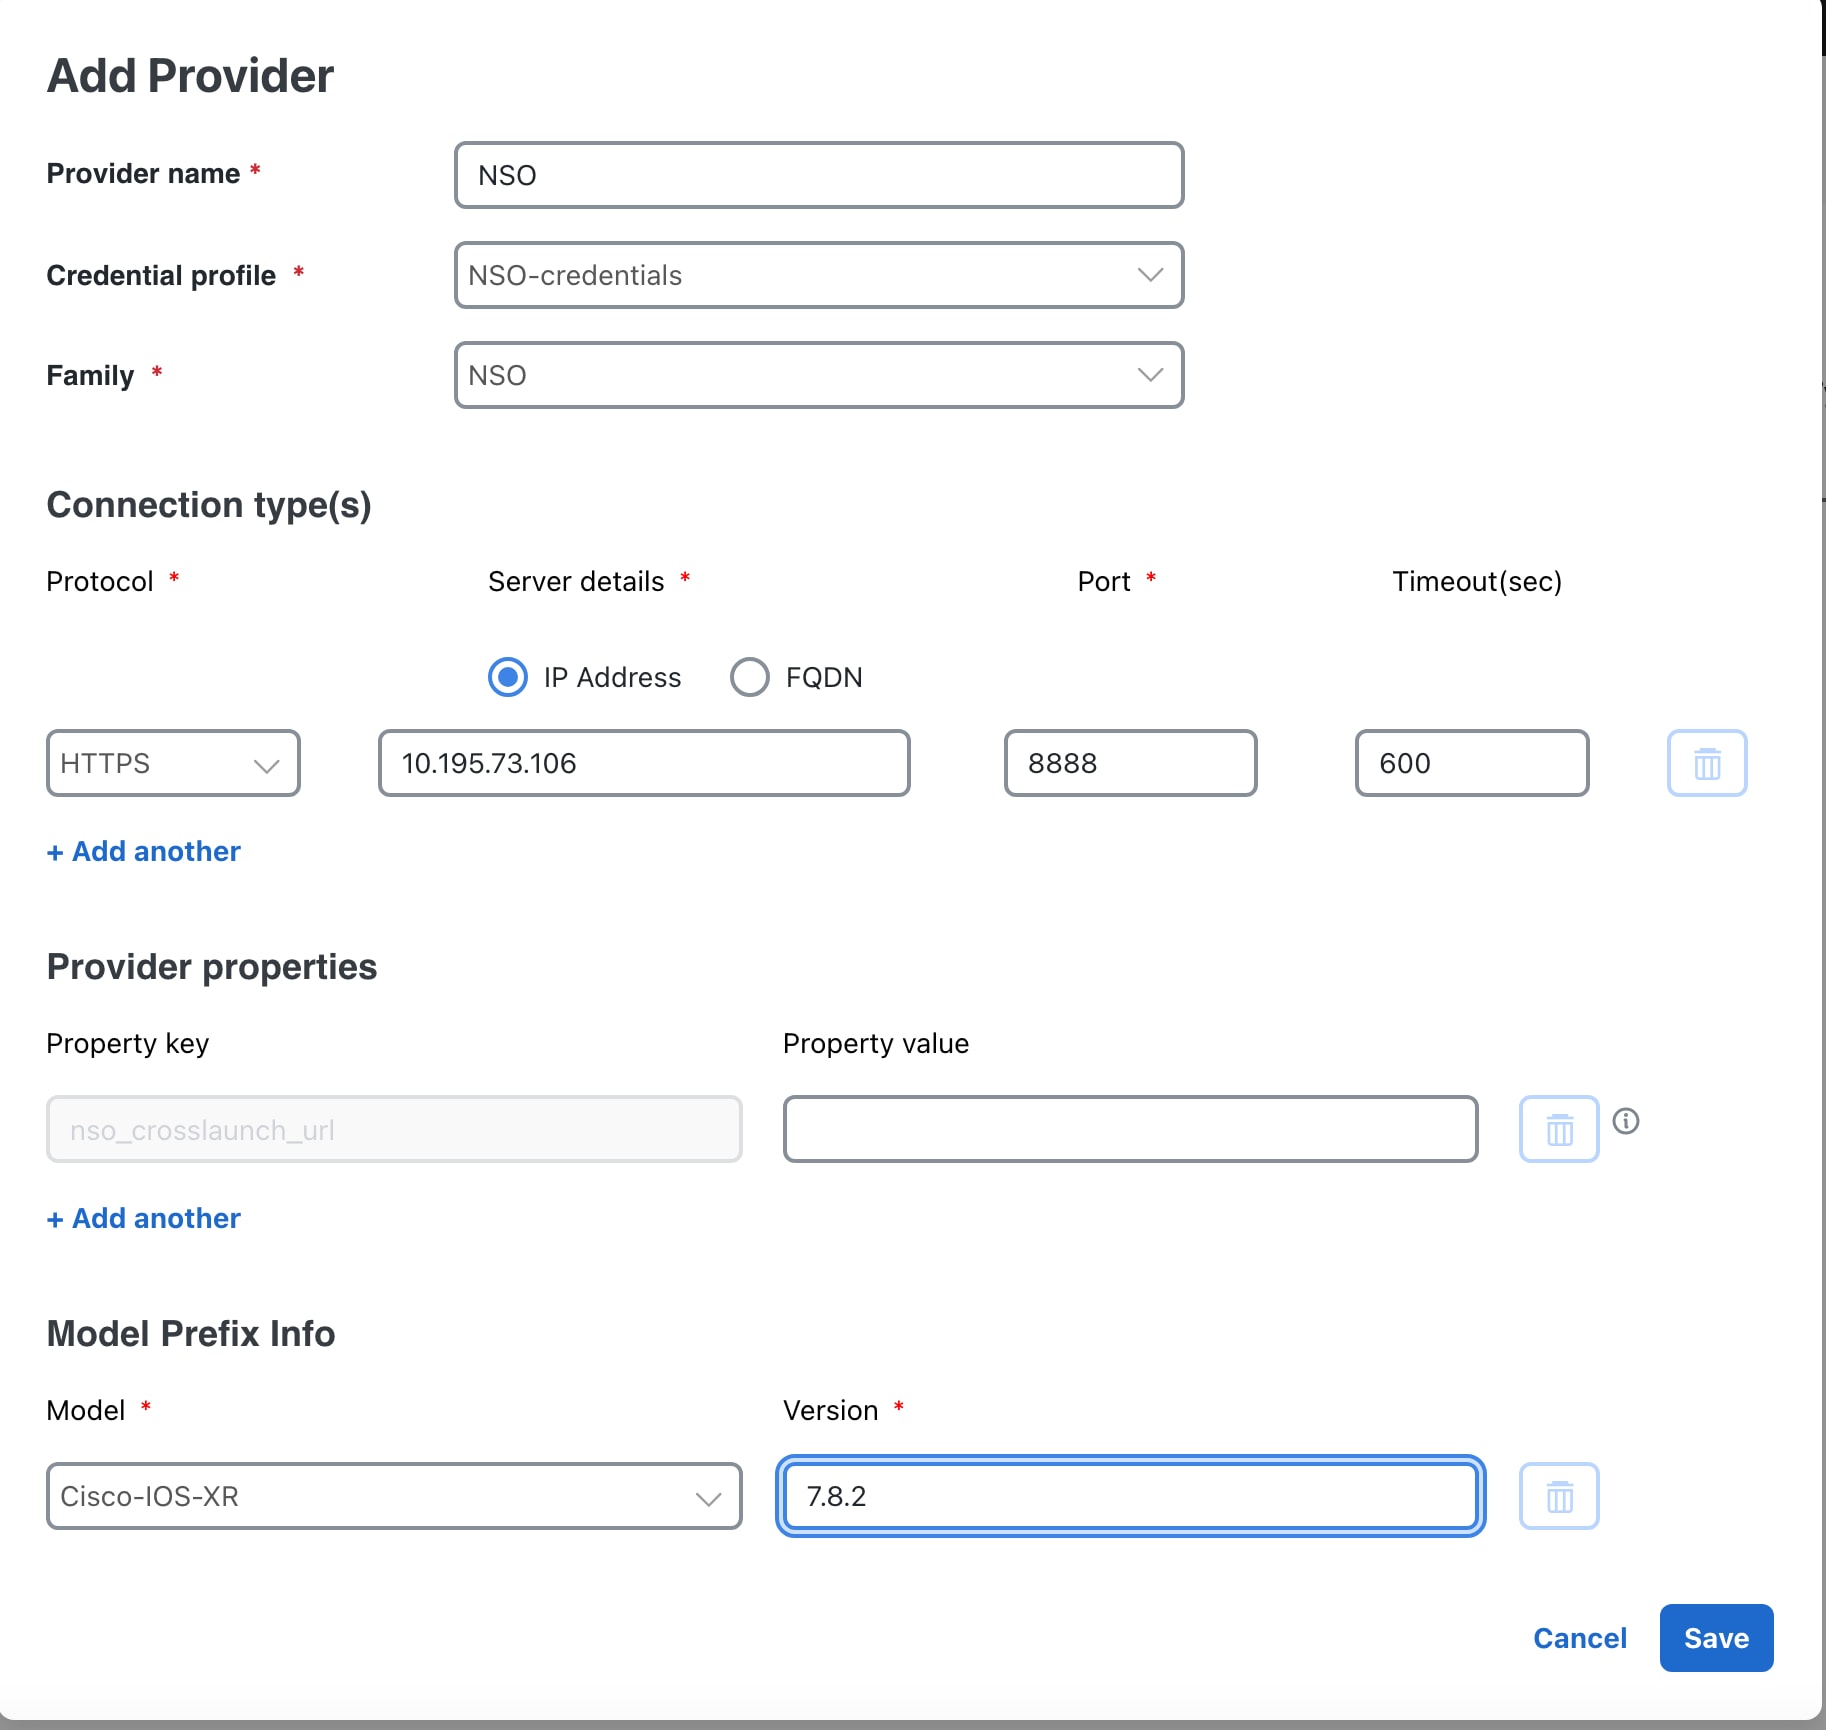
  • Requires ports open on NSO for 8080 or 8888 (HTTP/HTTPS for RESTCONF), 20243 for DLM.

Fleet Upgrade supported NOS and devices

The Fleet Upgrade workflow has been tested with and is known to work with the network operating systems and devices shown in the following table.

Table 2. Fleet Upgrade network OS and device support
Network OS Device

Cisco IOS-XR Versions:

7.8.2, 7.9.2, 7.10.1, 7.11.1, 24.1.1, 24.2.2

Cisco NCS 540, Cisco C8000 (VXR), ASR9903, NCS 5501, XR LNDT and eXR platforms

Cisco IOS-XE Versions: IOS-XE 17.09, IOS-XE 17.12

ASR 1000 series, Catalyst 9000 series

Juniper JunOS versions 18.1R1.9, 21.1R3.11

Juniper MX960

Additional requirements

Supported browsers: Google Chrome (Version 131.0.x) and Mozilla Firefox (134.0.1) . For full functionality, browsers must have JavaScript and cookies enabled.

Site preparation: The user network environment must include the following:

  • All network devices need access to the data network. The data network is the portion of the network dedicated to the transmission of user data, as opposed to the management network, which is optimized for IT management and control traffic.

  • IPv4 address reservation and distribution: 4 total, 2 for the management network, 2 for the data network.

  • IPv6 address reservation and distribution: 4 total, 2 for the management network, 2 for the data network.

  • The Cisco Software Download feature requires access to the Internet from the server, and a Cisco customer username and password with authorization to download images from software.cisco.com.

  • Active DNS and NTP servers.

  • Active FTP and SFTP servers on ports TCP Ports 30621 and 30622, respectively.

CWM Solutions installation workflow

When you have reviewed the requirements listed in Meeting installation prerequisites, complete the following tasks in this order to install CWM Solutions and Fleet Upgrade:

  1. NSO package pre-installation tasks

  2. Install the Crosswork Workflow Manager SVM Using Docker.

  3. Install the CWM CAPP.

  4. Install the CWM Solutions CAPP.

  5. Use the GUI to create Credential Profiles

  6. Use the GUI to add an NSO Provider

  7. Install the CWM Solutions packages on NSO

With Fleet Upgrade fully installed, continue by following the steps in Get Started With Fleet Upgrade.

NSO package pre-installation tasks

Before installing the CWM Solutions packages for NSO, you must ensure that additional Python packages are installed and that NSO supports REST. CWM Solutions can use both HTTP and HTTPS, so you can choose to enable SSL/HTTPS in the REST configuration if needed. You will need to install SSL certificate files and specify their location in the RESTCONF configuration if you want to enable SSL.

Before you begin

Ensure that you have met the basic software requirements for the NSO installation, as explained in Server software. If you plan to enable HTTPS/SSL as part of the REST configuration, Cisco recommends that you create and install SSL certificate and key files in the NCS configuration directory before completing this task.

Procedure


Step 1

Install the following Python packages:

~$ sudo pip install textfsm
~$ sudo pip install jinja2
~$ sudo pip instapp pyyaml
~$ sudo pip install pycryptodome

Step 2

Edit the NSO ncs.conf file as shown below to enable REST support. The <ssl> block is optional and shown below in italics to distinguish it from REST and other commands. For example:

sudo vi /etc/ncs/ncs.conf
 
 <webui>
    <enabled>true</enabled>
    <transport>
<tcp>
  <enabled>true</enabled>
  <ip>0.0.0.0</ip>
  <port>8080</port>
  <extra-listen>
    <ip>::</ip>
    <port>8080</port>
  </extra-listen>
</tcp>
<ssl>
  <enabled>true</enabled>
  <ip>0.0.0.0</ip>
  <port>8888</port>
  <key-file>${NCS_CONFIG_DIR}/ssl/cert/host.key</key-file>
  <cert-file>${NCS_CONFIG_DIR}/ssl/cert/host.cert</cert-file>
  <extra-listen>
    <ip>::</ip>
    <port>8888</port>
  </extra-listen>
      </ssl>
    </transport>
 
    <cgi>
      <enabled>true</enabled>
      <php>
        <enabled>false</enabled>
      </php>
    </cgi>
  </webui>
 
  <restconf>
    <enabled>true</enabled>
  </restconf>

Step 3

When you have finished the edit, save the ncs.conf file and restart NSO. For example:

sudo systemctl restart ncs

Step 4

Using an admin user ID, verify that REST is working correctly on your NSO installation. For example:

admin1@ncs% run show ncs-state rest
ncs-state rest listen tcp
 ip   ::
 port 8080
ncs-state rest listen tcp
 ip   0.0.0.0
 port 8080
ncs-state rest listen ssl
 ip   ::
 port 8888
ncs-state rest listen ssl
 ip   0.0.0.0
 port 8888

Step 5

Specify the following NSO global configuration settings:

admin1@ncs% show devices global-settings
connect-timeout 600;
read-timeout    600;
write-timeout   600;
ssh-algorithms {
    public-key [ ssh-rsa ];
}
trace           pretty;
ned-settings {
    cisco-iosxr {
        read {
            admin-show-running-config false;
        }
    }
}

Step 6

Ensure that the NETCONF Access Control Model (NACM) rule list grants the ncsadmin and Linux users permissions to perform functions on NSO. For example:

admin1@ncs% show nacm
read-default     deny;
write-default    deny;
exec-default     deny;
groups {
    group ncsadmin {
        user-name [ admin1 private ];
    }
    group ncsoper {
        user-name [ public ];
    }
}

For help adding more users, including adding them to auth groups, see the NSO topic Adding a User.


What to do next

Follow the steps in Install the CWM Solutions packages on NSO.

Install the Crosswork Workflow Manager SVM Using Docker

The standalone version of CWM Solutions Fleet Upgrade runs on the SVM (single virtual machine) version of Crosswork Workflow Manager, also known as CWM SVM .

The following instructions explain how to install CWM SVM using a Docker container installed on VMWare vCenter.

Before you begin

When following the instructions in this section:

  • Make sure that your VMware environment meets all the vCenter requirements specified in the Crosswork Network Controller 7.1 Installation Guide section Installation Requirements.

  • The edited template in the /data directory contains sensitive information (VM passwords and the vCenter password). The operator needs to manage access to this content. Store the templates used for your install in a secure environment or edit them to remove the passwords.

  • The install.log, install_tf.log, and .tfstate files will be created during the install and stored in the /data directory. If you encounter any trouble with the installation, provide these files to the Cisco Customer Experience team when opening a case.

  • The install script is safe to run multiple times. Upon error, input parameters can be corrected and re-run. You must remove the install.log, install_tf.log, and tfstate files before each re-run. Running the installer tool multiple times may result in the deletion and re-creation of VMs.

  • In case you are using the same installer tool for multiple Crosswork installations, it is important to run the tool from different local directories, allowing for the deployment state files to be independent. The simplest way for doing so is to create a local directory for each deployment on the host machine and map each one to the container accordingly.

  • Docker version 19 or higher is required while using the installer tool. For more information on Docker, see https://docs.docker.com/get-docker/.

  • In order to change install parameters or to correct parameters following installation errors, it is important to distinguish whether the installation has managed to deploy the VM or not. Deployed VM is evidenced by the output of the installer similar to:

    vsphere_virtual_machine.crosswork-IPv4-vm["1"]: Creation complete after 2m50s
              [id=4214a520-c53f-f29c-80b3-25916e6c297f]

Procedure


Step 1

In your Docker-capable Virtual Machine, create a directory where you will store everything you will use during this installation. For purposes of these instructions, we will call this directory myinstall. If you are using a Mac, make sure the directory name is in lower case.

Step 2

In myinstall, use the file editor of your choice to create a VMWare deployment template manifest (or "tfvars") file like the sample shown below. The tfvars file contains parameters for deploying a CWM SVM OVAin a VM environment, including assigning four IP addresses on vCenter. Before using the tfvar file, customize the parameter values shown in italics to fit your environment. Name the file deployment.tfvars.

Cw_VM_Image = ""    # Line added automatically by installer.
ClusterIPStack        = "IPv4"
DNS                   = "171.70.168.183"
DomainName            = "cisco.com"
CWPassword            = "Cisco123#"
NTP                   = "ntp.esl.cisco.com"
VMSize                = "XLarge"
ThinProvisioned = "false"
IgnoreDiagnosticsCheckFailure = "False"
Timezone           = "America/Los_Angeles"
EnableSkipAutoInstallFeature = "True"
ManagementVIP     = "172.22.140.180"
ManagementIPNetmask = "255.255.255.0"
ManagementIPGateway = "172.22.140.1"
DataVIP           = "14.14.14.12"
DataIPNetmask     = "255.255.255.0"
DataIPGateway     = "14.14.14.1"
CwVMs = {
  "0" = {
    VMName                = "svm-180",
    ManagementIPAddress = "172.22.140.182",
    DataIPAddress       = "14.14.14.13",
    NodeType               = "Hybrid"
  }
}
VCenterDC = {
  VCenterAddress = "<vcenterAddress>",
  VCenterUser = "administrator@vsphere.local",
  VCenterPassword = "<vcenterPassword>",
  DCname = "SVM-Datacenter",
  MgmtNetworkName = "VM Network",
  DataNetworkName = "Network2"
  VMs = [{
    HostedCwVMs = ["0"],
    Host = "172.22.140.210",
    Datastore = "datastore1",
    HSDatastore = "datastore1"
  }
]
}
SchemaVersion = "7.1.0"

Step 3

Download the CWM SVM installer bundle (.tar.gz file) and the OVA file from software.cisco.com to myinstall. For the purpose of these instructions, we will use the file name signed-cw-na-unifiedems-installer-7.1.0-85-release710-240823.tar.gz and signed-cw-na-unifiedems-7.1.0-85-release700-240823.ova

The file names mentioned in this topic are sample names. They may differ from the actual file names in software.cisco.com

Step 4

Use the following command to extract the installer bundle:

tar -xvf signed-cw-na-unifiedems-installer-7.1.0-85-release700-240823.tar.gz

The contents of the installer bundle is extracted (e.g. signed-cw-na-unifiedems-installer-7.1.0-85-release700-240823-release). The extracted files will contain the installer image (cw-na-unifiedems-installer-7.1.0-85-release710-240823.tar.gz) and files necessary to validate the image.

Step 5

Review the contents of the README file to understand everything that is in the package and how it will be validated in the following steps.

Step 6

Use the python --version command to learn the version of Python on your machine. Then use one of the following commands to verify the signature of the installer image:

If you are using Python 2.x: python cisco_x509_verify_release.py -e <.cer file> -i <.tar.gz file> -s <.tar.gz.signature file> -v dgst -sha512

If you are using Python 3.x: python3 cisco_x509_verify_release.py3 -e <.cer file> -i <.tar.gz file> -s <.tar.gz.signature file> -v dgst -sha512

If you do not have Python installed, go to python.org and download the version of Python that is appropriate for your machine.

Step 7

Use the following command to load the installer image file into your Docker environment.

docker load -i <.tar.gz file>

For example: docker load -i cw-na-unifiedems-installer-7.1.0-85-release710-240823.tar.gz

Step 8

Run the docker image list or docker images command to get the IMAGE ID value you will need in the next step.

For example: docker images

The output of this command will be similar to the following example. The IMAGE ID value you will need in the next step is underlined for clarity in the example below:

My Machine% docker images
REPOSITORY                       TAG                                         IMAGE ID      CREATED    SIZE
dockerhub.cisco.com/cw-installer cw-na-unifiedems-7.1.0-85-release710-240823 a4570324fad30 7 days ago 276MB

Pay attention to the CREATED time stamp in the table presented when you run docker images, as you may have other images present from the installation of prior releases. If you wish to remove these, you can use the docker image rm {image id} command.

Step 9

Launch the Docker container using the following command:

docker run --rm -it -v `pwd`:/data {image id of the installer container}

To run the image with the IMAGE ID from our example in the previous step, you would use the following command:

docker run --rm -it -v `pwd`:/data a4570324fad30

Note

 
  • You do not have to enter the full IMAGE ID value. In this case, docker run --rm -it -v `pwd`:/data a45 would also work. Docker requires enough of the IMAGE ID value to uniquely identify the image you want to use for the installation.

  • We are using the backtick (`) . This is recommended. Do not use the single quote or apostrophe (') for this purpose, as the meaning to the shell is very different. By using the backtick, the template file and the OVA will be stored in the current directory (that is, where you are on your local disk) when you run the commands, instead of inside the container.

  • When deploying an IPv6 setup, the installer needs to run on an IPv6-enabled container/VM. This requires additionally configuring the Docker daemon before running the installer, using the following method:

    • Linux hosts (ONLY): Run the Docker container in host networking mode by adding the –network host flag to the docker run command. For example:

      docker run --network host <remainder of docker run options>

  • Centos/RHEL hosts, by default, enforce a strict SELinux policy which does not allow the installer container to read from or write to the mounted data volume. On such hosts, run the Docker volume command with the Z option:

    docker run --rm -it -v `pwd`:/data:Z <remainder of docker options>

Note


The Docker command provided will use the current directory to read the template and the ova files, and to write the log files used during the install.

If you encounter either of the following errors, you should move the files to a directory where the path is in all lowercase, with no spaces or other special characters. Then navigate to that directory and rerun the installer.

  • Error 1: % docker run --rm -it -v `pwd`:/data a45 docker: invalid reference format: repository name must be lowercase. See 'docker run --help'

  • Error 2: docker: Error response from daemon: Mounts denied: approving /Users/Desktop: file does not exist ERRO[0000] error waiting for container: context canceled

Step 10

From the /opt/installer directory, run the installer:

./cw-installer.sh install -m /data/<template file name> -o /data/<.ova file>

For example:

./cw-installer.sh install -m /data/deployment.tfvars -o /data/signed-cw-na-unifiedems-7.1.0-85-release710-240823.ova

Step 11

Enter Yes to accept the End User License Agreement (EULA).

Step 12

Enter "yes" when prompted to confirm the operation.

It is not uncommon to see some warnings like the following during the install:
Warning: Line 119: No space left for device '8' on parent controller '3'. 
Warning: Line 114: Unable to parse 'enableMPTSupport' for attribute 'key' on element 'Config'.

You can ignore these warnings if the install script shows output like the sample below, which indicates that the installation is proceeding to a successful conclusion:

Sample output:
cw_vms = <sensitive> 
INFO: Copying day 0 state inventory to CW 
INFO: Waiting for deployment status server to startup on 10.90.147.66. 
Elapsed time 0s, retrying in 30s

If the install script fails, open a case with Cisco and provide the .log files that were created in the /data directory (and the local directory where you launched the installer Docker container), to Cisco for review. The most common reasons for the install to fail are a password that is not adequately complex, and errors in the template file. If the installer fails for any errors in the template (for example, mistyped IP address), correct the error and rerun the install script.

Step 13

When the install script concludes successfully, it startts to deploy a new VM onto the vCenter specified in the tfvars file and returns output like the following sample:

Crosswork deployment status available at http://172.22.140.180:30602/d/NK1bwVxGk/crosswork-deployment-readiness?orgId=1&refresh=10s&theme=dark 
Once deployment is complete login to Crosswork via: https://172.22.140.180:30603/#/logincontroller 
Tue Mar 25 17:07:00 UTC 2099: 
INFO: Cw Installer operation complete.

Step 14

Use the first link from the script completion message ("Crosswork deployment status available...") to display a Crosswork Deployment Readiness dashboard like the one shown below. Use the dashboard to monitor the continuing deployment of the new CWM SVM installation. When the Crosswork Deployment Status displays 100%, the CWM SVM is ready.

Step 15

Use the second link from the script completion message ("Once deployment is complete login...") to access the CWM SVM interface. Use the default username and password admin to log in and set up a new password. Log in with the new credentials and select Administration > Crosswork Manager to verify that the system is healthy.


What to do next

Follow the steps in Install the CWM CAPP.

Install the CWM CAPP

Once you have installed CWM SVM, you can install the Crosswork Workflow Manager application, which is distributed as a Crosswork CAPP file.

Procedure


Step 1

Get the URL of the CWM CAPP file from your Cisco sales team. You can either download it directly from the Cisco server to CWM, or download it to a storage directory on your local VM or another storage resource in your network and then upload it to CWM.

Step 2

Log in to CWM using an admin ID and select Administration > Crosswork Manager > Application Management.

Step 3

Click Add new file and select Upload CAPP file (.tar.gz).

Step 4

Using the Add File (.Tar.Gz) page, first select the Protocol you want to use to add the CWM Solutions CAPP file to the system. Then:

  1. If you selected URL: Enter the URLwhere the CAPP file is stored, and ensure the Basic Auth checkbox is selected. Then enter the Username and Password needed to access the URL.

  2. If you selected SCP: Enter the file's Server path/Location, the server's Host name/IP address, Port, and the login Username and Password, as shown in the following figure.

Step 5

Click Add. You can select the Job History option to monitor the download while it proceeds.

Step 6

When the addition completes, the CWM Solutions tile appears on the Applications page, indicating that the application is ready to install.

Step 7

Click the More icon (three dots) on the Workflow Manager tile to display the Workflow Manager installation pop up.

Step 8

When installation is complete, the Applications Management > Job History tab should display an "Activation Successful" message. You can also verify successful installation by choosing Administration > Crosswork Manager > Crosswork Health > Workflow Manager. The Microservices tab should show the 10 microservices in the following figure, all with a Healthy status.


What to do next

Install the CWM Solutions CAPP

Install the CWM Solutions CAPP

Once you have installed Crosswork Workflow Mananger, you can install the Crosswork Workflow Manager Solutions application, which is also distributed as a Crosswork CAPP file.

Procedure


Step 1

As with the CWM CAPP file, get the URL of the CWM Solutions CAPP file from your Cisco sales team. You can either download it directly from the Cisco server to CWM, or download it to a storage directory on your local VM or another storage resource in your network and then upload it to CWM.

Step 2

Log in to CWM using an admin ID and select Administration > Crosswork Manager > Application Management.

Step 3

Click Add new file and select Upload CAPP file (.tar.gz).

Step 4

Using the Add File (.Tar.Gz) page, first select the Protocol you want to use to add the CWM Solutions CAPP file to the system. Then:

  1. If you selected URL: Enter the URLwhere the CAPP file is stored, and ensure the Basic Auth checkbox is selected. Then enter the Username and Password needed to access the URL.

  2. If you selected SCP: Enter the file's Server path/Location, the server's Host name/IP address, Port, and the login Username and Password, as shown in the following figure.

Step 5

Click Add. You can select the Job History option to monitor the download while it proceeds.

Step 6

When the addition completes, the Worflow Manaager Solutions tile appears on the Applications page at the far right, indicating that the application is ready to install.

Step 7

Click the More icon (three dots) on the Workflow Manager Solutions tile to display the Workflow Manager Solutions installation pop up, then click Install.

Step 8

The Application Management > Job History tab should display an "Activation of application Workflow Manager Solutions Successful" message.

Step 9

Application Management > Applications tab should show all four applications are up.

Step 10

Choose Administration > Crosswork Manager > Crosswork Health > Workflow Manager Solutions. The Microservices tab should show all five CWM Solutions microservices are in a Healthy state.

Step 11

Finally, CWM Solutions will add three dynamic service pods to CWM. These are worker pods for the three CWM adapters that CWM Solutions installed automatically. You will find them under Administration > Crosswork Manager > Crosswork Health > Workflow Manager (not under Workflow Manager Solutions).


What to do next

Use the GUI to create Credential Profiles

Use the GUI to create Credential Profiles

Credential profiles allow CWM Solutions to authenticate when it attempts to access NSO and your devices. In this procedure, we'll create the NSO credential profile first and then the device profile.

Before you begin

Ensure that you've already installed CWM Solutions per the instructions in the main CWM Solutions installation workflow.

Procedure


Step 1

Log in to Crosswork Workflow Manager and select Device Management > Credential Profiles. CWM displays the Credential Profiles list.

Step 2

Click + to add a credential profile for NSO.

Step 3

Complete the fields on the Add New Profile window as follows:

In this field...

Enter or select:

Profile name

NSO-Credential (or any unique name you find meaningful)

Connectivity type

SSH

User name

The username for an admin user on the NSO server. This can be a dedicated CWM Solutions user with admin privileges that you create on the NSO server.

Password

The password for this username.

Confirm password

The same password you entered in Password.

Enable password

Leave this field blank.

Step 4

Click + Add another to display another set of connectivity protocol to the same NSO credential profile. This time, select HTTPS as the Connectivity type, and enter the appropriate NSO user and password information for this protocol, just as you did for Step 3. For example:

Step 5

When you are finished, click Save to save the NSO credential profile. You should see the profile appear on the Credential Profiles list.

Step 6

Repeat Steps 2 through 5 to create another credential profile for your devices, adding as many device login credentials and protocols (SSH, NETCONF, HTTP, HTTPS) as are appropriate for the devices you intend to manage using CWM Solutions. The following figure shows how you might create a single device credential profile. You might create multiple credential profiles if you have groups of devices using the same protocols but with different credentials. For example:


What to do next

Record the name of the NSO credential profile you created during this task, as you will need it in the next task, Use the GUI to add an NSO Provider.

Use the GUI to add an NSO Provider

Providers let Crosswork Workflow Manager know which helper applications control your devices. In this step, we'll create an NSO provider and assign it the Credential Profile we created in the last step, so CWM can authenticate when it communicates with NSO.

Before you begin

Ensure that you've already created the two Credential Profiles as explained in Use the GUI to create Credential Profiles. You will need the name of the NSO Credential Profile to complete the following task.

Procedure


Step 1

Log in to Crosswork Workflow Manager and select Administration > Manage Provider Access.

Step 2

Click + to add an NSO provider.

Step 3

Complete the fields on the Add New Profile window as follows:

In this field...

Enter or select:

Provider name

The name of the provider, such as NSO.

Credential profile

The name of the NSO credential profile you created in Use the GUI to create Credential Profiles.

Family

NSO

Connection type(s)

Protocol

Select the principal protocol that the Cisco Crosswork application will use to connect to the provider. NSO typically uses HTTPS and/or SSH.

To add more connectivity protocols for this provider, click the icon at the end of the first row. To delete a protocol you have entered, click the Delete icon icon shown next to that row.

You can enter as many sets of connectivity details as you want, including multiple sets for the same protocol.

Server details

One of these options:

  • IP Address (IPv4 or IPv6) and subnet mask of the provider's server.

  • FQDN (Domain name and Host name)

Port

The port number to use to connect to the provider's server. This is the port corresponding to the protocol being configured. For example, if the protocol used to communicate with the provider server is SSH, the port number is usually 22. NSO often uses 8888 as a default.

Timeout

The amount of time (in seconds) to wait before the connection times out. The default is 30 seconds.

Model Prefix Info

Model

Select the model prefix that matches the NED CLI used by Cisco NSO. Valid values are:

Cisco-IOS-XR

Cisco-NX-OS

Cisco-IOS-XE

For telemetry, only Cisco-IOS-XR is supported.

To add more model prefix information for this Cisco NSO provider, click the Add icon icon at the end of any row in the Model Prefix Info section. To delete a model prefix you have entered, click the Delete icon icon shown next to that row.

Version

Enter the Cisco NSO NED driver version used on the NSO server.

Provider Properties

Property Key

Enter the name of the key for the special provider property you want to configure. For details on NSO and special properties, see Add Cisco NSO Providers.

Property Value

Enter the value to assign to the property key.

Step 4

When you are finished, click Save to save the NSO Provider profile. After a delay while Crosswork attempts to reach NSO, you should see the profile appear on the Manage Provider Access list, as shown in the example below.


What to do next

Follow the steps in Install the CWM Solutions packages on NSO.

Install the CWM Solutions packages on NSO

Use Crosswork's NSO Deployment Manager to deploy the CWM Solutions function pack bundles on NSO. These packages will provide the basic inventory management and other NSO capabilities needed to use CWM Solutions. You will also need to log in to NSO to ensure that NACM is enabled and other NSO settings are properly configured.

Before you begin

Ensure you have added NSO as a provider as explained in Use the GUI to add an NSO Provider

Procedure


Step 1

Log in to Crosswork and choose Administration > Crosswork Manager > NSO Deployment Manager.

Step 2

Under NSO Deployment Manager, choose the NSO function pack bundles tab and click the check box next to CWM SOLUTIONS FP. Then click the Deploy button to start the deployment process.

Step 3

When prompted on the first Provide credentials page, provide the SSH User name, password and Sudo password credentials.

Step 4

On the Deployment target page, select Non-HA in the High Availability column, as shown below.

Step 5

When prompted on the Review & Deploy page, click Deploy.

Step 6

Click the Job History tab to monitor the NSO deployment as it proceeds. You will see the CWM Solutions packages listed in the Job Details window for the running job.

Step 7

When the job is listed as Succeeded, click the Installed NSO function packs tab and expand the NSO provider to verify that the packages are all installed.

The package list should look like the illustration below.

You can also verify that all the packages are installed correctly by running the show packages command on NSO and comparing the command output with the list shown below.

admin1@ncs% run show packages package oper-status | tab
                                                                                                         PACKAGE
                           PROGRAM                                                                       META     FILE
                           CODE     JAVA           PYTHON         BAD NCS  PACKAGE  PACKAGE  CIRCULAR    DATA     LOAD   ERROR
NAME                   UP  ERROR    UNINITIALIZED  UNINITIALIZED  VERSION  NAME     VERSION  DEPENDENCY  ERROR    ERROR  INFO   WARNINGS
------------------------------------------------------------------------------------------------------------------------------------------
cisco-ios-cli-6.107    X   -        -              -              -        -        -        -           -        -      -      -
cisco-iosxr-cli-7.62   X   -        -              -              -        -        -        -           -        -      -      -
cisco-ztp              X   -        -              -              -        -        -        -           -        -      -      -
dlm-svc                X   -        -              -              -        -        -        -           -        -      -      -
fleet-upgrade          X   -        -              -              -        -        -        -           -        -      -      -
goldenconfig           X   -        -              -              -        -        -        -           -        -      -      -
inventory              X   -        -              -              -        -        -        -           -        -      -      -
inventory-junos        X   -        -              -              -        -        -        -           -        -      -      -
juniper-junos-nc-4.18  X   -        -              -              -        -        -        -           -        -      -      -
resource-manager       X   -        -              -              -        -        -        -           -        -      -      -
 
[ok][2025-04-22 12:06:26]
 
[edit]
admin1@ncs% run show packages package package-version  | tab
                       PACKAGE
NAME                   VERSION
--------------------------------
cisco-ios-cli-6.107    6.107.2
cisco-iosxr-cli-7.62   7.62
cisco-ztp              2.0.0
dlm-svc                7.1.0
fleet-upgrade          2.0.0
goldenconfig           2.0.0
inventory              2.0.0
inventory-junos        2.0.0
juniper-junos-nc-4.18  4.18.8
resource-manager       4.2.9

Step 8

If you haven't already done so, log in to NSO and set the following device global settings in configuration mode. These NSO settings are required for Fleet Upgrade.

admin@ncs% set devices global-settings connect-timeout 600
admin@ncs% set devices global-settings read-timeout 600
admin@ncs% set devices global-settings write-timeout 600
admin@ncs% set devices global-settings ssh-algorithms public-key ssh-rsa
admin@ncs% set devices global-settings trace pretty
admin@ncs% set devices global-settings ned-settings cisco-iosxr read admin-show-running-config false
admin@ncs% commit
 
admin@ncs% show devices global-settings
connect-timeout 600;
read-timeout    600;
write-timeout   600;
ssh-algorithms {
    public-key [ ssh-rsa ];
}
trace           pretty;
ned-settings {
    cisco-iosxr {
        read {
            admin-show-running-config false;
        }
    }
}

Step 9

Note that NACM is required for NSO. Ensure the Linux user has ncsadmin rights to perform functions on NSO.

admin@ncs% set nacm groups group ncsadmin user-name admin
admin@ncs% commit
 
 
admin@ncs% show nacm
read-default     deny;
write-default    deny;
exec-default     deny;
groups {
    group ncsadmin {
        user-name [ admin private ];
    }
    group ncsoper {
        user-name [ public ];
    }
}

Step 10

Copy the ncs_backup.sh, ncs_restore.sh and get_technical_support_data.sh scripts from the provided bundle to the scripts directory under the NCS_RUN_DIR, and update the permissions of the copied scripts to make them executable.

# Locate the NCS_RUN_DIR using the following command
cat /etc/systemd/system/ncs.service | grep NCS_RUN_DIR=
 
# Update the permission
chmod +x ncs_backup.sh ncs_restore.sh get_technical_support_data.sh

What to do next

Follow the steps in Get Started With Fleet Upgrade.