Introduction
This document describes how to configure Secure Network Analytics (SNA) to use Microsoft Entra ID for Single Sign On (SSO.)
Prerequisites
Requirements
Cisco recommends that you have knowledge of these topics:
- Microsoft Azure
- Secure Network Analytics
Components Used
- SNA Manager v7.5.2
- Microsoft Entra ID
The information in this document was created from the devices in a specific lab environment. All of the devices used in this document started with a cleared (default) configuration. If your network is live, ensure that you understand the potential impact of any command.
Configuration Steps
Configure Enterprise Application in Azure
1. Log in to Azure cloud portal.
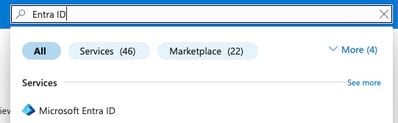
2. Search Entra ID service in the search box and select Microsoft Entra ID.
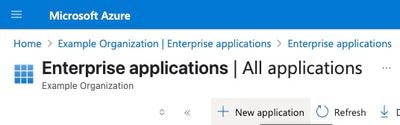
3. In the left pane expand Manage and select Enterprise Applications.
4. Click New Application.
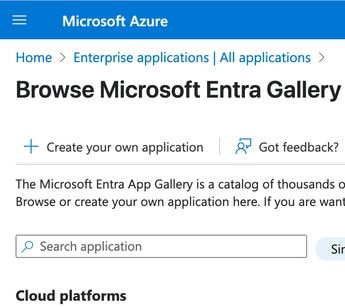
5. Select Create Your Own Application on the new page that loads.
 Azure-UI
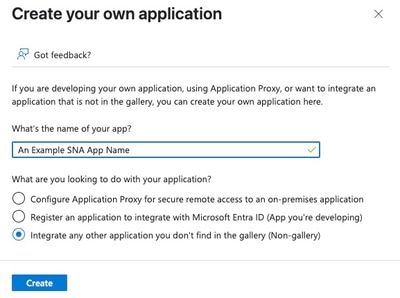
6. Provide a name to application in What's the name of your app? field.
7. Select the radio button Integrate any other application you don't find in the gallery (Non-gallery) and click Create.
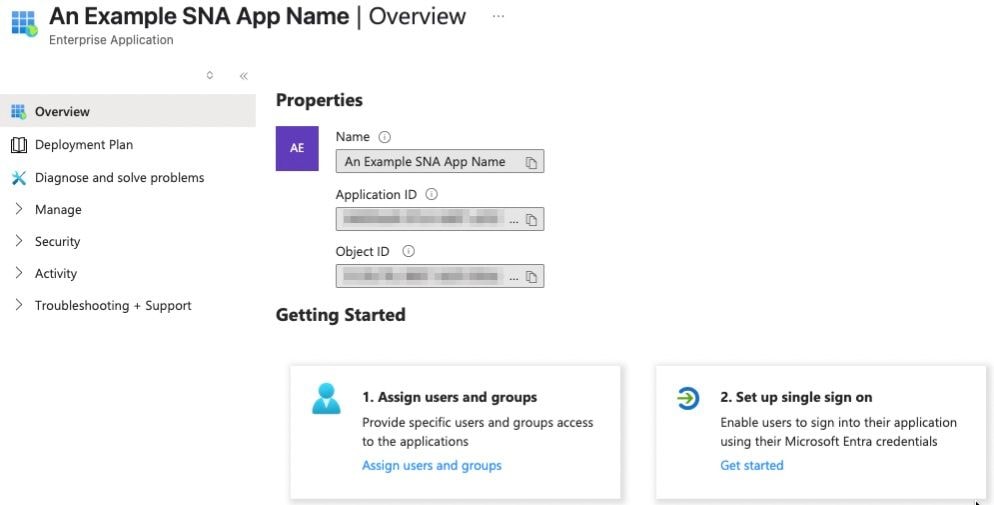
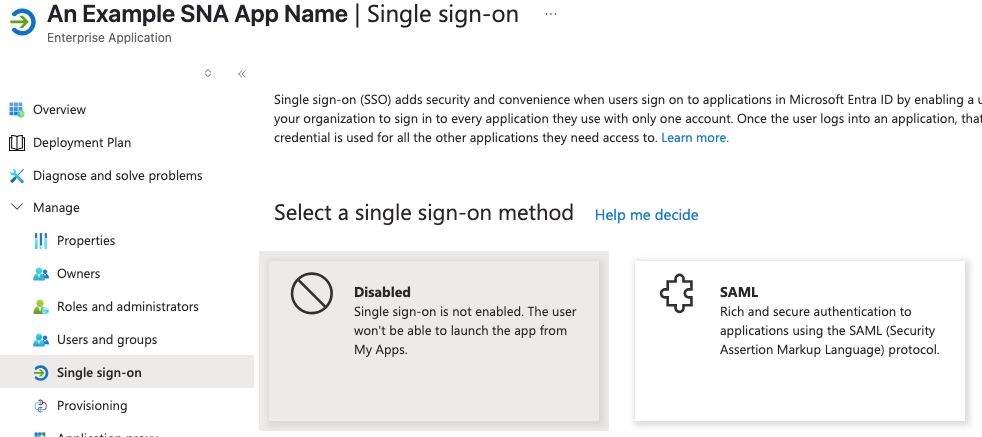
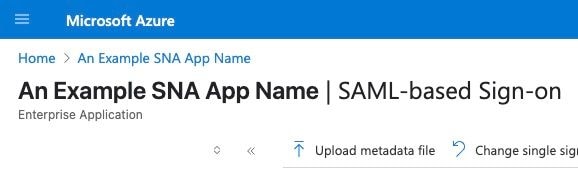
8. On newly configured application dashboard click Set up single sign on.
9. Select SAML.
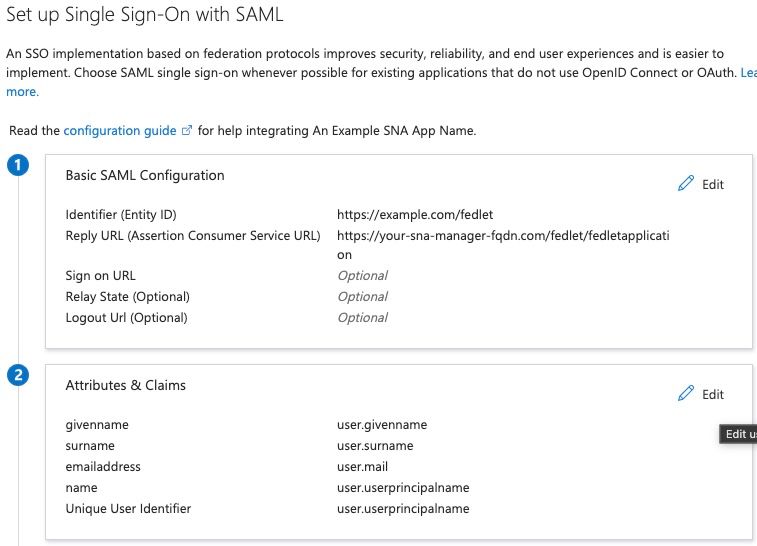
10. On the Set up Single Sign-On with SAML page click Edit under Basic SAML Configuration.
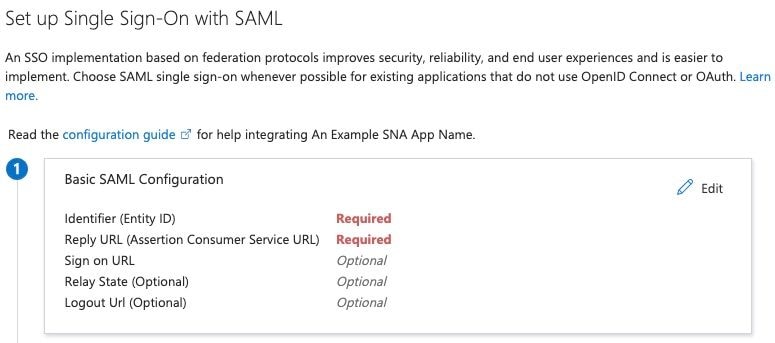
11. Under Basic SAML Configuration pane configure Add Reply URL to https://example.com/fedlet/fedletapplication replacing example.com with FQDN of SNA Manager and click save.

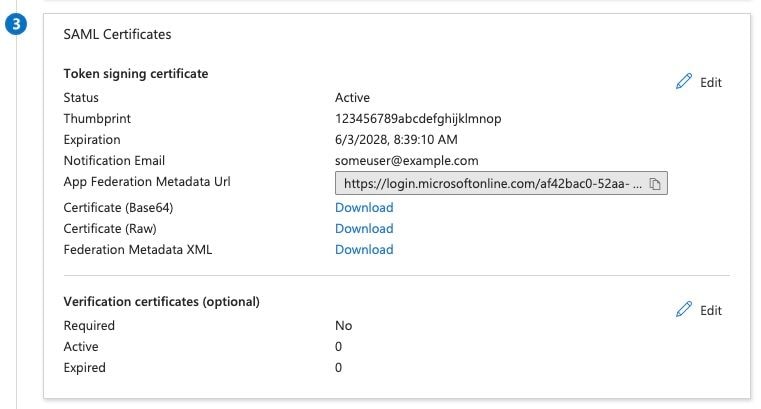
12. Locate the SAML Certificates card and save the App Federation Metadata URL field value and download the Federation Metadata XML.
Configure and Download Service Provider XML File in SNA
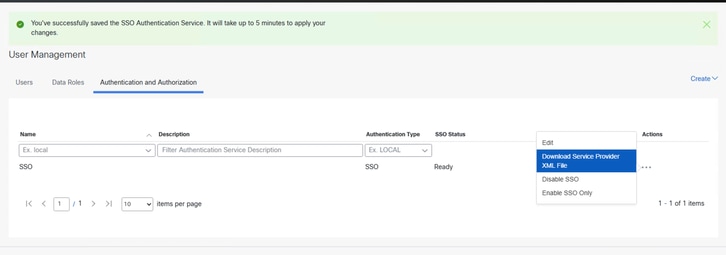
- Log in to the SNA Manager UI.
- Navigate to Configure > Global > User Management.
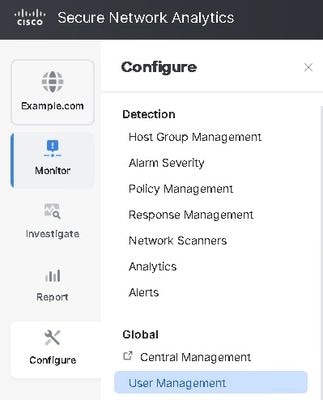
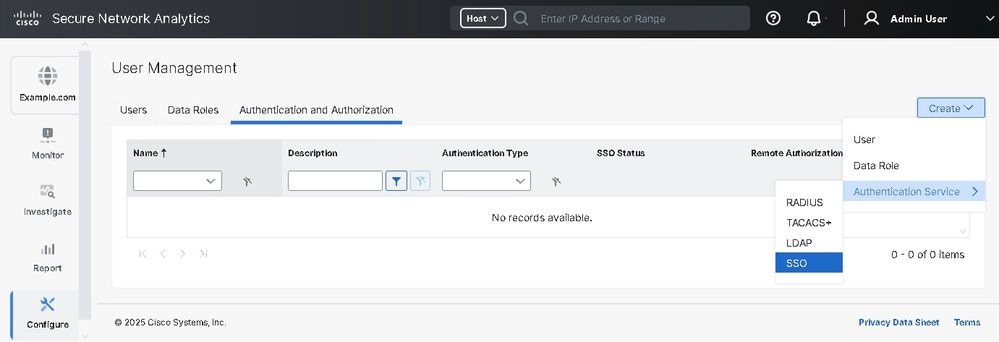
- Under Authentication and Authorization tab click Create > Authentication Service > SSO.
4. Select the appropriate radio button for Identity Provider Metadata URL or Upload Identity Provider Metadata XML File.
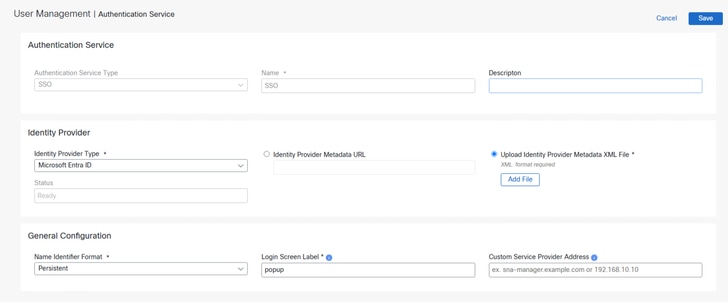

Note: In this demo Upload Identity Provider Metadata XML File is selected.
5. Configure Identity Provider Type field to Microsoft Entra ID, Name Identifier Format to Persistent, Type a Login Screen Label.

Tip: Configured Login Screen label (name/text) shows above the Login In with SSO button and should not be left empty.
6. Click Save which returns you back to Authentication and Authorization tab.
7. Wait for the status to be READY and select Enable SSO from the action menu.
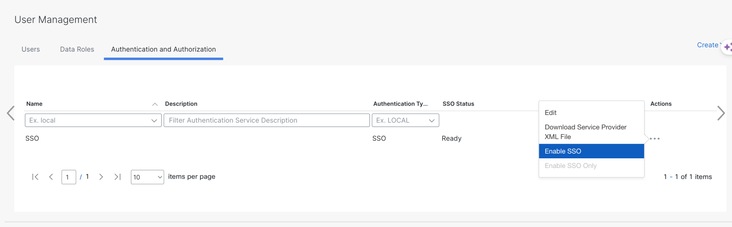
8. Under Authentication and Authorization tab click on the three dots in the Actions column and click Download Service Provider XML File.
Configure SSO in Azure
1. Log in to Azure portal.
2. From the search bar navigate to Enterprise Application > Select configured Enterprise Application > Click setup single sign on.
3. Click Upload metadata file at the top of the page and upload the sp.xml file downloaded from SNA Manager.
4. It opens "Basic SAML Configuration" screen and set various settings to correct values, Click Save.
Note: Ensure the Name ID Format in Entra ID is correct.
5. Locate Attributes & Claims section and click Edit.
6. Click user.userprincipalname value under Claim Name section.
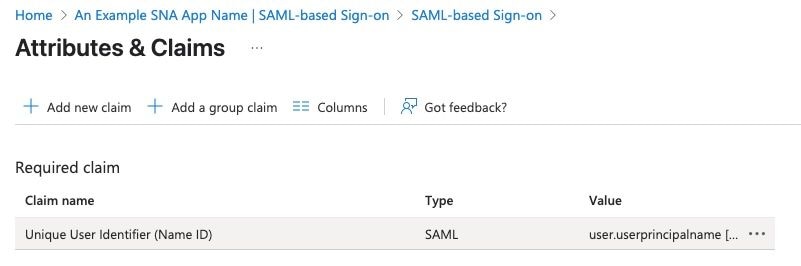
7. Under Manage Claim page Verify Choose name identifier format.
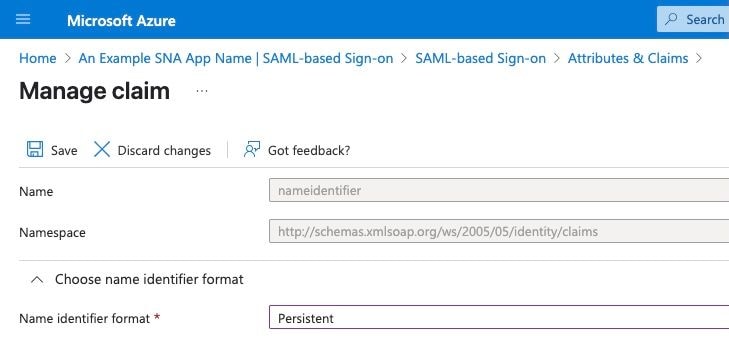
Note: Name identifier format field is set to Persistent if not then select it from the drop down menu. Click save if changes were made.

Caution: This is the most common place to encounter issues. The settings on the SNA Manager and Microsoft Azure must match. if you opted to use the "emailAddress" format in SNA, the format here must also be "Email Address.
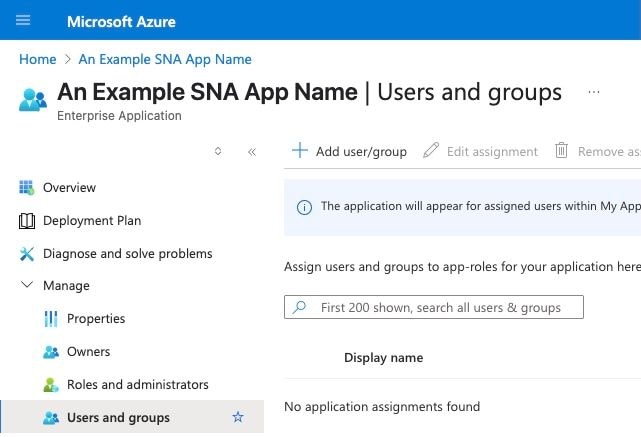
Setup Users in Entra ID.
1. Log in to Azure portal.
2. From the search bar navigate to the Enterprise Application > Select configured Enterprise Application > select Users and Groups on the left > click Add user/group.
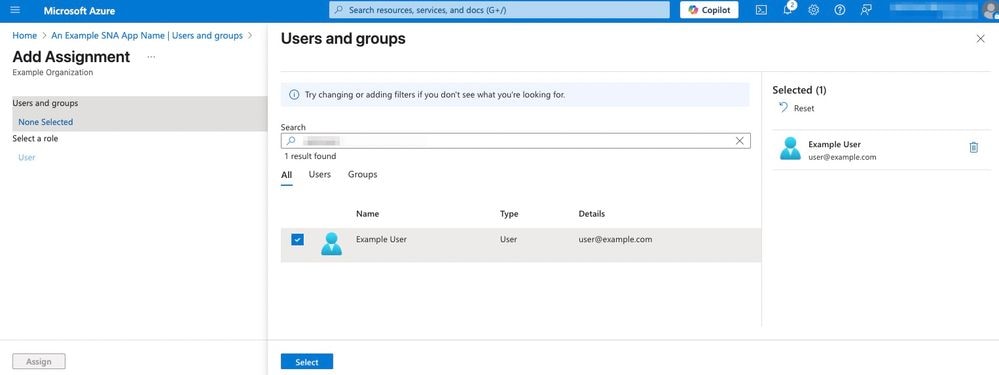
3. In the left pane click None Selected.
4. Search and add required user to the application.
Configure SSO in SNA
1. Log in to the SNA Manager UI.
2. Navigate to Configure > Global > User Management.
3. Click Create > User.
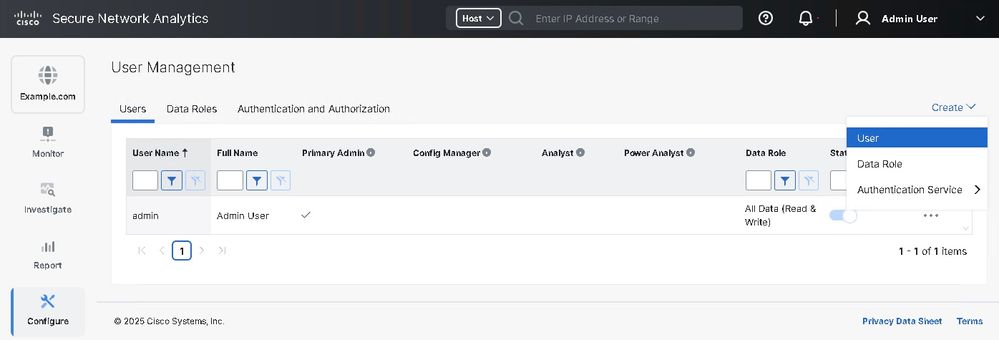
4. Configure user by providing associated details with Authentication service selected as SSO and click Save.
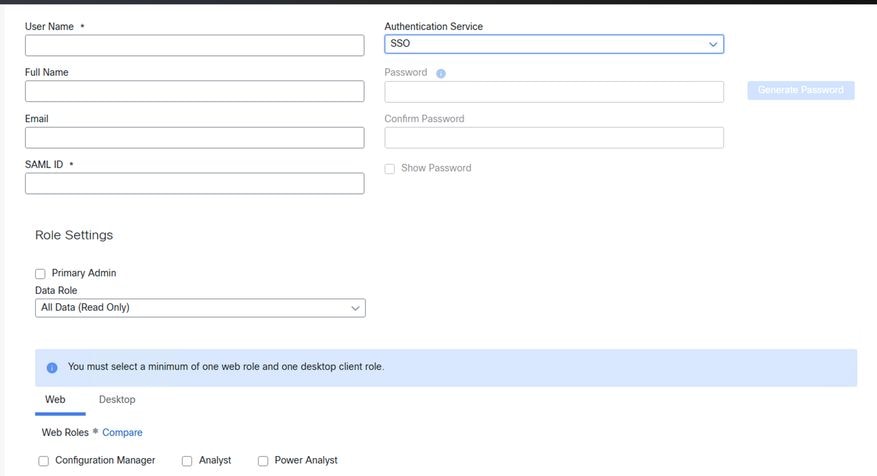 SAML-User creation in SNA-UI
Troubleshoot
If users are unable to login to the SNA Manager, a SAML tracer can be used to investigate further.
If further assistance is needed investigating the SNA Manager a TAC Case can be raised.
https://www.cisco.com/c/en/us/support/web/tsd-cisco-worldwide-contacts.html
 Feedback