Overview of the Connect Service
CONNECT is a customizable and location-aware guest captive service that enables you to create customized, intuitive on-boarding experiences for your visitors. It enables you to provide two types of on-boarding experiences for your visitors:
-
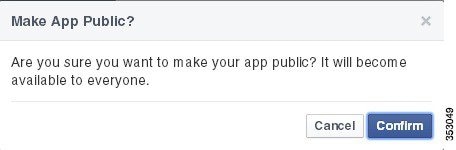
Facebook Wi-Fi:
-
Allows the administrator of a facility to enable the facility's Facebook page as a free Wi-Fi hotspot for visitors
-
Allows visitors to access free Wi-Fi after accessing the facility’s Facebook page.
-
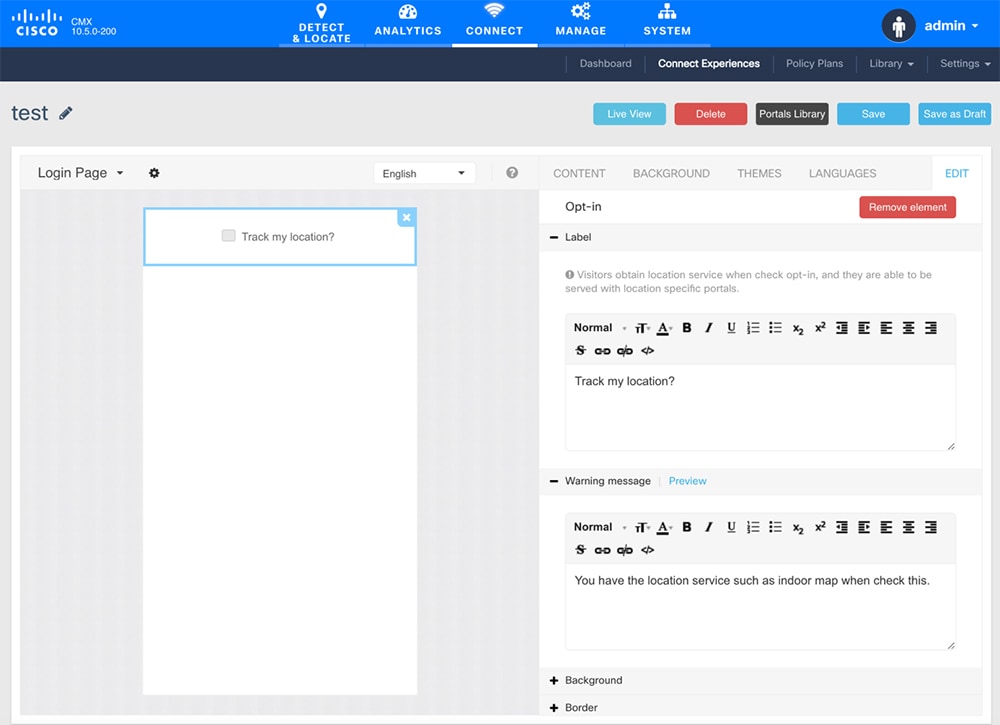
Provides insight into a facility's customer base through demographic reports.

Note
Cisco CMX supports Facebook Connect through access points in local mode or FlexConnect mode.
-
-
Custom Portal:
-
Enables the administrator of a facility to create and host a guest splash page with customized branding and advertisements.
-
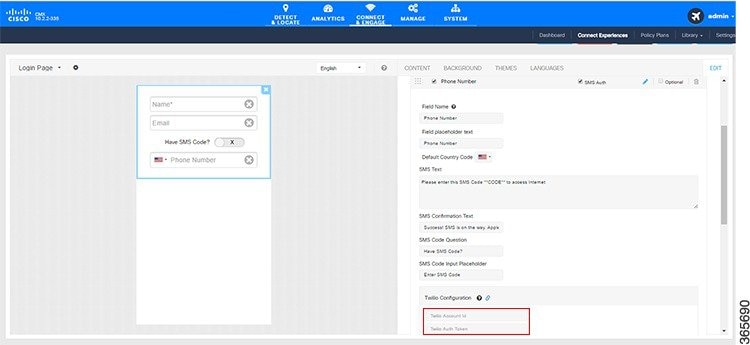
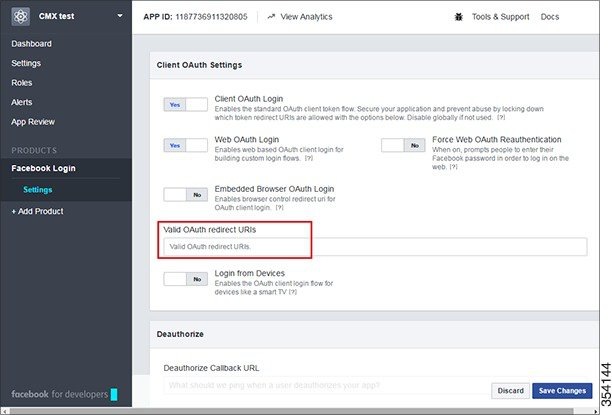
Provides social network authentication with Facebook, Instagram, and Foursquare using OAuth 2.0.
-
Collects OAuth 2.0 user social information
-
For a complete list of new features in the Cisco CMX Connect service, see the What’s New in This Release section of the Release Notes for Cisco CMX at:
Note |
|
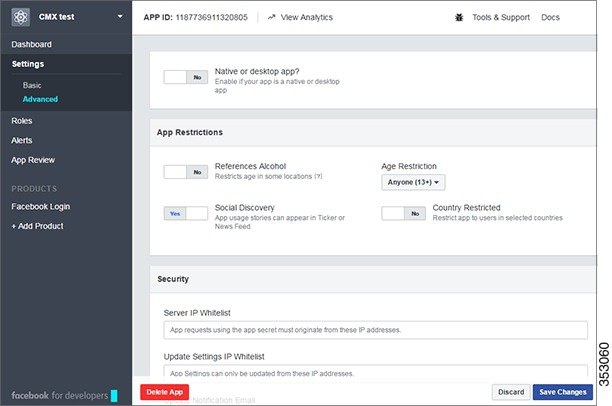
Restrictions
-
The Facebook Wi-Fi authentication feature for Cisco CMX Connect is not supported in Cisco IOS XE 3.3.x SE, Cisco IOS XE 3.6.x E, Cisco IOS XE 3.7.x E.
-
After you upgrade from Cisco CMX 10.1 to 10.2, you need to clear your browser's cache, and then launch the Cisco CMX Connect UI. If you do not perform this operation, the portal will not be upgraded, and all CMX Connect features will not work properly.
-
For Cisco CMX Release 10.5.x and later, all HTTP functions are no longer supported on Cisco CMX Connect Services.
-
(CSCvh13119) (On Apple MacBook Pro laptops) After accepting the terms and conditions and clicking Submit, the Cisco CMX portal page with the Facebook icon keeps redisplaying and does not connect to the Internet. Opening a separate browser session results in connecting to the Internet, but bypasses portal authentication.
(On Apple iPads) The custom portal page appears twice before authentication is successful.
Comparison of Facebook Wi-Fi and Custom Portal
|
Facebook Wi-Fi |
Custom Portal |
|
|---|---|---|
|
Landing page |
Hosted on Facebook (Facebook page) |
Hosted on Cisco Connected Mobile Experiences (Cisco CMX) |
|
Social authentication |
Facebook only |
Facebook, Instagram, and Foursquare (Using OAuth 2.0) |
|
Facebook app permission pop-up |
No |
Yes |
|
Post on timeline |
Check-in is visible on users’ timeline (Dependent on privacy setting) |
Check-in is unavailable |
|
Demographic data |
Stored on Facebook at an aggregate level (Requires more than 30 check-ins to be enabled) |
Stored on Cisco CMX (at an individual level) |
|
Export of demographic data |
No |
Yes |
|
Customer profile |
|
Marketing teams and IT teams that prefer to keep data in-house |
|
Support for Post Auth URL |
No |
Yes |
Preparatory Tasks
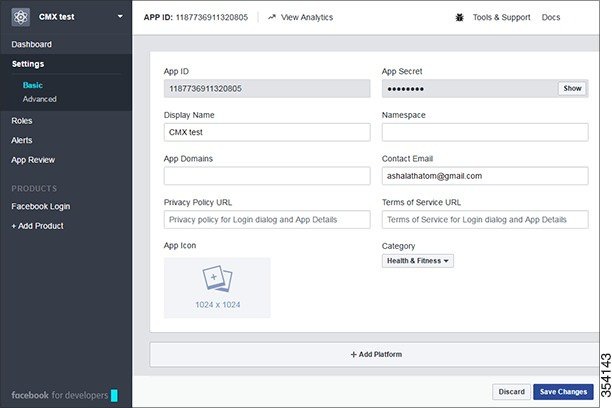
You must have a Facebook account for a business page. For more information, see the Creating a Facebook Page for Your Organization.
Adding a Connect or ConnectExperience User
Procedure
| Step 1 |
Log in to Cisco Connected Mobile Experiences (Cisco CMX). |
||
| Step 2 |
Choose MANAGE > Users . |
||
| Step 3 |
Click New User . |
||
| Step 4 |
In the Add New User dialog box, enter the first name, last name, username, and password of a user. |
||
| Step 5 |
From the Roles drop-down list, select Connect or ConnectExperience .
|
||
| Step 6 |
Click Submit . |
User Role Summary
The following table lists the user roles that have access to the Connect & Engage service.
|
Role |
Connect & Engage Service |
Other Services |
|||
|---|---|---|---|---|---|
|
Dashboard |
Experiences |
Policy |
Settings |
||
|
Admin |
Read |
Read/Write |
Read/Write |
Read/Write |
Read/Write |
|
Connect |
Read |
Read/Write |
Read/Write |
Read/Write |
No |
|
ConnectExperience |
No |
Read/Write |
Read |
Read* |
No |
* Write permission for SMS, Number of Devices, and Time to Expire.

 Feedback