Headsets

Important Headset Safety Information

High Sound Pressure—Avoid listening to high volume levels for long periods to prevent possible hearing damage.

When you plug in your headset, lower the volume of the headset speaker before you put the headset on. If you remember to lower the volume before you take the headset off, the volume will start lower when you plug in your headset again.

Be aware of your surroundings. When you use your headset, it may block out important external sounds, particularly in emergencies or in noisy environments. Don’t use the headset while driving. Don’t leave your headset or headset cables in an area where people or pets can trip over them. Always supervise children who are near your headset or headset cables.

Cisco Headset 500 Series

The following Cisco headsets are available:

  • Cisco Headset 521—A headset with a single earpiece that comes with an inline USB controller.

  • Cisco Headset 522—A headset with a dual earpiece that comes with an inline USB controller.

  • Cisco Headset 531—A headset with a single earpiece that can be used as either a standard headset or a USB headset with the USB adapter.

  • Cisco Headset 532—A standard headset with a dual earpiece that can be used as either a standard headset or a USB headset with the USB adapter.

  • Cisco Headset 561—A wireless headset with a single earpiece that comes with a base.

  • Cisco Headset 562—A wireless headset with a dual earpiece that comes with a base.

Cisco Headset 521 and 522

The Cisco Headset 521 and 522 are two wired headsets that have been developed for use on Cisco IP Phones and devices. The Cisco Headset 521 features a single earpiece for extended wear and comfort. The Cisco Headset 522 features two earpieces for use in a noisy workplace.

Both headsets feature a 3.5-mm connector for use on laptops and mobile devices. An inline USB controller is also available for use on the Cisco IP Phone 8851, 8851NR, 8861, 8865, and 8865NR. The controller is an easy way answer your calls, and to access basic phone features such as hold and resume, mute, and volume control.

Phone Firmware Release 12.1(1) and later is required for these headsets to function properly.
Figure 1. Cisco Headset 521
Cisco Headset 521
Figure 2. Cisco Headset 522
Cisco Headset 522

Cisco Headset 531 and 532

The Cisco Headset 531 and 532 can be used as standard headsets on the phones. You plug the headset into the headset port using the RJ connector.

The Cisco Headset USB Adapter is also available for use on the Cisco IP Phone 8851, 8851NR, 8861, 8865, and 8865NR. The adapter converts the Cisco Headset 531 and 532 into a USB headset, and it gives you a few extra features. It provides a convenient way to handle calls, to test your microphone, and to customize your bass and treble, gain, and sidetone settings.

Phone Firmware Release 12.1(1) and later is required for the headsets to function properly.

Figure 3. Cisco Headset 531
Cisco Headset 531
Figure 4. Cisco Headset 532
Cisco Headset 532

Cisco Headset 561 and 562

Cisco Headset 561 and 562 are two wireless headsets that have been developed for use in today's office. The Cisco Headset 561 features a single earpiece for extended wear and comfort. Cisco Headset 562 features two earpieces for use in a noisy workplace.

Both headsets come with either the Standard base or the Multibase for charging your headset, and for monitoring the headset power level with the LED display. Both bases also displays your call status, such as incoming call, active call, and calls on mute. If your headset is upgrading the firmware, then the LEDs show the upgrade progress.

The base connects to the phone using either a USB connector or a Y cable depending upon your phone model and your personal preference. The Y cable plugs into the AUX and headset ports of the phone.

An AC plug is included for connecting the base to a power outlet. You have to install the power clip for your region before you can plug in the power adapter.

Occasionally a tone is played over your Cisco Headset 561 or 562. Some of these tones alert you when you perform an action, such as pressing a button. Other tones warn you that the headset requires attention, such as when the battery needs recharging, or when you are too far from the base station.

Phone Firmware Release 12.5(1) or later and the defaultheadsetconfig.json file for the Cisco Headset 561 and 562 to function properly with Cisco Unified Communications Manager 12.5(1) or earlier.

Figure 5. Cisco Headset 561
Cisco Headset 561
Figure 6. Cisco Headset 562
Cisco headset 562

Cisco Headset 500 Series Support

The Cisco IP Phone 7811 is the only phone in the Cisco IP Phone 7800 Series that does not support a headset. The Cisco IP Phone 7821, 7841, and 7861 use an RJ-style connector to connect with a headset or base.

The Cisco IP Phone 8800 Series has both RJ-style connectors and USB ports to connect to headsets and bases to a phone. But the type of connection depends upon your phone model. The following table describes headset connection and phone model support on the Cisco IP Phone 8800 Series.

Table 1. Headset Support on the Cisco IP Phone 8800 Series.

Cisco Headset 500 Series

Cisco IP Phone 8811

Cisco IP Phone 8841

Cisco IP Phone 8845

Cisco IP Phone 8851

Cisco IP Phone 8851NR

Cisco IP Phone 8861

Cisco IP Phone 8865

Cisco IP Phone 8865NR

Cisco Headset 521

Cisco Headset 522

Not Supported

Supported

(With USB Inline Controller)

Cisco Headset 531

Cisco Headset 532

Supported

(RJ connector)

Supported

(RJ connector or with USB Adapter)

Cisco Headset 561

Cisco Headset 562

Supported

(Y-cable)

Supported

(Y-cable or USB cable)

Cisco Headset 521 and 522 Controller Buttons and Hardware

Your controller buttons are used for basic call features.

Figure 7. Cisco Headset 521 and 522 Controller
Cisco Headset 521 and 522 controller buttons

The following table describes the Cisco Headset 521 and 522 controller buttons.

Table 2. Cisco Headset 521 and 522 Controller Buttons

Number

Name

Description

1

Mute button

Toggle the microphone on and off.

2

Volume button

Adjust the volume on your headset.

3

Call

Use to manage calls:

  • Press once to answer an incoming call.

  • Press and hold to end a call.

  • Press twice to reject an incoming call.

  • Press once to put an active call on hold. Press again to retrieve a call from hold.

  • Press once to put an active call on hold, and to answer an incoming call.

Cisco Headset 531 and 532 USB Adapter Buttons and Hardware

Your adapter is used for basic call features.

Figure 8. Cisco Headset USB Adapter
Cisco Headset USB Adapter buttons

The following table describes the Cisco Headset USB Adapter buttons.

Table 3. Cisco USB Adapter Buttons

Number

Name

Description

1

Mute button

Toggle the microphone on and off.

2

Volume button

Adjust the volume on your headset.

3

Call button

Use to place, answer, and manage your calls:

  • Press once to place a call.

  • Press once to answer an incoming call. Press twice to reject an incoming call.

  • Press once to put an active call on hold, and to answer an incoming call.

  • Press once to put an active call on hold.

  • Press and hold to end a call.

Cisco Headset 561 and 562 Buttons and LED

Your headset buttons are used for basic call features.

Figure 9. Cisco Headset 561 and 562 Headset Buttons
Cisco Headset 561 and 562 Headset buttons

The following table describes the Cisco Headset 561 and 562 Headset buttons.

Table 4. Cisco Headset 561 and 562 Headset Buttons

Number

Name

Description

1

Power and Call button

Use to power the headset on and off.

Press and hold for 4 seconds to power on and off the headset.

Incoming and active call management depends upon if you have one call or multiple calls.

One call:

  • Press once to answer incoming calls.

  • Press once to put an active call on hold. Press again to retrieve a call from hold.

  • Press twice to reject an incoming call.

  • Press and hold to end an active call.

Multiple calls:

  • Press once to put an active call on hold, and to answer a second incoming call.

  • Press once to put a current call on hold. Press again to resume a call, or press and hold for 2 seconds to end the current call and to resume a held call.

  • Press and hold to end an active call, and to answer another incoming call.

  • Press twice to stay on a current call, and to reject a second incoming call.

2

Mute button

Toggle the microphone on and off. The Mute on the phone lights when Mute on the headset is enabled.

3

Volume button

Adjust the volume on your headset.

4

LED

Shows the headset status:

  • Blinking red—Incoming call.

  • Steady red—Active call.

  • Blinking white—Firmware upgrade is in progress.

Cisco Headset 561 and 562 Standard Base

The standard base charges your headset and has LEDs that shows your headset's battery level and call state. You can also answer and end calls when you lift or place your headset on the base.

The standard base comes with the following connector cables:

  • USB to USB Cable: for devices with USB connectivity

  • USB Y-Cable: for Cisco IP Phones without a USB port

  • USB-A to USB-C Cable: available separately for PC or Mac devices

Figure 10. Standard Base LEDs
Standard Base for Cisco 561 and 562 Headset

The following table describes the standard base

Table 5. Standard Base LEDs

Number

Name

Description

1

Battery Status LED

Indicates the headset battery charge and base status:

  • Headset battery strength—LEDs blink and change to solid as the battery charges

  • Headset update in progress—LEDs blink in sequence, left to right

  • Headset and base not paired—All LEDs blink

  • Power save mode—Middle LED shows solid

The base enters power save mode when there is no call source connectivity after 10 minutes.

2

Call Status LED

Alerts you to the call state:

  • Incoming call—Blinking green

  • Active call—Steady green

  • Muted call—Steady red

Cisco Headset 561 and 562 with Multibase

The multibase can connect up to three call sources through Bluetooth, the USB connector, or the Y-cable. The multibase can save up to four Bluetooth devices. You can switch between call sources using the buttons on the multibase. You use the call control buttons on the headset to answer and end calls. When your headset is in the base, you automatically answer the call when you remove the headset from the base. You can return the headset to the base to end the call.

The multibase comes with the following connector cables:

  • USB to USB Cable: for Cisco IP Phones with USB connectivity

  • USB Y-Cable: for Cisco IP Phones without a USB port

  • Mini USB Cable: for PC or Mac.

  • Mini USB to USB-C cable: available separately for PC or Mac devices.


Note

The Cisco Headset 560 Multibase is incompatible with Cisco IP Phone 7800 Series phones using Power over Ethernet (PoE). Use the external power supply if you intend to connect the multibase.


Figure 11. Multibase LEDs
Multibase for Cisco 561 and 562 Headset

The following table describes the Cisco Headset 560 Series Multibase multibase LEDs.

Table 6. Multibase LEDs

Number

Name

Description

1

Battery Status LED

Indicates the headset battery charge and base status:

  • Headset battery strength—LEDs blink and change to solid as the battery charges

  • Headset update in progress—LEDs blink in sequence, left to right

  • Headset and base not paired—All LEDs blink

  • Power save mode—Middle LED shows solid

The base enters power save mode when there is no call source connectivity after 10 minutes.

2

Call Status LEDs

Alerts you to the call state of each source:

  • Active Source—Steady white

  • Incoming call on a selected source—Blinks green

  • Incoming call on an unselected source—Blinks green

  • Active call—Steady green

  • Call on an inactive source—Pulses green

3

Mute Status LED

Alerts you when your headset is muted.

4

Bluetooth Status LED

Alerts you to the Bluetooth status:

  • Paired with a call source—Steady white

  • Pairing mode—Blinking white

  • Searching for a call source—Pulse white

  • Bluetooth is Off—LED is off

You use the source control buttons on the base to control the active source. Each source button corresponds with a specific connection on the multibase.

Even if you are connected to a source, the LED may not be lit. The source LED only lights when the source is selected or has an active call. For example, you may be properly connected to a Cisco IP Phone, your PC, and your mobile phone through Bluetooth. However, the respective source LED is only lit when it is selected, has an active call, or has an incoming call. Press the source button to check if a source is properly connected. The source LED flashes three times if there is no connection.

You can alternate between active call sources.


Note

Place an active call on hold before you change to a different call source. Calls on one call source aren't automatically put on hold when you switch to a different call source.


Cisco Headset 700 Series

The Cisco Headset 730 is a wireless headset that uses Bluetooth connectivity to pair with Cisco soft clients and Cisco IP Phones. The headset features full call control and music playback capabilities in addition to powerful noise cancellation and ambient audio enhancement systems for use in a busy office environment.

The Cisco Headset 730 comes with a USB Bluetooth Adapter for use with devices that don't offer a reliable Bluetooth solution. The headset can also connect to devices with the included USB-C to USB-A cable. The USB-C cable also acts as a charging cable and can connect to any powered USB adapter. The USB-C cable can also be plugged into the phone USB port to give full functionality, including call control, local tuning and setup, and firmware upgrades.

For more information see: https://www.cisco.com/c/en/us/products/collaboration-endpoints/headset-700-series/index.html

Cisco Headset 730 Buttons and Hardware

Your headset buttons are used for many features. Each cup has different buttons and functions.

Figure 12. Left and Right Sides of the Cisco Headset 730
image of left and right headset cups with callouts 1 to 8
Table 7. Cisco Headset 730 Buttons

Callout Number

Name

Description

1

Skip music track

This is the right and left of the right cup face.

Skip forward and backward through music tracks. Only available if you have the headset paired to a device that can play music.

2

AMB and NC button

This button is located on the back of the right cup.

Three position switch:

  • AMB: Slide to the top to enable ambient mode.

  • No ambient mode or noise cancellation: Middle position.

  • NC: Slide to the bottom to enable noise cancellation.

3

Pause and Play

This is the center of the right cup and is marked with a dot.

Press to play or to pause your music. Only available if you have the headset paired to a device that can play music.

4

Presence LED

This LED is located on the face of the cup on both the right and left cup.

Displays red when you are on a call or if you have pressed the Mute button on the headset when you aren't on a call.

5

Volume

This is the top and bottom of the right cup face.

Press the top or bottom to raise or lower the volume.

6

Call button

This is the center of the left cup and is marked with a dot.

Controls the call functions, based on the call state:

  • Incoming calls

    • Answer a call: Press once.

    • Reject a call: Press twice.

  • Active calls

    • Hold a call: Press once.

    • End a call: Press and hold until you hear a tone.

7

Mute

This is the button on the front of the left cup.

Toggles the microphone on and off.

When muted, the Presence LED lights red and the Mute button on the phone lights.

8

Bluetooth and Power button

This is on the back of the left cup.

Three position switch:

  • Bluetooth: Slide to the top and hold to pair the headset to the phone.

  • Power: Slide to the middle position to turn the headset on. Slide down to turn the headset off.

Third Party Headsets

Cisco performs internal testing of third-party headsets for use with Cisco IP Phones. But Cisco does not certify or support products from headset or handset vendors. Check with the headset manufacturer to confirm whether you can use it with your Cisco phone.


Note

The Cisco IP Phone 7811 does not support a headset.

Headsets connect to your phone using either the USB or the auxiliary port. Depending upon your headset model, you have to adjust your phone's audio settings for the best audio experience, including the headset sidetone setting.

If you have a third party headset, and you apply a new sidetone setting, then wait one minute and reboot the phone so the setting is stored in flash.

The phone reduces some background noise that a headset microphone detects. You can use a noise canceling headset to further reduce the background noise and improve the overall audio quality.

If you are considering a third part headset, we recommend the use of good quality external devices; for example, headsets that are screened against unwanted radio frequency (RF) and audio frequency (AF) signals. Depending on the quality of headsets and their proximity to other devices, such as mobile phones and two-way radios, some audio noise or echo may still occur. Either the remote party or both the remote party and the Cisco IP Phone user may hear an audible hum or buzz. A range of outside sources can cause humming or buzzing sounds; for example, electric lights, electric motors, or large PC monitors.

Sometimes, use of a local power cube or power injector may reduce or eliminate hum.

Environmental and hardware inconsistencies in the locations where Cisco IP Phones are deployed mean that no single headset solution is optimal for all environments.

We recommend that customers test headsets in the intended environment to determine performance before making a purchasing decision to deploy on a large scale.

You can use only one headset at a time. The most-recently connected headset is the active headset.

For a list of suggested headsets and other audio accessories, see http://www.cisco.com/c/en/us/products/unified-communications/uc_endpoints_accessories.html.

Audio Quality

Beyond physical, mechanical, and technical performance, the audio portion of a headset must sound good to the user and to the party on the far end. Sound quality is subjective, and we cannot guarantee the performance of any third-party headset. However, various headsets from leading headset manufacturers are reported to perform well with Cisco IP Phones.

Cisco doesn't recommend or test any third-party headsets with their products. For information about third-party headset support for Cisco products, go to the manufacturer's web site.

Cisco does test the Cisco headsets with the Cisco IP Phones. For information about Cisco Headsets and Cisco IP Phone support, see https://www.cisco.com/c/en/us/products/collaboration-endpoints/headsets/index.html.

Wired Headsets

A wired headset works with all Cisco IP Phone features, including the Volume and Mute buttons. These buttons adjust the earpiece volume and mute the audio from the headset microphone.

When you install a wired headset, make sure you press the cable into the channel in the phone.


Caution

Failure to press the cable into the channel in the phone can lead to cable damage.


Bluetooth Wireless Headsets

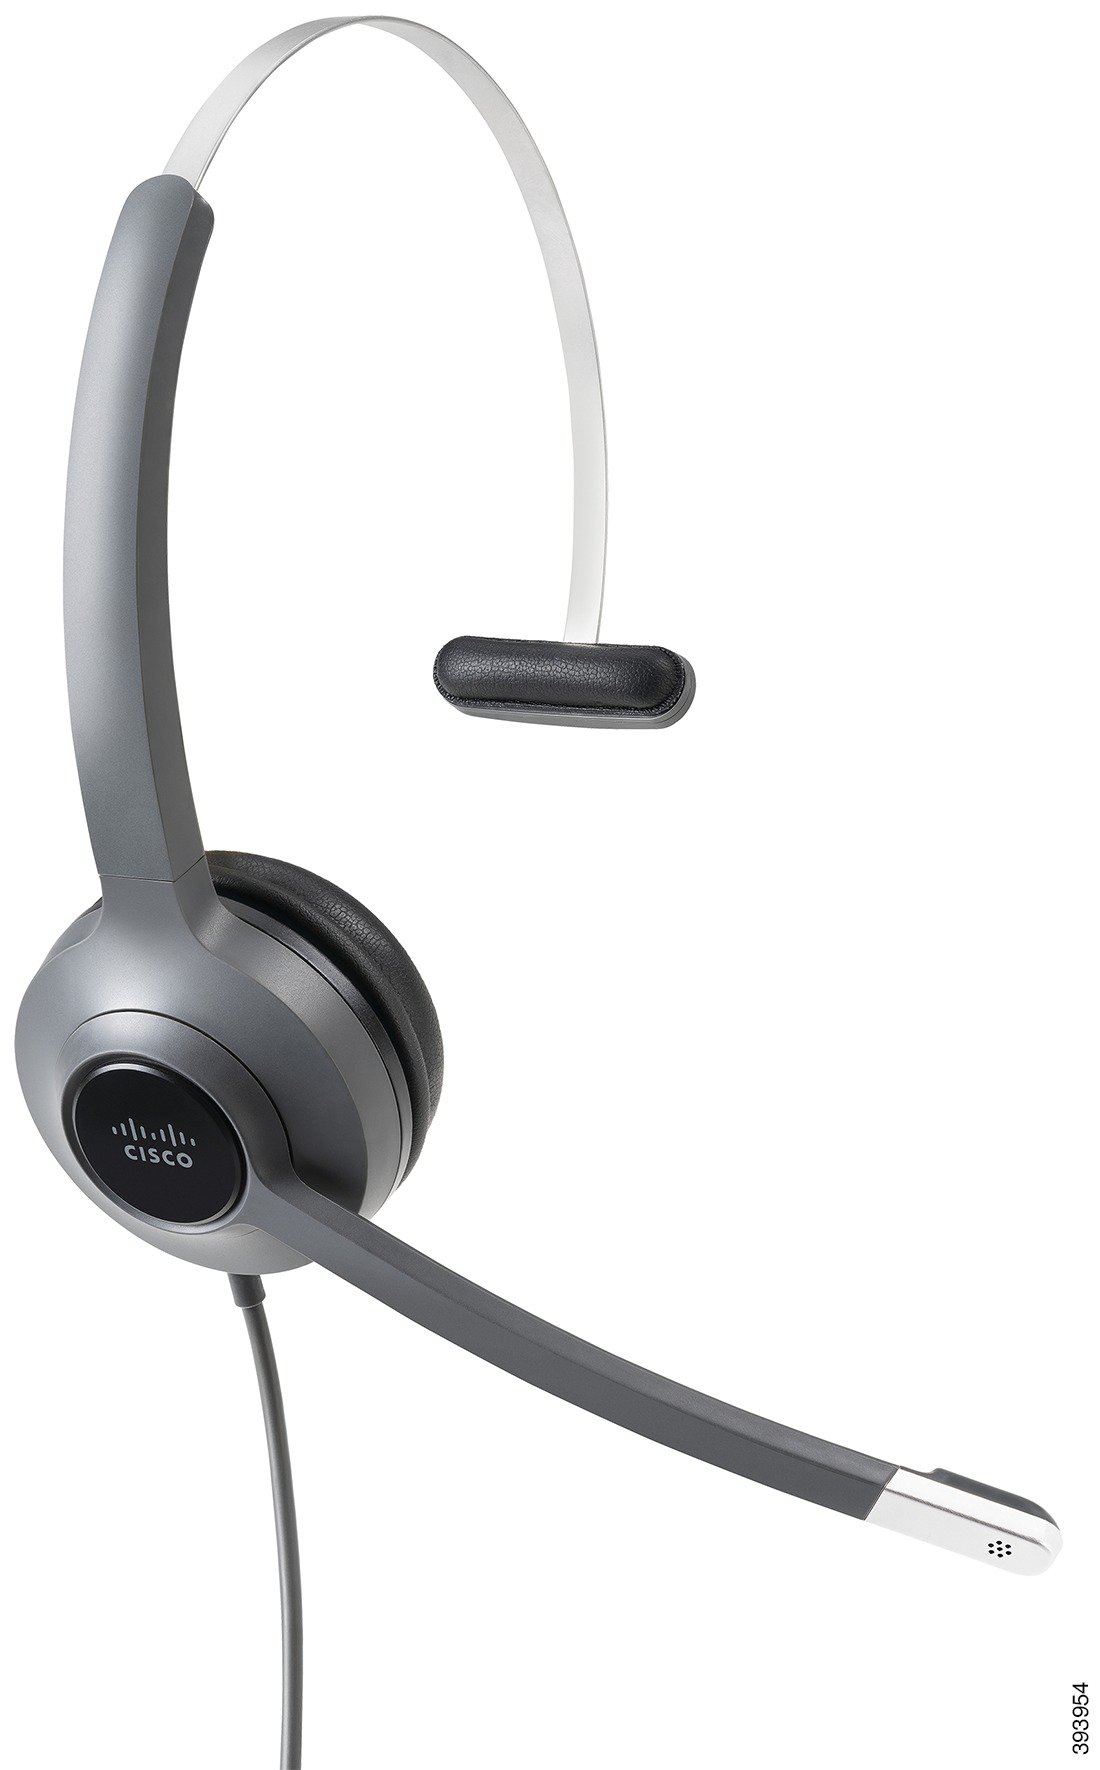
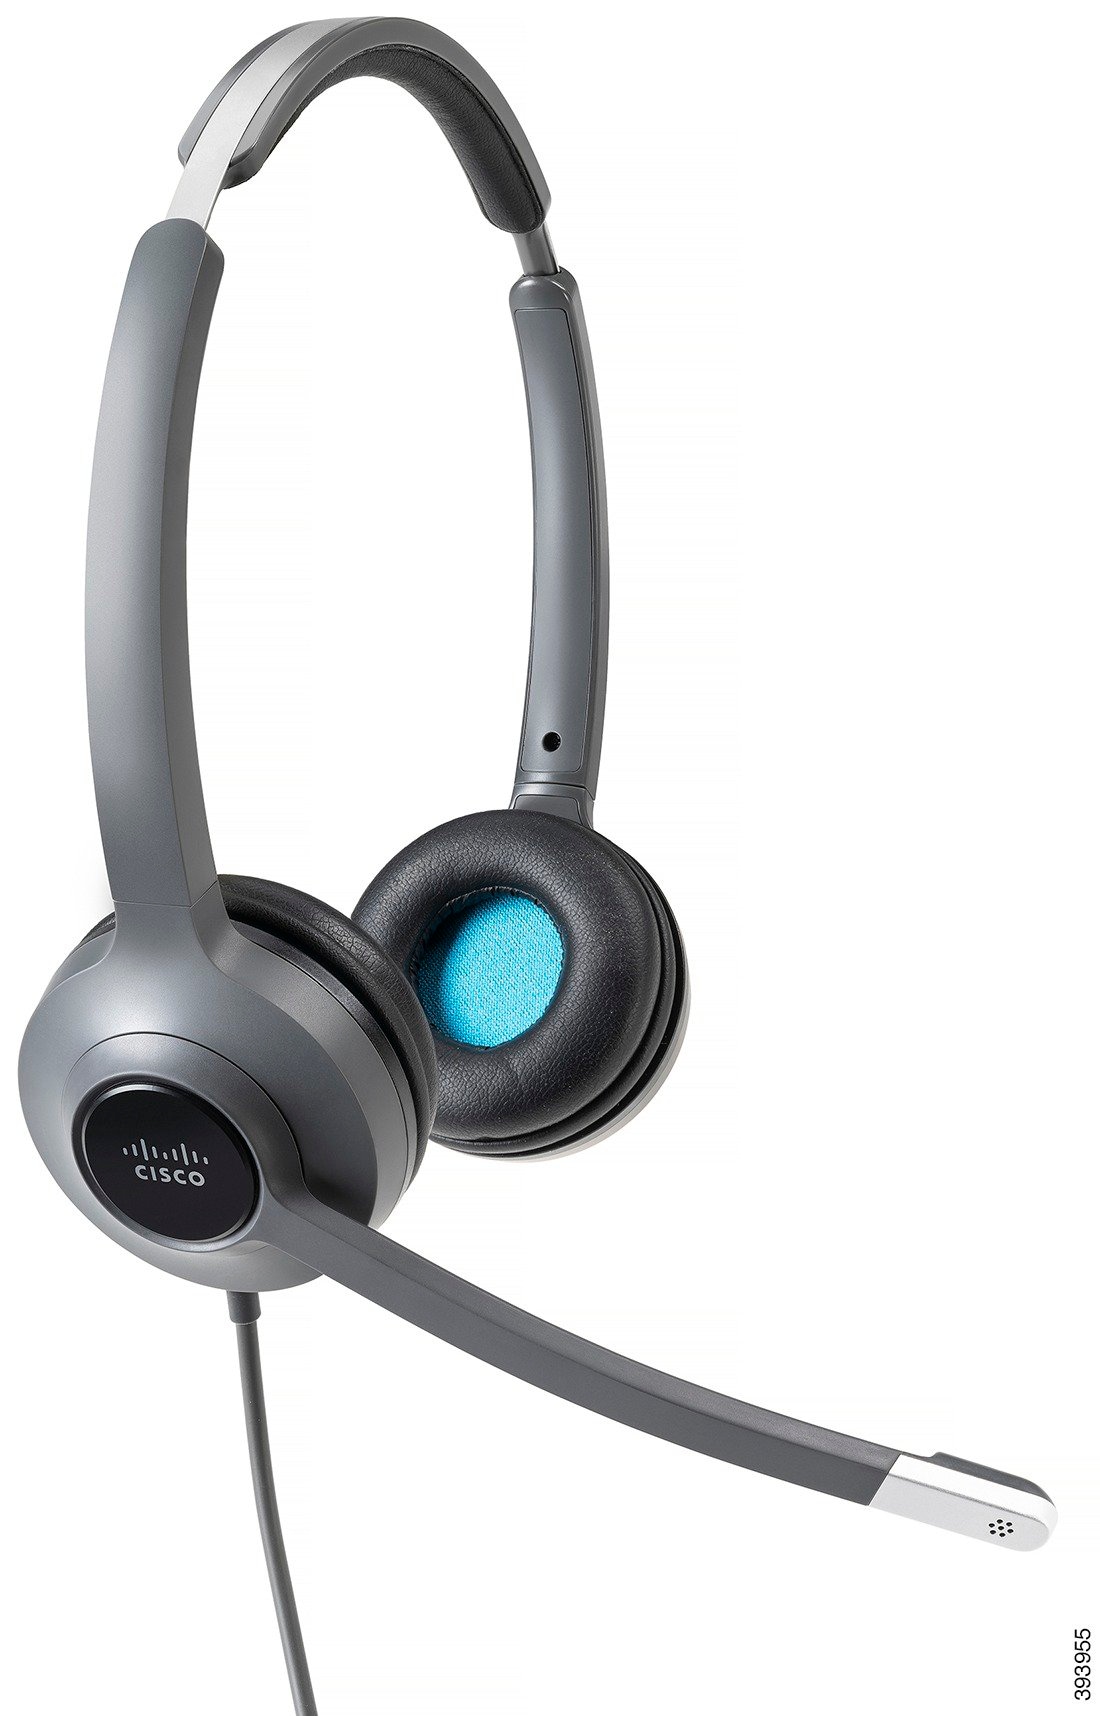
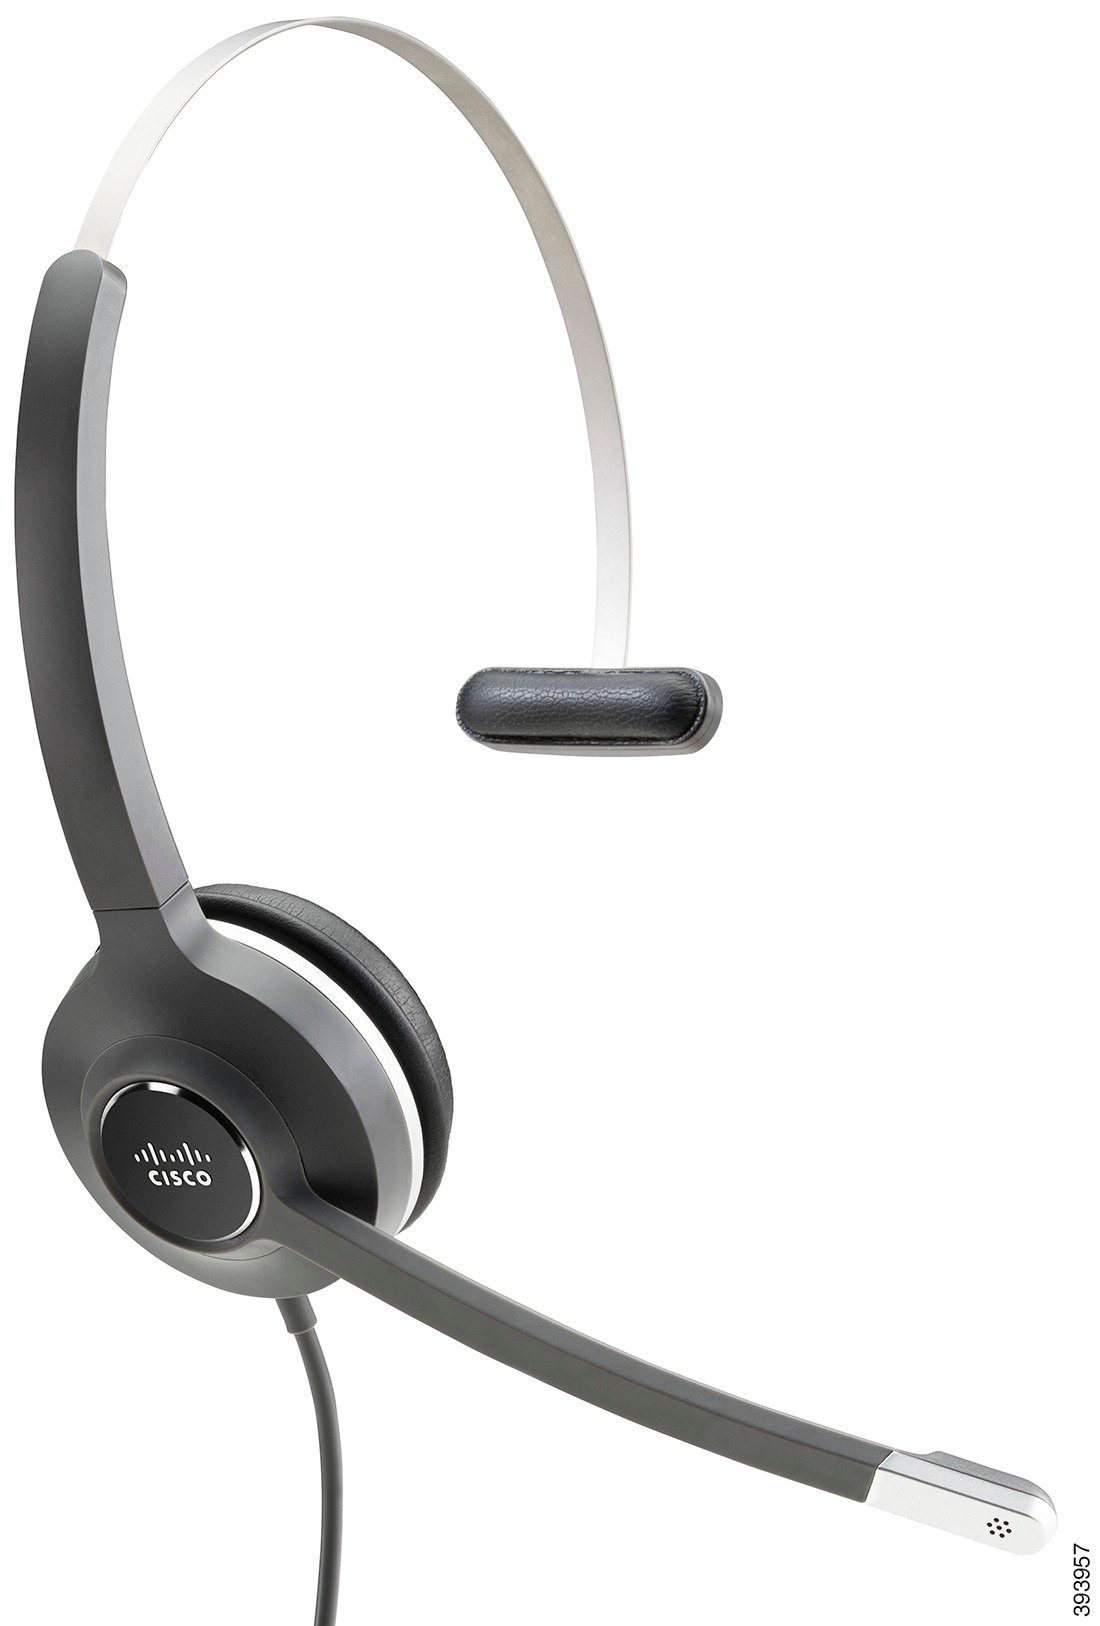
Cisco IP Phone 8845, 8851, 8861 and 8865 support Bluetooth. For a list of supported third party headsets, see http://www.cisco.com/c/en/us/products/unified-communications/uc_endpoints_accessories.html.

Bluetooth enables low-bandwidth wireless connections within a range of 66 feet (20 meters). The best performance is in the 3- to 6-foot (1- to 2-meter) range. Bluetooth wireless technology operates in the 2.4 GHz band, which is the same as the 802.11b/g band. Interference issues can occur. We recommend that you:

  • Use 802.11a, 802.11n, or 802.11ac that operates in the 5 GHz band.

  • Reduce the proximity of other 802.11b/g devices, Bluetooth devices, microwave ovens, and large metal objects.

The Cisco IP Phone uses a shared key authentication and encryption method to connect with headsets. The Cisco IP Phone can connect with up to 50 headsets, one at a time. The last connected headset is used as the default. Pairing is typically performed once for each headset.

After a device is paired, the Bluetooth connection is maintained as long as both devices (phone and headset) are enabled and within range of each other. The connection typically reestablishes itself automatically if either of the devices powers down then powers up. However, some headsets require user action to reestablish the connection.

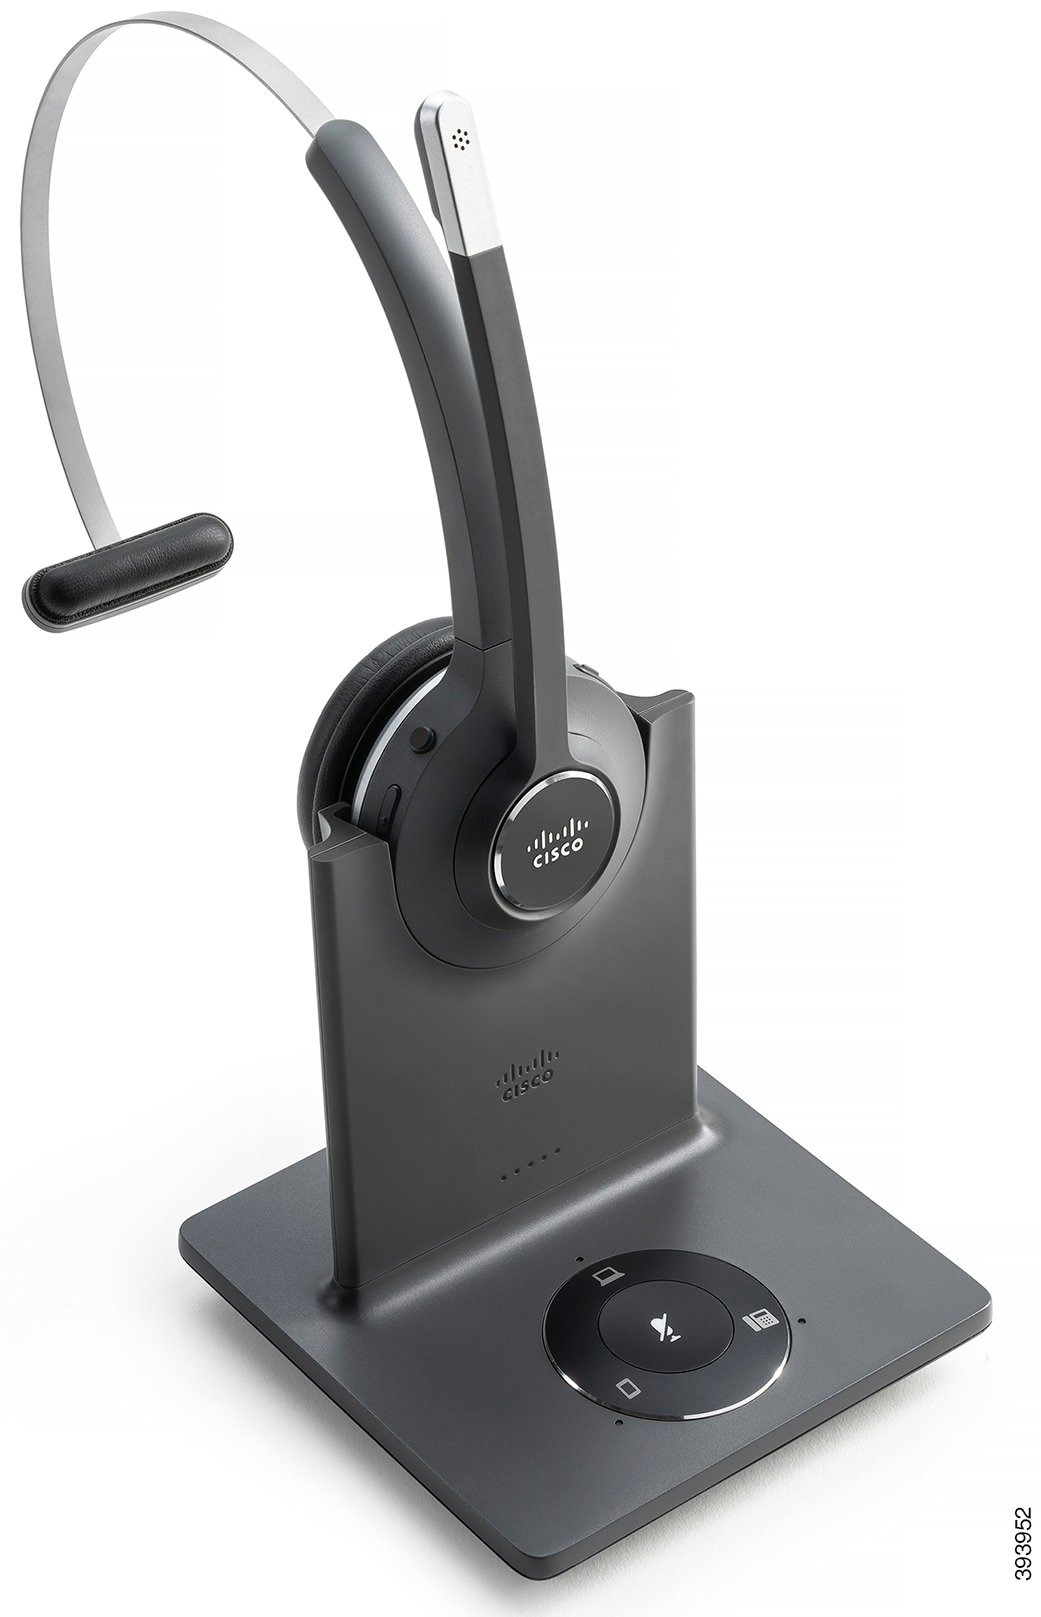
The Bluetooth icon indicates that Bluetooth is on, whether a device is connected or not.

Potential interference issues can occur. We recommend that you reduce the proximity of other 802.11b/g devices, Bluetooth devices, microwave ovens, and large metal objects. If possible, configure other 802.11 devices to use the 802.11a channels.

For a Bluetooth wireless headset to work, it does not need to be within direct line-of-sight of the phone. But some barriers such as walls or doors can affect the connection. Interference from other electronic devices can also affect performance.

When headsets are more than 30 feet (10 meters) away from the Cisco IP Phone, Bluetooth drops the connection after a 15- to 20-second timeout. The paired headset reconnects when it is comes back into range of the Cisco IP Phone. For certain phone types that operate in power-save modes, you can wake up the headset by tapping on the operational button.

Enable the headset before you add it as a phone accessory.

The phone supports various Handsfree Profile features that allow you to use devices such as Bluetooth wireless headsets for certain tasks. For example, instead of pressing Redial on the phone, you can redial a number from the Bluetooth wireless headset by following instructions from the headset manufacturer.

Cisco IP Phone 8811, 8841, 8851NR, and 8865NR do not support Bluetooth wireless headsets. These hands free features apply to Bluetooth wireless headsets that are used with the Cisco IP Phone8845, 8851, 8861 and 8865:

  • Answer a call

  • End a call

  • Change the headset volume for a call

  • Redial

  • Caller ID

  • Divert

  • Hold and Accept

  • Release and Accept

Hands free devices have different feature activation methods. Device manufacturers may also use different terms when referring to the same feature.


Important

Only one headset type works at any given time. If you use both a Bluetooth headset and an analog headset that are attached to the phone, enabling the Bluetooth headset disables the analog headset. To enable the analog headset, disable the Bluetooth headset. Plugging a USB headset into a phone that has Bluetooth headset enabled disables both the Bluetooth and analog headset. If you unplug the USB headset, you can either enable the Bluetooth headset or disable the Bluetooth headset to use the analog headset.


For information about how to use your Bluetooth wireless headset, see:

  • Cisco IP Phone 8800 Series User Guide

  • User Guides provided with your headset

Cisco Headset Configuration on Cisco Unified Communications Manager

The Cisco Headset 500 Series and Cisco Headset 730 is supported by most Cisco Unified Communications Manager (Unified CM) releases. But you should install the latest phone firmware release and device packages before connecting your headset to a phone. When the headset is first connected, it will download the required firmware and begin the upgrade process.

The following tables list the Unified CM parameters and the phone firmware release that is required for your Cisco headset to function.

Table 8. Cisco Headset 500 Series Headset Parameters for Cisco IP Phone 7800 Series

Cisco Headset

Phone Firmware

Product Specific Configuration Parameter

Description

Cisco Headset 531 and 532

Phone Firmware Release 12.1(1) or later

Wideband Headset

Wideband Headset UI Control

The headset usually requires about 5 seconds to upgrade.

Cisco Headset 561 and 562

Phone Firmware Release 12.5(1)SR1 or later, and the latest device package

Wireless Headset Hookswitch Control

Wideband Headset

Wideband Headset UI Control

The headset usually requires 5 to 15 minutes to upgrade, and the base LEDs light in sequence to show the upgrade progress. The user can postpone the upgrade up to 4 times.

If you are using the Y cable to connect the headset base to the phone, then you must enable Wireless Headset Hookswitch Control.

Table 9. Cisco Headset 500 Series Parameters for Cisco IP Phone 8800 Series

Cisco Headset

Phone Firmware

Product Specific Configuration Parameter

Description and Usage Guidelines

Cisco Headset 521 and 522

Phone Firmware Release 12.1(1) or later

Side USB Port

Back USB Port

The headset usually requires about 5 seconds to upgrade.

Cisco Headset 531 and 532

Phone Firmware Release 12.1(1) or later

Side USB Port

Back USB Port

The headset usually requires about 5 seconds to upgrade.

Cisco Headset 561 and 562

Phone Firmware Release 12.5(1)SR1 or later, and the latest device package

Wireless Headset Hookswitch Control

Side USB Port

Back USB Port

The headset usually requires 5 to 15 minutes to upgrade, and the base LEDs light in sequence to show the upgrade progress. The user can postpone the upgrade up to 4 times.

If you are using the Y cable to connect the headset base to the phone, then you must enable Wireless Headset Hookswitch Control.

If you are using the USB cable to connect the headset base to the phone, then you must the appropriate USB port.

Table 10. Cisco Headset 700 Series Parameters for Cisco IP Phone 8800 Series

Cisco Headset

Phone Firmware

Product Specific Configuration Parameter

Description and Usage Guidelines

Cisco Headset 730

Phone Firmware Release 12.7(1) or later

Side USB Port

Back USB Port

The headset usually requires about 5 seconds to upgrade.

Set Up a Headset for a Single Phone

You can configure a single phone or a group of phones for headset support. To configure a group of phones, use the Common Phone Profile.

Procedure


Step 1

Sign into Cisco Unified Communications Manager Administration as an administrator.

Step 2

Select Device > Phone

Step 3

Locate the phone associated with the user.

Step 4

Navigate to the Product Specific Configuration Layout pane and set the fields.

Step 5

Check the Override Common Settings check box for any changed fields.

Step 6

Click Save.

Step 7

Click Apply Config.

Step 8

Restart the phone.


Headset Parameters on Cisco Unified Communications Manager

The following table describes the fields in the Product Specific Configuration Layout pane that control headset use.

Table 11. Product Specific Configuration Fields for Headsets

Field Name

Field Type or Choices

Default

Description and Usage Guidelines

Disable Speakerphone and Headset

Check box

Unchecked

Turns off the speakerphone and headset capability of the phone.

Disable Handset

Checkbox

Unchecked

Turns off the handset audio path.

Wireless Headset Hookswitch Control

Disabled

Enabled

Disabled

Note 

This parameter is removed from Cisco Unified Communications Manager Software Release 12.5(1)SU2 and later.

Enables users to remotely control basic IP phone functionality from the wireless headset. Basic IP phone functionality includes off-hook and on-hook, ring indication, audio volume control, and mute.

To use a wireless headset, users connect a base station to the auxiliary port. The base station communicates with the wireless headset.

Wideband Headset

Disabled

Enabled

Enabled

Enables or disables the use of a Wideband Headset on the phone. Used in conjunction with User Control Wideband Headset.

For more information, see Set Up Wideband Codec.

Wideband Headset UI Control

Disabled

Enabled

Enabled

Allows the user to use the wideband codec for an analog headset.

Wi-Fi

Disabled

Enabled

Enabled

Enables the Cisco IP Phones 8861 and 8865 to connect to the Wi-Fi network.

Phones that do not support this feature do not display the field.

Side USB Port

Disabled

Enabled

Enabled

Controls the ability to use the USB port on the side of the Cisco IP Phones 8851, 8851NR, 8861, 8865, and 8865NR.

Phones that do not support this feature do not display the field.

Back USB Port

Disabled

Enabled

8861, 8865, and 8865NR: Enabled

Controls the ability to use the USB port on the back of the Cisco IP Phones 8861 and 8865.

Phones that do not support this feature do not display the field.

Bluetooth

Disabled

Enabled

Enabled

Enables or disables the Bluetooth option on the phone. If disabled, the user cannot enable Bluetooth on the phone. Supported on the Cisco IP Phones 8845, 8851, 8861, and 8865.

Phones that do not support this feature do not display the field.

Bluetooth Profiles

Handsfree

Human Interface Device

Handsfree

Indicates which Bluetooth profiles on the phone are enabled or disabled.

Set Up Wideband Codec

By default, the G.722 codec is enabled for the Cisco IP Phone. If Cisco Unified Communications Manager is configured to use G.722 and if the far endpoint supports G.722, the call connects using the G.722 codec in place of G.711.

This situation occurs regardless of whether the user has enabled a wideband headset or wideband handset, but if either the headset or handset is enabled, the user may notice greater audio sensitivity during the call. Greater sensitivity means improved audio clarity but also means that the far endpoint can hear more background noise: noise such as rustling papers or nearby conversations. Even without a wideband headset or handset, some users may prefer the additional sensitivity of G.722 distracting. Other users may prefer the additional sensitivity of G.722.

The Advertise G.722 and iSAC Codec service parameter affects whether wideband support exists for all devices that register with this Cisco Unified Communications Manager server or for a specific phone, depending on the Cisco Unified Communications Manager Administration window where the parameter is configured.

Procedure


Step 1

To configure wideband support for all devices:

  1. From Cisco Unified Communications Manager Administration, choose System > Enterprise Parameters

  2. Set the Advertise G.722 and iSAC Codec field

    The default value of this enterprise parameter is True, which means that all Cisco IP Phone Models that register to this Cisco Unified Communications Manager advertise G.722 to Cisco Unified Communications Manager. If each endpoint in the attempted call supports G.722 in the capabilities set, Cisco Unified Communications Manager chooses that codec for the call whenever possible.

Step 2

To configure wideband support for a specific device:

  1. From Cisco Unified Communications Manager Administration, choose Device > Phone.

  2. Set the Advertise G.722 and iSAC Codec parameter in the Product Specific Configuration area.

    The default value of this product-specific parameter is to use the value that the enterprise parameter specifies. If you want to override this on a per-phone basis, choose Enabled or Disabled


Headset Management on Older Versions of Cisco Unified Communications Manager

If you have a version of Cisco Unified Communications Manager older than 12.5(1)SU1, you can remotely configure your Cisco headset settings for use with on-premises phones.

Remote headset configuration on Cisco Unified Communication Manager version 10.5(2), 11.0(1), 11.5(1), 12.0(1), and 12.5(1) requires you to download a file from the Cisco Software Download website, edit the file, and then upload the file on the Cisco Unified Communications Manager TFTP server. The file is a JavaScript Object Notification (JSON) file. The updated headset configuration is applied to the enterprise headsets over a 10 to 30-minute time frame to prevent a traffic backlog on the TFTP server.


Note

You can manage and configure headsets through Cisco Unified Communications Manager Administration version 11.5(1)SU7.


Note the following as you work with the JSON file:

  • The settings aren't applied if you are missing a bracket or brackets in the code. Use an online tool such as JSON Formatter and check the format.

  • Set the updatedTime setting to the current epoch time or the configuration is not applied. Alternatively, you can increase the updatedTime value by +1 to make it larger than the previous version.

  • Do not change the parameter name or the setting will not be applied.

For more information on the TFTP service, see the "Manage Device Firmware" chapter of the Administration Guide for Cisco Unified Communications Manager and IM and Presence Service.

Upgrade your phones to the latest firmware release before you apply the defaultheadsetconfig.json file. The following table describes the default settings you can adjust with the JSON file.

Download the Default Headset Configuration File

Before configuring the headset parameters remotely, you must download the latest JavaScript Object Notation (JSON) sample file.

Procedure

Step 1

Go to the following URL: https://software.cisco.com/download/home/286320550.

Step 2

Choose Headsets 500 Series.

Step 3

Select your headset series.

Step 4

Choose a release folder and select the zip file.

Step 5

Click the Download or Add to cart button, and follow the prompts.

Step 6

Unzip the file to a directory on your PC.


What to do next
Modify the Default Headset Configuration File

Modify the Default Headset Configuration File

Note the following as you work with the JavaScript Object Notation (JSON) file:
  • The settings aren't applied if you are missing a bracket or brackets in the code. Use an online tool such as JSON Formatter and check the format.

  • Set the "updatedTime" setting to the current epoch time or the configuration is not applied.

  • Confirm that firmwareName is LATEST or the configurations will not be applied.

  • Do not change a parameter name or the setting will not be applied.

Procedure

Step 1

Open the defaultheadsetconfig.json file with a text editor.

Step 2

Edit the updatedTime and the headset parameter values you wish to modify.

A sample script is shown below. This script is provided for reference only. Use it as a guide as you configure your headset parameters. Use the JSON file that was included with your firmware load.

{
  "headsetConfig": {
    "templateConfiguration": {
      "configTemplateVersion": "1",
      "updatedTime": 1537299896,
      "reportId": 3,
      "modelSpecificSettings": [
        {
          "modelSeries": "530",
          "models": [
            "520",
            "521",
            "522",
            "530",
            "531",
            "532"
          ],
          "modelFirmware": [
            {
              "firmwareName": "LATEST",
              "latest": true,
              "firmwareParams": [
                {
                  "name": "Speaker Volume",
                  "access": "Both",
                  "usageId": 32,
                  "value": 7
                },
                {
                  "name": "Microphone Gain",
                  "access": "Both",
                  "usageId": 33,
                  "value": 2
                },
                {
                  "name": "Sidetone",
                  "access": "Both",
                  "usageId": 34,
                  "value": 1
                },
                {
                  "name": "Equalizer",
                  "access": "Both",
                  "usageId": 35,
                  "value": 3
                }
              ]
            }
          ]
        },
        {
          "modelSeries": "560",
          "models": [
            "560",
            "561",
            "562"
          ],
          "modelFirmware": [
            {
              "firmwareName": "LATEST",
              "latest": true,
              "firmwareParams": [
                {
                  "name": "Speaker Volume",
                  "access": "Both",
                  "usageId": 32,
                  "value": 7
                },
                {
                  "name": "Microphone Gain",
                  "access": "Both",
                  "usageId": 33,
                  "value": 2
                },
                {
                  "name": "Sidetone",
                  "access": "Both",
                  "usageId": 34,
                  "value": 1
                },
                {
                  "name": "Equalizer",
                  "access": "Both",
                  "usageId": 35,
                  "value": 3
                },
                {
                  "name": "Audio Bandwidth",
                  "access": "Admin",
                  "usageId": 36,
                  "value": 0
                },
                {
                  "name": "Bluetooth",
                  "access": "Admin",
                  "usageId": 39,
                  "value": 0
                },
                {
                  "name": "DECT Radio Range",
                  "access": "Admin",
                  "usageId": 37,
                  "value": 0
                }
                {
                   "name": "Conference",
                  "access": "Admin",
                  "usageId": 41,
                  "value": 0
              ]
            }
          ]
        }
      ]
    }
  }
}
Step 3

Save the defaultheadsetconfig.json.


What to do next
Install the default configuration file.

Install the Default Configuration File on Cisco Unified Communications Manager

After you edit the defaultheadsetconfig.json file, install it on Cisco Unified Communications Manager using the TFTP File Management tool.

Procedure

Step 1

From Cisco Unified OS Administration, choose Software Upgrades > TFTP File Management.

Step 2

Select Upload File.

Step 3

Select Choose File and navigate to the defaultheadsetconfig.json file.

Step 4

Select Upload File.

Step 5

Click Close.


Restart the Cisco TFTP Server

After you upload the defaultheadsetconfig.json file to the TFTP directory, restart the Cisco TFTP server and reset the phones. After about 10–15 minutes, the download process begins and the new configurations are applied to the headsets. It takes an additional 10 to 30 minutes for the settings to be applied.

Procedure

Step 1

Log in to Cisco Unified Serviceability and choose Tools > Control Center - Feature Services.

Step 2

From the Server drop-down list box, choose the server on which the Cisco TFTP service is running.

Step 3

Click the radio button that corresponds to the Cisco TFTP service.

Step 4

Click Restart.


Connect a Headset to Your Phone

Each type of wired headset, adapter, or base connects to a phone using a different port and a different type of connector and cable. Common types include an RJ connector, a USB connector, and a Y-cable.

Connect a Standard Headset

You can use a standard headset with your desk phone. Standard headsets plug into the headset jack on the back of the phone with an RJ-type connecter.

Figure 13. Standard Headset Connection

Standard headset connection

Caution

Failure to press the cable into the channel in the phone can damage the printed circuit board inside the phone. The cable channel reduces the strain on the connector and the printed circuit board.


Procedure


Plug the headset into the headset jack on the back of the phone. Press the cable into the cable channel.


Connect a USB Headset

When you use USB headsets with your phone, keep in mind the following:

  • You can use only one headset at a time. The most-recently connected headset is the active headset.

  • If you are on an active call and unplug a USB headset, the audio path does not change automatically. Press the Speakerphone button or pick up the handset to change the audio.

Your phone may have more than one USB port, depending upon your model. The Cisco IP Phone 8851 and 8851NR has one USB located on the side of the phone. The Cisco IP Phone 8861, 8865, and 8865NR have two USB ports, located on the back and side of the phone.

You may have to remove the plastic cover to access the side USB ports.

Procedure


Plug the USB headset connector into the USB port on the phone.


Connect a Cisco Standard Base with the Y-Cable

You can connect the standard base to your phone with the included Y-cable. But note that the Y-cable has two RJ-type connectors - one for the auxiliary or AUX port, and one for the headset port. You can distinguish between the two connectors by their size, as the AUX port connector is slightly larger than the headset port connector.


Caution

Failure to press the cable into the channel in the phone can damage the printed circuit board inside the phone. The cable channel reduces the strain on the connector and the printed circuit board.


Procedure


Step 1

Plug the smaller connector into the headset jack that is located on the back of the phone. Press the cable into the cable channel.

Step 2

Plug the larger cable into the AUX port located next to the headset port.


Connect the Multibase to a Bluetooth Device

The Cisco Headset 560 Series Multibase can connect to Bluetooth devices such as a mobile phone or tablet. The headset base appears on your call device as Cisco Headset followed by the last three digits on your headset serial number.

Note

You can find your headset serial number in the lower right corner on the underside of your base.


The multibase can store up to four different paired Bluetooth devices. If you already have four paired devices, the base will replace the device which has not been used in the longest time.

Procedure


Step 1

Press the Bluetooth button on the back of the base twice to start pairing.

Step 2

Select your headset from the Settings menu on your device.

The Bluetooth LED lights white when pairing is successful.


Disconnect the Multibase from a Bluetooth Device

You can disconnect your Multibase from its paired Bluetooth call device.

Procedure


Step 1

Press the Bluetooth button on the back of the base once. The LED may take a moment to turn off.

Step 2

Press the Bluetooth button again to reconnect to the same call device.


Erase All Bluetooth Pairings

You can erase all saved Bluetooth device pairings.

Procedure


Press and hold the Bluetooth button on the back of the multibase for four seconds to clear the memory.


Postpone a Phone Upgrade

When new firmware is available, the New firmware available window is displayed on your phone and a timer begins a 30-second countdown. If you do nothing, the upgrade proceeds.

You can postpone your firmware upgrade for 2 hours and up to 3 times. The upgrade is also postponed if you make or receive a phone call.

Once the upgrade is complete, the headset restarts, and you are prompted to configure your settings.

Procedure


Select Postpone to postpone a firmware upgrade.


Cisco Headset Customization

Some Cisco Headset 500 Series are available with a USB adapter that allows you to customize your settings. The headset retains the settings when you switch phones.

You can customize the Cisco Headset 730 headset settings. The headset retains the settings when you switch phones. Currently, you can only customise the settings when you have the headset connected to the phone with the USB-C cable.

You can customize your headset settings if you have one of the following Cisco headsets:

  • Cisco Headset 521 and 522

  • Cisco Headset 531 and 532

  • Cisco Headset 561 and 562

  • Cisco Headset 730

Cisco Headset 500 Series Customization

Adjust Your Bass and Treble

You can adjust the bass and treble to customize the headset sound. If you like a headset with a lot of bass, then adjust toward the warm setting. If you prefer more treble, then adjust toward the bright setting.

Procedure

Step 1

Press Applications .

Step 2

Select Accessories and then your headset.

Step 3

Navigate Setup > Speaker > Tuning.

Step 4

Press the Navigation cluster left, or right, to adjust the tuning.


Adjust Your Speaker Sidetone

Sidetone is the term for when you hear your own voice in your headset. Some people find it distracting to hear their own voice during a call, while other people want to know that their headset is working.

Procedure

Step 1

Press Applications .

Step 2

Select Accessories and then your headset.

Step 3

Navigate Setup > Speaker > Sidetone.

Step 4

Press the Navigation cluster up or down to adjust the sidetone.

Step 5

Select Set to apply your settings.


Adjust Your Microphone Volume

Microphone volume is also known as gain, and this setting controls how loud you are to other people on the call.

Procedure

Step 1

Press Applications .

Step 2

Select Accessories and then your headset.

Step 3

Navigate Setup > Microphone > Gain.

Step 4

Press the Navigation cluster, left or right, to adjust the gain.


Cisco Headset 700 Series Customization

Set the Cisco Headset 730 Noise Cancellation Level

Your headset can filter out any background sounds with noise cancellation.

Procedure

Step 1

Press Applications .

Step 2

Select Accessories and then your headset.

Step 3

Navigate Setup > Noise cancellation.

Step 4

Select the desired setting and press Set.


Set the Cisco Headset 730 Sidetone Level

Sidetone is the term for when you hear your own voice in your headset. Some people are distracted when they hear their own voice during a call, while other people want to know that their headset is working.

Procedure

Step 1

Press Applications .

Step 2

Select Accessories and then your headset.

Step 3

Navigate Setup > Sidetone.

Step 4

Select the desired setting and press Set.


Set the Cisco Headset 730 General Settings

You can customize the settings on your Cisco Headset 730 through the menu on your Cisco IP Phone.

Procedure

Step 1

Press Applications .

Step 2

Select Accessories and then your headset.

Step 3

Select Setup > General.

Step 4

Configure the settings.

Parameter

Choice

Description

Auto-mute

On, Off

Default: On

When Auto-mute is enabled, you can take off your headset to mute your microphone on a call. Your headset automatically unmutes when you put your headset back on.

Auto-answer call

On, Off

Default: On

When Auto-answer call is enabled, you can answer an incoming call when you put your headset on your head. You can also end a call when you take your headset off.

Auto-play/pause

On, Off

Default: On

When Auto-play/pause is enabled, you can automatically pause and play music playback when you take off and put on your headset.

Sync DND status

On, Off

Default: Off

When Sync DND status is enabled you can press Mute mute button to turn the Presence LED Lights on and off when you aren't on a call.


Reset the Cisco Headset 730 Settings

You can reset the headset to the factory default settings.

Procedure

Step 1

Press Applications .

Step 2

Select Accessories and then your headset.

Step 3

Select Setup > Reset Settings.

Step 4

Press Reset to confirm the operation.


View the Cisco Headset 730 Details

You can view information about your headset.

Procedure

Step 1

Press Applications .

Step 2

Select Accessories and then your headset.

Step 3

Press Show details.


Change Your Headset Ringer Settings

You can change your headset ringtone behavior on Cisco IP Phones with Phone Firmware 14.0 or later. The setting is saved on the phone and will apply to any Cisco Headset 500 Series that connects.

Procedure


Step 1

Press Applications the applications button.

Step 2

Select Preferences > Headset ringer.

Step 3

Select a ringer setting.

By default, your phone follows the behavior of the phone ringer settings. Select On if you want to always hear the phone ring when you have an incoming call. If you select Off, you won't hear any ring through your headset when there is an incoming call.

Step 4

Select Set to apply your settings.


Test Your Microphone

Check your microphone when you first install it, and before you begin a call.

Procedure


Step 1

Press Applications .

Step 2

Select Accessories and then your headset.

Step 3

Navigate to Setup > Microphone > Test.

Step 4

Press Record and speak into the microphone.

Step 5

Press Stop rec when you finish speaking.

Step 6

Press Play to review your test recording.


Update Your Cisco Headset Firmware With a Cisco IP Phone

You can update your headset software on any supported Cisco IP Phone. During a headset firmware upgrade, you can view the progress on your phone screen.

Procedure


Step 1

Connect your headset to a Cisco IP Phone.

Note 

You can only upgrade the Cisco Headset 730 on IP Phones through the USB cable.

Step 2

If the headset does not automatically begin to update, restart the phone. The phone downloads the latest headset version file when the phone restarts and uploads it to the headset.


Configure a Headset on the Phone

After you have connected the headset, you may have to configure it on your phone.

If you have a Cisco headset with a USB adapter, then follow the steps in Cisco Headset Customization

Reset Cisco Headset Settings from Your Phone

You can reset your Cisco headset to remove your custom settings. This action returns the headset to the original configuration set by your administrator.

Your phone must be running Firmware Release 12.5(1)SR3 or later for this feature to function.

Before you begin

Connect your headset to the phone:

  • Cisco Headset 520 Series: Connect with the USB adapter

  • Cisco Headset 530 Series: Connect with the USB cable

  • Cisco Headset 560 Series: Connect the standard base or multibase with the USB or Y-cable.

Procedure


Step 1

On the phone, press Applications .

Step 2

Select Accessories > Setup > Reset settings.

Step 3

At the warning window, select Reset.


Adjust the Headset Feedback

When you use a headset, you can hear your own voice in the earpiece, which is called headset sidetone or headset feedback. You can control the amount of headset sidetone on your phone.

Procedure


Step 1

Press Applications .

Step 2

Select Settings > Headset sidetone.

Step 3

Select a setting.


Turn Bluetooth On or Off

When Bluetooth is active, the Bluetooth icon appears in the phone screen header.

Procedure


Step 1

Press Applications .

Step 2

Select Bluetooth.

Step 3

Press On or Off.


Add a Bluetooth Headset

Procedure


Step 1

Make your Bluetooth headset discoverable.

Step 2

Press Applications .

Step 3

Select Bluetooth > Add Bluetooth device.

Your phone searches for discoverable accessories.
Step 4

Select your headset and press Connect.

Step 5

(Optional) If prompted, enter the PIN for your headset.


Disconnect a Bluetooth Headset

You should disconnect your Bluetooth headset before you use it with another device.

Procedure


Step 1

Press Applications .

Step 2

Select Bluetooth.

Step 3

Select a Bluetooth headset.

Step 4

Press Disconnect.


Remove a Bluetooth Headset

Remove your Bluetooth headset if you aren't going to use it with your phone again.

Procedure


Step 1

Press Applications .

Step 2

Select Bluetooth.

Step 3

Select a Bluetooth headset and press Delete.


Set Up a Wideband Standard Headset

You can use a headset that supports wideband audio. Wideband audio improves the quality of the sound you hear in the headset.

Procedure


Step 1

Press Applications .

Step 2

Select Accessories > Analog headset > Setup.

Step 3

Press On or Off to enable or disable wideband for the analog headset.

Step 4

Press Return .


Enable Electronic Hookswitch Control on Your Phone

If your administrator has enabled Admin settings on your Cisco IP Phone, you can enable or disable electronic hookswitch control to connect with a Cisco Headset 560 Series base. Electronic hookswitch control is enabled by default.


Note

This feature is available on Cisco IP Phone Firmware Release 12.7(1) and later.


Procedure


Step 1

On your phone, press Applications .

Step 2

Navigate Admin settings > Aux port.

Step 3

Select Connect e-hook headset to enable electronic hookswitch control.


Make a Call with a Standard Headset

Use your headset for hands-free calling that won't disturb your coworker and gives you some privacy.

Procedure


Step 1

Plug in a headset.

Step 2

Enter a number using the keypad.

Step 3

Press Headset .


Audio Path Selection

When you make or receive a call, the audio path goes to the last device used by you, either the handset, the headset, or the speakerphone. The following list describes each scenario:

  • Pick up the handset when you make or answer a call, and all of your calls are routed to your handset until you select Headset or Speakerphone .

  • Select Headset when you make or answer a call, and all of your calls are routed to your headset until you pick up the handset or select Speakerphone .

    If your administrator sets your headset as the audio path on your phone, then you can remove the handset and use your headset. This is ideal for anyone who prefers the convenience of a headset. But you must still select Headset the first time you handle a call.

  • Select Speakerphone when you make or answer a call, and all of your calls are routed to your speakerphone until you pick up the handset or select Headset .

Swap Headsets While on a Call

When you connect multiple headsets to the phone, you can switch among the headsets during a call by pressing the Headset key on the phone. Though the phone is connected to multiple devices, you see a specific headset is selected as the preferred audio device in the following priority order:

  • When you connect only an analog headset to the phone, you make your analog headset the preferred audio device.

Procedure


Step 1

Before you make or answer a call, press Headset.

Step 2

(Optional) If you place a call, dial the number.


Troubleshoot Your Cisco Headset

Try the following basic troubleshooting steps if you have trouble with your Cisco headset.

  • Restart your headset.

  • Make sure that all cords are properly plugged in and functioning properly.

  • Test a different headset with your device to determine if the problem is with your wireless headset or your device.

  • Make sure that your phone firmware is the latest release.

Confirm that Your Headset Is Registered

Procedure

Check to see if your headset is registered with the phone.


Check to see if your headset is registered with the phone.
Step 1

Press Applications

Step 2

Navigate to Accessories. Select Show detail.


No Sound in Headset

Problem

There is little or no sound coming through the headset.

Solution

Check the volume level on your headset by pressing the volume controls to adjust the sound level. If the problem continues, use the following work flow to troubleshoot your problem.

Figure 14. No Audio Workflow
No audio Troubleshooting Work flow

Poor Audio

Problem

Your headset is functioning, but the audio quality is poor.

Solution

Use the following work flow to troubleshoot your problem.

Figure 15. Poor Audio
Poor audio troubleshooting workflow.

Microphone Not Picking up Sound

Problem

You cannot be heard when using your headset.

Solutions

  • Check to make sure your microphone is not muted. Press the mute button on your headset to mute and unmute your microphone.

  • Make sure that the microphone boom has been lowered. For optimal sound, keep the headset microphone no further than 1 in or 2.5 cm from your face.

  • Make sure that your headset is properly plugged into your device.

  • For the Cisco Headset 560 Series, check that you are not taking your headset too far from the headset base. The headset has an effective range of approximately 100 feet or 30 meters.

Headset Not Charging

Problem

Your Cisco Headset 561 and 562 is not charging when placed on the base.

Solution

  • Check that your base is plugged into a reliable power source.

  • Make sure that your headset is properly seated on the base. When the headset is properly seated, the LED shows solid white. When charging, the LEDs on the base light up in sequence from left to right. When the headset is fully charged, all five battery indicator LEDs show solid white.

    Figure 16. Cisco Headset 561 and 562 Headset Placement
    Cisco Headset 561 and 562 Headset placement with arrow showing proper seating on base. Pins on the base and headset line up.

Headset Battery Not Holding a Charge

Problem

The wireless headset is not holding a full charge.

Solution

Your Cisco Headset 561 and 562 holds a charge for up to 8 hours of continuous use. If your headset battery seems weak or defective, contact Cisco support.