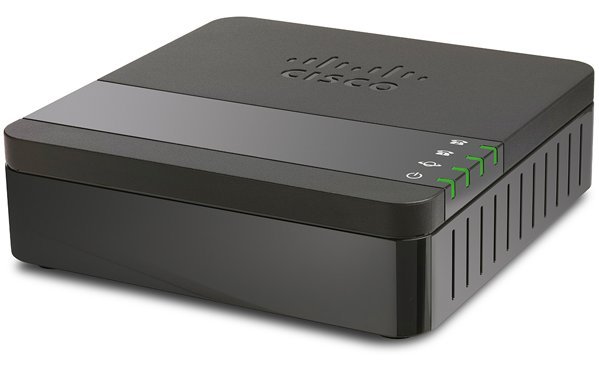
Cisco ATA 190 Series Analog Telephone Adapters
| Overview | Product Overview |
|---|---|
| Product Type | Communications Gateways |
| Status | Available Order |
| Series Release Date | 30-SEP-2014 |
|
Supported Models: - Cisco ATA 191 Analog Telephone Adapter - Cisco ATA 191 Multiplatform Analog Telephone Adapter - Cisco ATA 192 Multiplatform Analog Telephone Adapter |
|

- US/Canada 800-553-2447
- Worldwide Support Phone Numbers
- All Tools
 Feedback
 Feedback
-
Top Search Results
Key Information
Customers Also Viewed
Saved Content
-
You can now save documents for easier access and future use. Saved documents for this product will be listed here, or visit the My Saved Content page to view and manage all saved content from across Cisco.com.
Log in to see your Saved Content.
Recent Security Notices
- 24-Oct-2024
- 09-Aug-2024
Document Categories
-
Data Sheets and Product Information
-
Security Notices
-
Applicable to Multiple Models
-
Cisco ATA 192 Multiplatform Analog Telephone Adapter
- Field Notice: FN74094 - Ending Support for CSR Signing on Cisco CDA (Customer Device Activation) service – Product Migration or Configuration Updates Required - Workaround Provided
- Field Notice: FN - 72593 - Expiring Manufacturer Installed Certificate in Multiplatform Phones - Configuration Change Recommended
-
Cisco ATA 191 Analog Telephone Adapter
Field Notices
- Cisco ATA 190 Series Analog Telephone Adapter Firmware Vulnerabilities
- Cisco SPA112 2-Port Phone Adapters Remote Command Execution Vulnerability
- Cisco ATA 190 Series Analog Telephone Adapter Software Vulnerabilities
- Cisco ATA 190 Series Analog Telephone Adapter Software Vulnerabilities
Security Advisories, Responses and Notices
-
-
Release and Compatibility
- Cisco ATA 191 and 192 Analog Telephone Adapter Release Notes for Multiplatform Firmware Release 11.3(2)
- Cisco ATA 191 Analog Telephone Adapter Release Notes for Firmware Release 12.0(3)SR1
- Cisco ATA 191 Analog Telephone Adapter Release Notes for Firmware Release 12.0(3)
- Cisco ATA 191 and 192 Analog Telephone Adapter Release Notes for Multiplatform Firmware Release 11.3(1)
- Cisco ATA 191 and 192 Analog Telephone Adapter Release Notes for Multiplatform Firmware Release 11.2(5)
- Cisco ATA 191 Analog Telephone Adapter Release Notes for Firmware Release 12.0(2)
- Cisco ATA 191 and 192 Analog Telephone Adapter Release Notes for Multiplatform Firmware Release 11.2(4)
- Cisco ATA 191 and 192 Analog Telephone Adapter Release Notes for Multiplatform Firmware Release 11.2(3)
- Cisco ATA 191 Analog Telephone Adapter Release Notes for Firmware Release 12.0(1)SR5 (PDF - 210 KB)
- Cisco ATA 191 and 192 Analog Telephone Adapter Release Notes for Multiplatform Firmware Release 11.2(2)SR1
- Cisco ATA 191 and 192 Analog Telephone Adapter Release Notes for Multiplatform Firmware Release 11.2(2)
- Cisco ATA 191 Analog Telephone Adapter Release Notes for Firmware Release 12.0(1)SR4
- Cisco ATA 191 and 192 Analog Telephone Adapter Release Notes for Multiplatform Firmware Release 11.2(1)
- Cisco ATA 191 and 192 Analog Telephone Adapter Release Notes for Multiplatform Firmware Release 11.1(0)SR4
- Cisco ATA 191 Analog Telephone Adapter Release Notes for Firmware Release 12.0(1)SR3
Release Notes
-
Reference
-
Applicable to Multiple Models
- Cisco ATA 191 and 192 Analog Telephone Adapter for Multiplatform Phones Open Source License for Firmware Release 11.3(1) (PDF - 1 MB)
- Cisco ATA 191 and 192 Analog Telephone Adapter for Multiplatform Phones Open Source License for Firmware Release 11.2(5) (PDF - 1 MB)
- Cisco ATA 191 and 192 Analog Telephone Adapter for Multiplatform Phones Open Source License for Firmware Release 11.1(0) (PDF - 1 MB)
- Cisco ATA 191 Analog Telephone Adapter Open Source License for Firmware Release 12.0(2) (PDF - 1 MB)
- Cisco ATA 191 Analog Telephone Adapter Open Source License for Firmware Release 12.0(1) (PDF - 1 MB)
Licensing Information
-
-
Install and Upgrade
-
Applicable to Multiple Models
- Cisco ATA 190 Series Regulatory Compliance and Safety Information (PDF - 1 MB)
Install and Upgrade Guides
-
-
Maintain and Operate
-
Applicable to Multiple Models
-
Cisco ATA 191 Analog Telephone Adapter
End-User Guides
-
Applicable to Multiple Models
- Cisco ATA 191 Analog Telephone Adapter Administration Guide for Cisco Unified Communications Manager
Maintain and Operate Guides
-
-
Troubleshooting
- Configure and Troubleshoot PLAR for Analog Phone (ATA 190)
Troubleshooting TechNotes
-
Log in to see available downloads.
-
