Create and configure the instance
Procedure
|
Step 1 |
Go to https://aws.amazon.com Amazon Web Services and sign in. |
||||||||||||||||||||||||||||||||||||||||||||||||||||||||||||||||
|
Step 2 |
Navigate to All services > EC2.  |
||||||||||||||||||||||||||||||||||||||||||||||||||||||||||||||||
|
Step 3 |
Click Launch Instance. 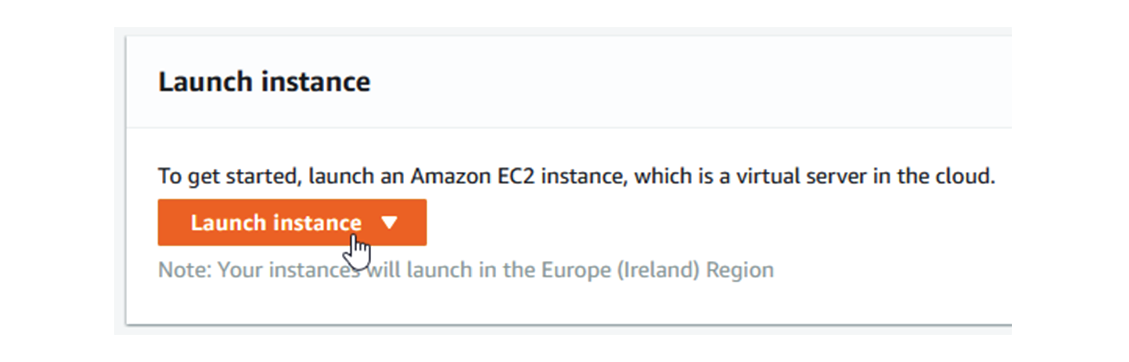 |
||||||||||||||||||||||||||||||||||||||||||||||||||||||||||||||||
|
Step 4 |
Give the instance a name. |
||||||||||||||||||||||||||||||||||||||||||||||||||||||||||||||||
|
Step 5 |
Type "cyber vision" in the AMI search bar. 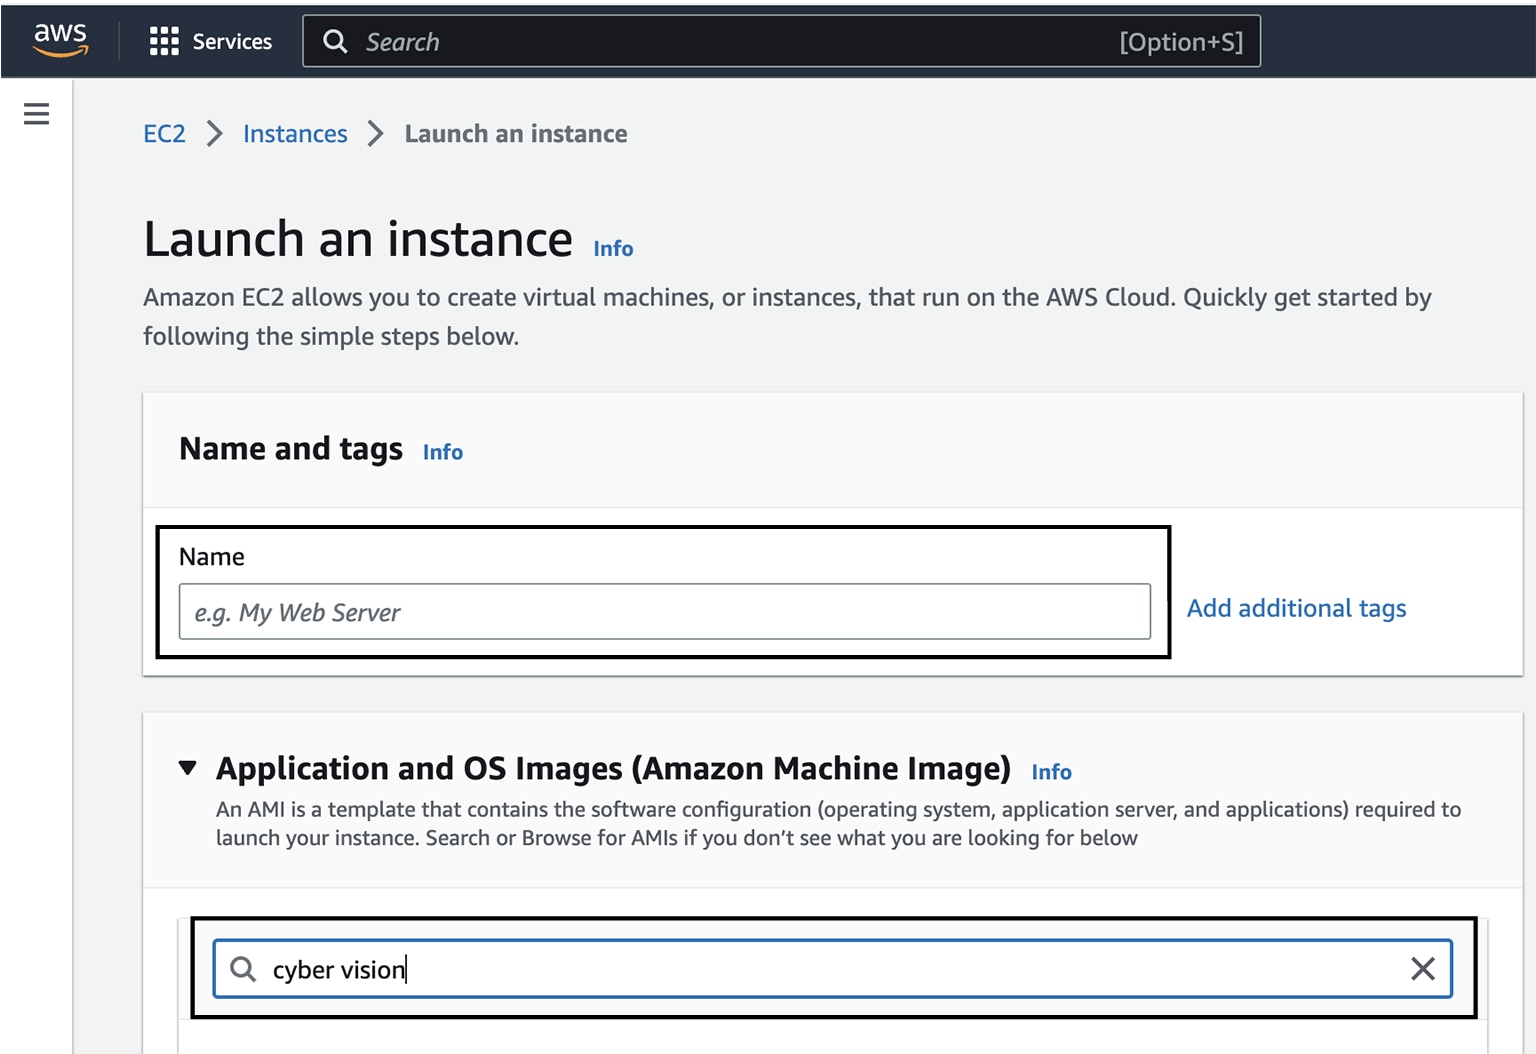 |
||||||||||||||||||||||||||||||||||||||||||||||||||||||||||||||||
|
Step 6 |
In the AWS Marketplace AMIs menu, select Cisco Cyber Vision BYOL. 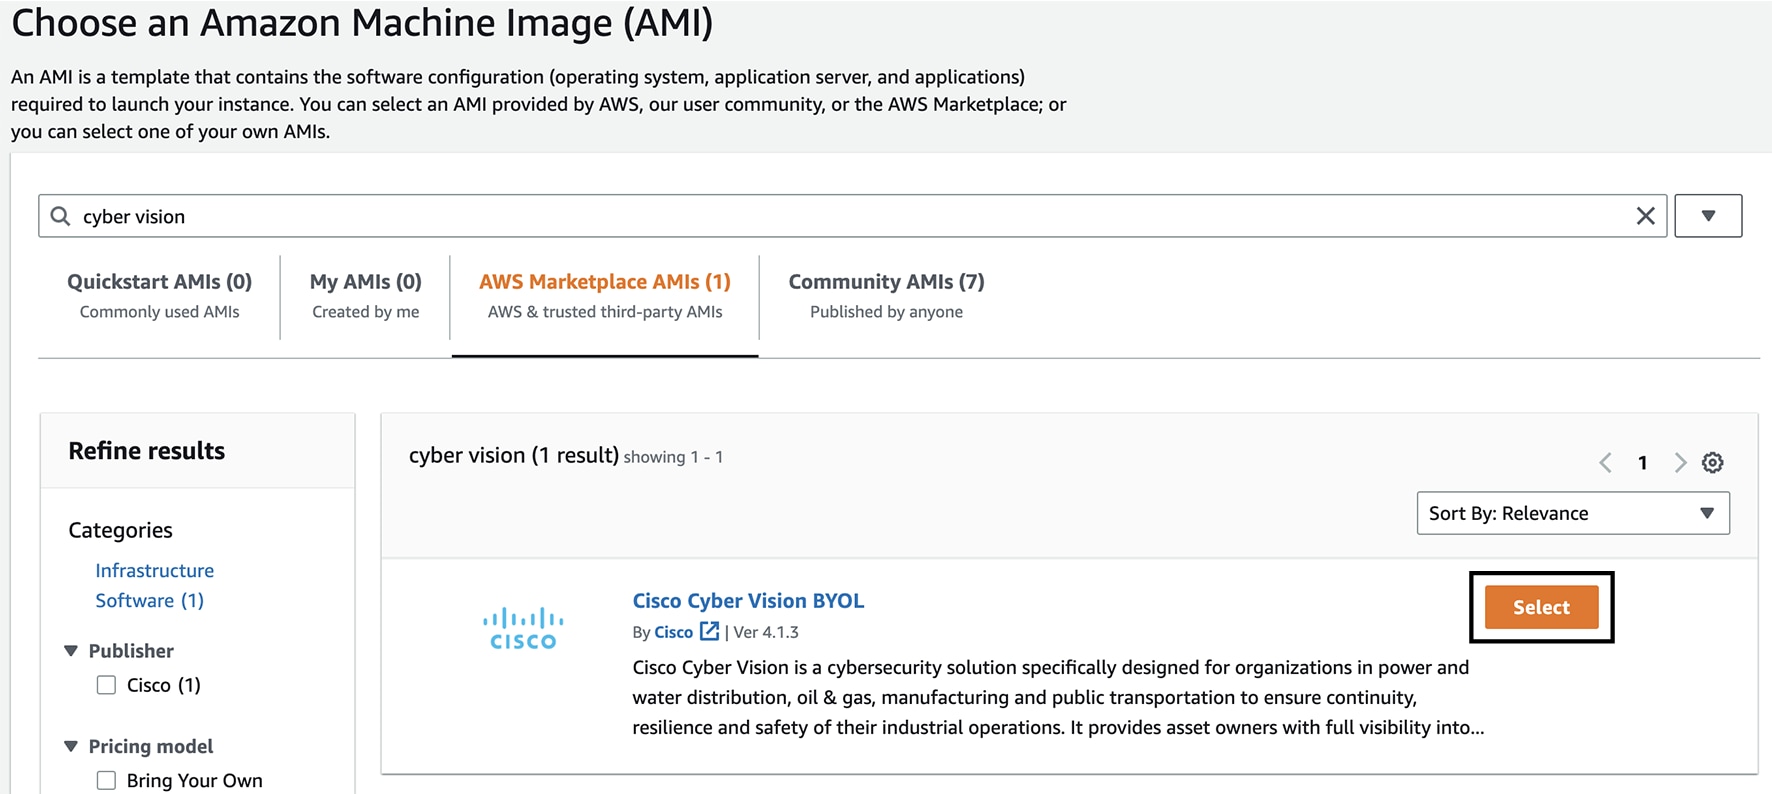 |
||||||||||||||||||||||||||||||||||||||||||||||||||||||||||||||||
|
Step 7 |
Click Continue.  |
||||||||||||||||||||||||||||||||||||||||||||||||||||||||||||||||
|
Step 8 |
Slide down to instance type.
|
||||||||||||||||||||||||||||||||||||||||||||||||||||||||||||||||
|
Step 9 |
Select an instance type by typing for example "t3.xlarge". 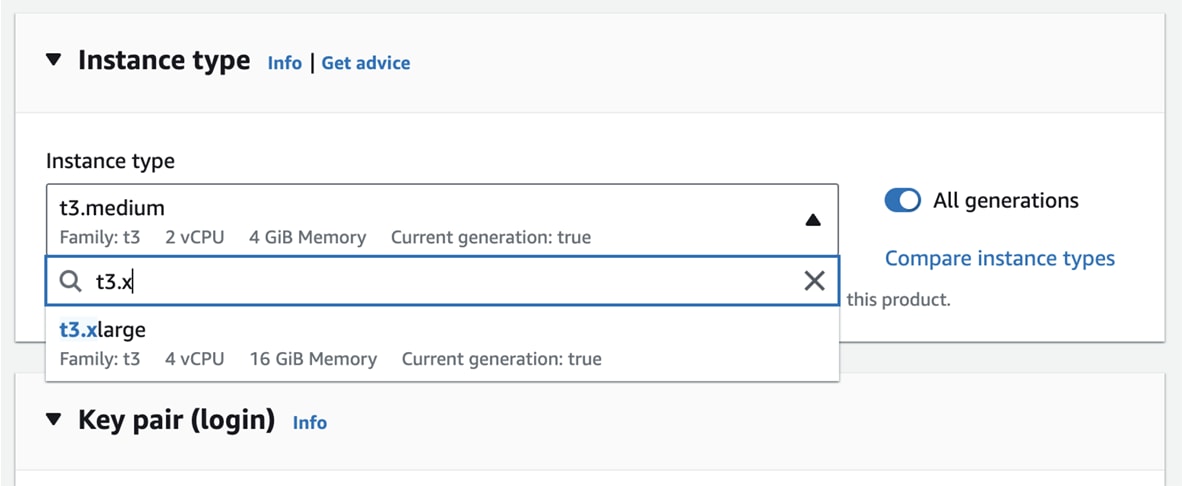 |
||||||||||||||||||||||||||||||||||||||||||||||||||||||||||||||||
|
Step 10 |
Select or create a new key pair. 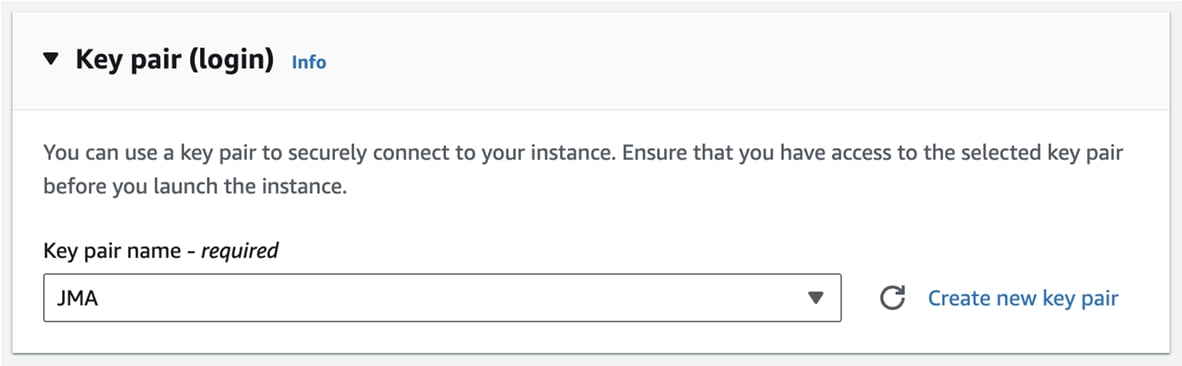 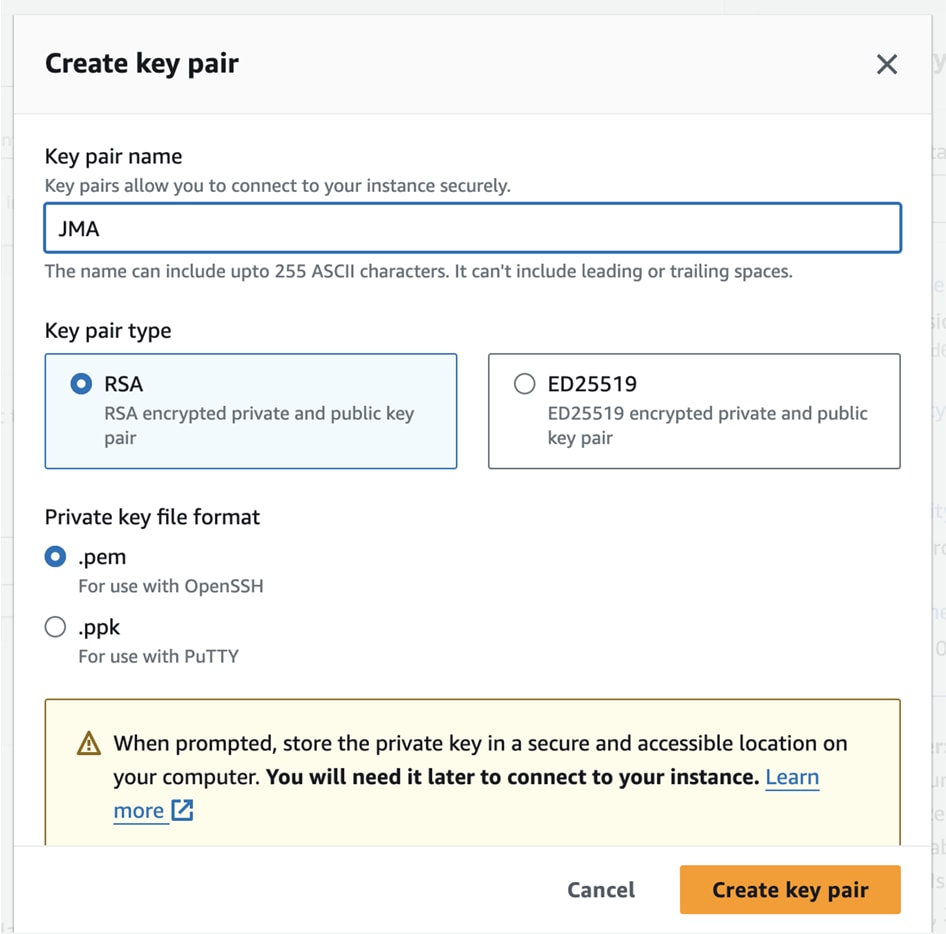 A file called YOURKEYPAIRNAME.pem will be downloaded. |
||||||||||||||||||||||||||||||||||||||||||||||||||||||||||||||||
|
Step 11 |
Slide down to Network settings and click Edit. 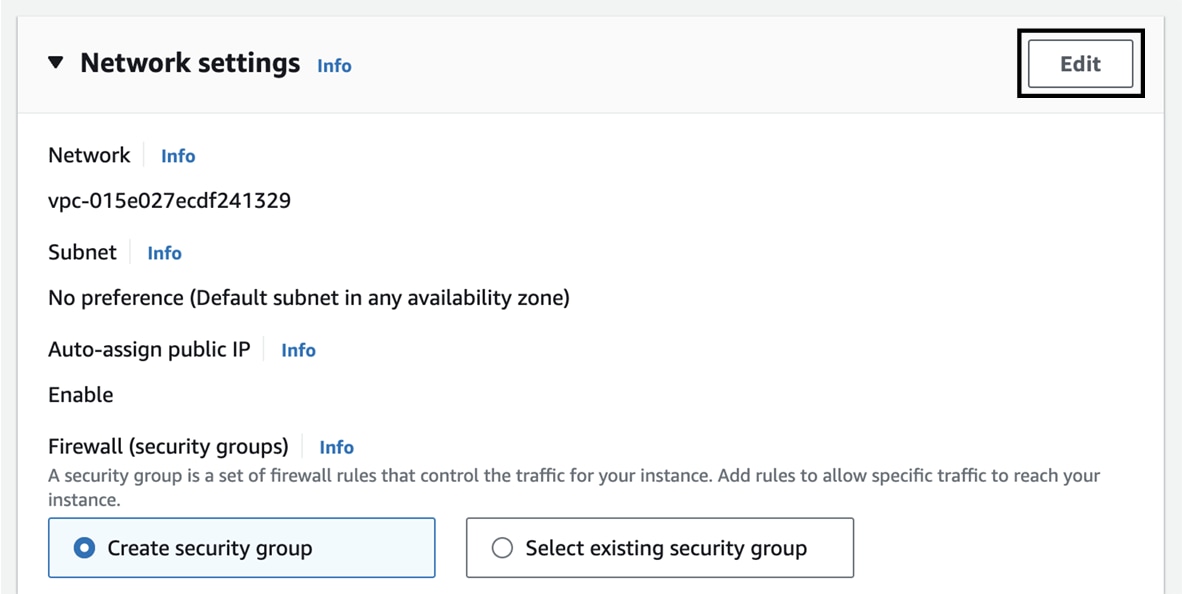 |
||||||||||||||||||||||||||||||||||||||||||||||||||||||||||||||||
|
Step 12 |
Set Auto-assign public IP to Disable. 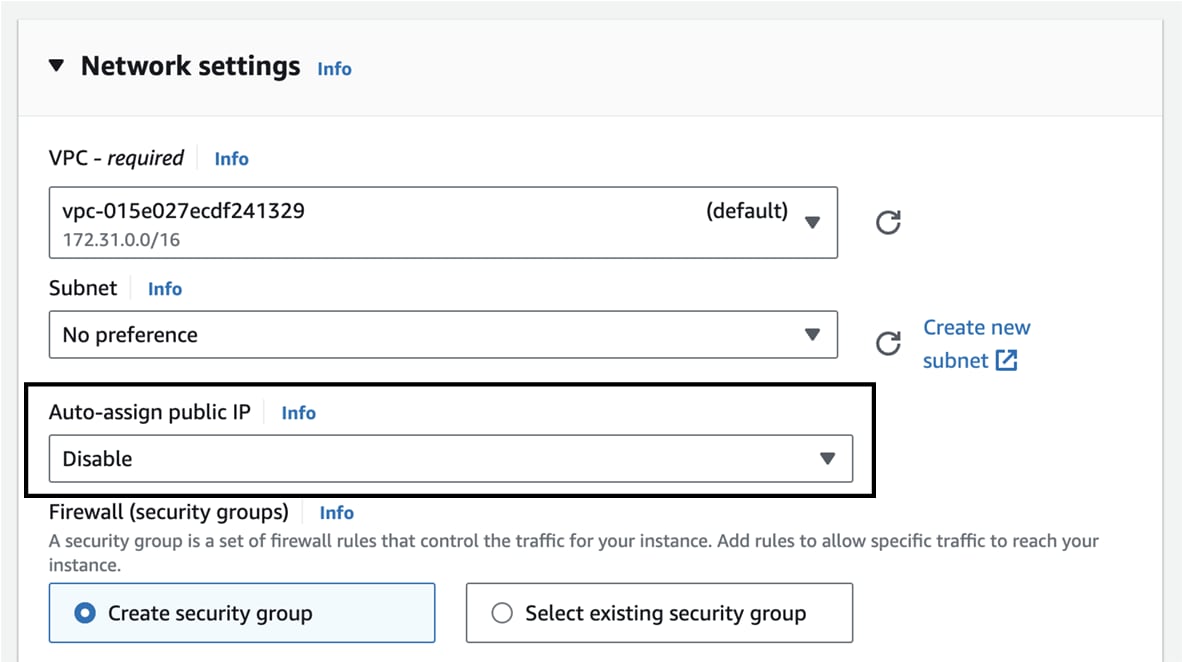 Inbound Security Group Rules appears. 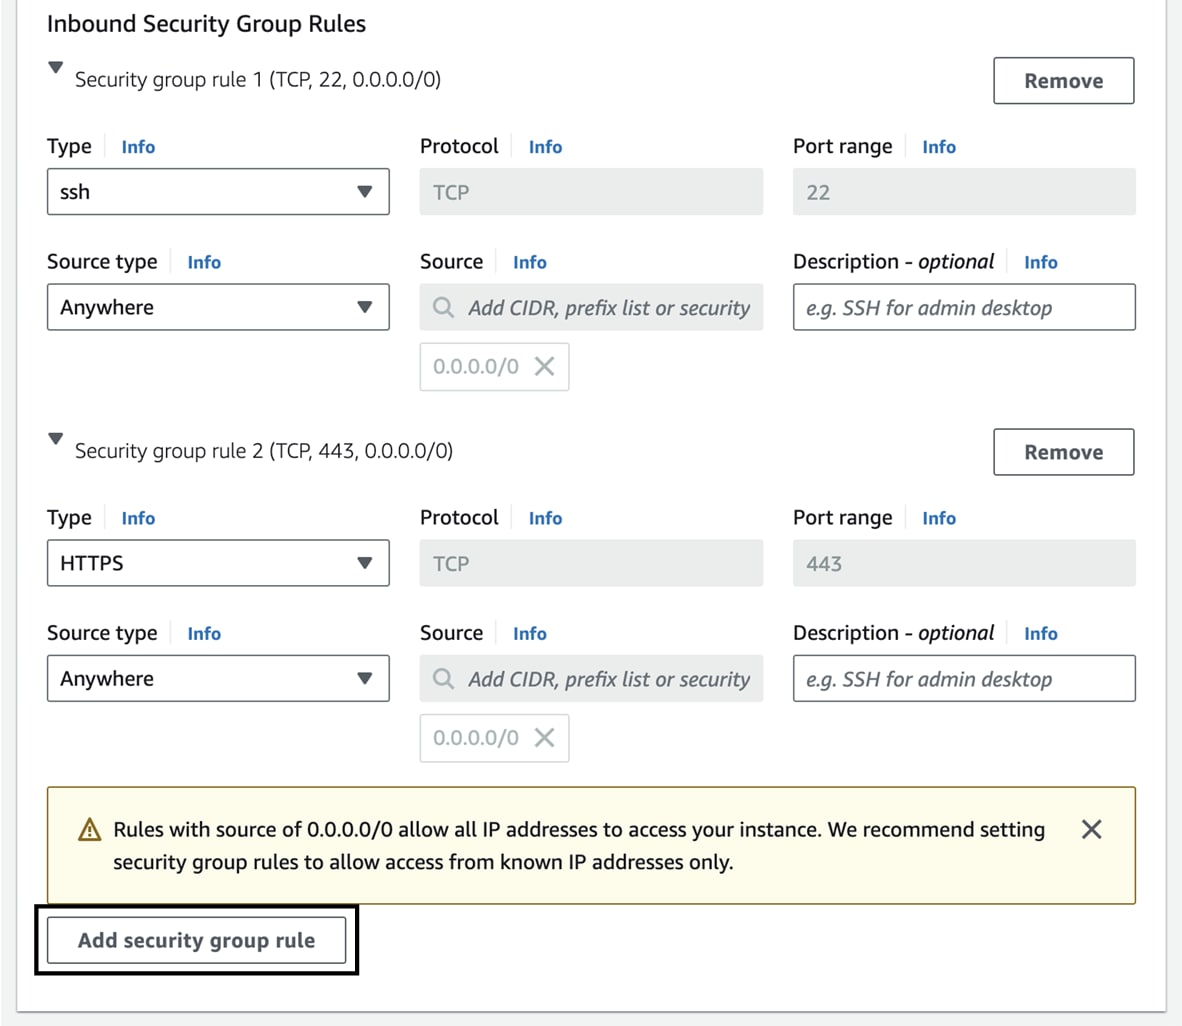 |
||||||||||||||||||||||||||||||||||||||||||||||||||||||||||||||||
|
Step 13 |
Click Add security group rule to start configuring AWS firewall settings. Add the rules that provide access from users or other resources to the Center. List of the ports that need to be added:
Example of security configuration:
|
||||||||||||||||||||||||||||||||||||||||||||||||||||||||||||||||
|
Step 14 |
Configure storage by changing the value or ,if needed, adding a new volume.
For example, we change 100 GiB default value to 500. 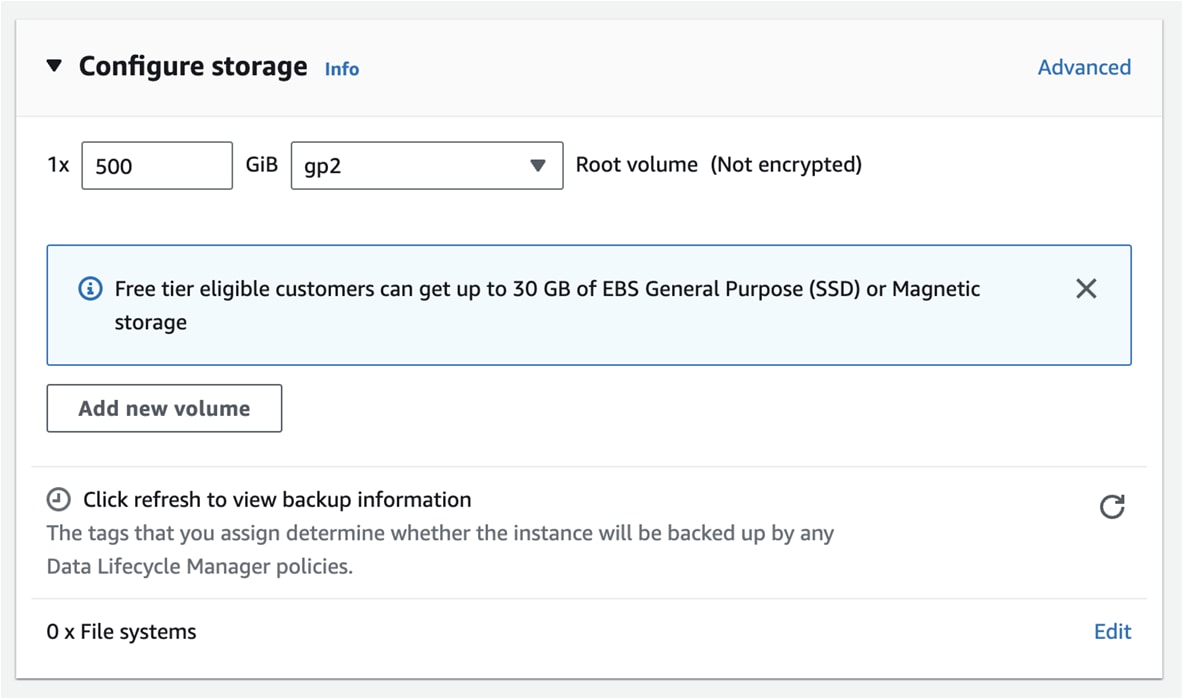 |
||||||||||||||||||||||||||||||||||||||||||||||||||||||||||||||||
|
Step 15 |
Depending on the Center type, fill the Advanced Details > User data part at the bottom of the page.  If a json file is used to specify the type of the Center, this step will be skipped during the installation.
|
||||||||||||||||||||||||||||||||||||||||||||||||||||||||||||||||
|
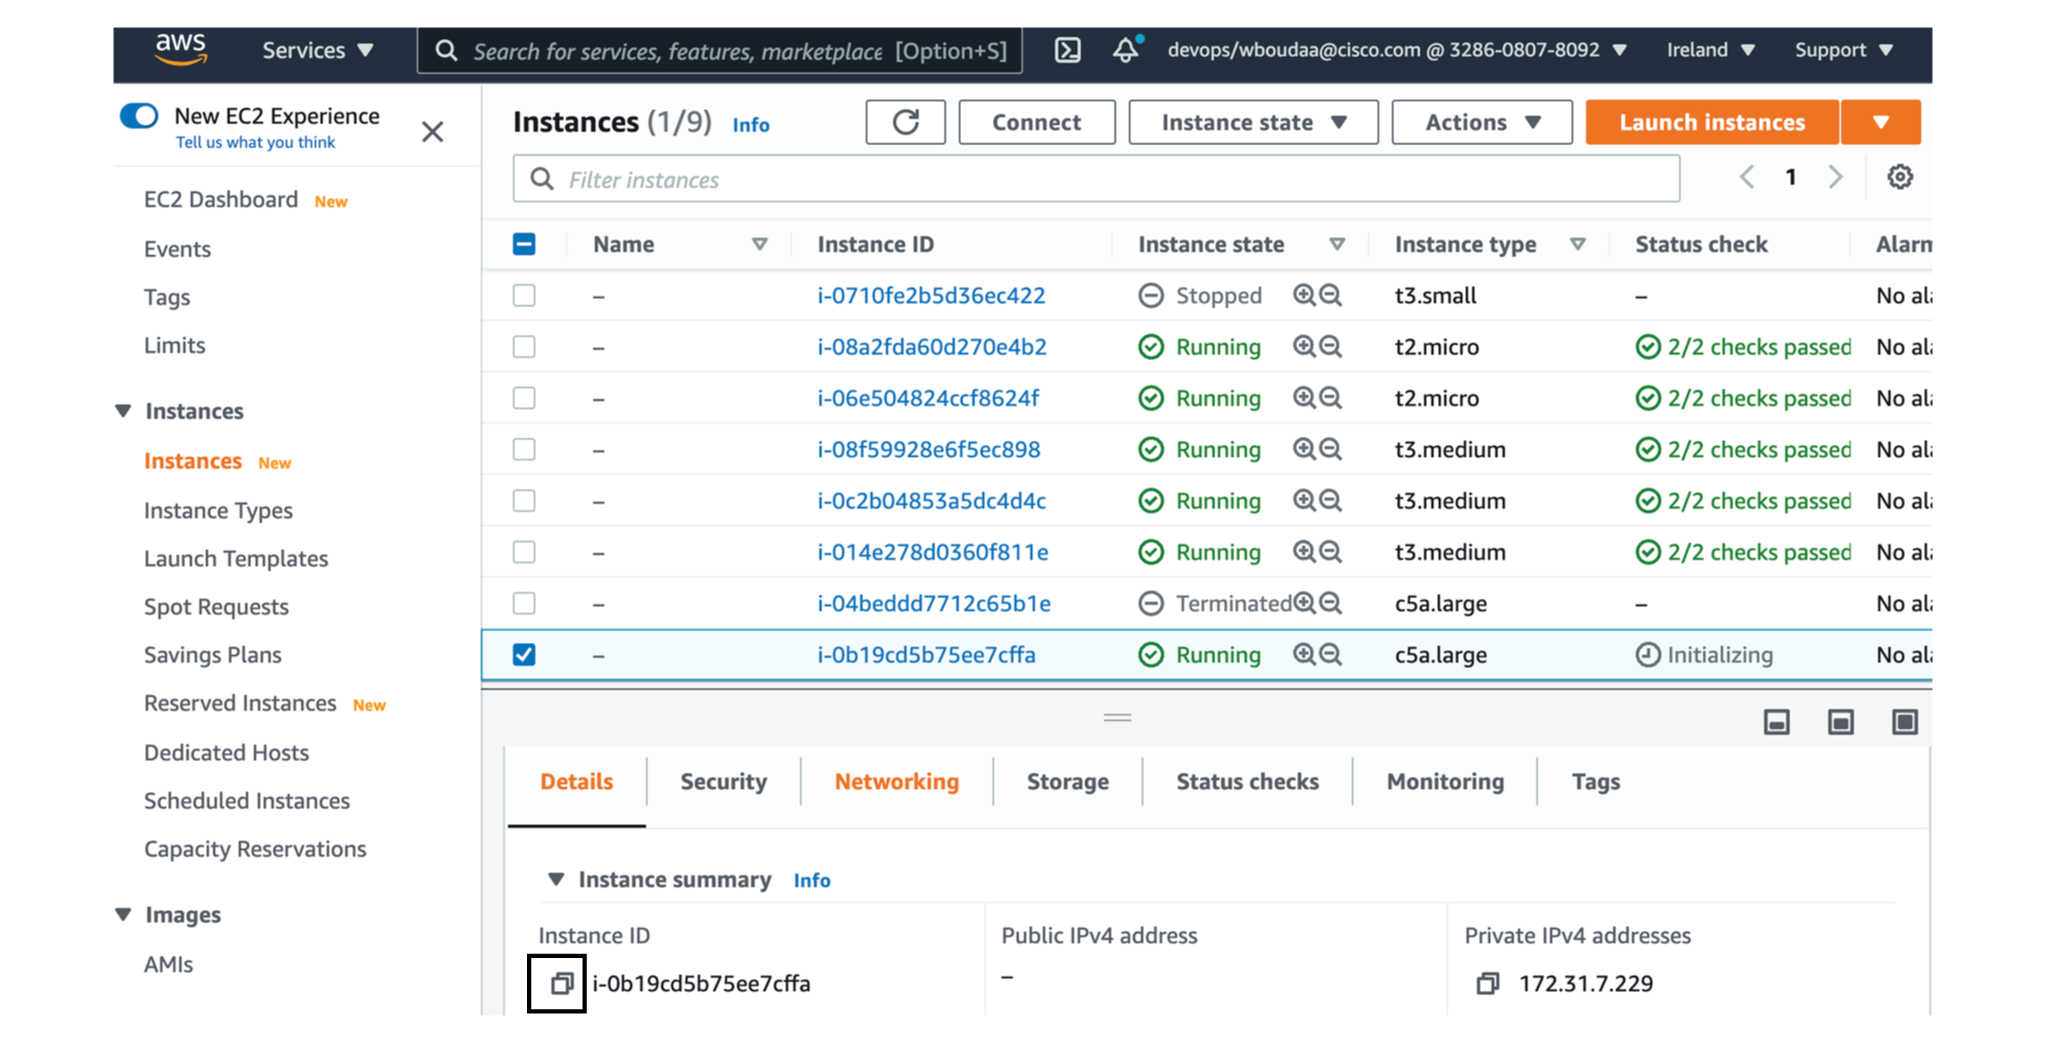
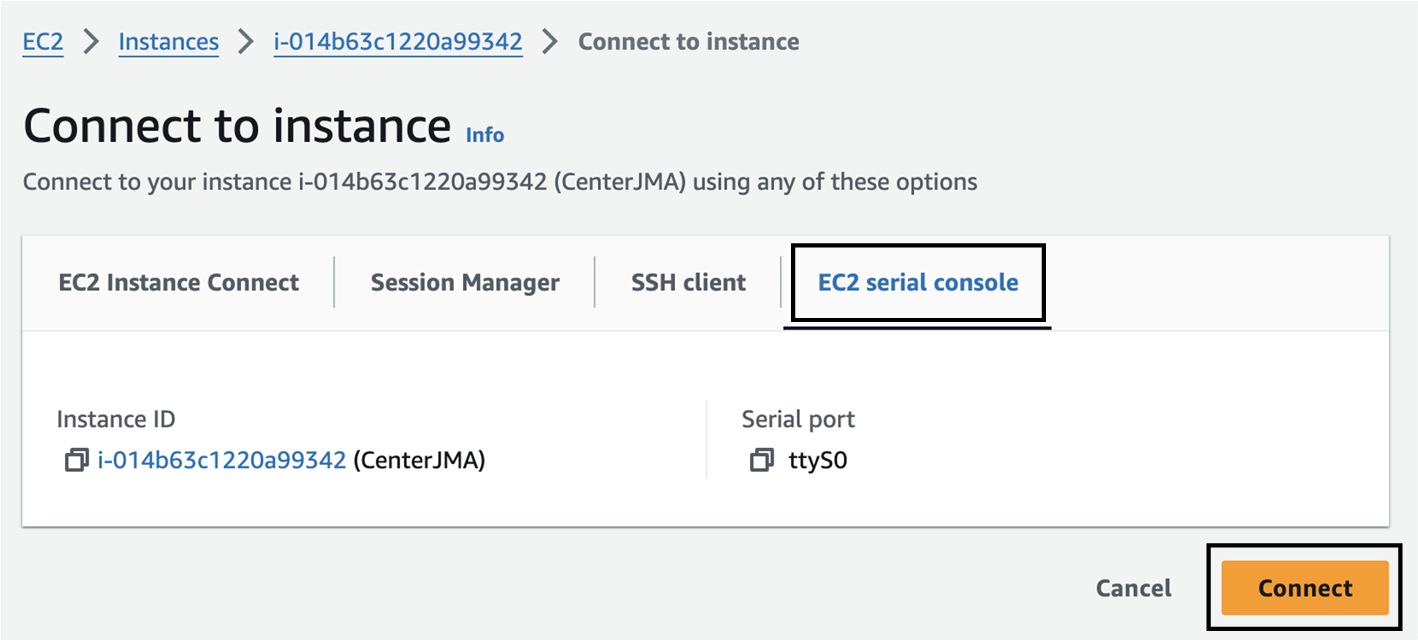
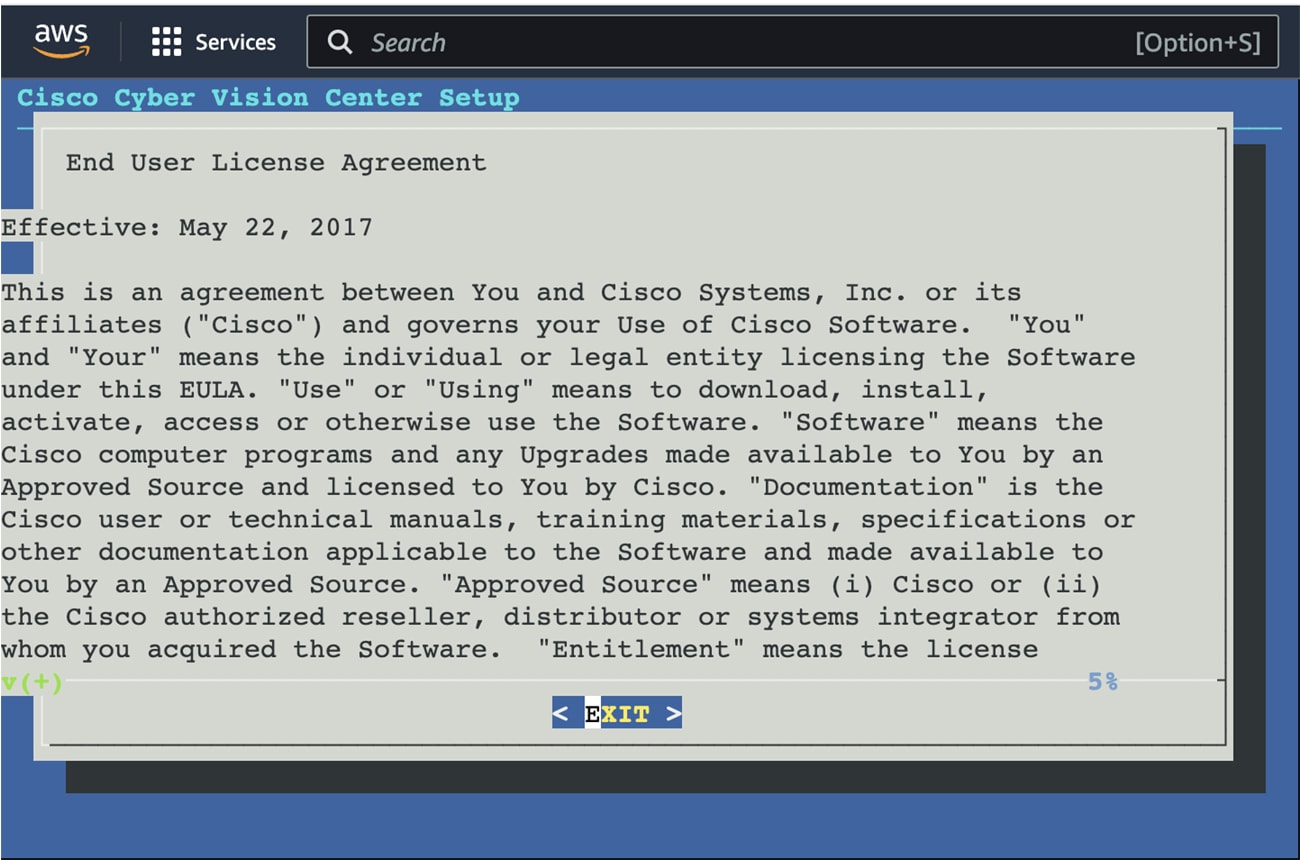
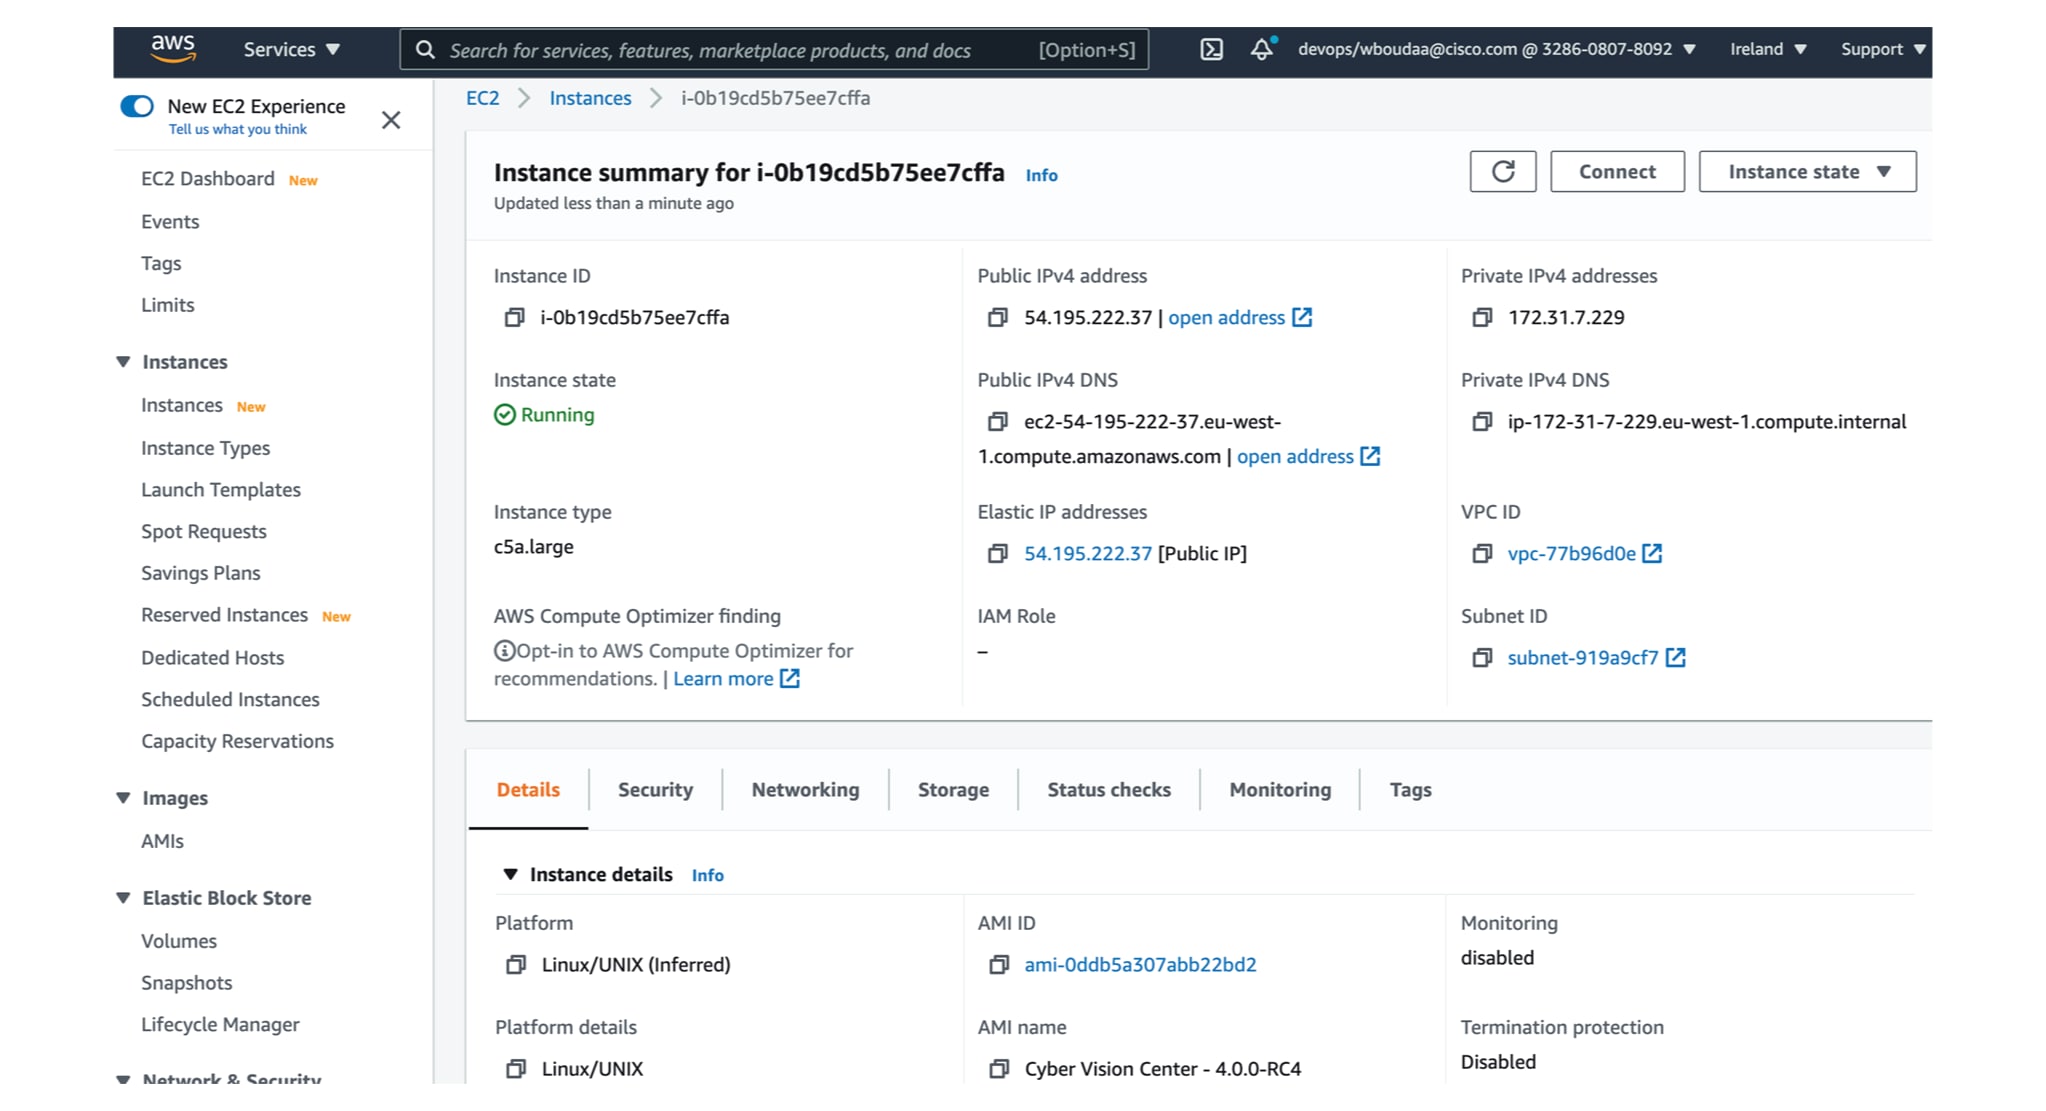
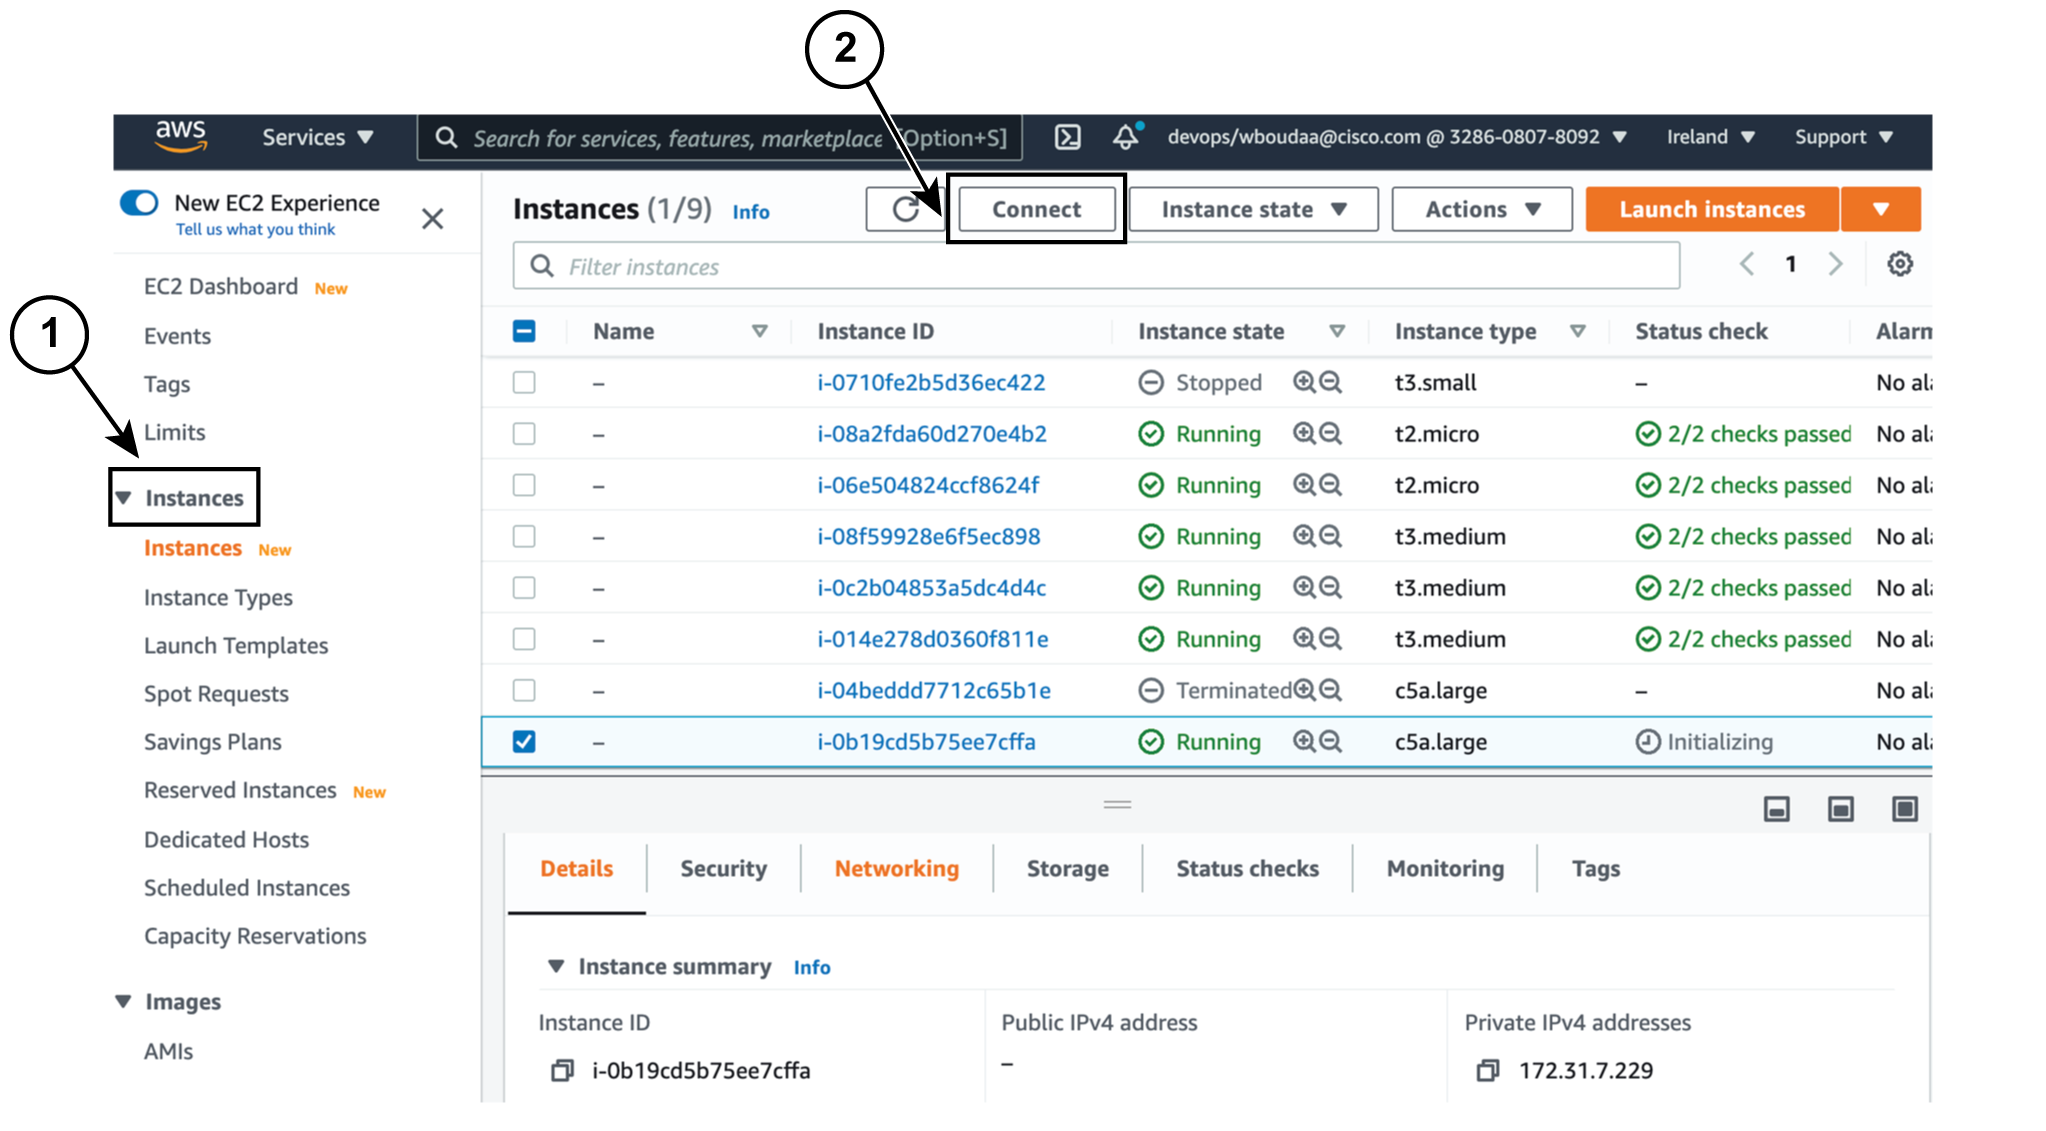
Step 16 |
Review the settings on the right summary and click Launch instance. 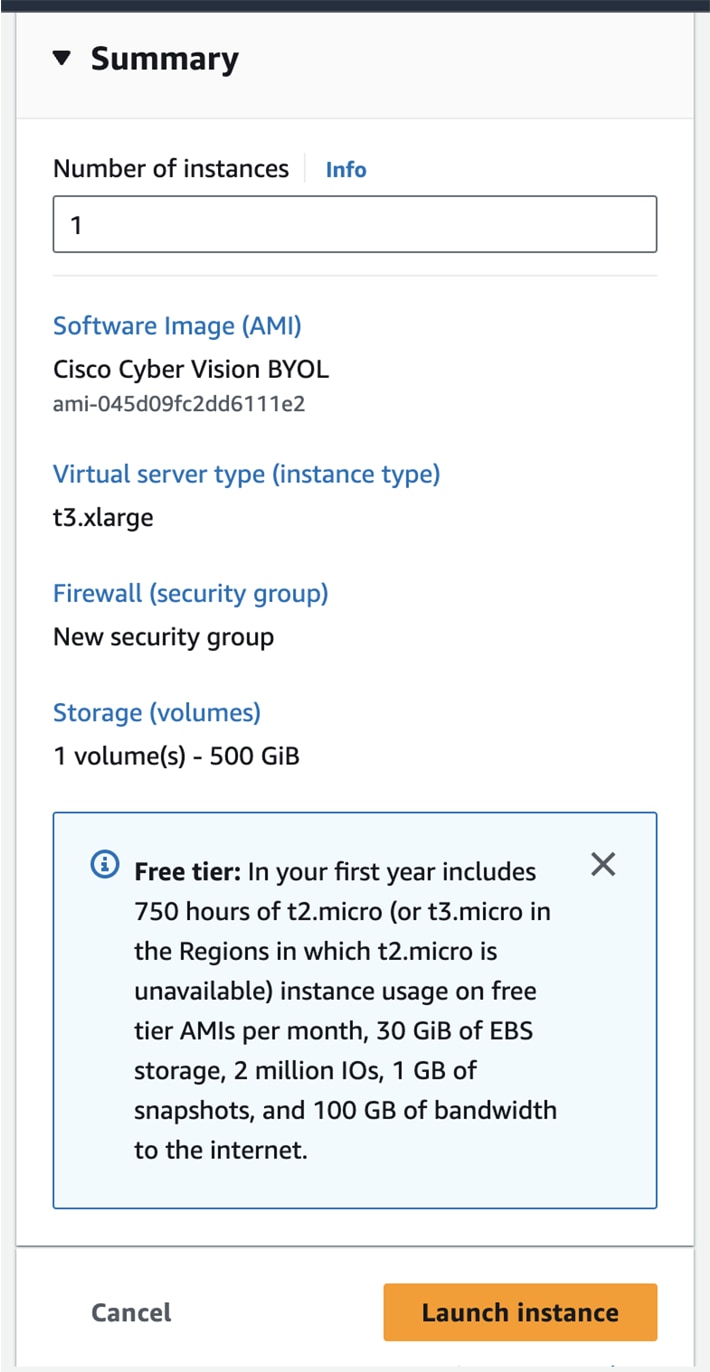 The following status should appear.   |


 Feedback