Upgrade procedures
Sensor Self Update
Cisco Cyber Vision now allows sensor updates regardless of the install method (i.e., without the extension). Release 4.4.1 provides the necessary foundation for sensor self-updates. However, the self-update feature will only be functional in future releases.
Starting with Cisco Cyber Vision release 4.4.1, you can update all sensors automatically. The required steps are:
-
Select sensors to update.
-
The Center adds a new job to the sensor queue.
-
The sensor automatically collects and validates the update file.
-
The sensor restarts with the new version.
Update Warnings
In the Cisco Cyber Vision Center on the Sensor Explorer page, you receive an alert to update the sensor. When this occurs, the latest version number appears in red, and a blue arrow with a tooltip indicates the sensor is upgradeable.
To update the senosr, follow thses steps:
-
From the main menu, choose Admin > Sensors > Sensor Explorer.
-
Click the sensor that is upgradeble from the Label column.
-
The right side panel appears with sensor details.
-
Click Update.
Update Procedure
Procedure
|
Step 1 |
From the main menu, choose Admin > Senors > Sensor Explorer. |
|
Step 2 |
Check the checkboxes to select multiple sensors. |
|
Step 3 |
Click the drop-down arrow of the More Actions button. |
|
Step 4 |
Click Update sensors from the drop-down list. The UPDATE SENSORS pop-up appears. |
|
Step 5 |
Click OK. During the update, a blue circle appears in the Update status column. After the update is complete, the version number turns black, and a green symbol appears in the same column. |
Update Failure
If the update is unsuccessful, the Update Status column displays a red cross and a detailed message. To view the failure message, choose Admin > Sensors > Sensor Explorer from the main menu. Hover over the red cross in the Update Status column to see the details of the update failure.
Upgrade through the Cisco Cyber Vision sensor management extension
Before updating sensors, the Cisco Cyber Vision sensor management extension must be up-to-date.
It is possible to select which sensors to update. The update status will be visible in the Management Jobs page.
Update the sensor management extension
The Cisco Cyber Vision sensor management extension must be up-to-date to update IOx sensors.
Procedure
|
Step 1 |
Retrieve the sensor management extension file (i.e. CiscoCyberVision-sensor-management-<version>.ext) on cisco.com. |
|
Step 2 |
In Cisco Cyber Vision, navigate to Admin > Extensions. |
|
Step 3 |
Click Update to browse the new version of the extension file. 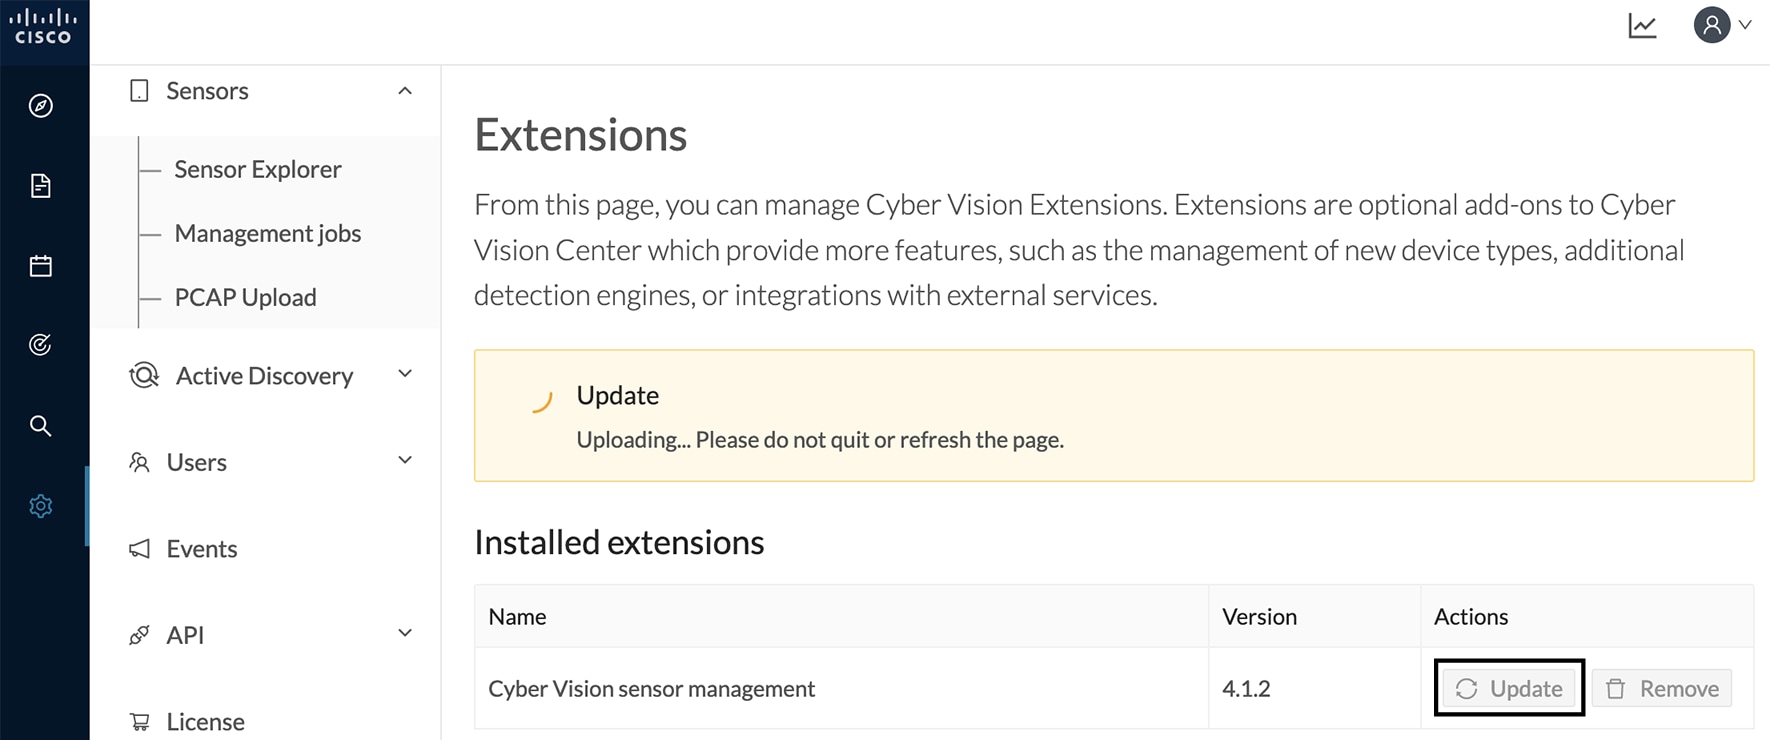 |
Update the sensors
Procedure
|
Step 1 |
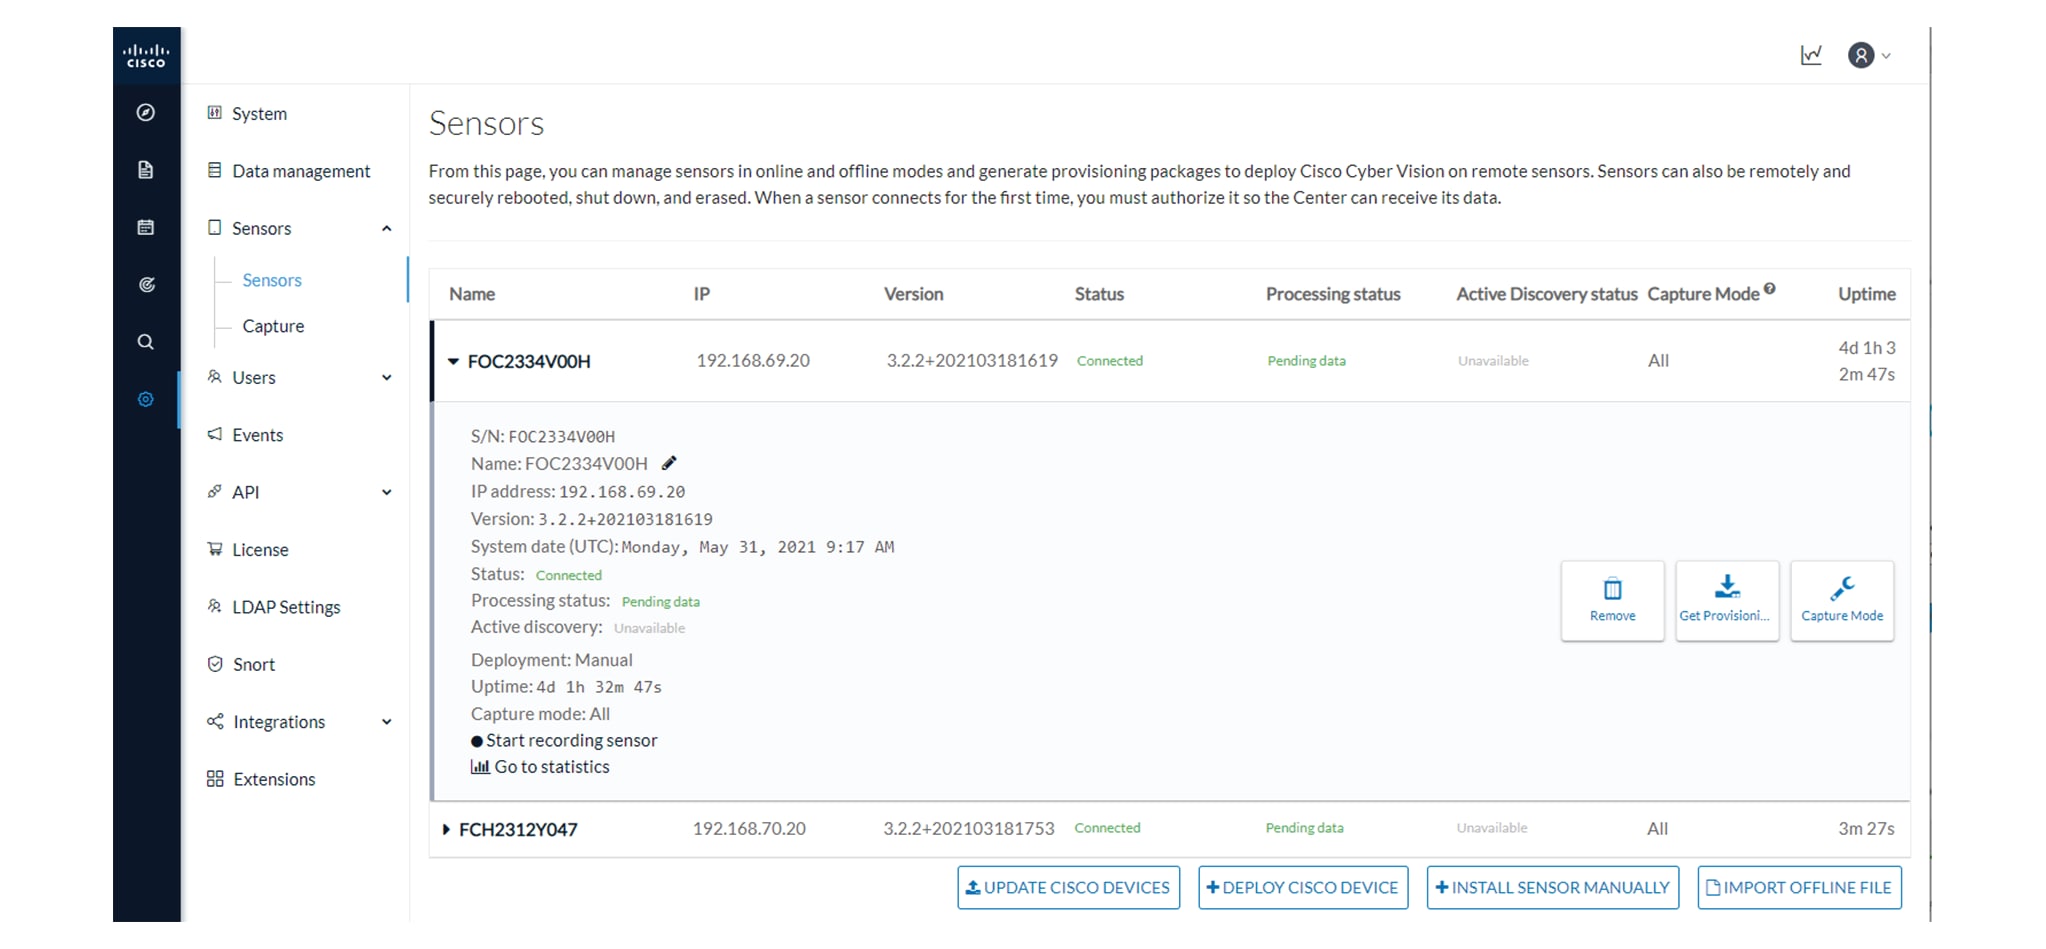
In Cisco Cyber Vision, navigate to Admin > Sensors > Sensor Explorer. Sensors that are not up-to-date have their version displayed in red. |
|
Step 2 |
Click Install sensor, then Update Cisco devices. 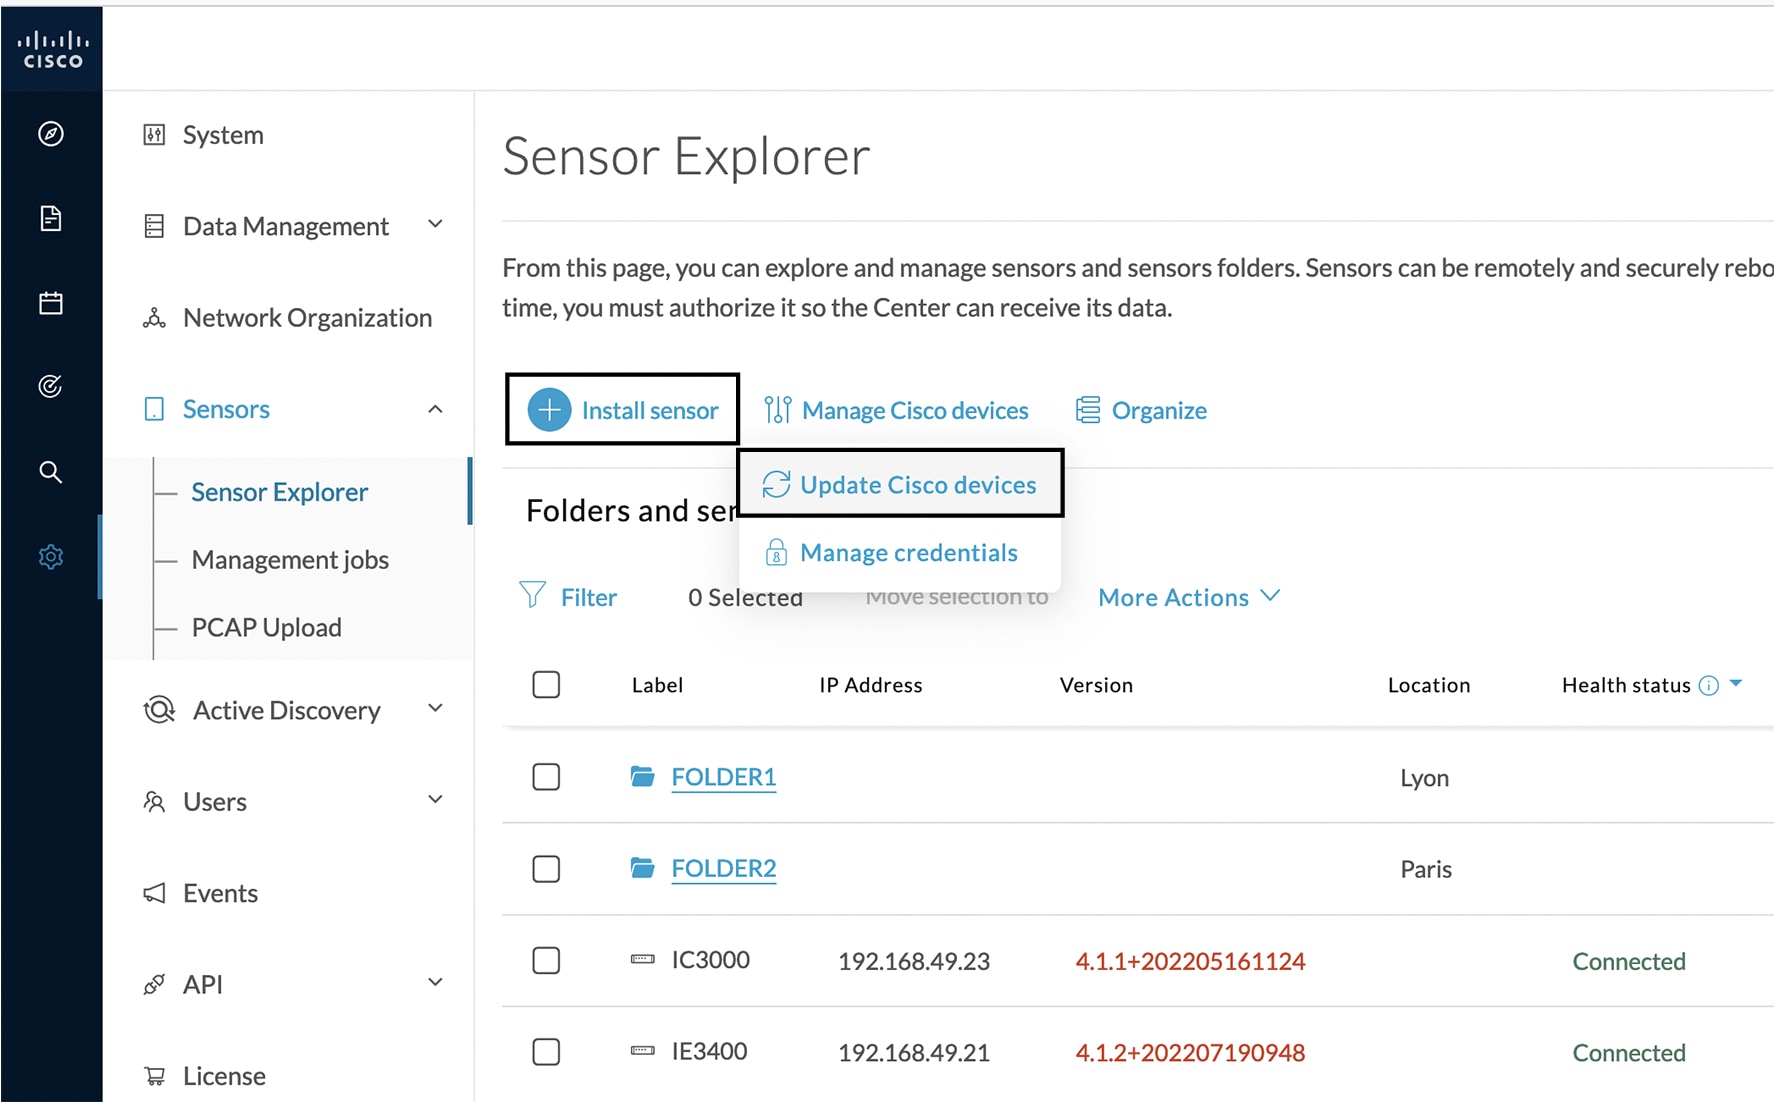 The update Cisco devices window pops up listing all sensors that have been deployed with the sensor management extension. 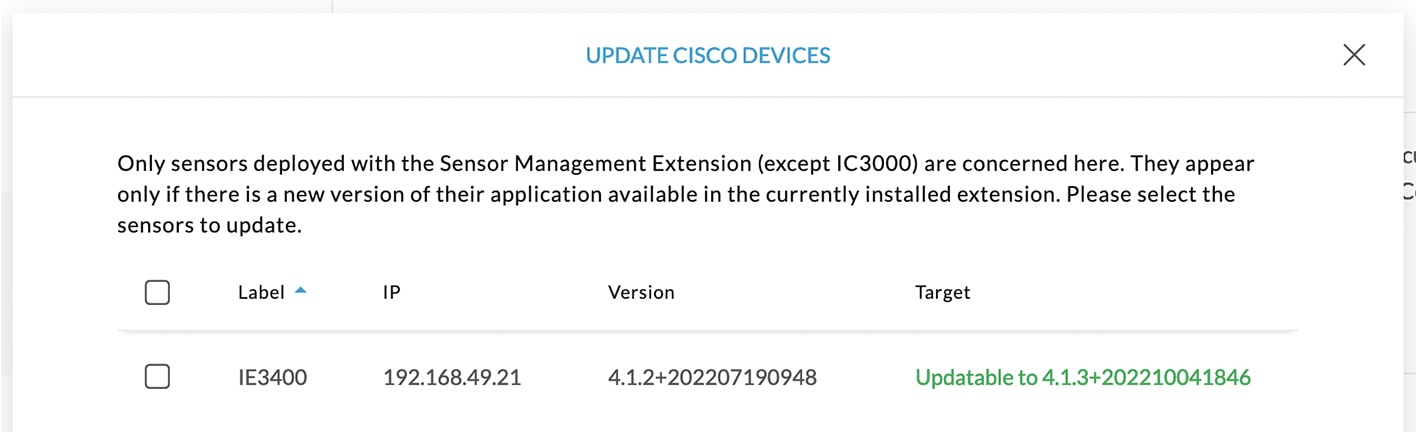 |
|
Step 3 |
Select the sensors you want to update. 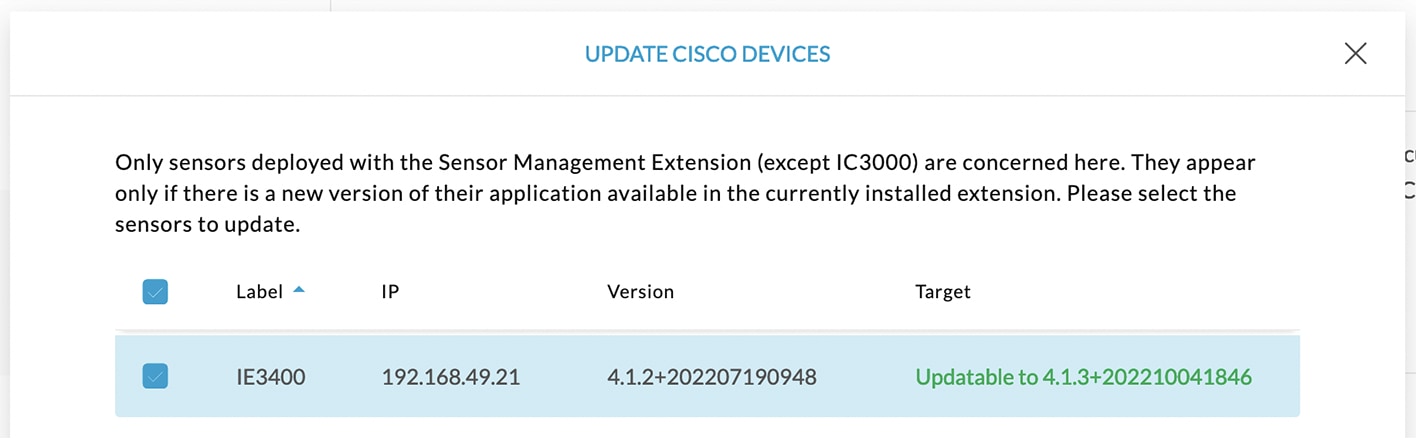 |
|
Step 4 |
Click Update. The sensors' update status appear in the Management jobs page in batches per sensor type and of maximum ten sensors per batch. 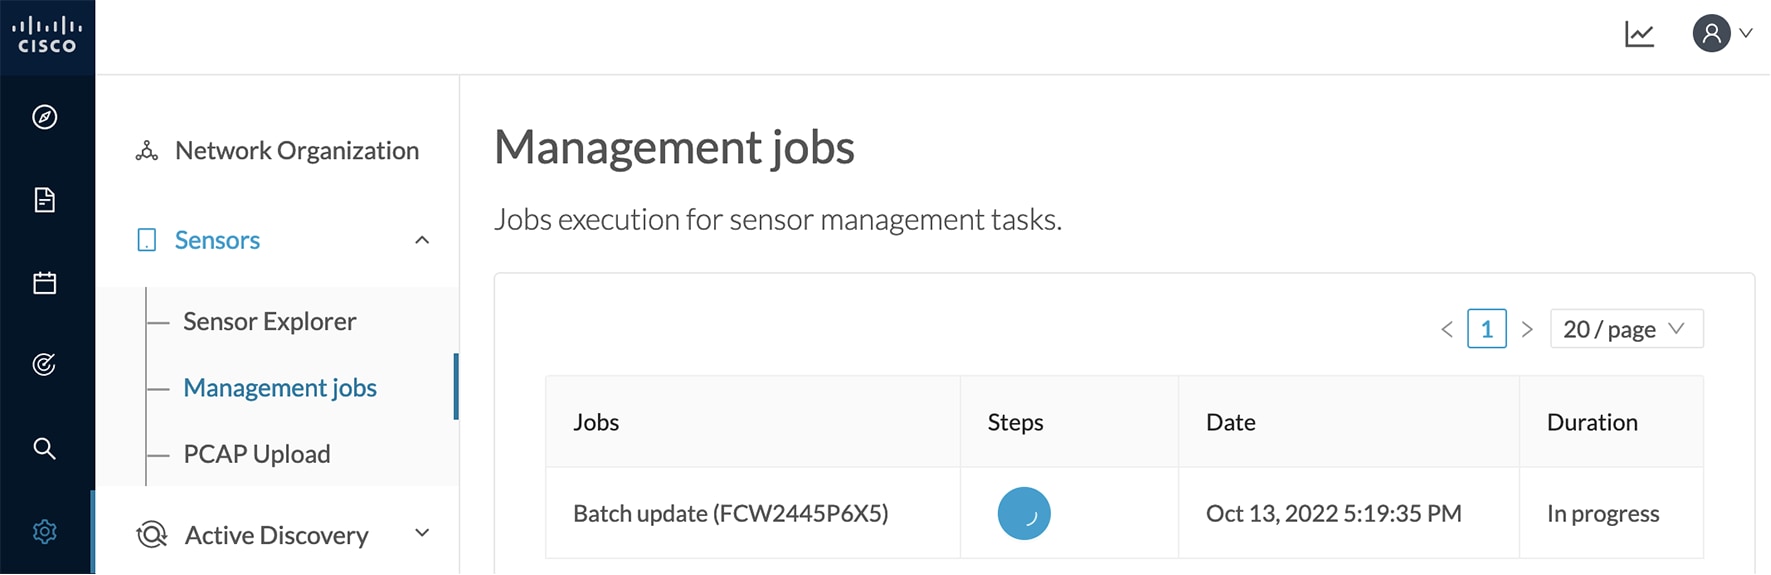 Herebelow the management jobs indicate that the batch of sensors updated successfully. 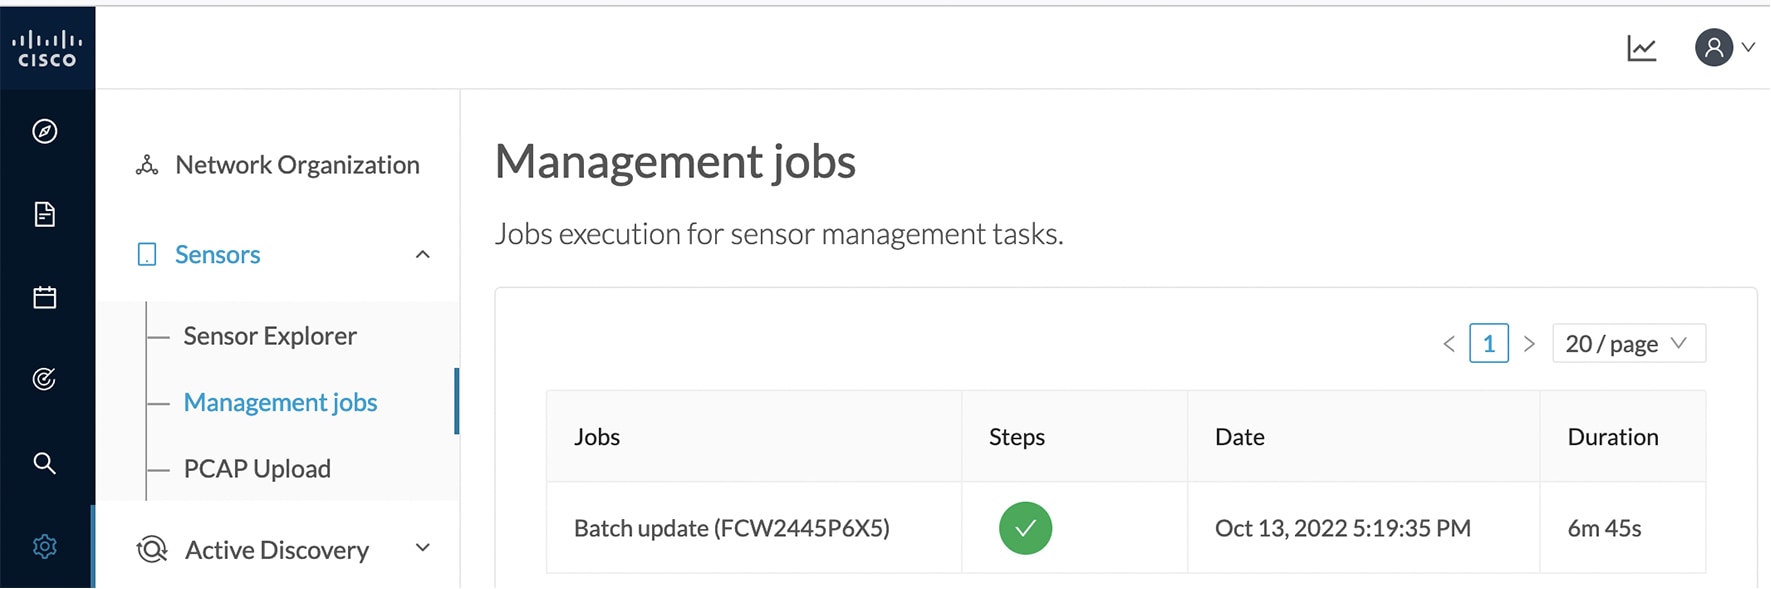 If the batch update fails, click the red update error icon to see logs. 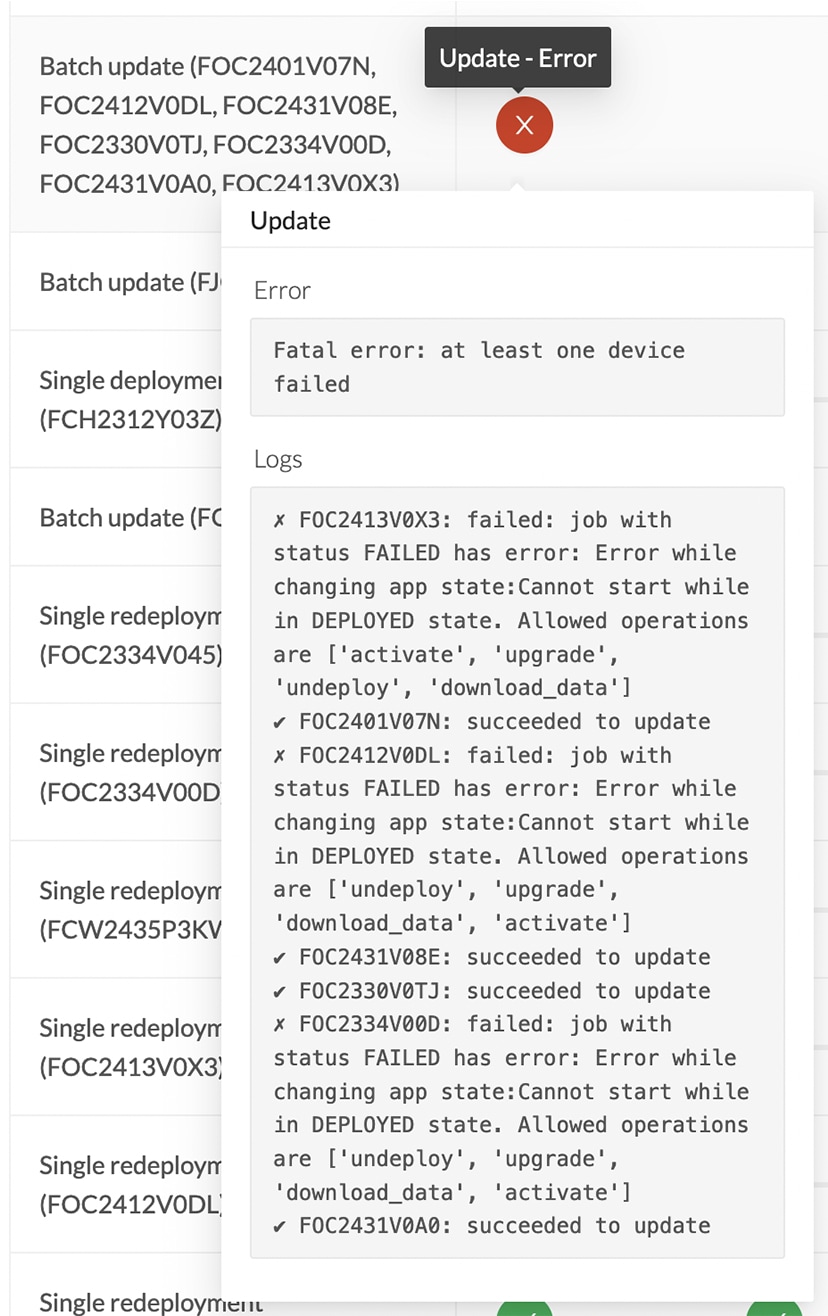 |
Upgrade through the IOx Local Manager
The following section explains how to upgrade the sensor through the IOx Local Manager.
 Note |
In the case of Cisco Cyber Vision upgrade for an IR8340 from a release 4.1.2 or lower to a release 4.1.3, the update will fail due to the addition of the RSPAN option. The sensor application must be removed and deployed again. |
In the example below, the sensor is upgraded from Cisco Cyber Vision version 3.2.2 to version 3.2.3.
-
Access the IOx Local Manager.
-
Stop the application.
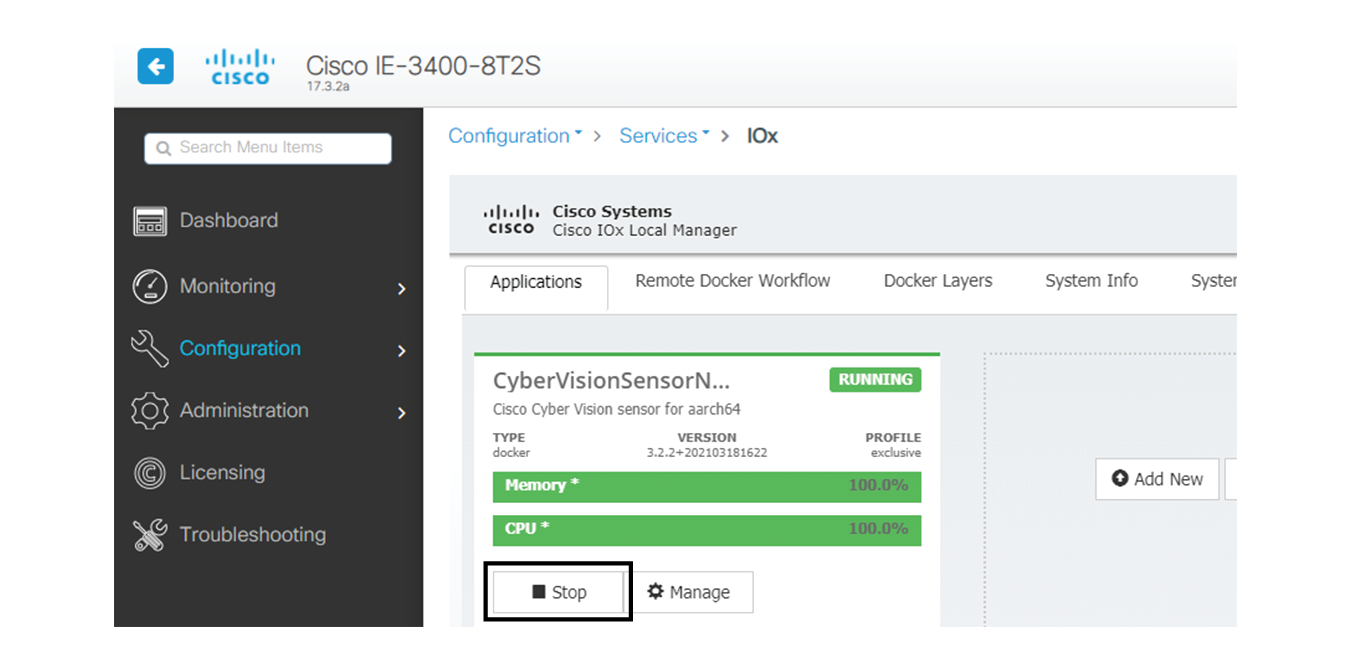
The operation takes a few moments.
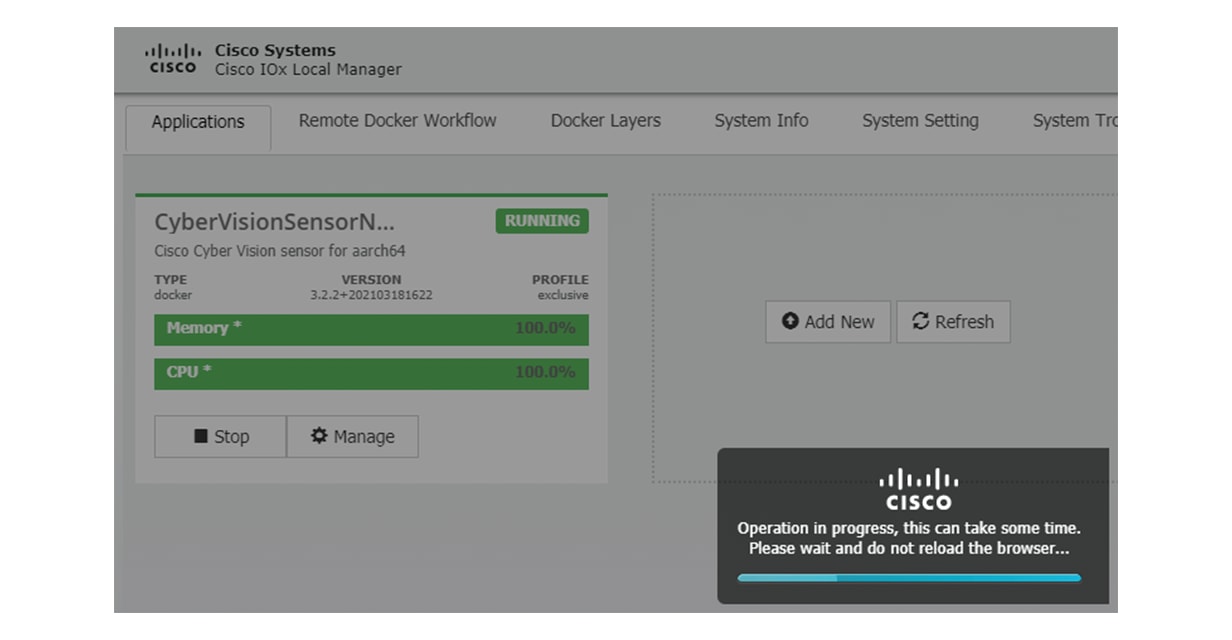
The application status switches to STOPPED.
In Cisco Cyber Vision, the sensor status switches to Disconnected.

-
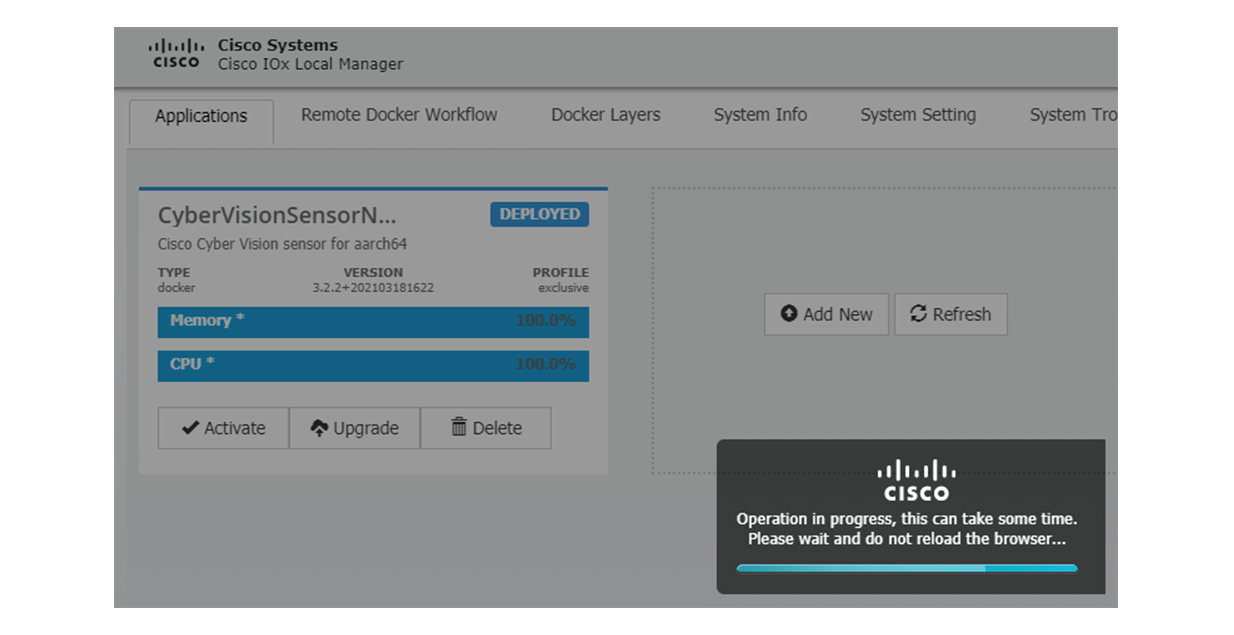
In the IOx Local Manager, click the Deactivate button.
The application status moves to DEPLOYED.
-
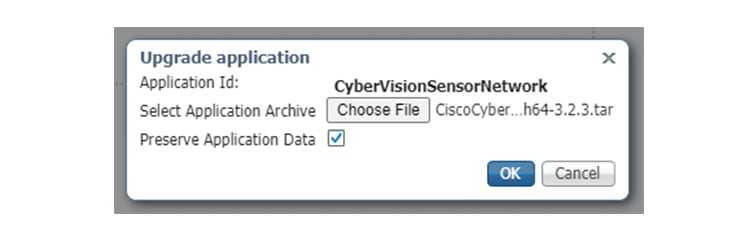
Click Upgrade.
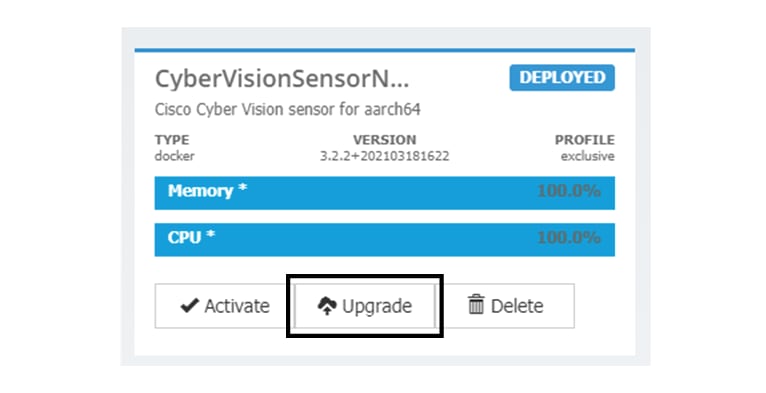
The pop up Upgrade application appears.
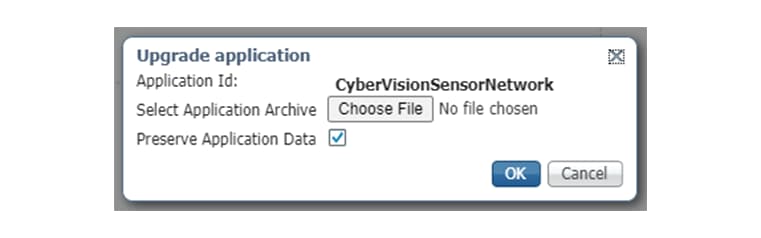
-
Select the Preserve Application Data option.
-
Select the new version of the application archive file.
e.g. CiscoCyberVision-IOx-aarch64-3.2.3.tar
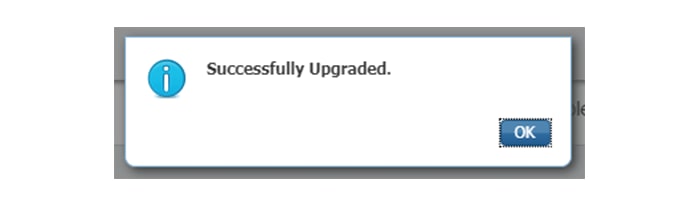
The operation takes a few moments.
A message indicating that the sensor has been successfully upgraded is displayed.
-
Check the number of the new version.
-
Click Activate.

-
Check configurations.
-
Click the Activate App button.
The application status moves to ACTIVATED.
-
Click the Start button.
The application status changes to RUNNING.
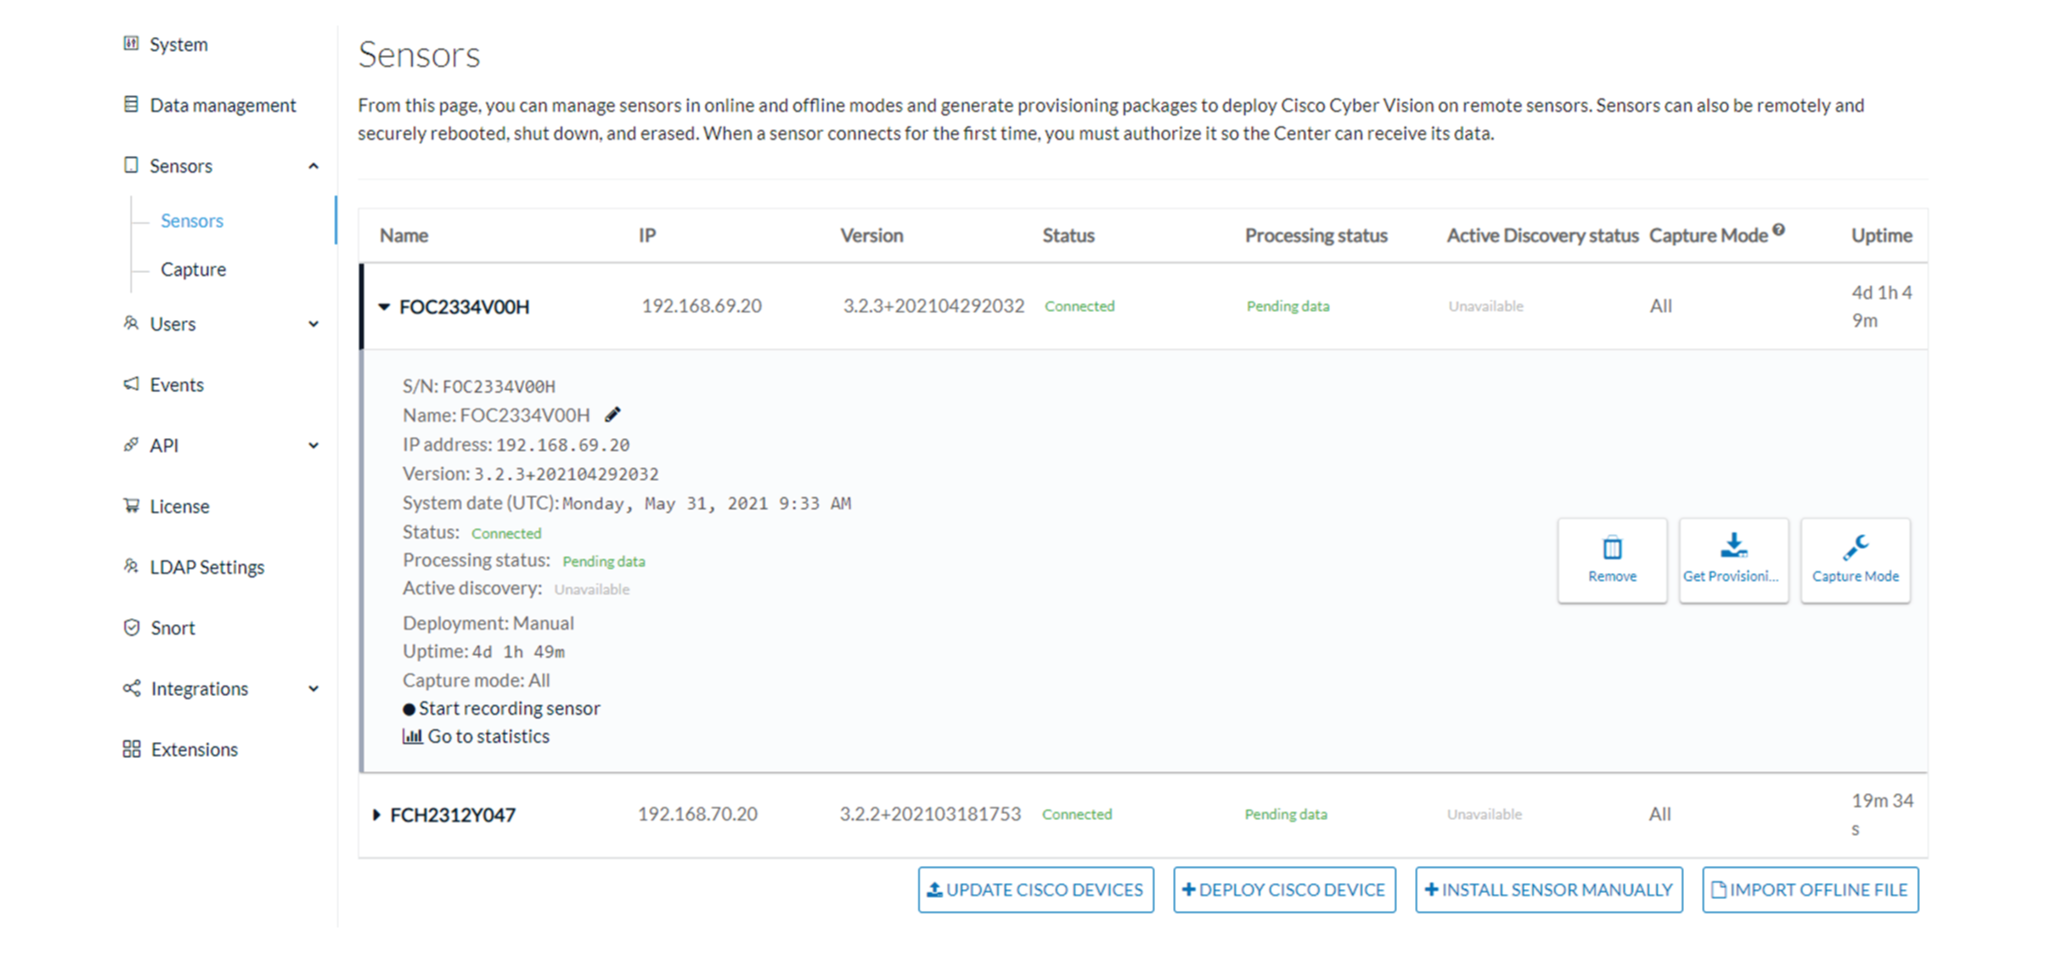
In Cisco Cyber Vision, the sensor is upgraded from version 3.2.2 to 3.2.3 and its status moves to Connected.
 Feedback