Customize the Microsoft Azure Portal
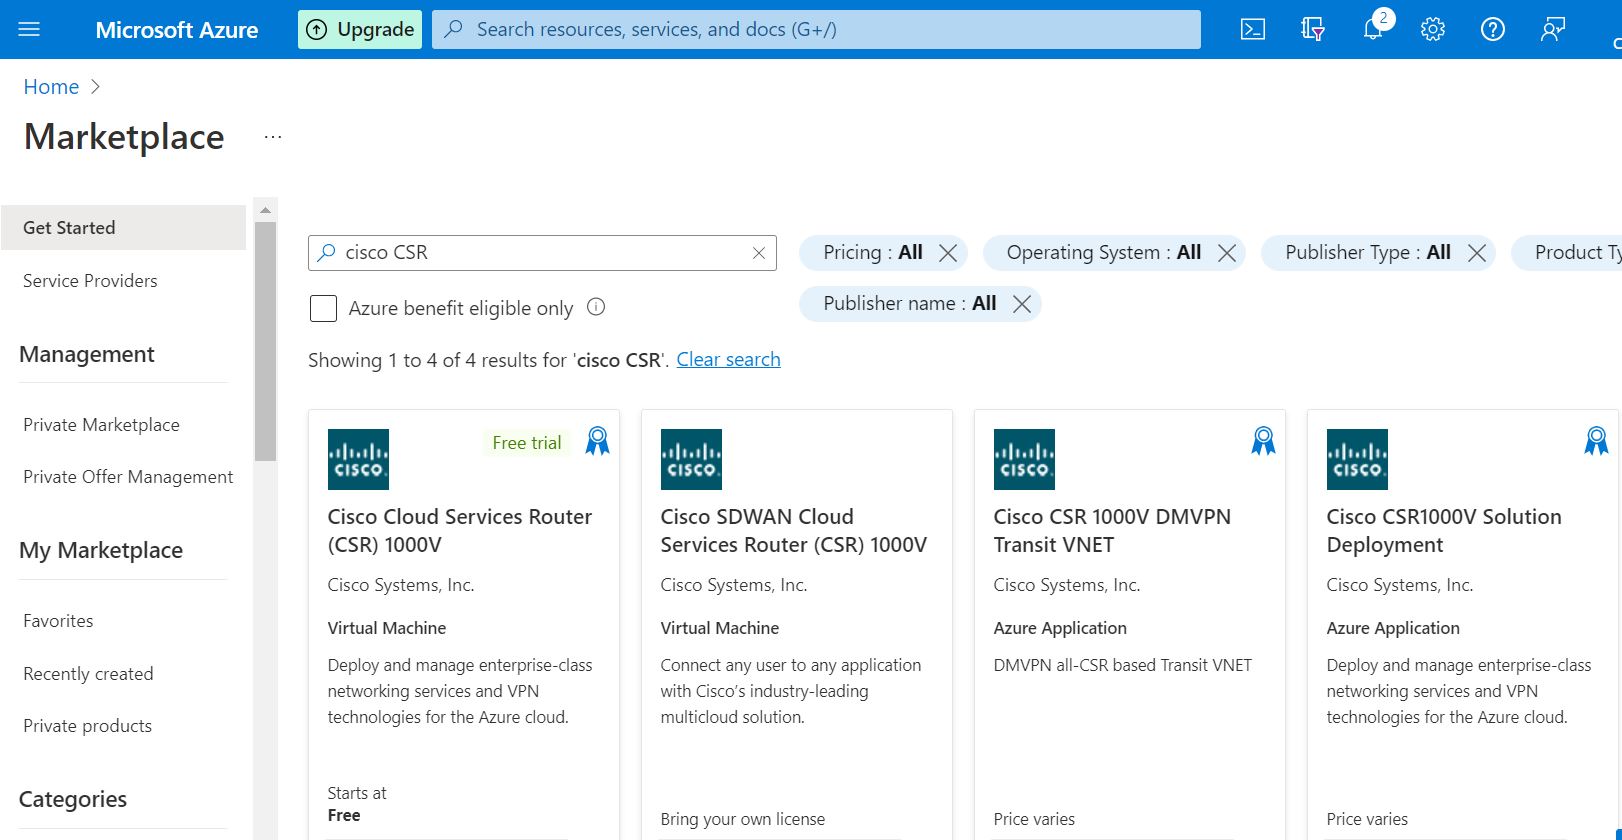
You can customize the Microsoft Azure portal GUI by adding frequently used objects, such as virtual machines or virtual network to the left-hand side panel.
 Note |
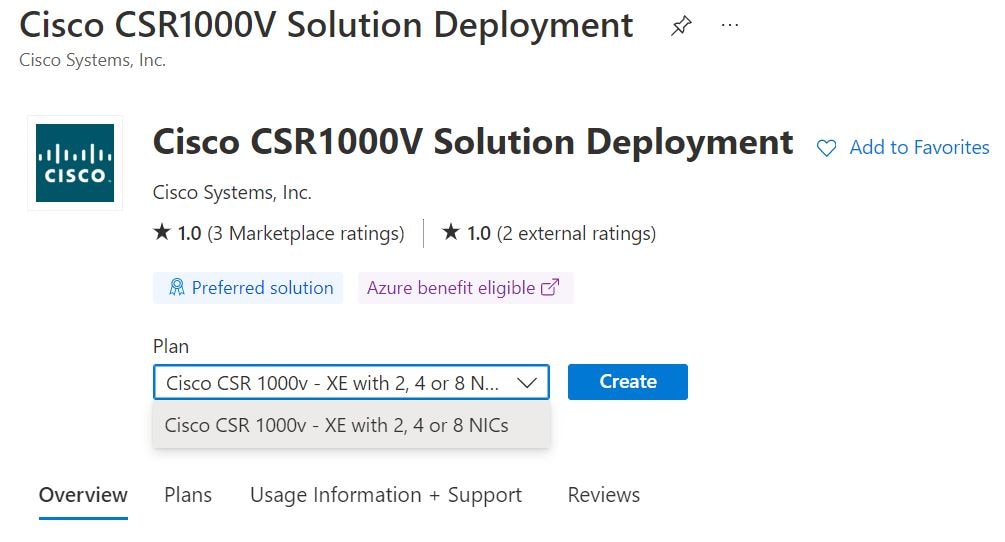
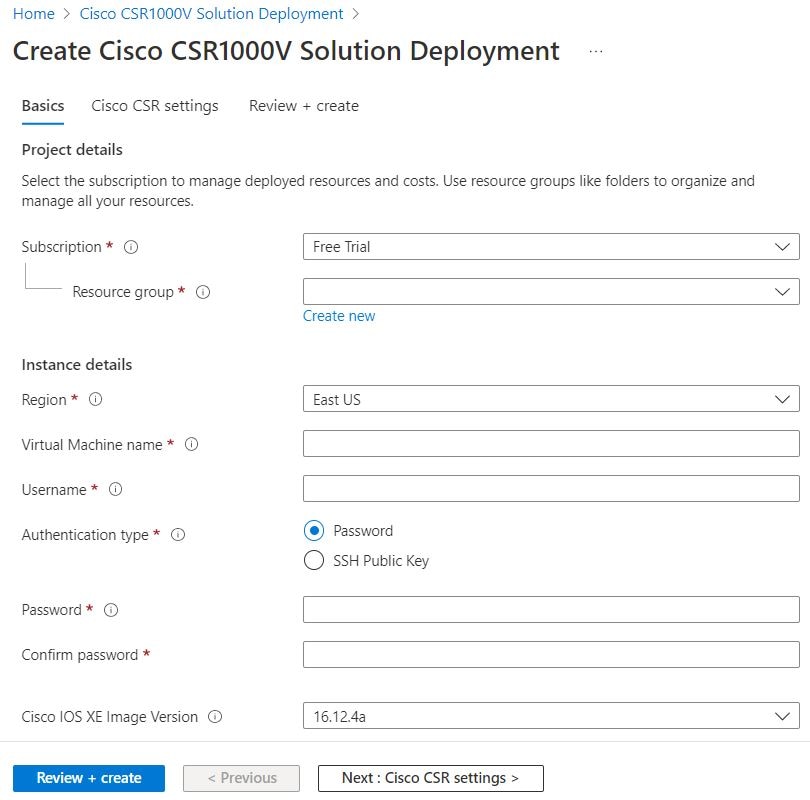
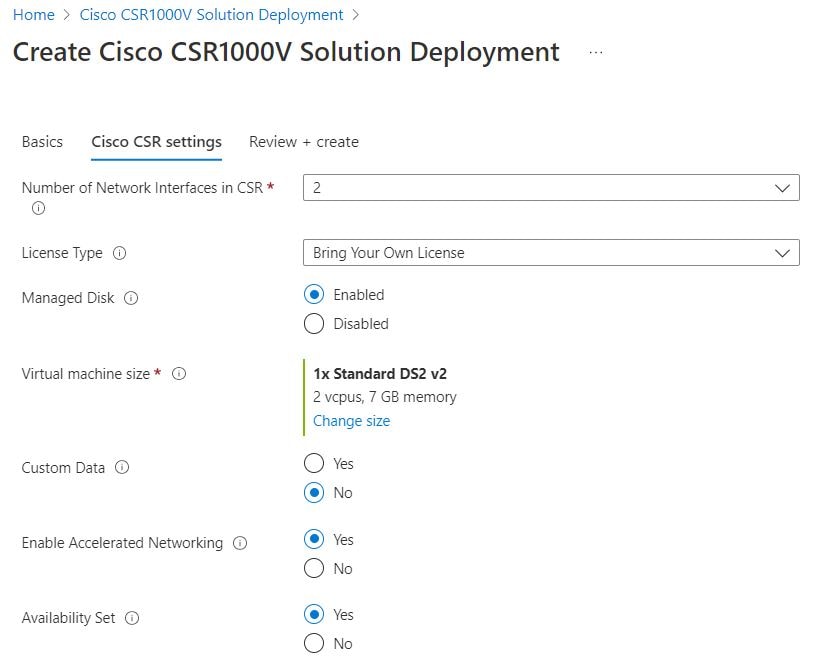
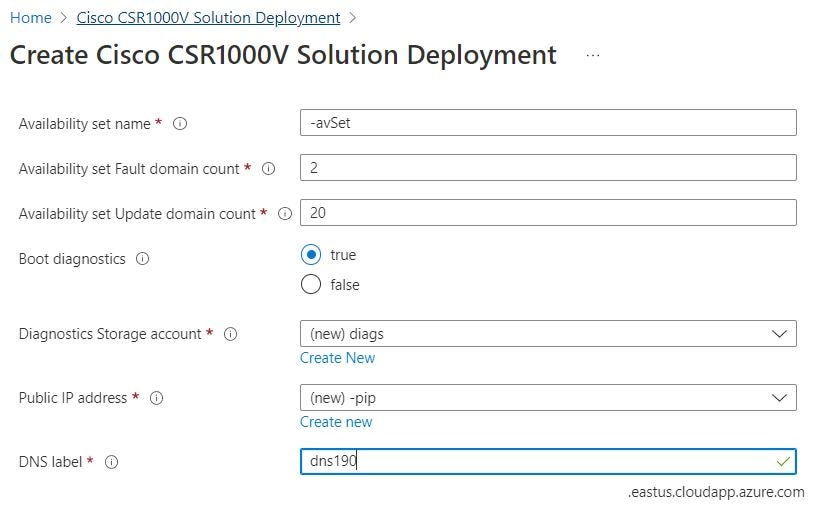
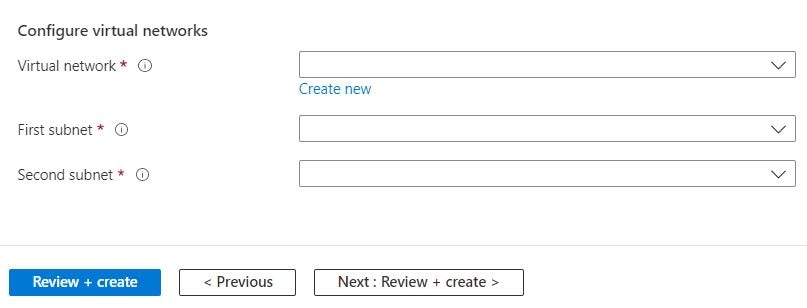
You only need to perform these optional steps if you are going to deploy a Cisco CSR 1000v using a single interface, where the resources need to be added manually. You do not need to create these resources manually, if you are going to deploy a Cisco CSR 1000v with 2, 4 or 8 interfaces using a solution template. |
Before you begin
SUMMARY STEPS
- Sign in to Microsoft Azure.
- Click Browse and select an object to be added to the left hand side panel.
- In the drop-down menu, click the star symbol for your chosen object.
DETAILED STEPS
| Command or Action | Purpose | |
|---|---|---|
| Step 1 |
Sign in to Microsoft Azure. |
|
| Step 2 |
Click Browse and select an object to be added to the left hand side panel. |
|
| Step 3 |
In the drop-down menu, click the star symbol for your chosen object. |
|
 Feedback