Important

 Warning |
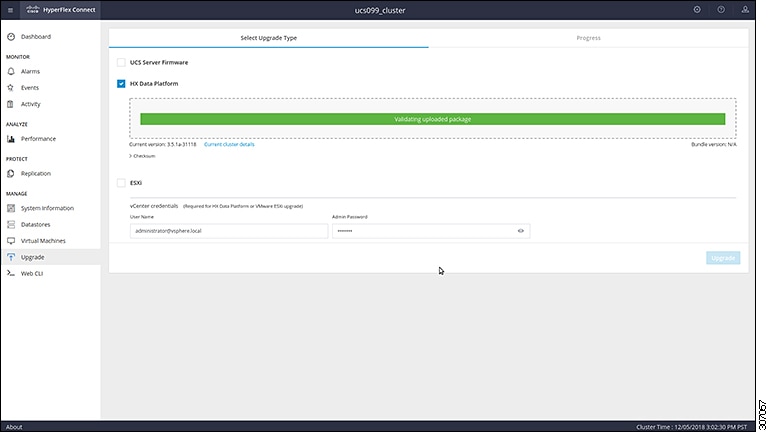
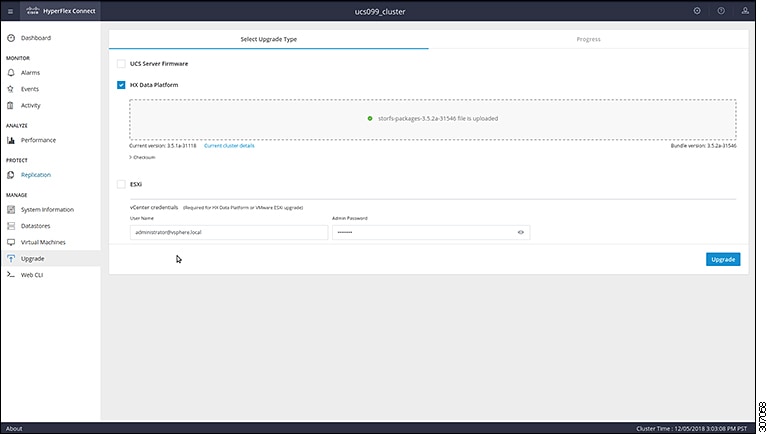
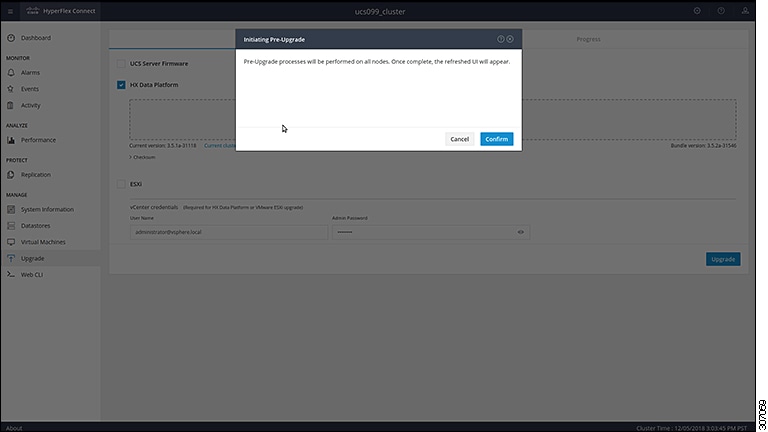
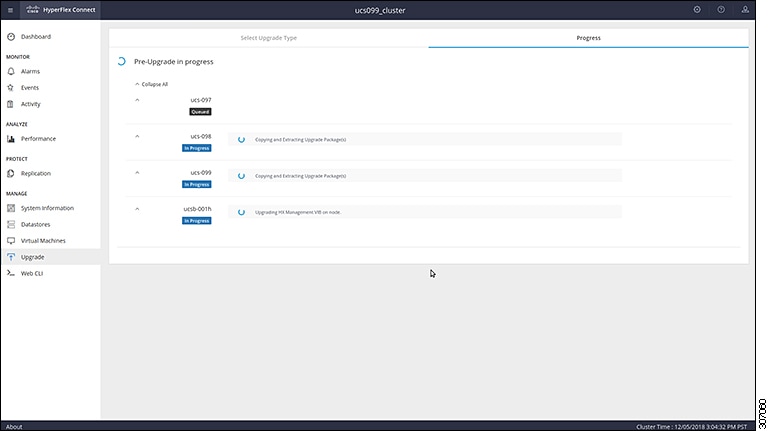
This chapter contains a list of procedures required by various upgrade workflows. Follow only the procedures that are required for the specific upgrade workflow you intend to use. For step-by-step guidance on online and offline upgrades, refer to the Upgrade Procedures chapter. |

 Feedback