Configuring the Management IP Address
During the initial system installation and configuration, the CML server's management IP address is configured to be DHCP-assigned or a static IP address. To change the system's management IP address after that, use the Networking page of the System Administration Cockpit. As an example, these steps illustrate how to change from using a DHCP-assigned management IP address to a static IP address.
Procedure
| Step 1 |
Log into the System Administration Cockpit as the system administrator account. See Logging into the System Administration Cockpit. |
| Step 2 |
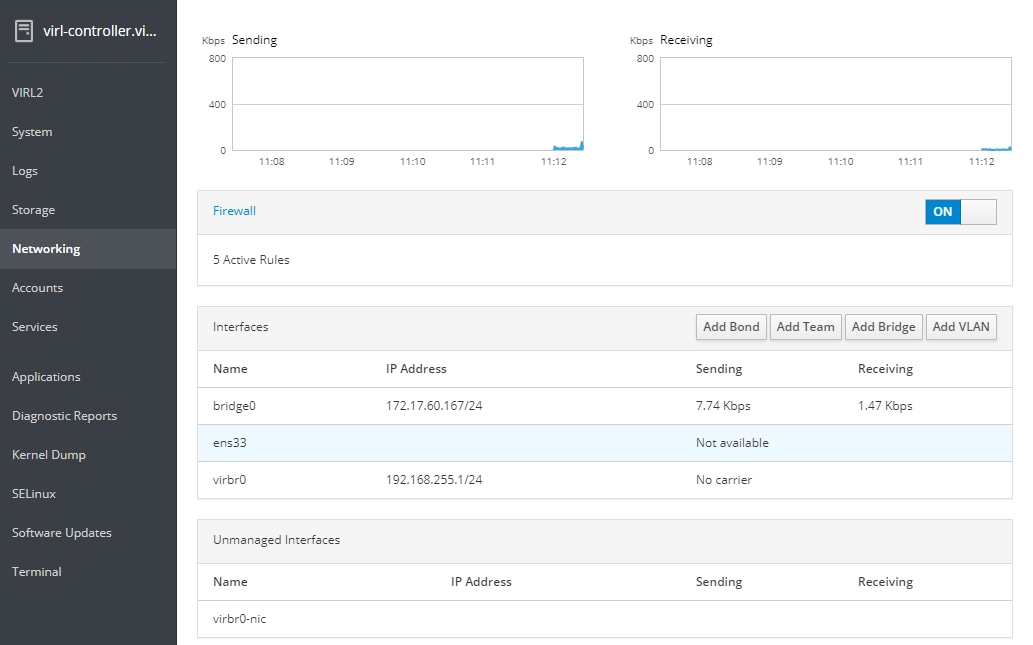
Click on Networking. |
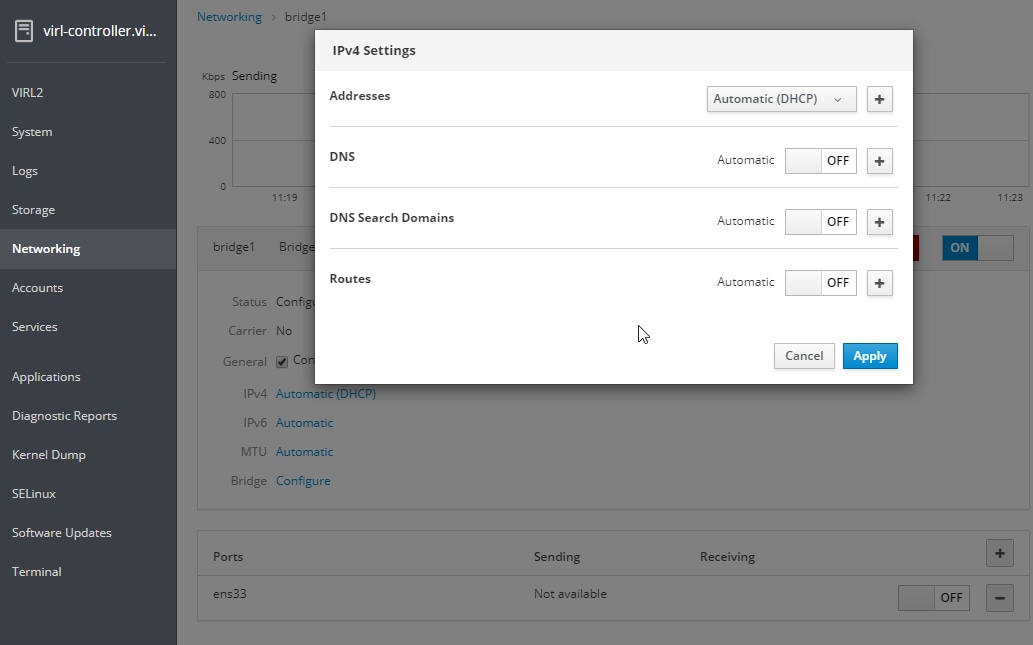
| Step 3 |
Click on |
| Step 4 |
Click on the IPv4 Automatic (DHCP) link under the
information block for bridge The IPv4 Settings pop-up dialog is shown. |
| Step 5 |
Select Manual from the Addresses dropdown and provide static address settings for IPv4 address, Netmask, and Gateway. |
| Step 6 |
Click on the + button to add a DNS server. |
| Step 7 |
Click Apply. |
| Step 8 |
Wait for the testing connection dialog to complete. |
If no errors are reported, your CML server will now have a permanent static IP address.

 Feedback