Install and Update
Cisco Modeling Labs Release 1.2
Install Cisco Modeling Labs Version 1.2
To install Cisco Modeling Labs, version 1.2, complete the following steps.
| Step 1 | Shutdown the Cisco Modeling Labs, version 1.1 system. This is required so that there is no clash of IP addresses, and so on. |
| Step 2 | Install Cisco Modeling Labs, version 1.2 according to the Cisco Modeling Labs Corporate Edition System Administrator Installation Guide, Release 1.2 provided. |
| Step 3 | Using the User Workspace Management settings recorded earlier, add them to the Cisco Modeling Labs, version 1.2 system as per the steps outlined in the User Workspace Management chapter of the Cisco Modeling Labs Corporate Edition System Administrator Installation Guide, Release 1.2. |
Update User Workspace Management Settings
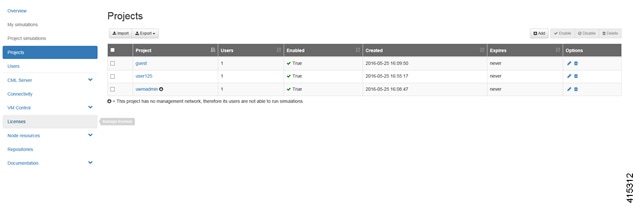
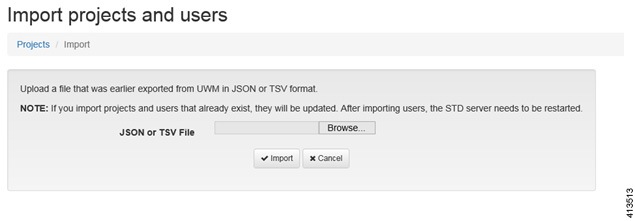
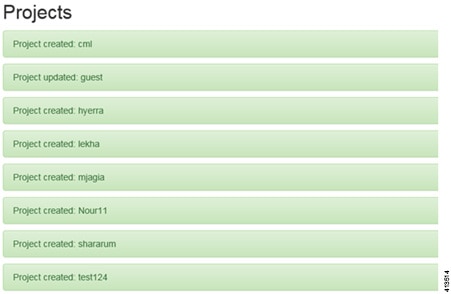
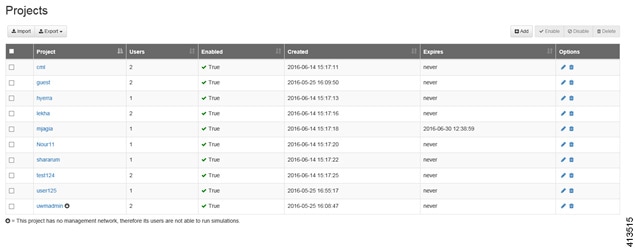
Import Projects into Cisco Modeling Labs Version 1.2
To import all projects and their users into the Cisco Modeling Labs version 1.2, complete the following steps:
Import a Subtype into Cisco Modeling Labs Version 1.2
 Note | Subtypes for import must be available in a JSON file. |
To import a subtype into the Cisco Modeling Labs version 1.2, complete the following steps:
Upgrade the Cisco Modeling Labs Client Version
To upgrade the Cisco Modeling Labs client, complete the following steps.
| Step 1 | Close the running instance of the Cisco Modeling Labs version 1.1 client. | ||
| Step 2 | Browse to the installation location and click uninstaller.exe to uninstall the Cisco Modeling Labs 1.1 client. | ||
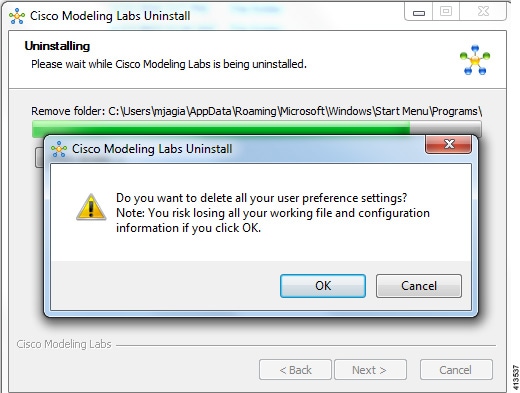
| Step 3 | During the
uninstall process, a dialog box is displayed asking “Do you want to delete all
your user preference settings?”, as shown.
| ||
| Step 4 | Start the Cisco
Modeling Labs 1.2 installation process, as detailed in
Install Cisco Modeling Labs Version 1.2.
|
New License File
Note | For ISO file bare-metal deployments, no new license is required since the MAC address does not change. |
 Feedback